After being influenced by concept art created by Jessica Mountfield, I decided to build a miniature set to enhance my expertise in model making. Consequently, this set has become an environment where my character, Emily, can perform.
Artwork by Jessica Mountfield
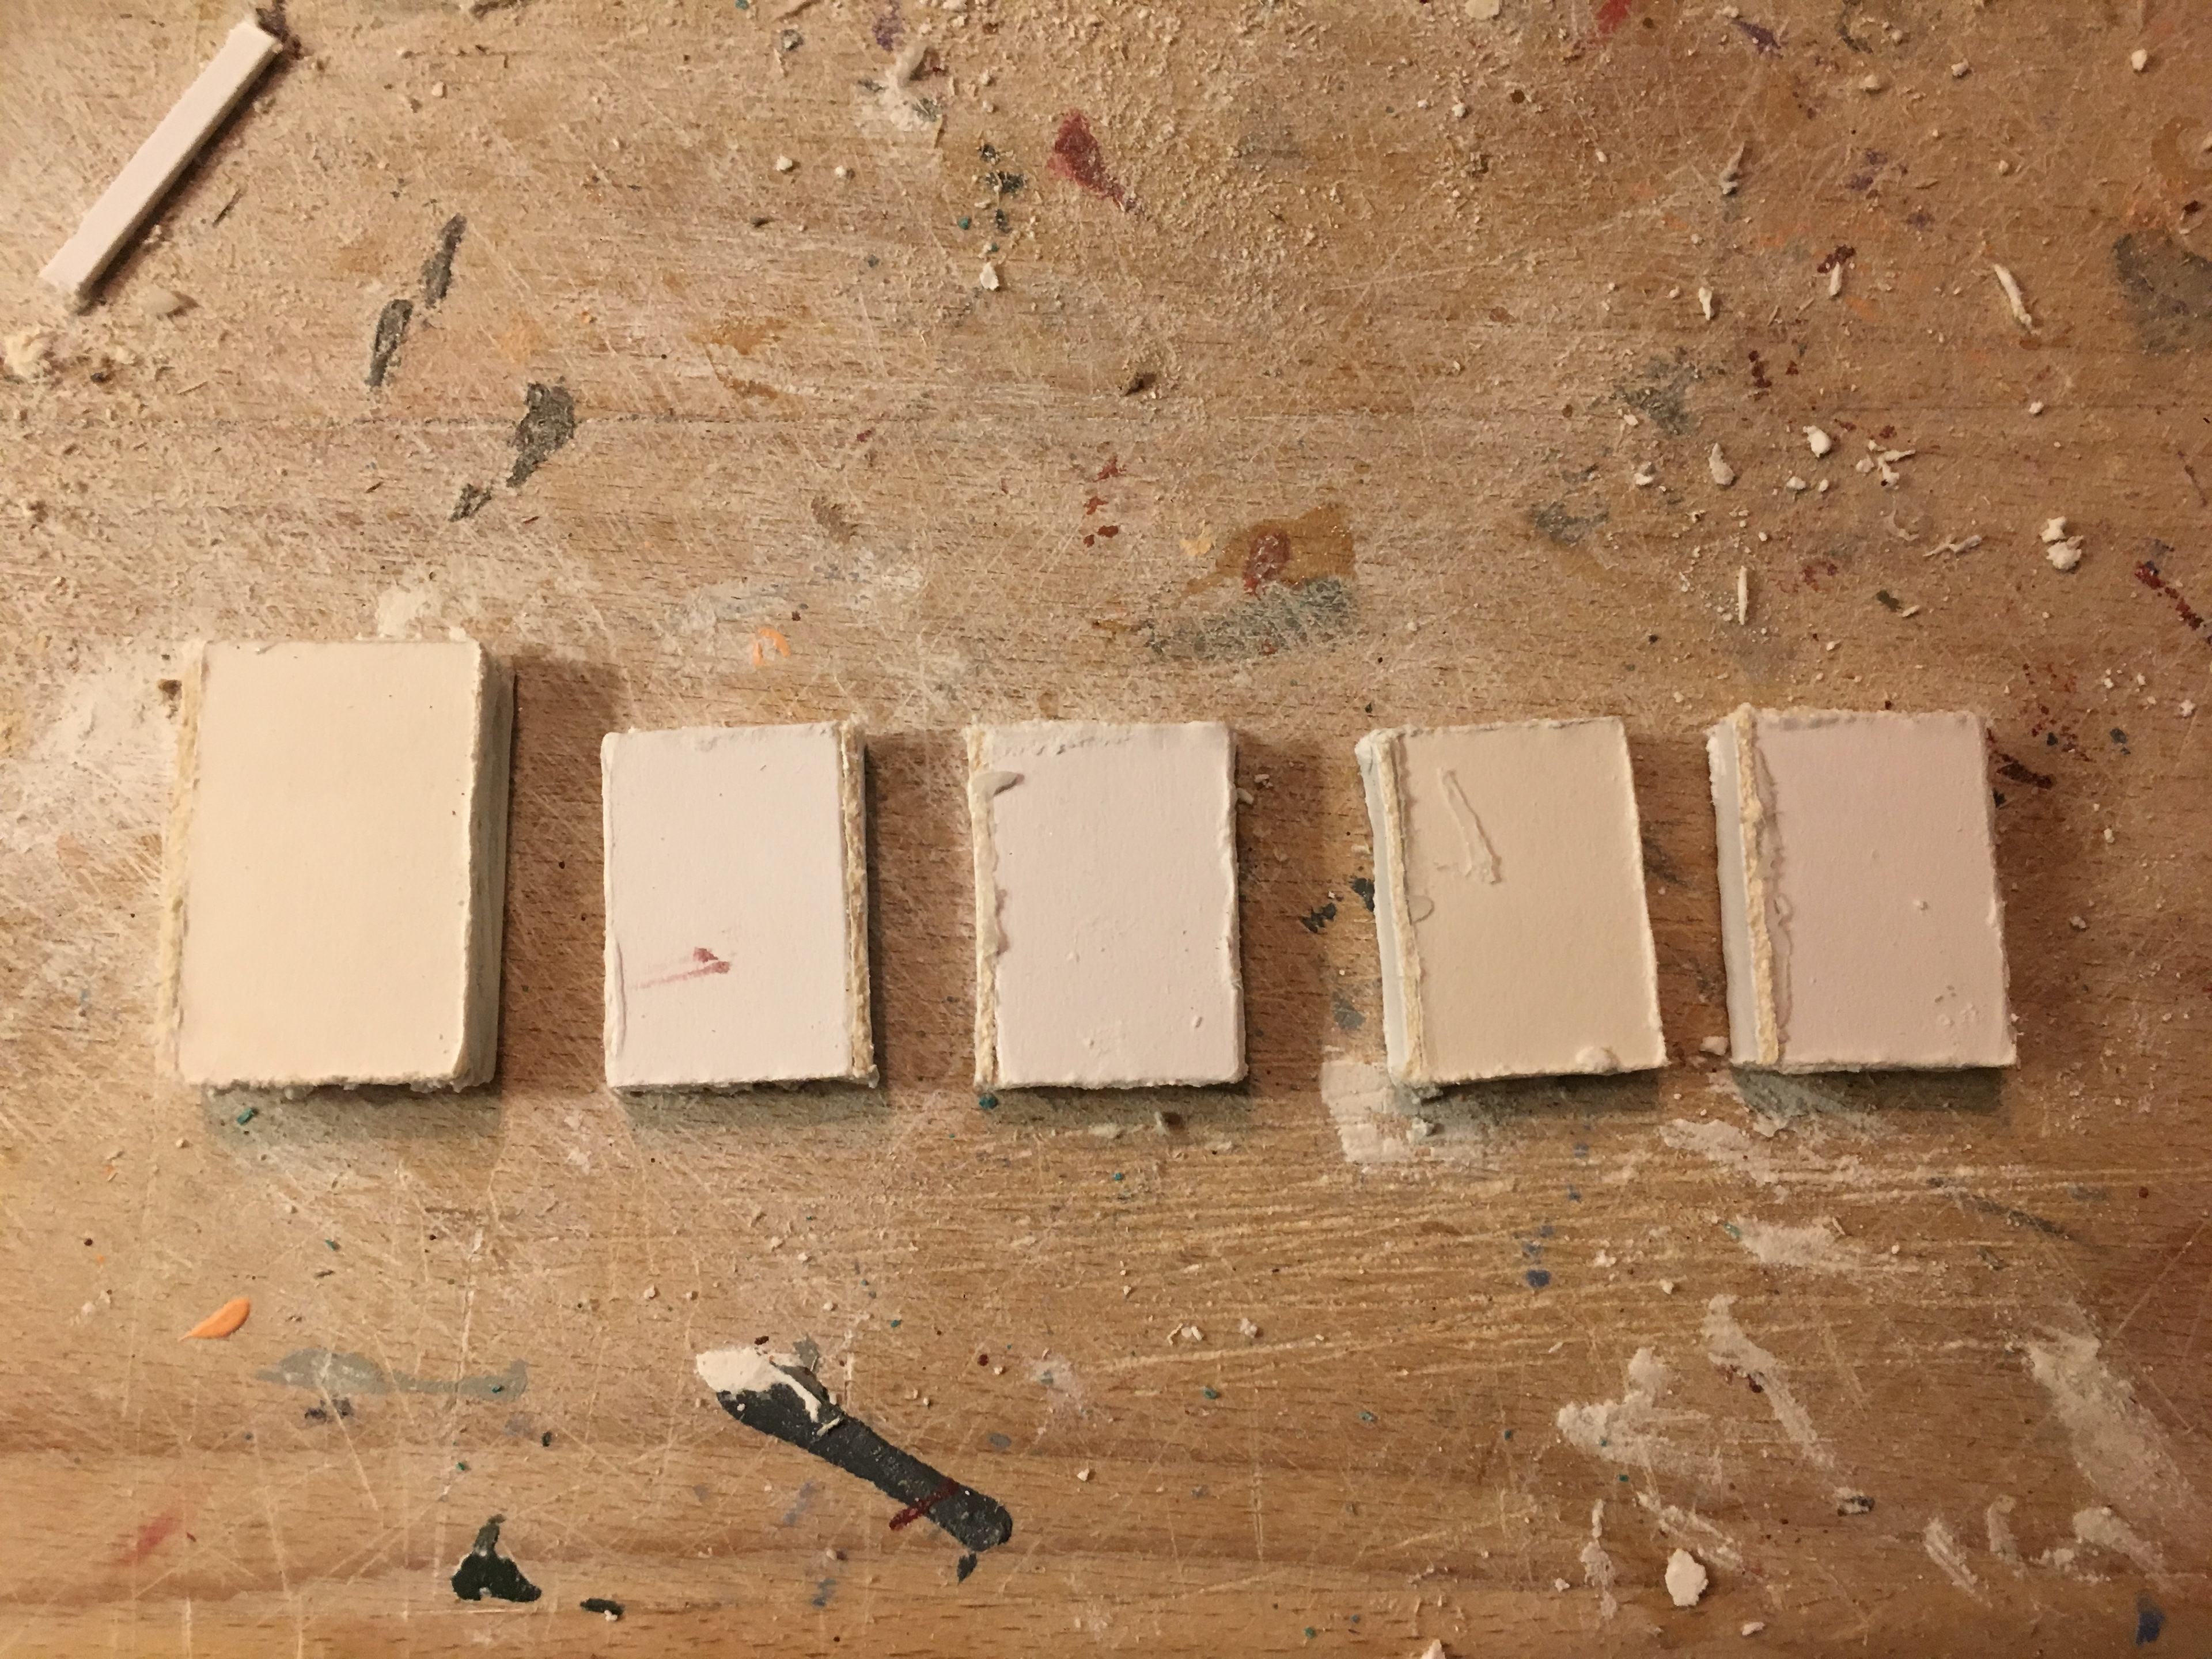
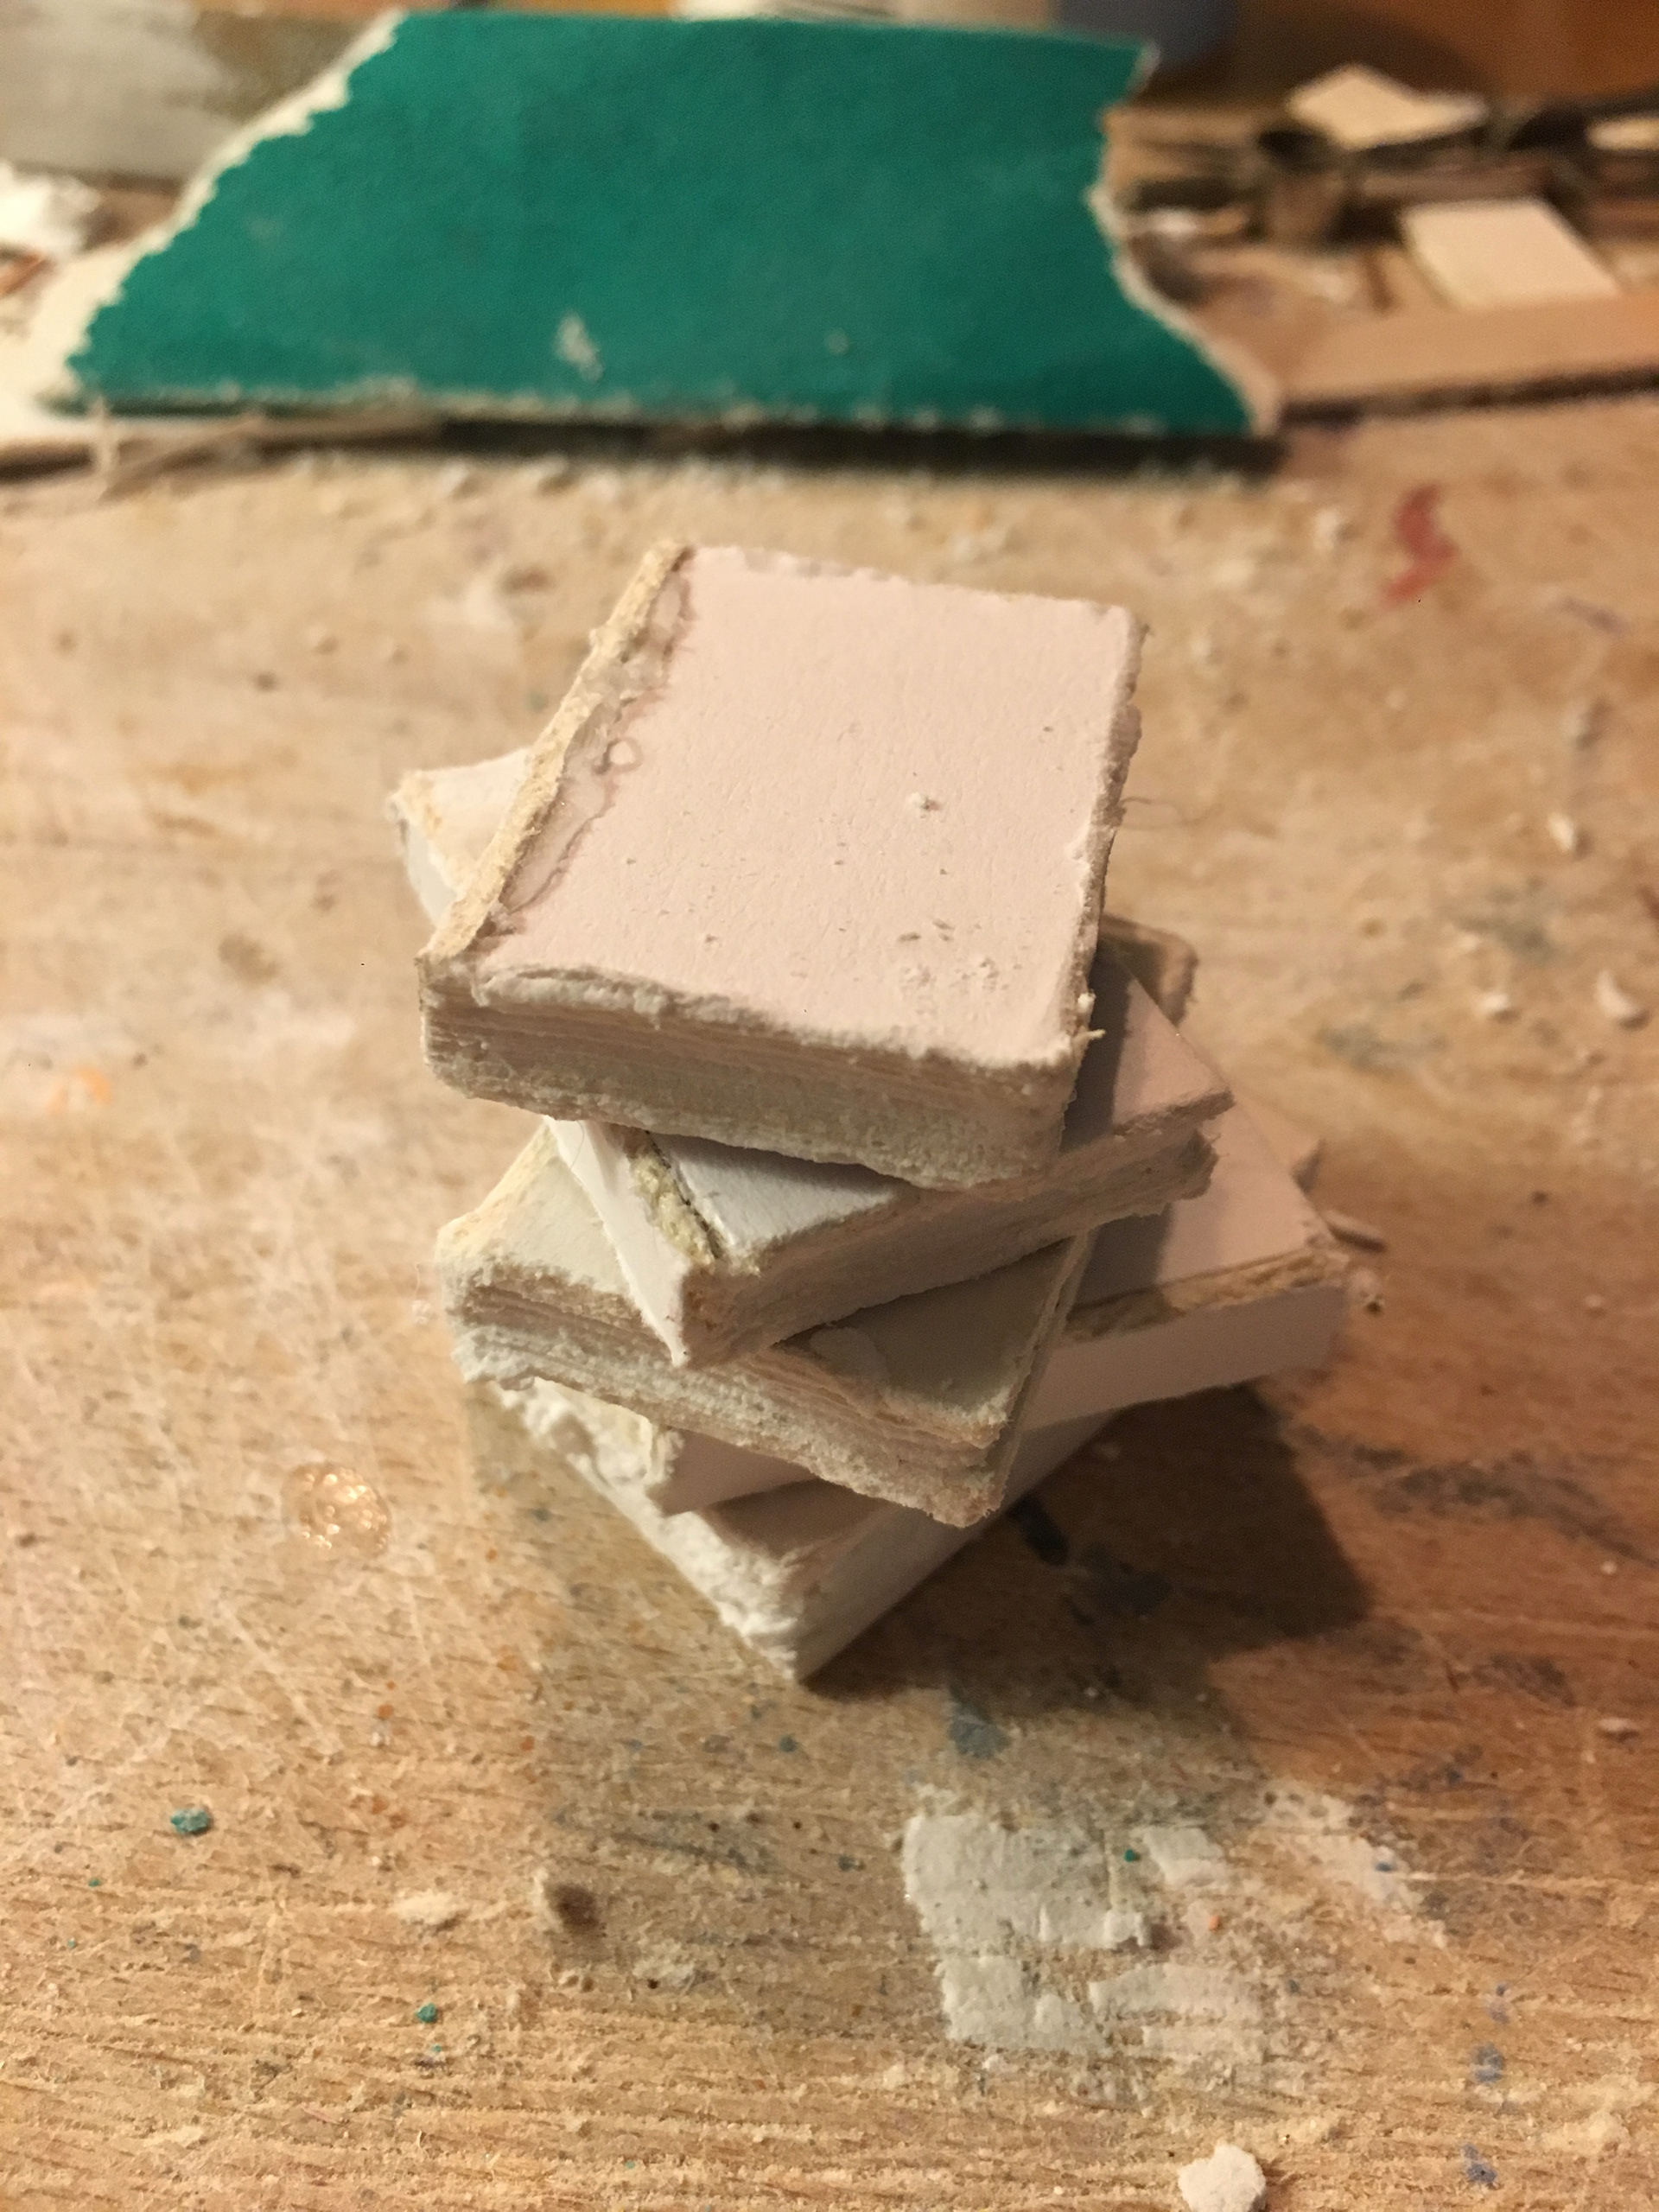
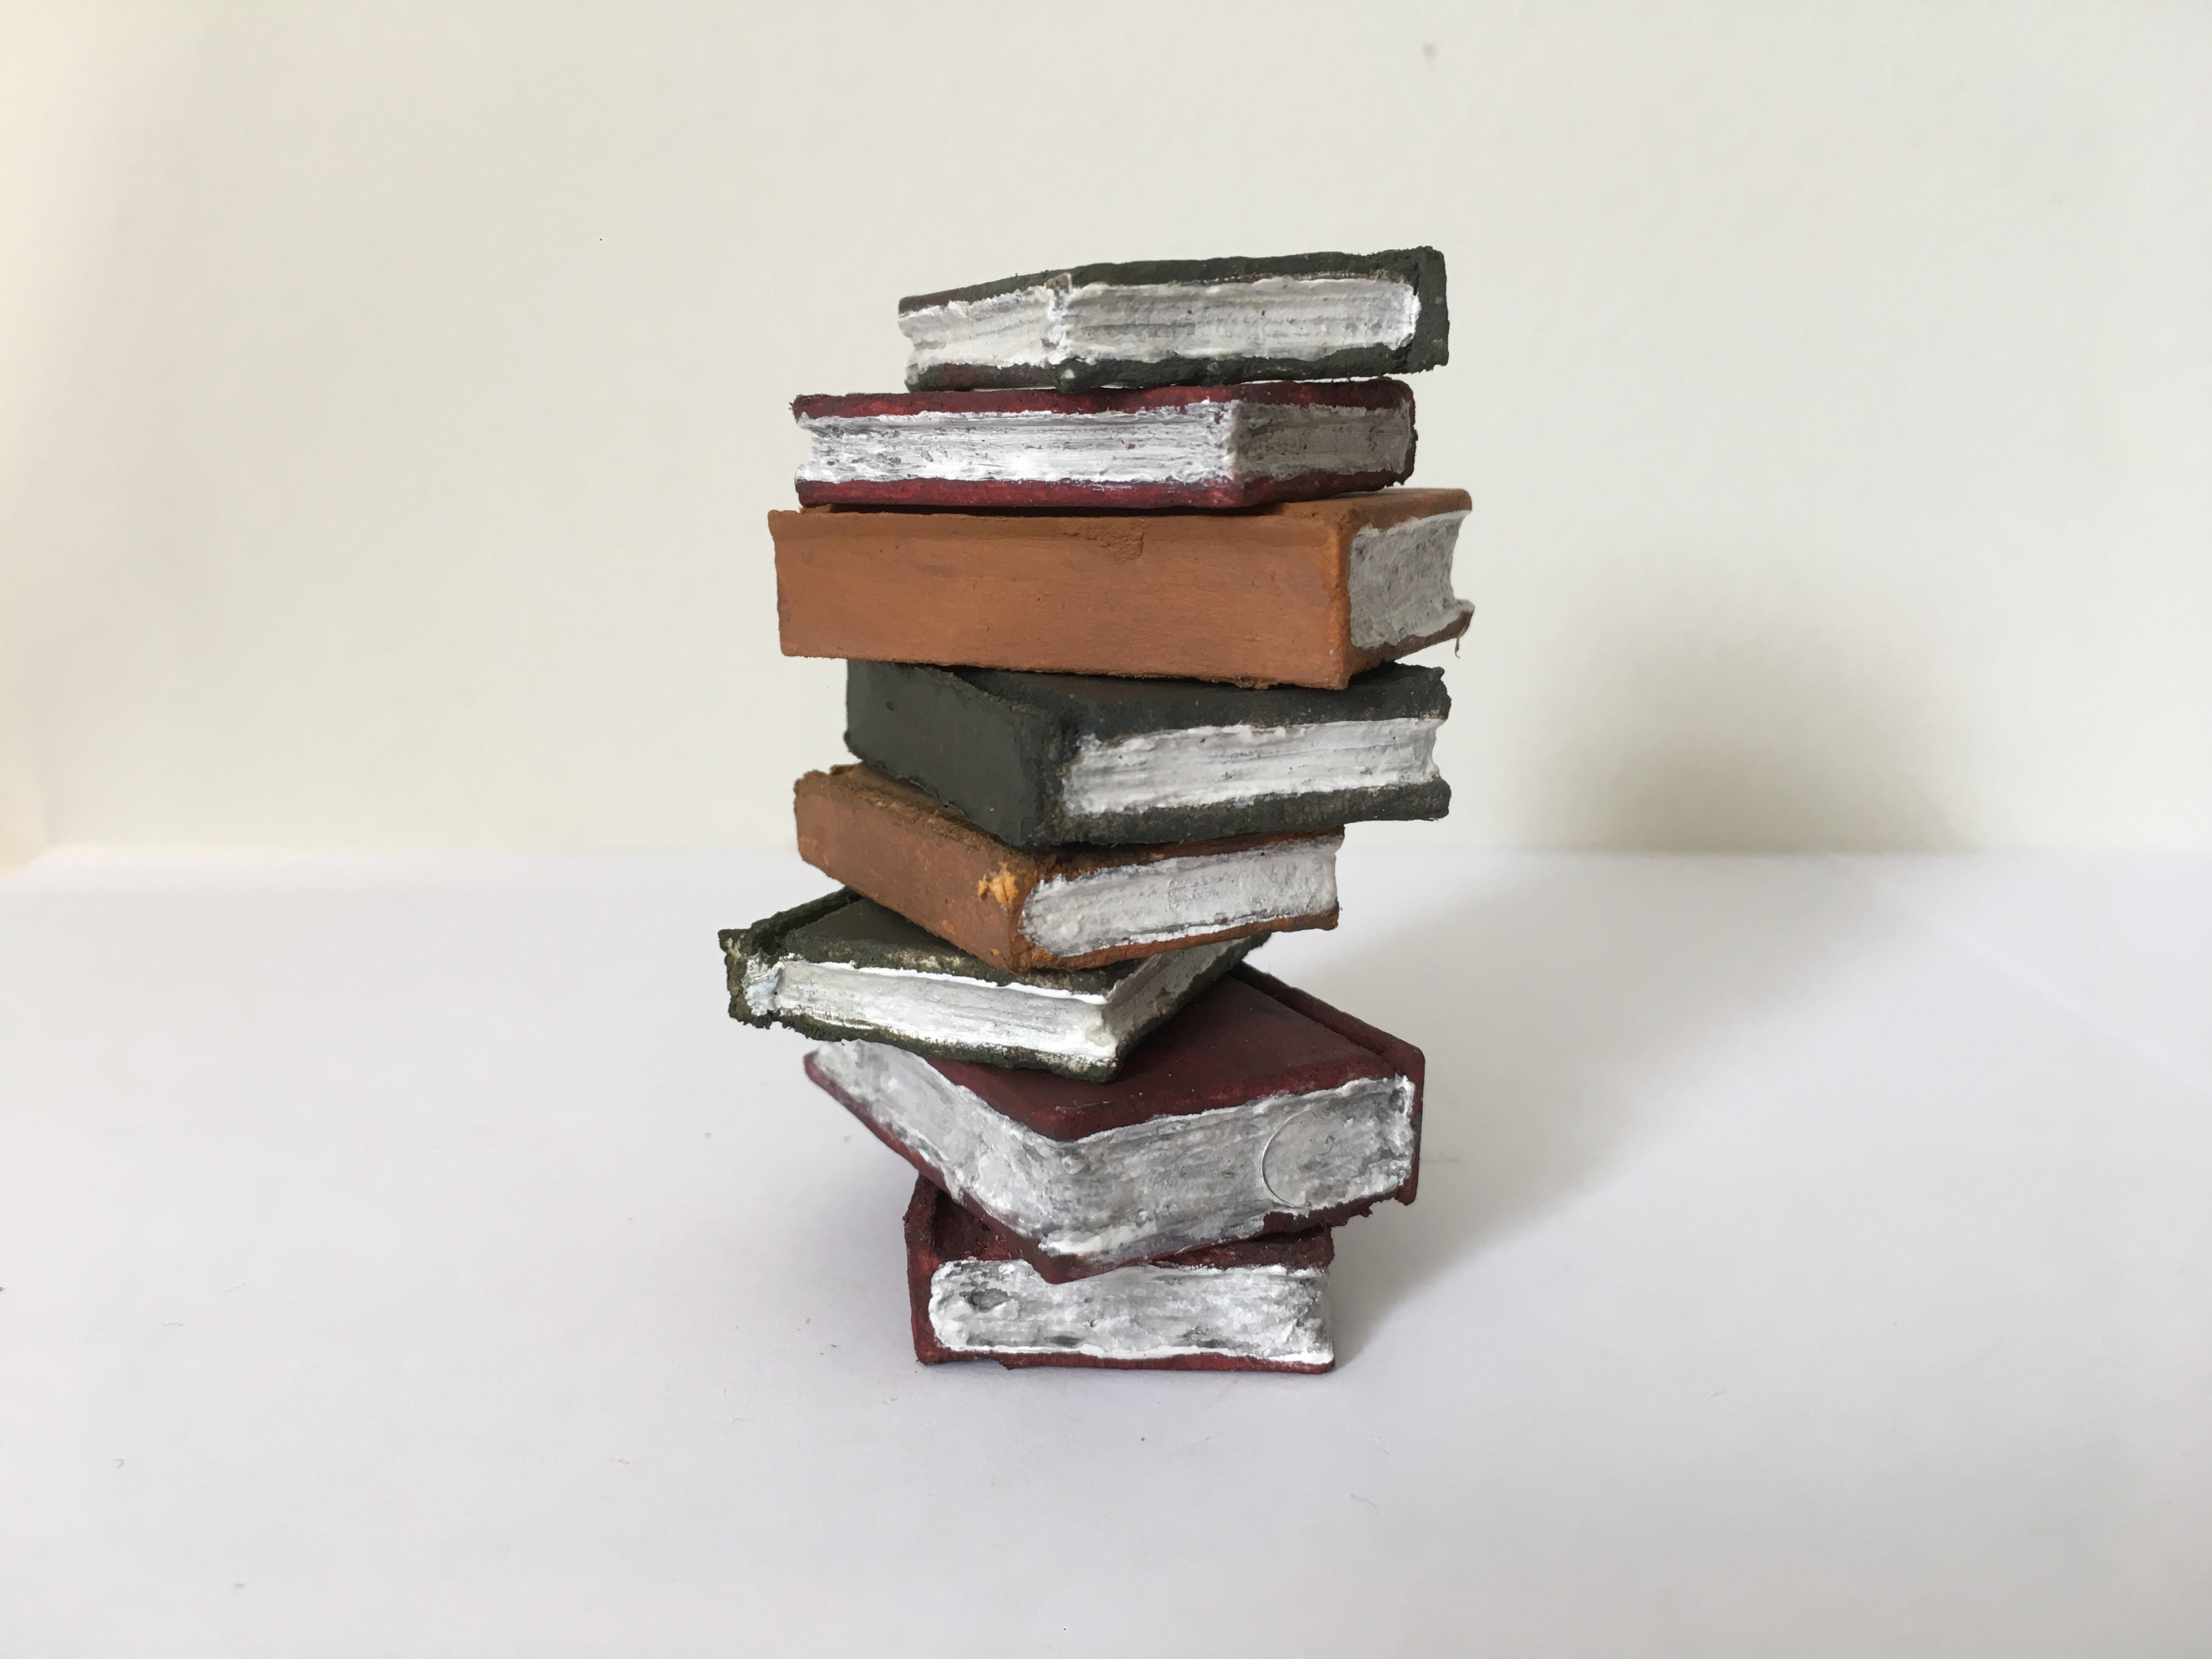
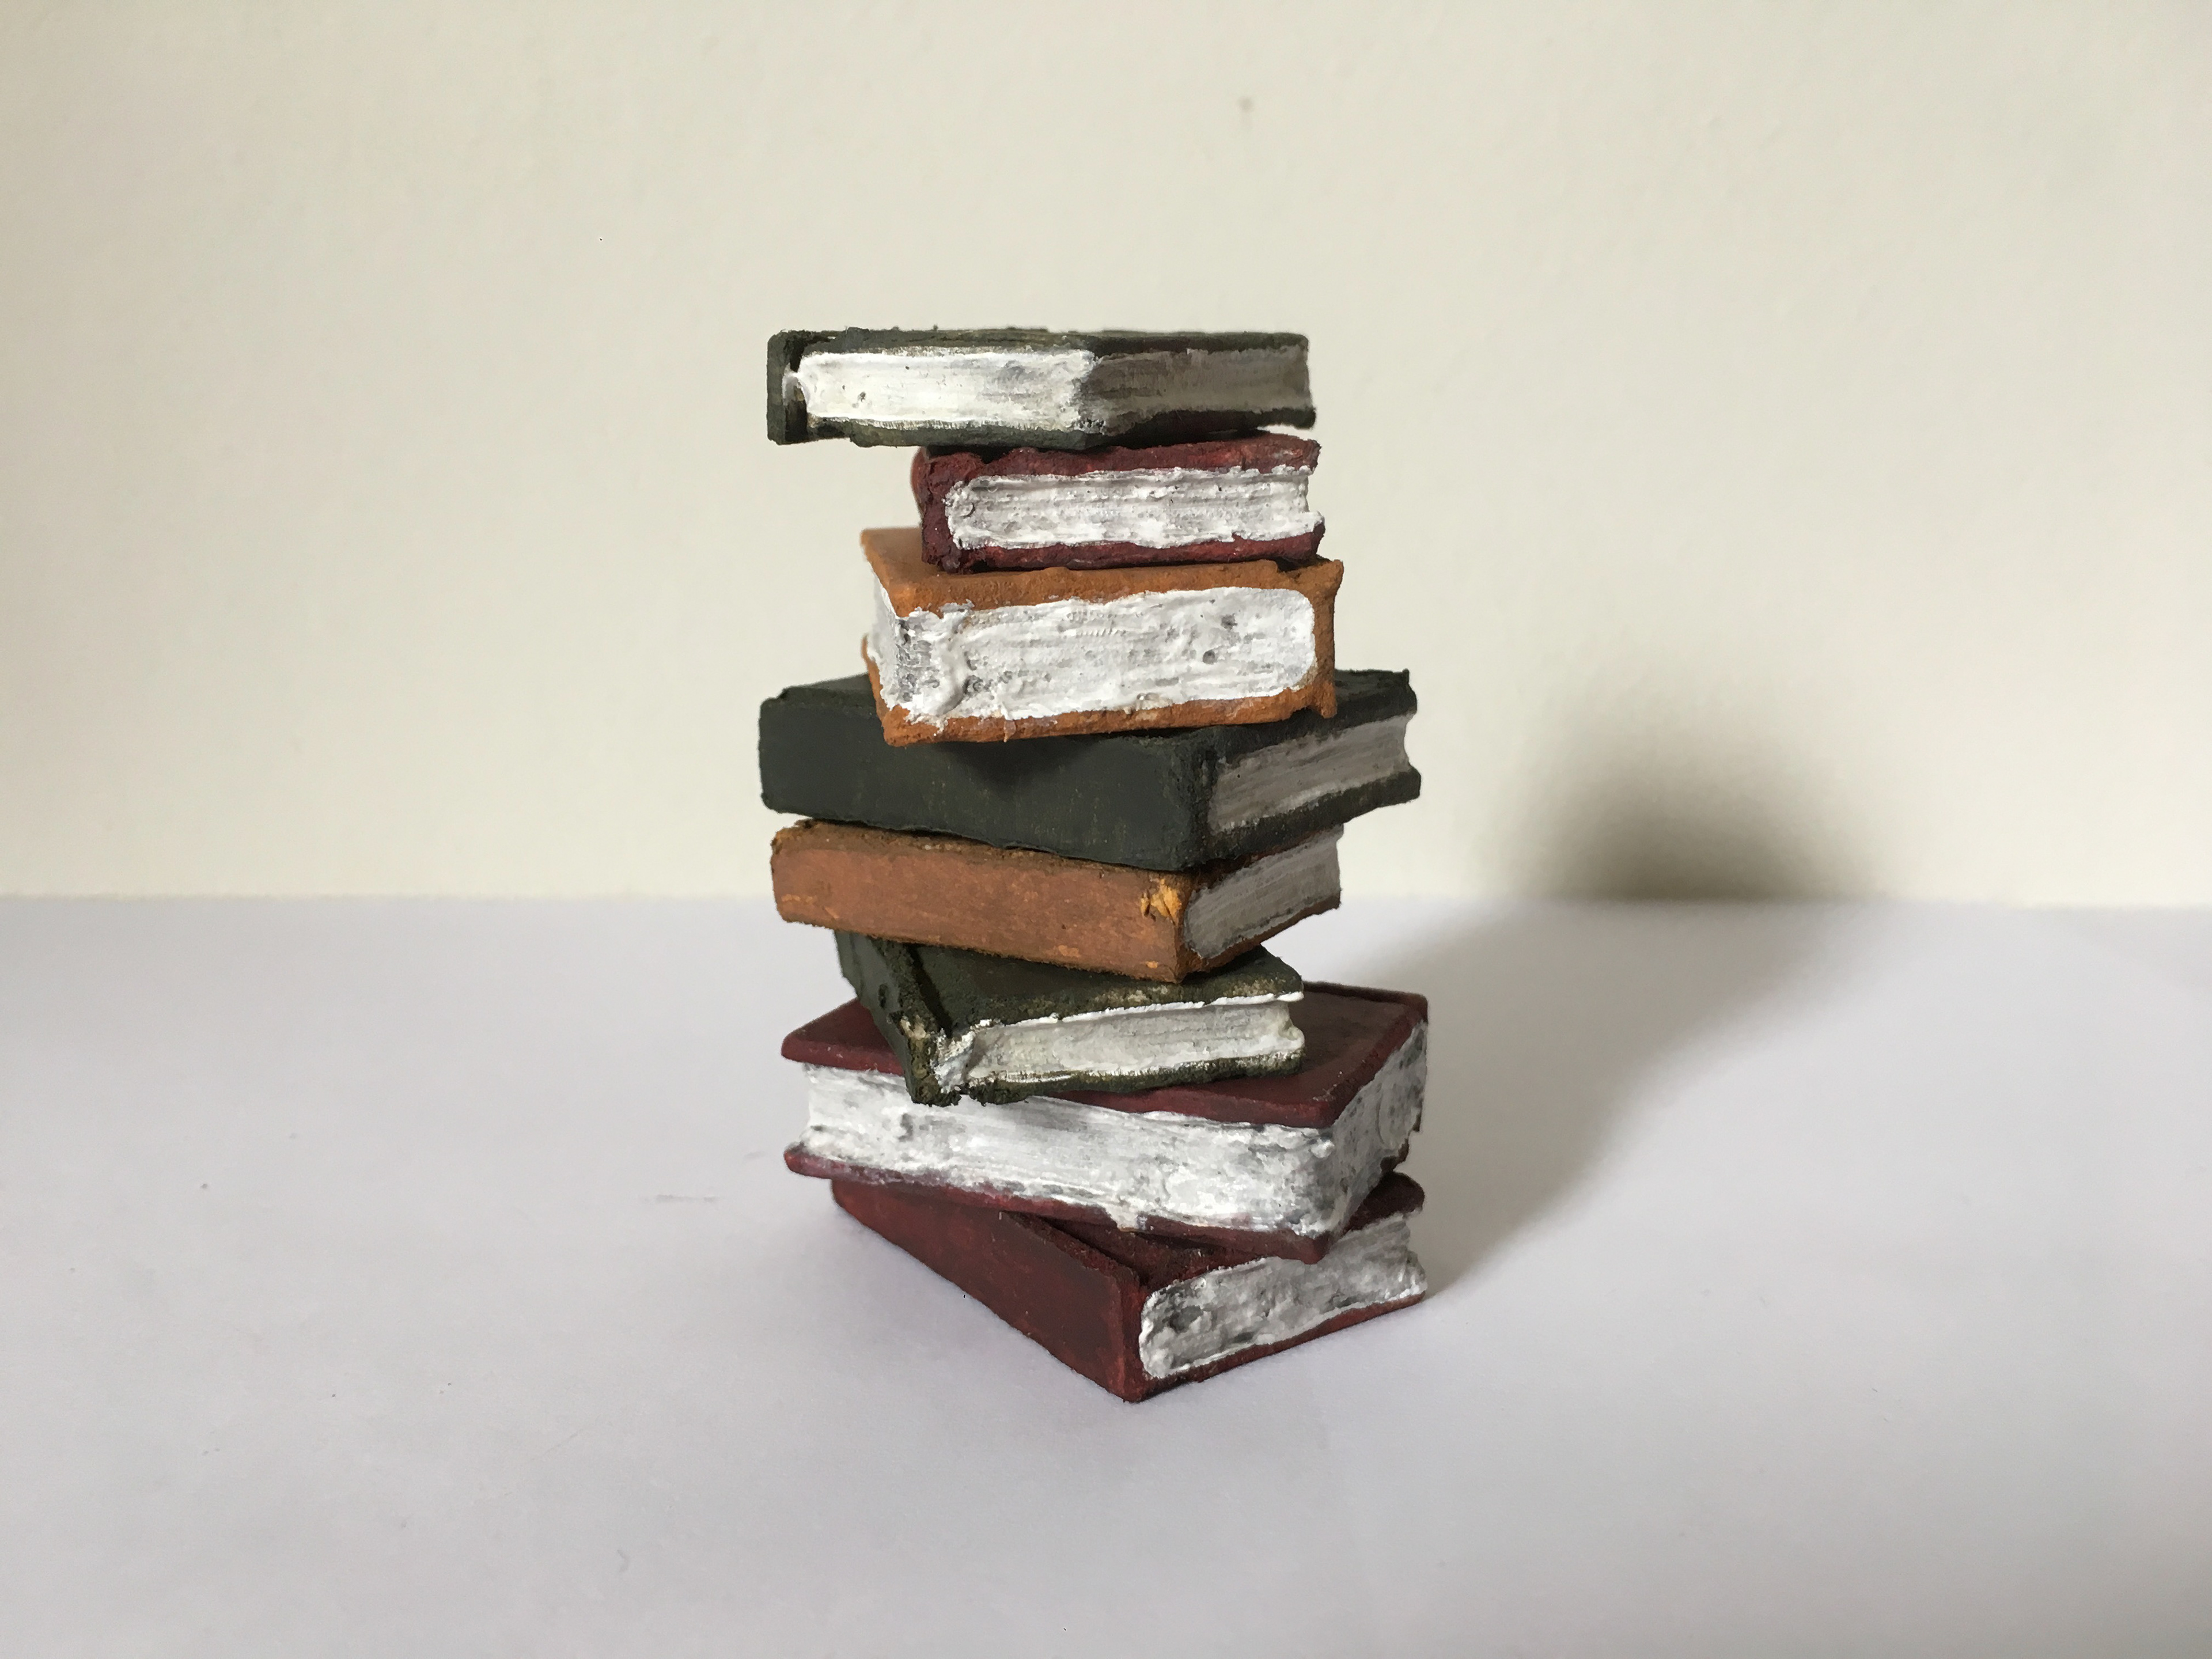
The books on the shelve were orginally going to be made from balsa wood. However, through trial and error, I discovered that mount board was a better material to use instead. Furthermore, I used multi- purpose filler to mould the pages.
The tribal sculptures were moulded using sculpey oven clay and multi- purpose filler was used to add texture.
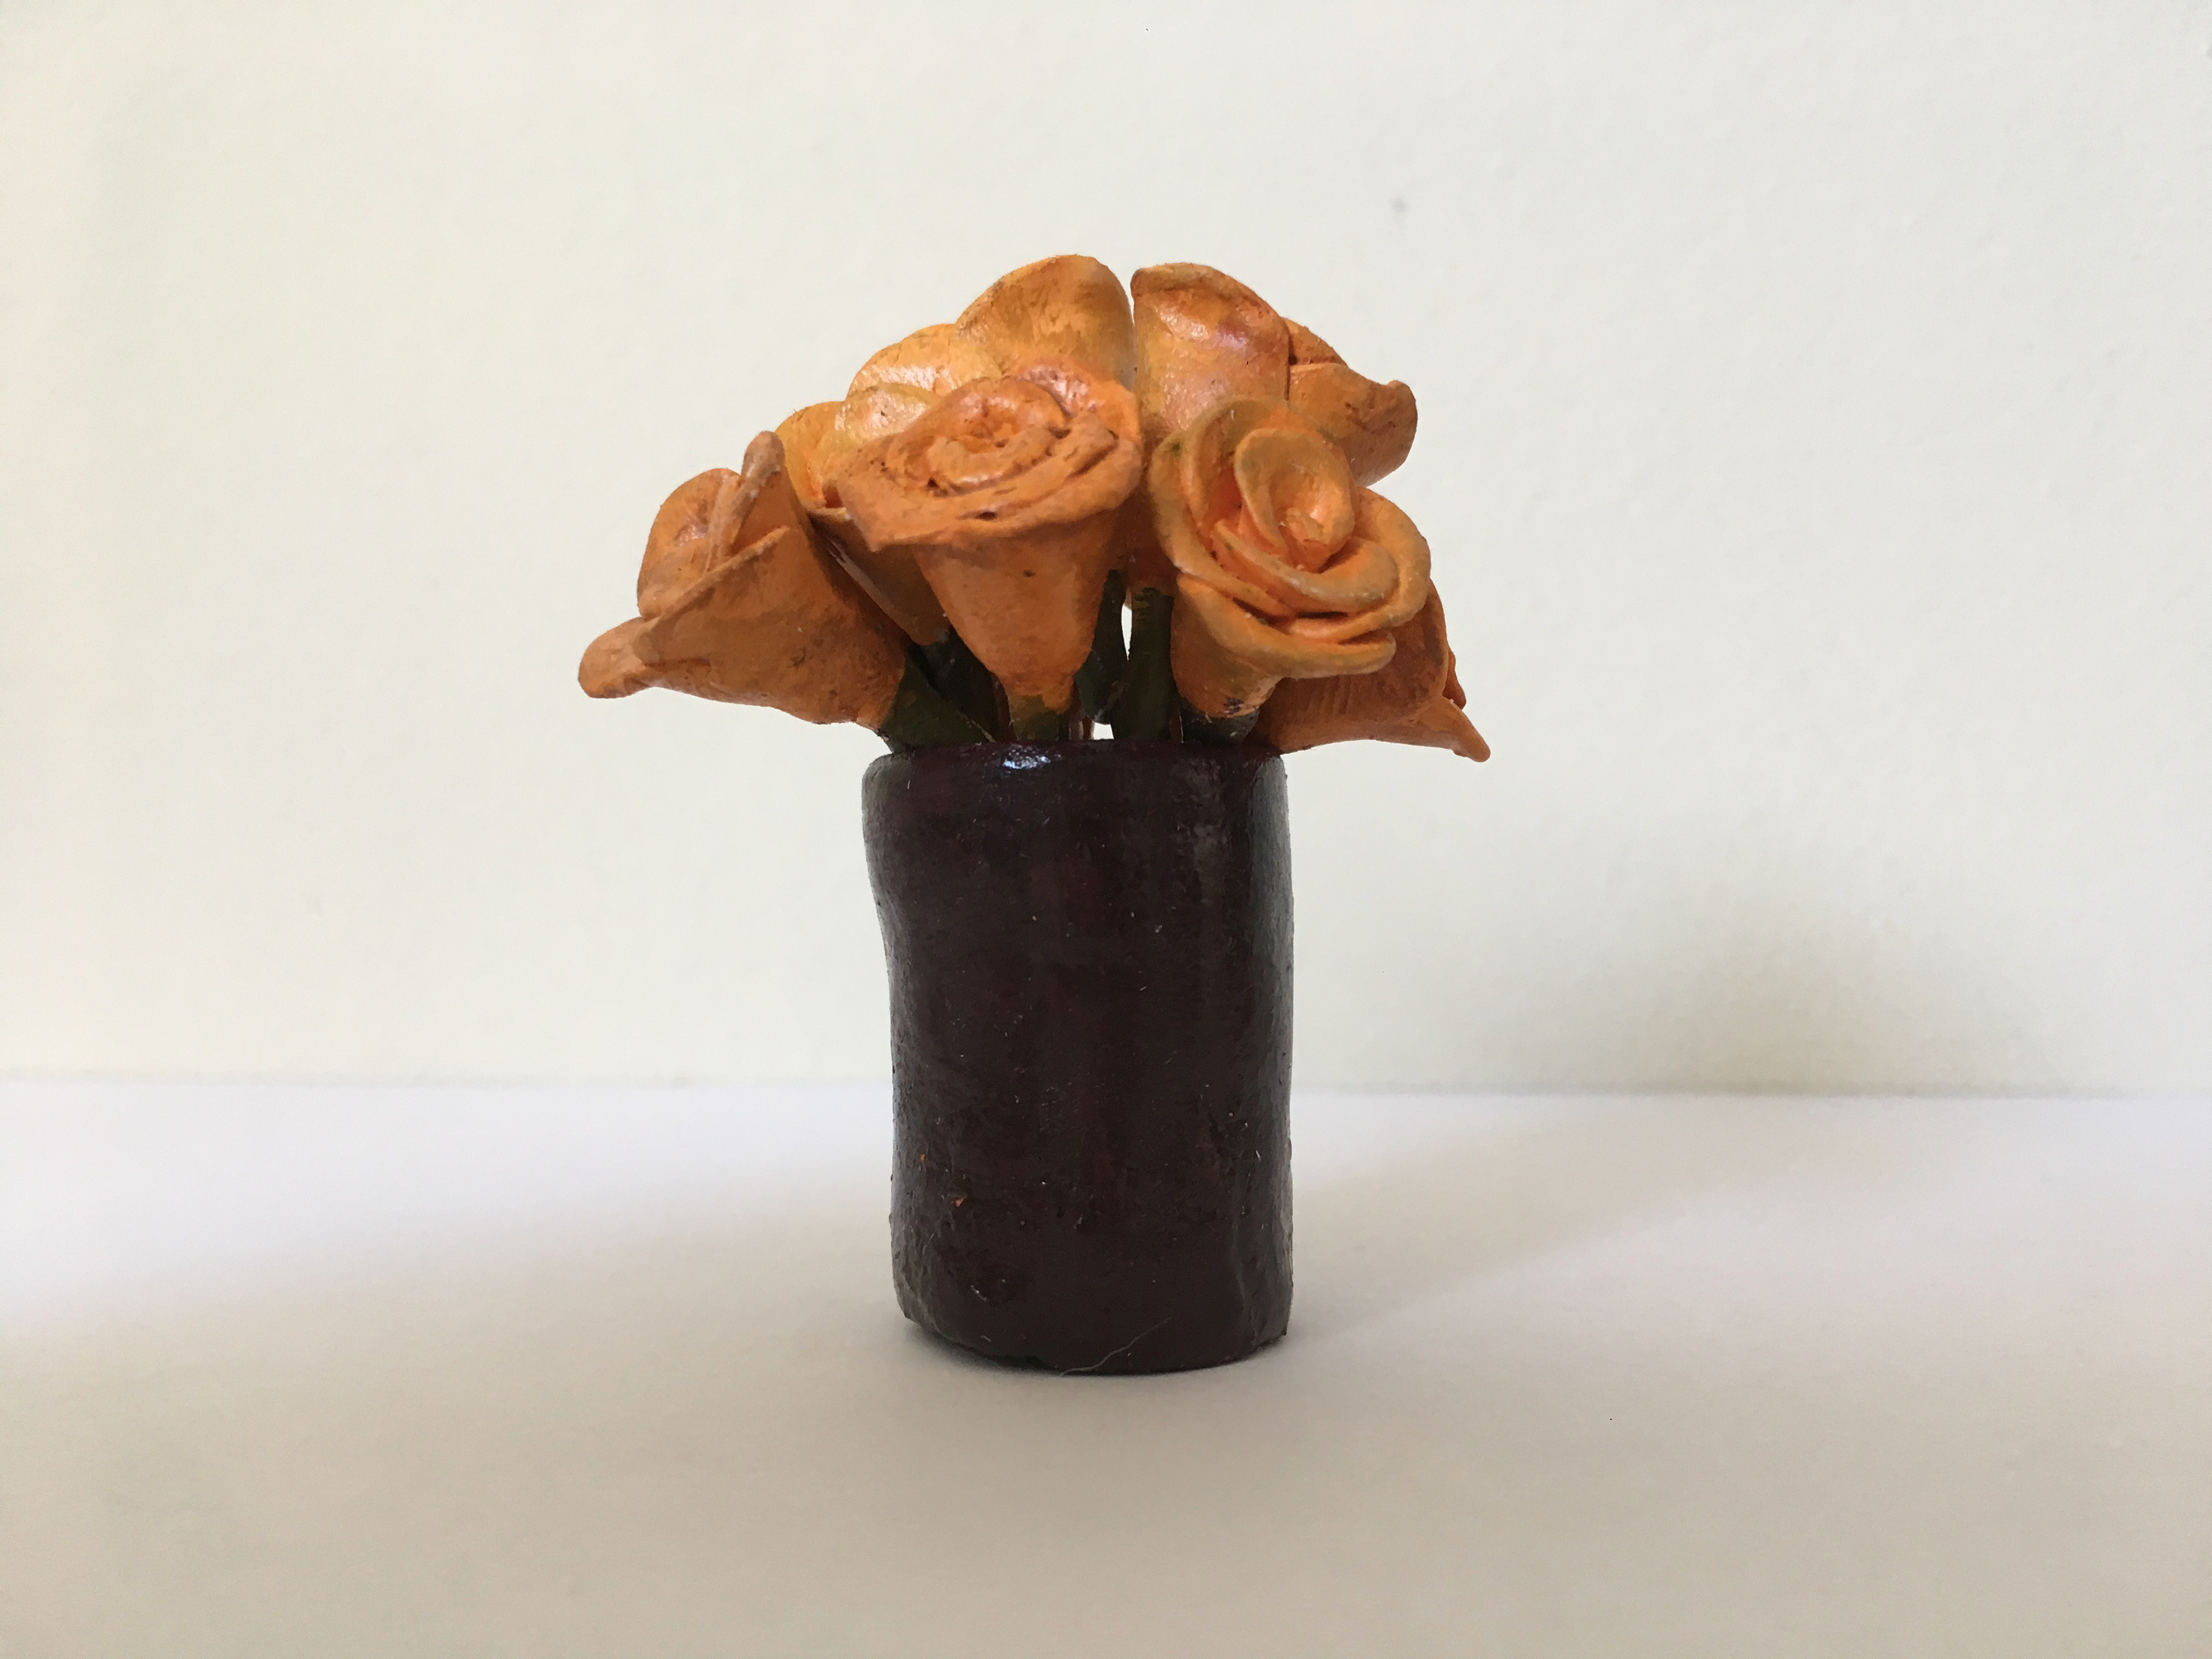
The flowers were sculpted using sculpey oven clay and aluminium wire was used for the flower stems.
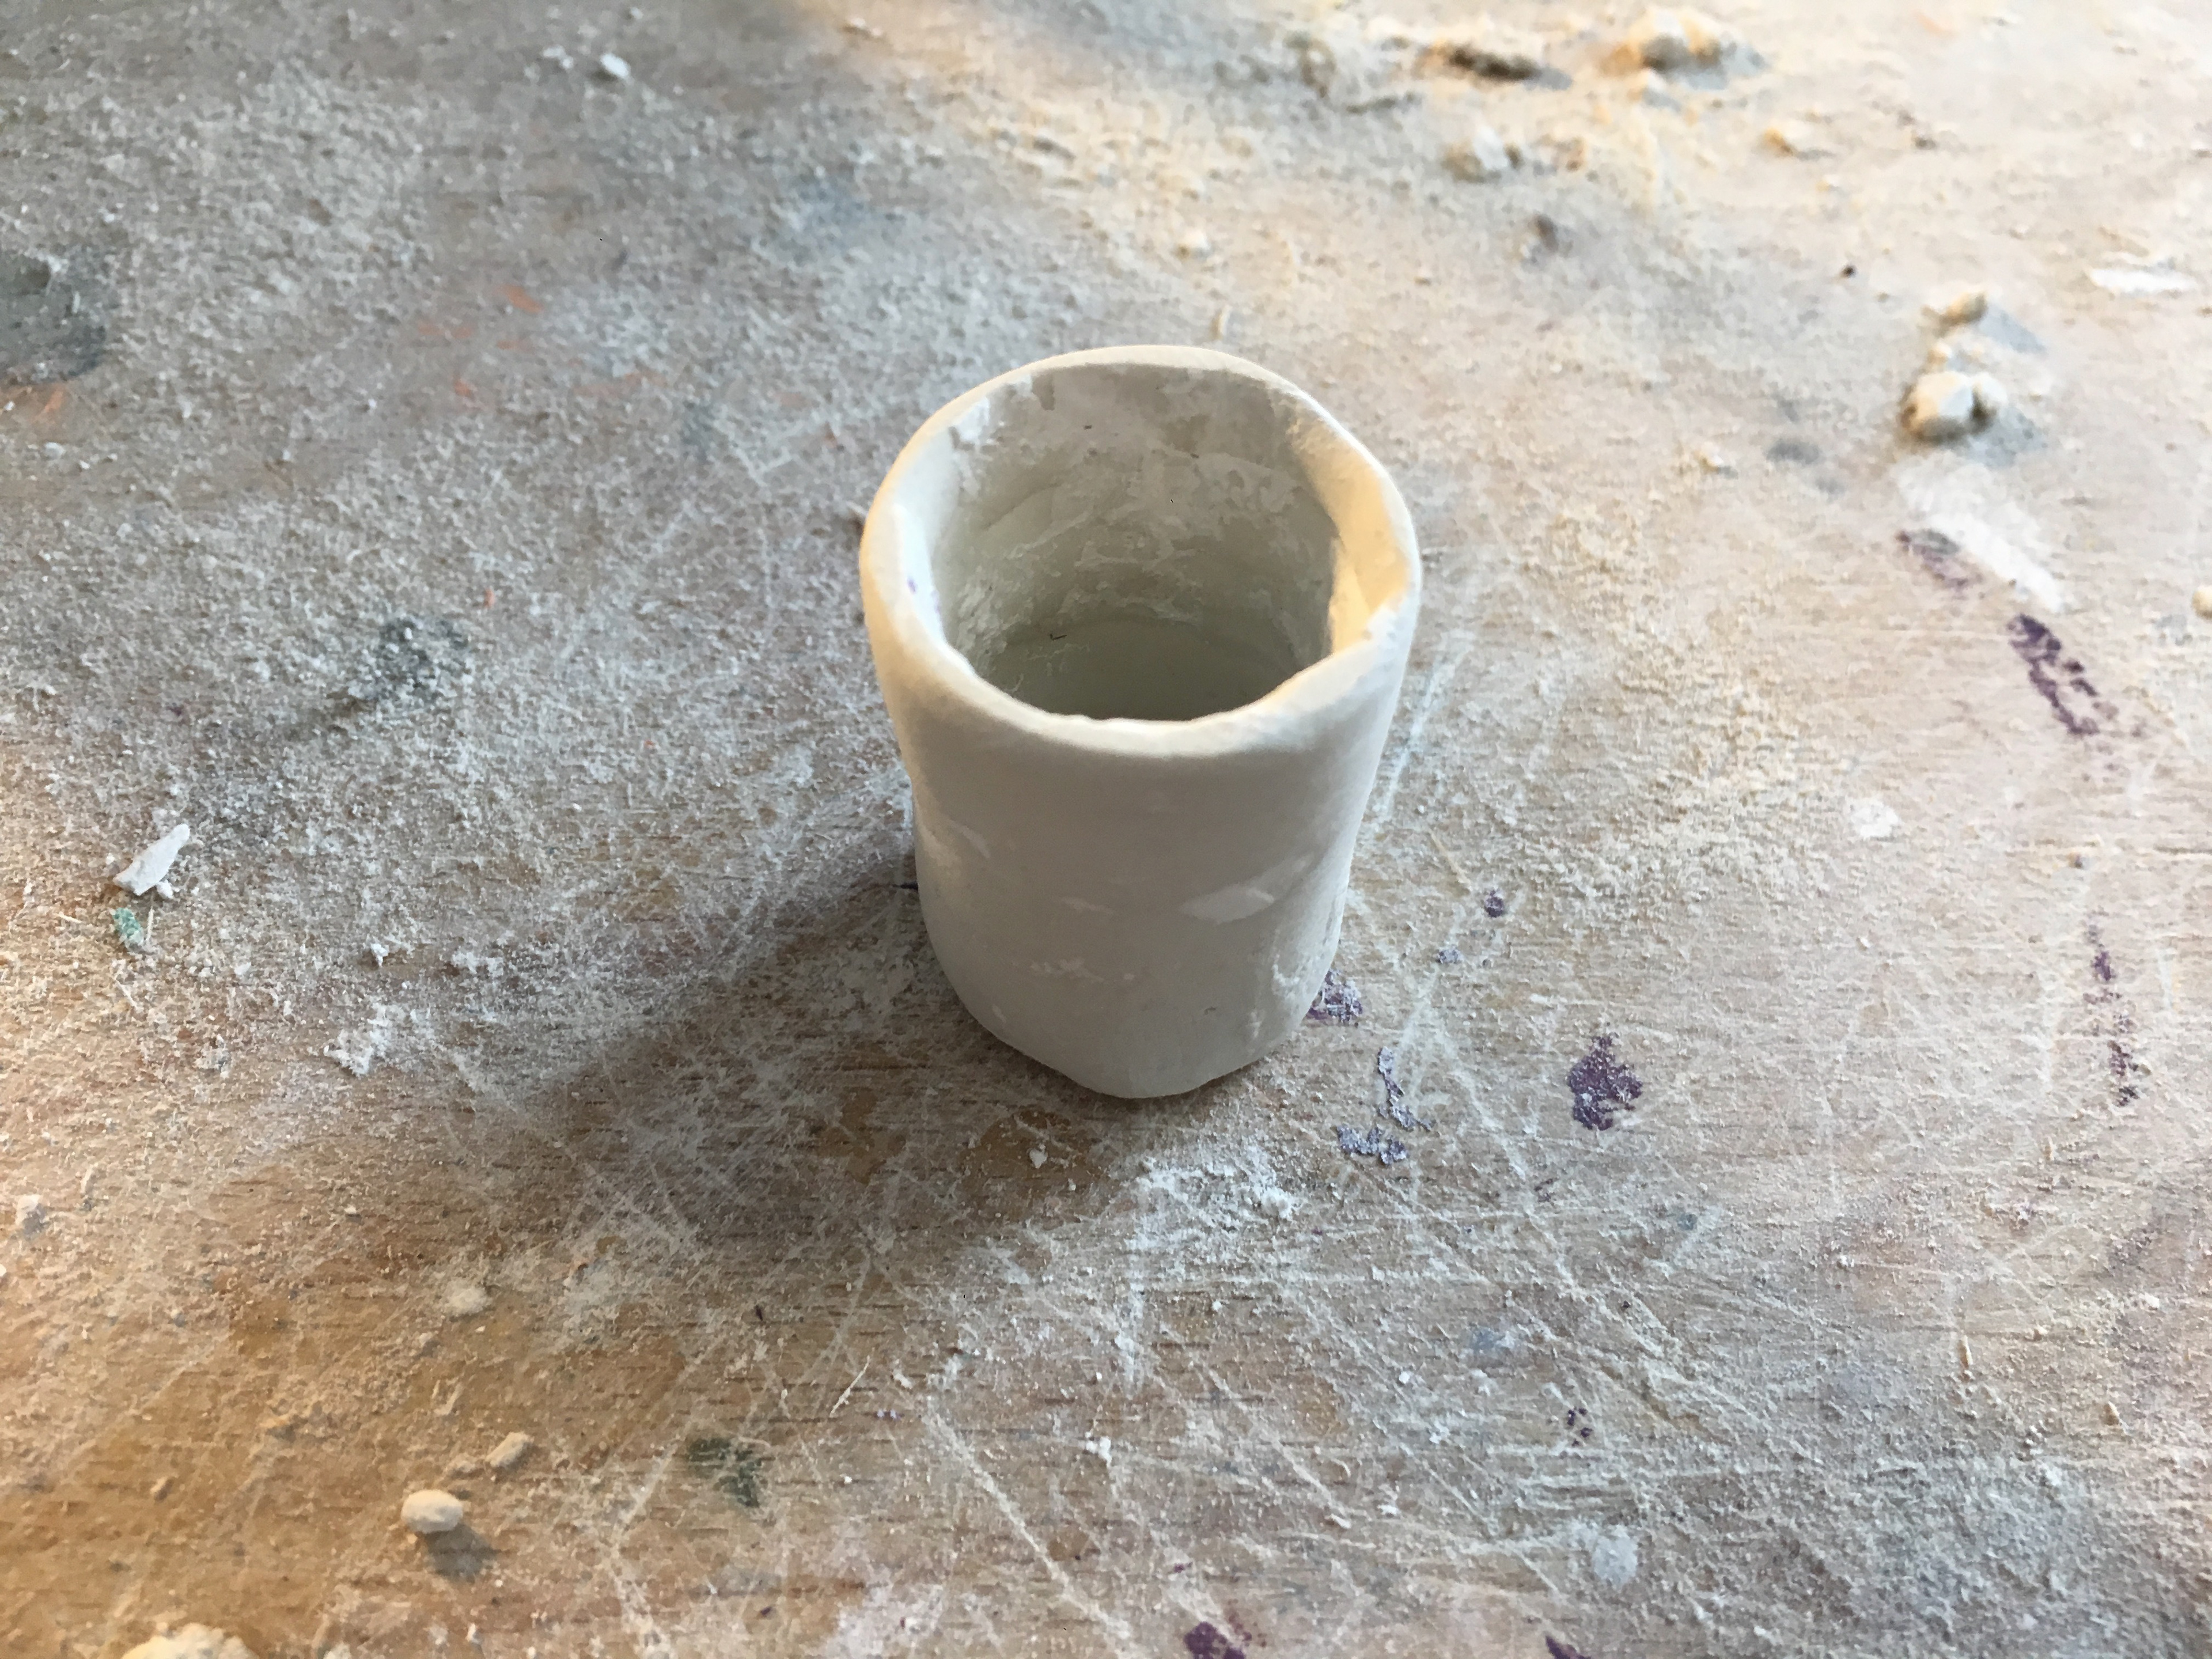
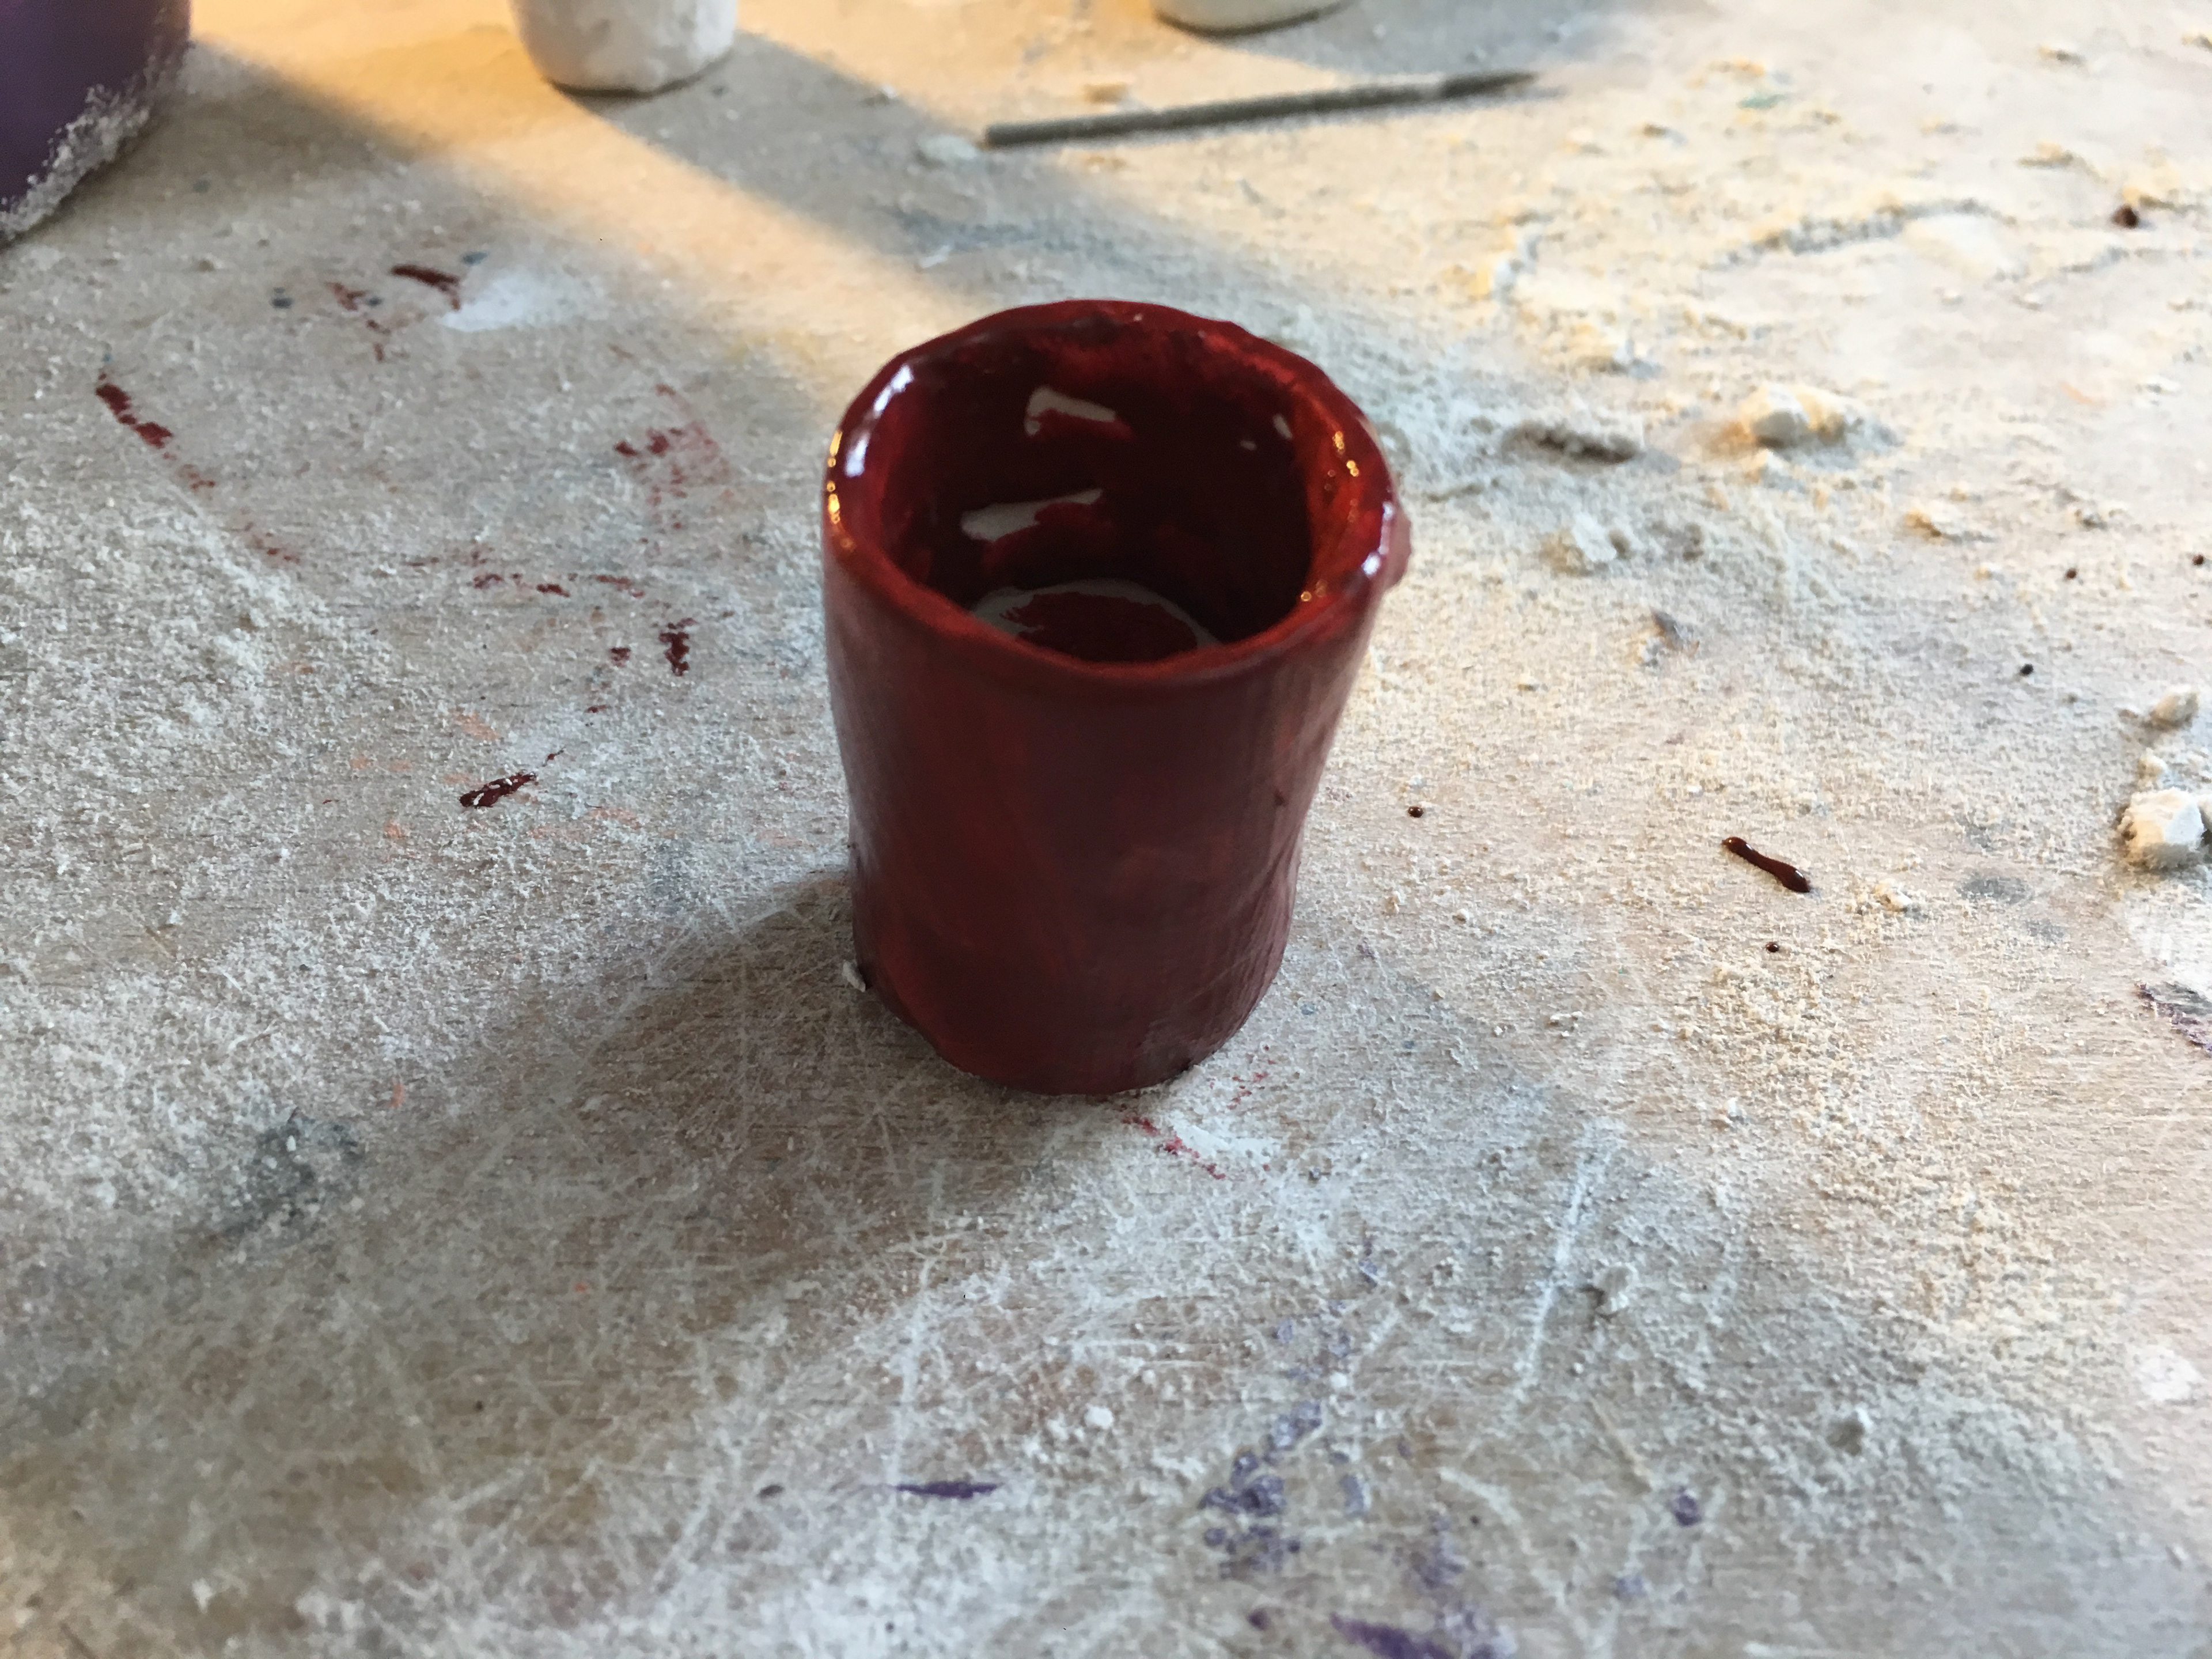
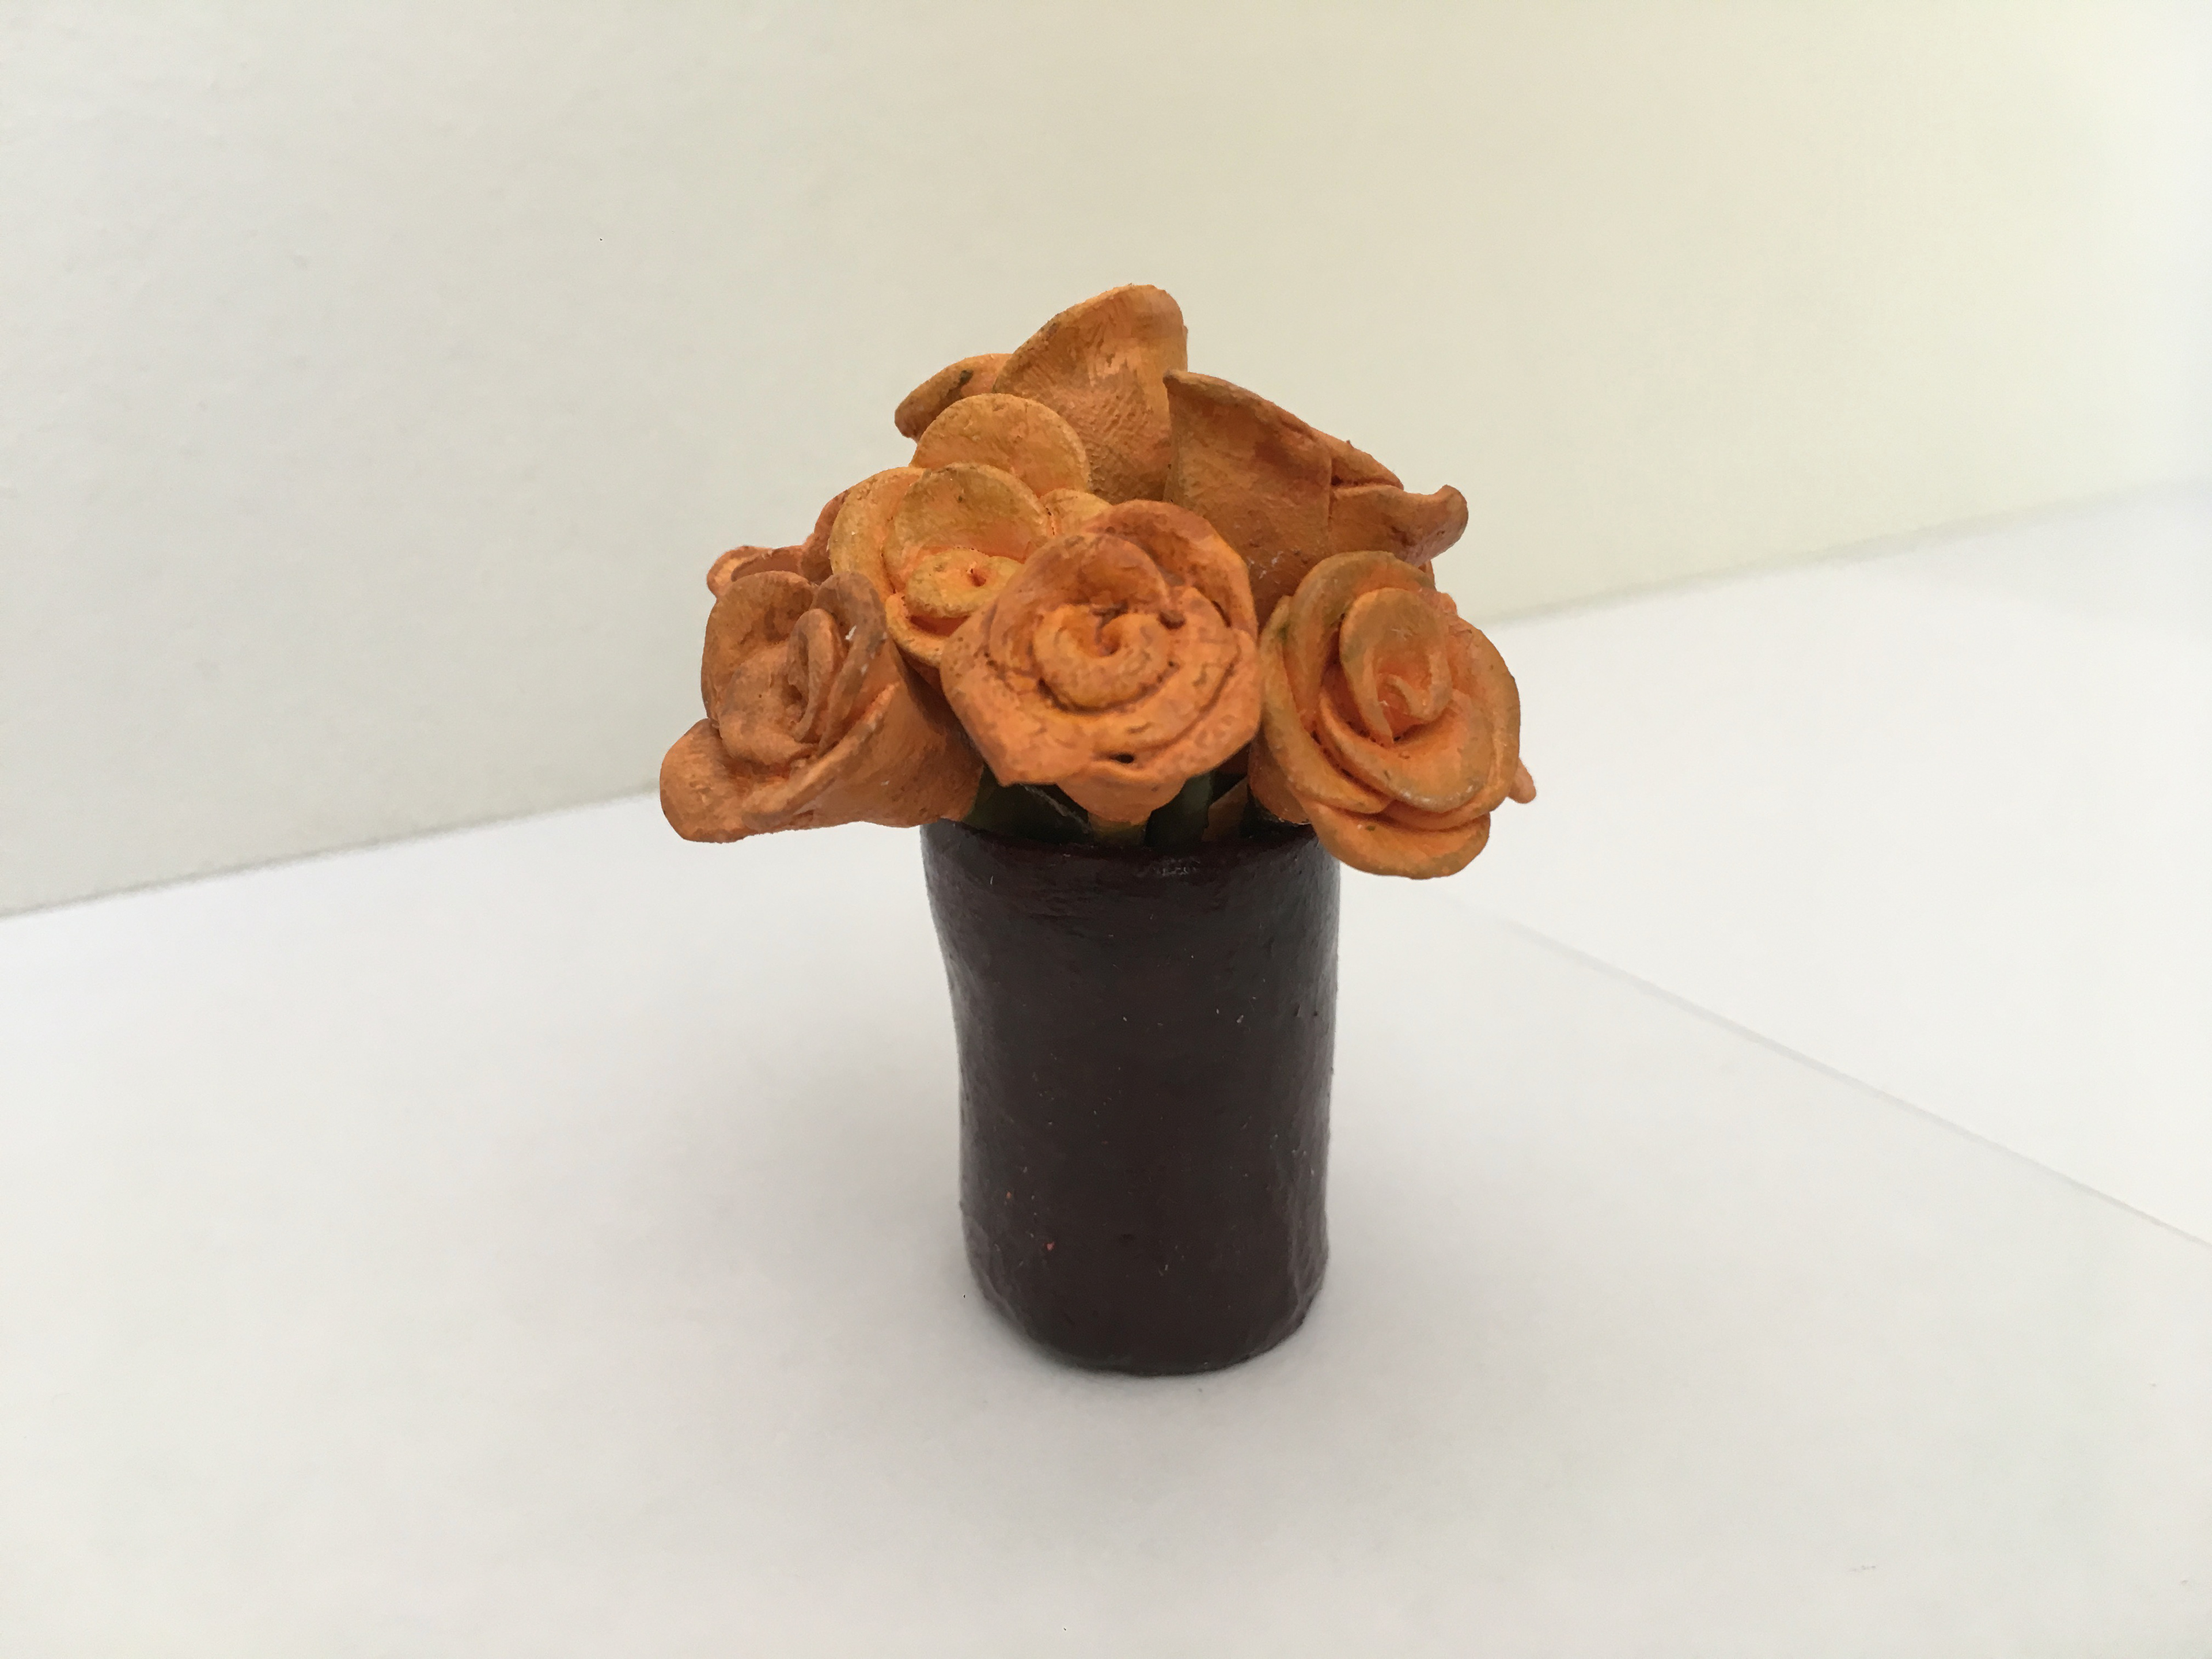
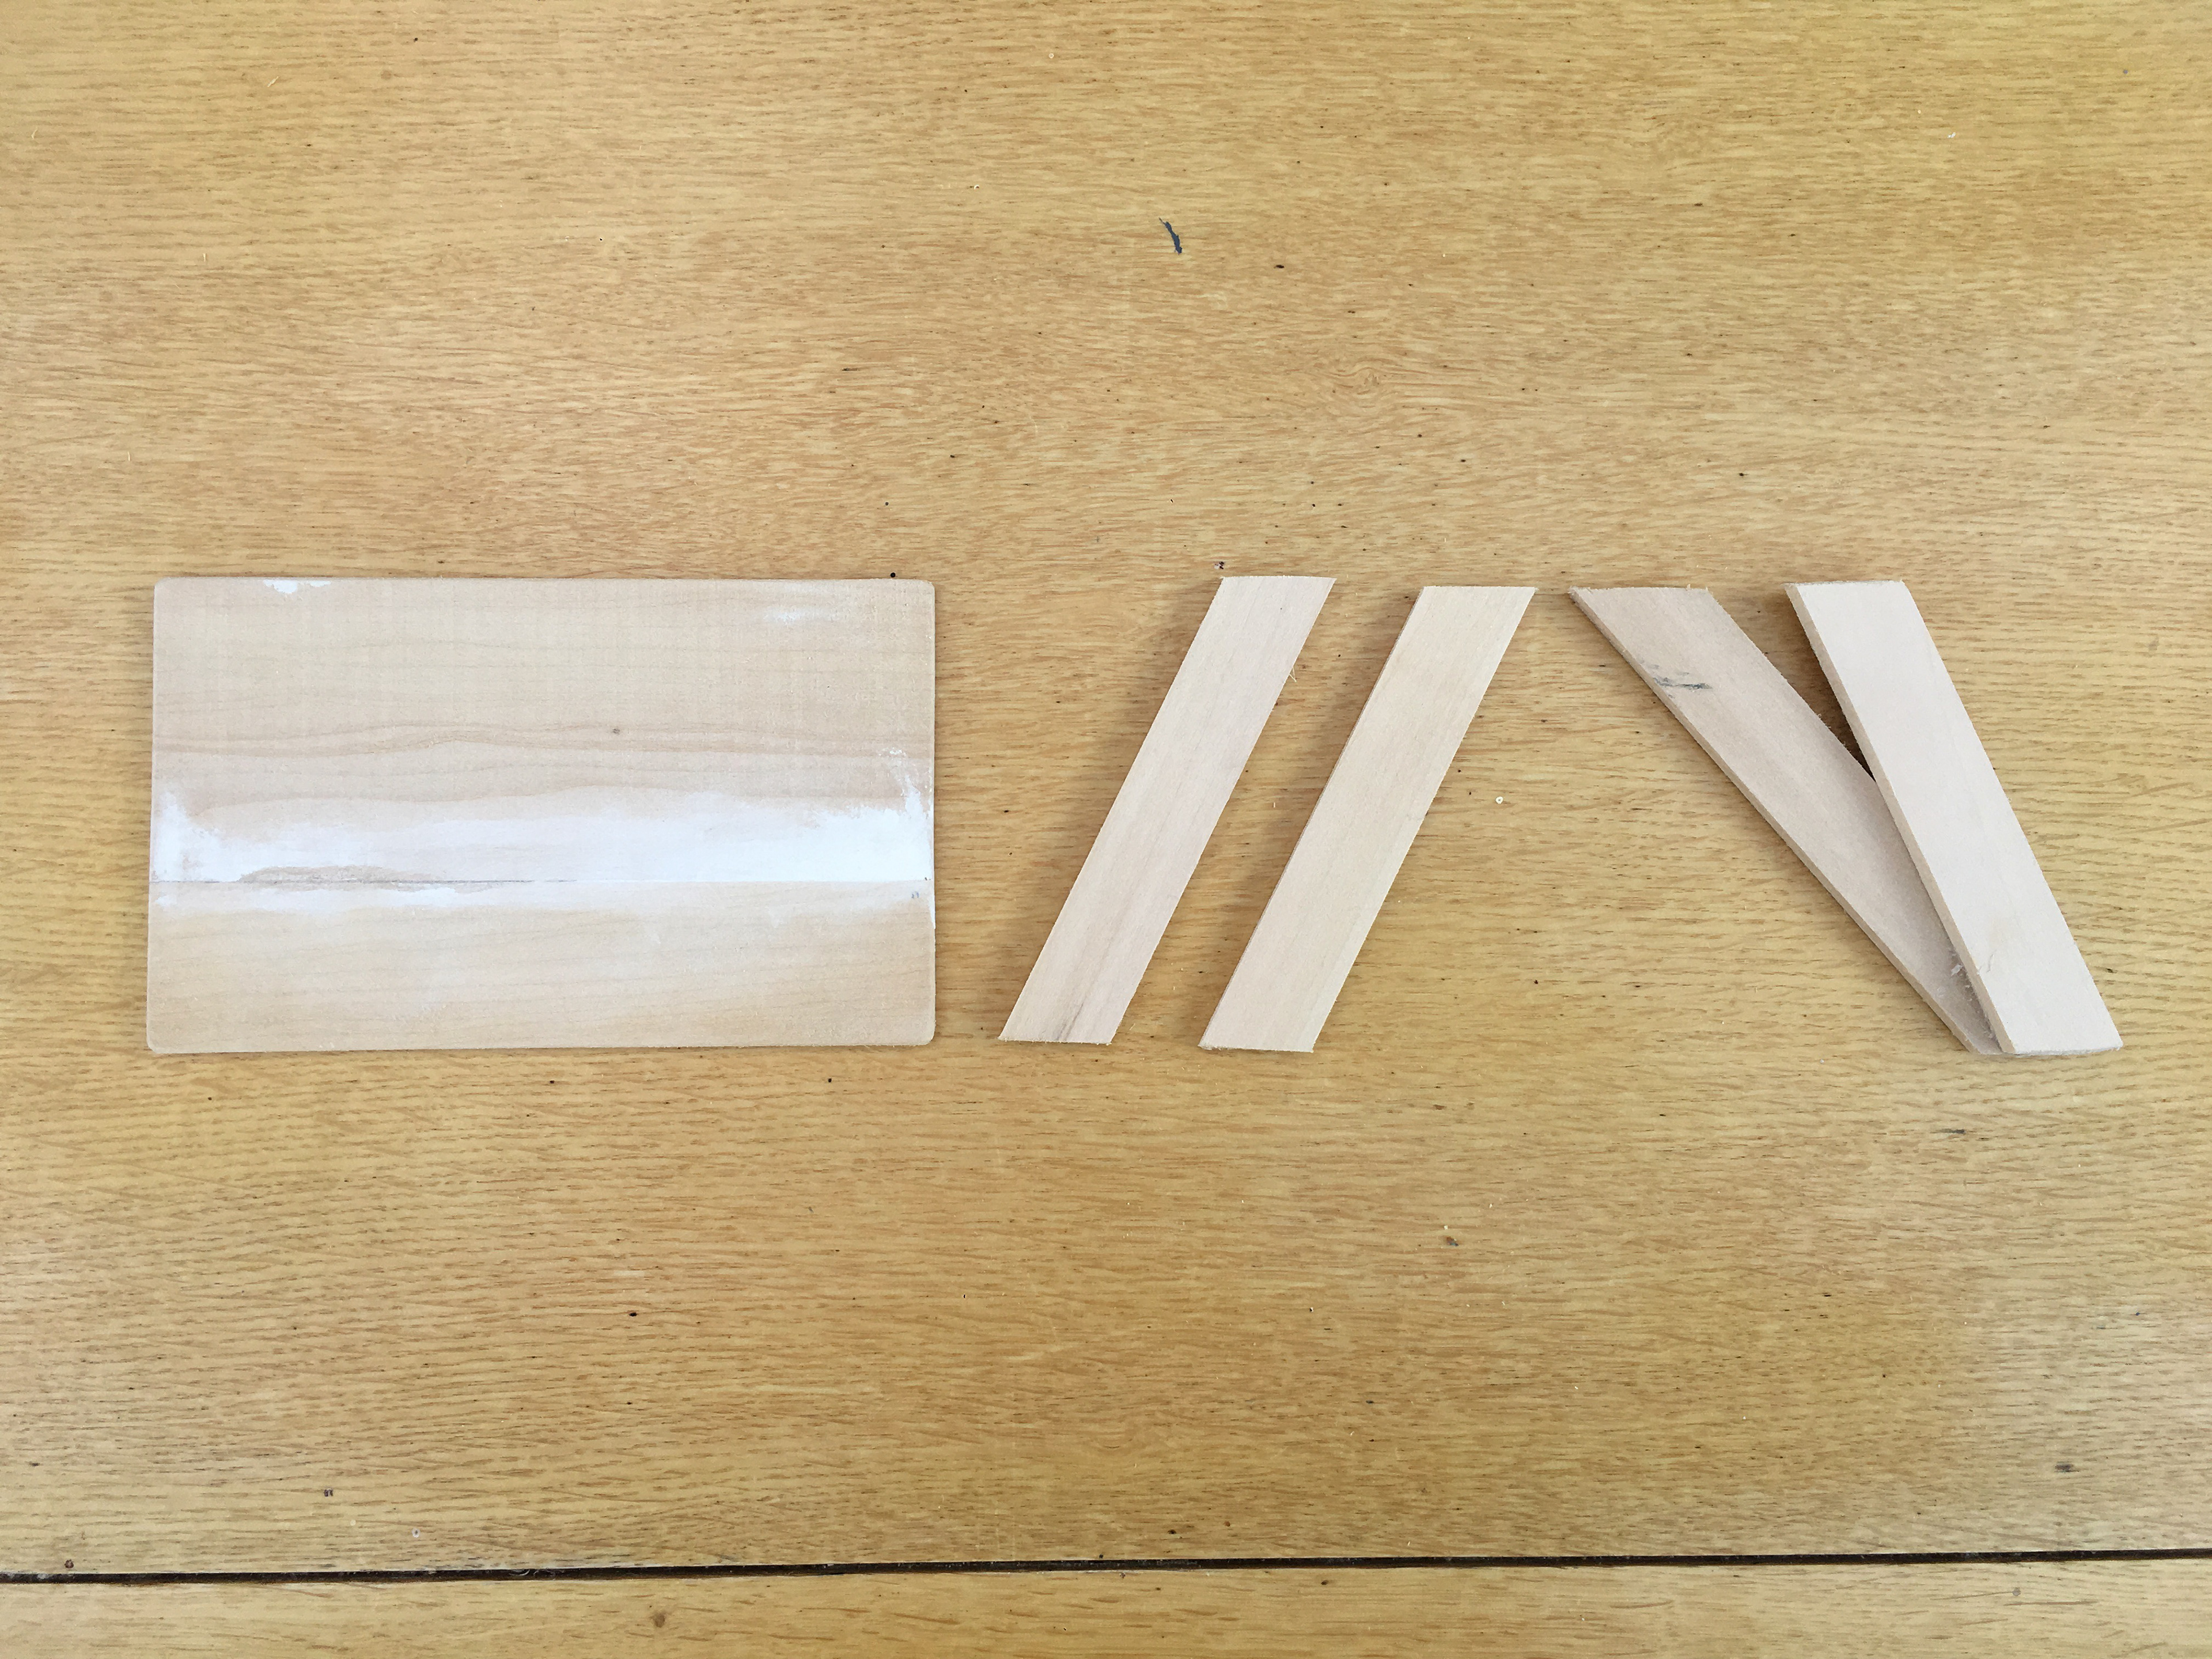
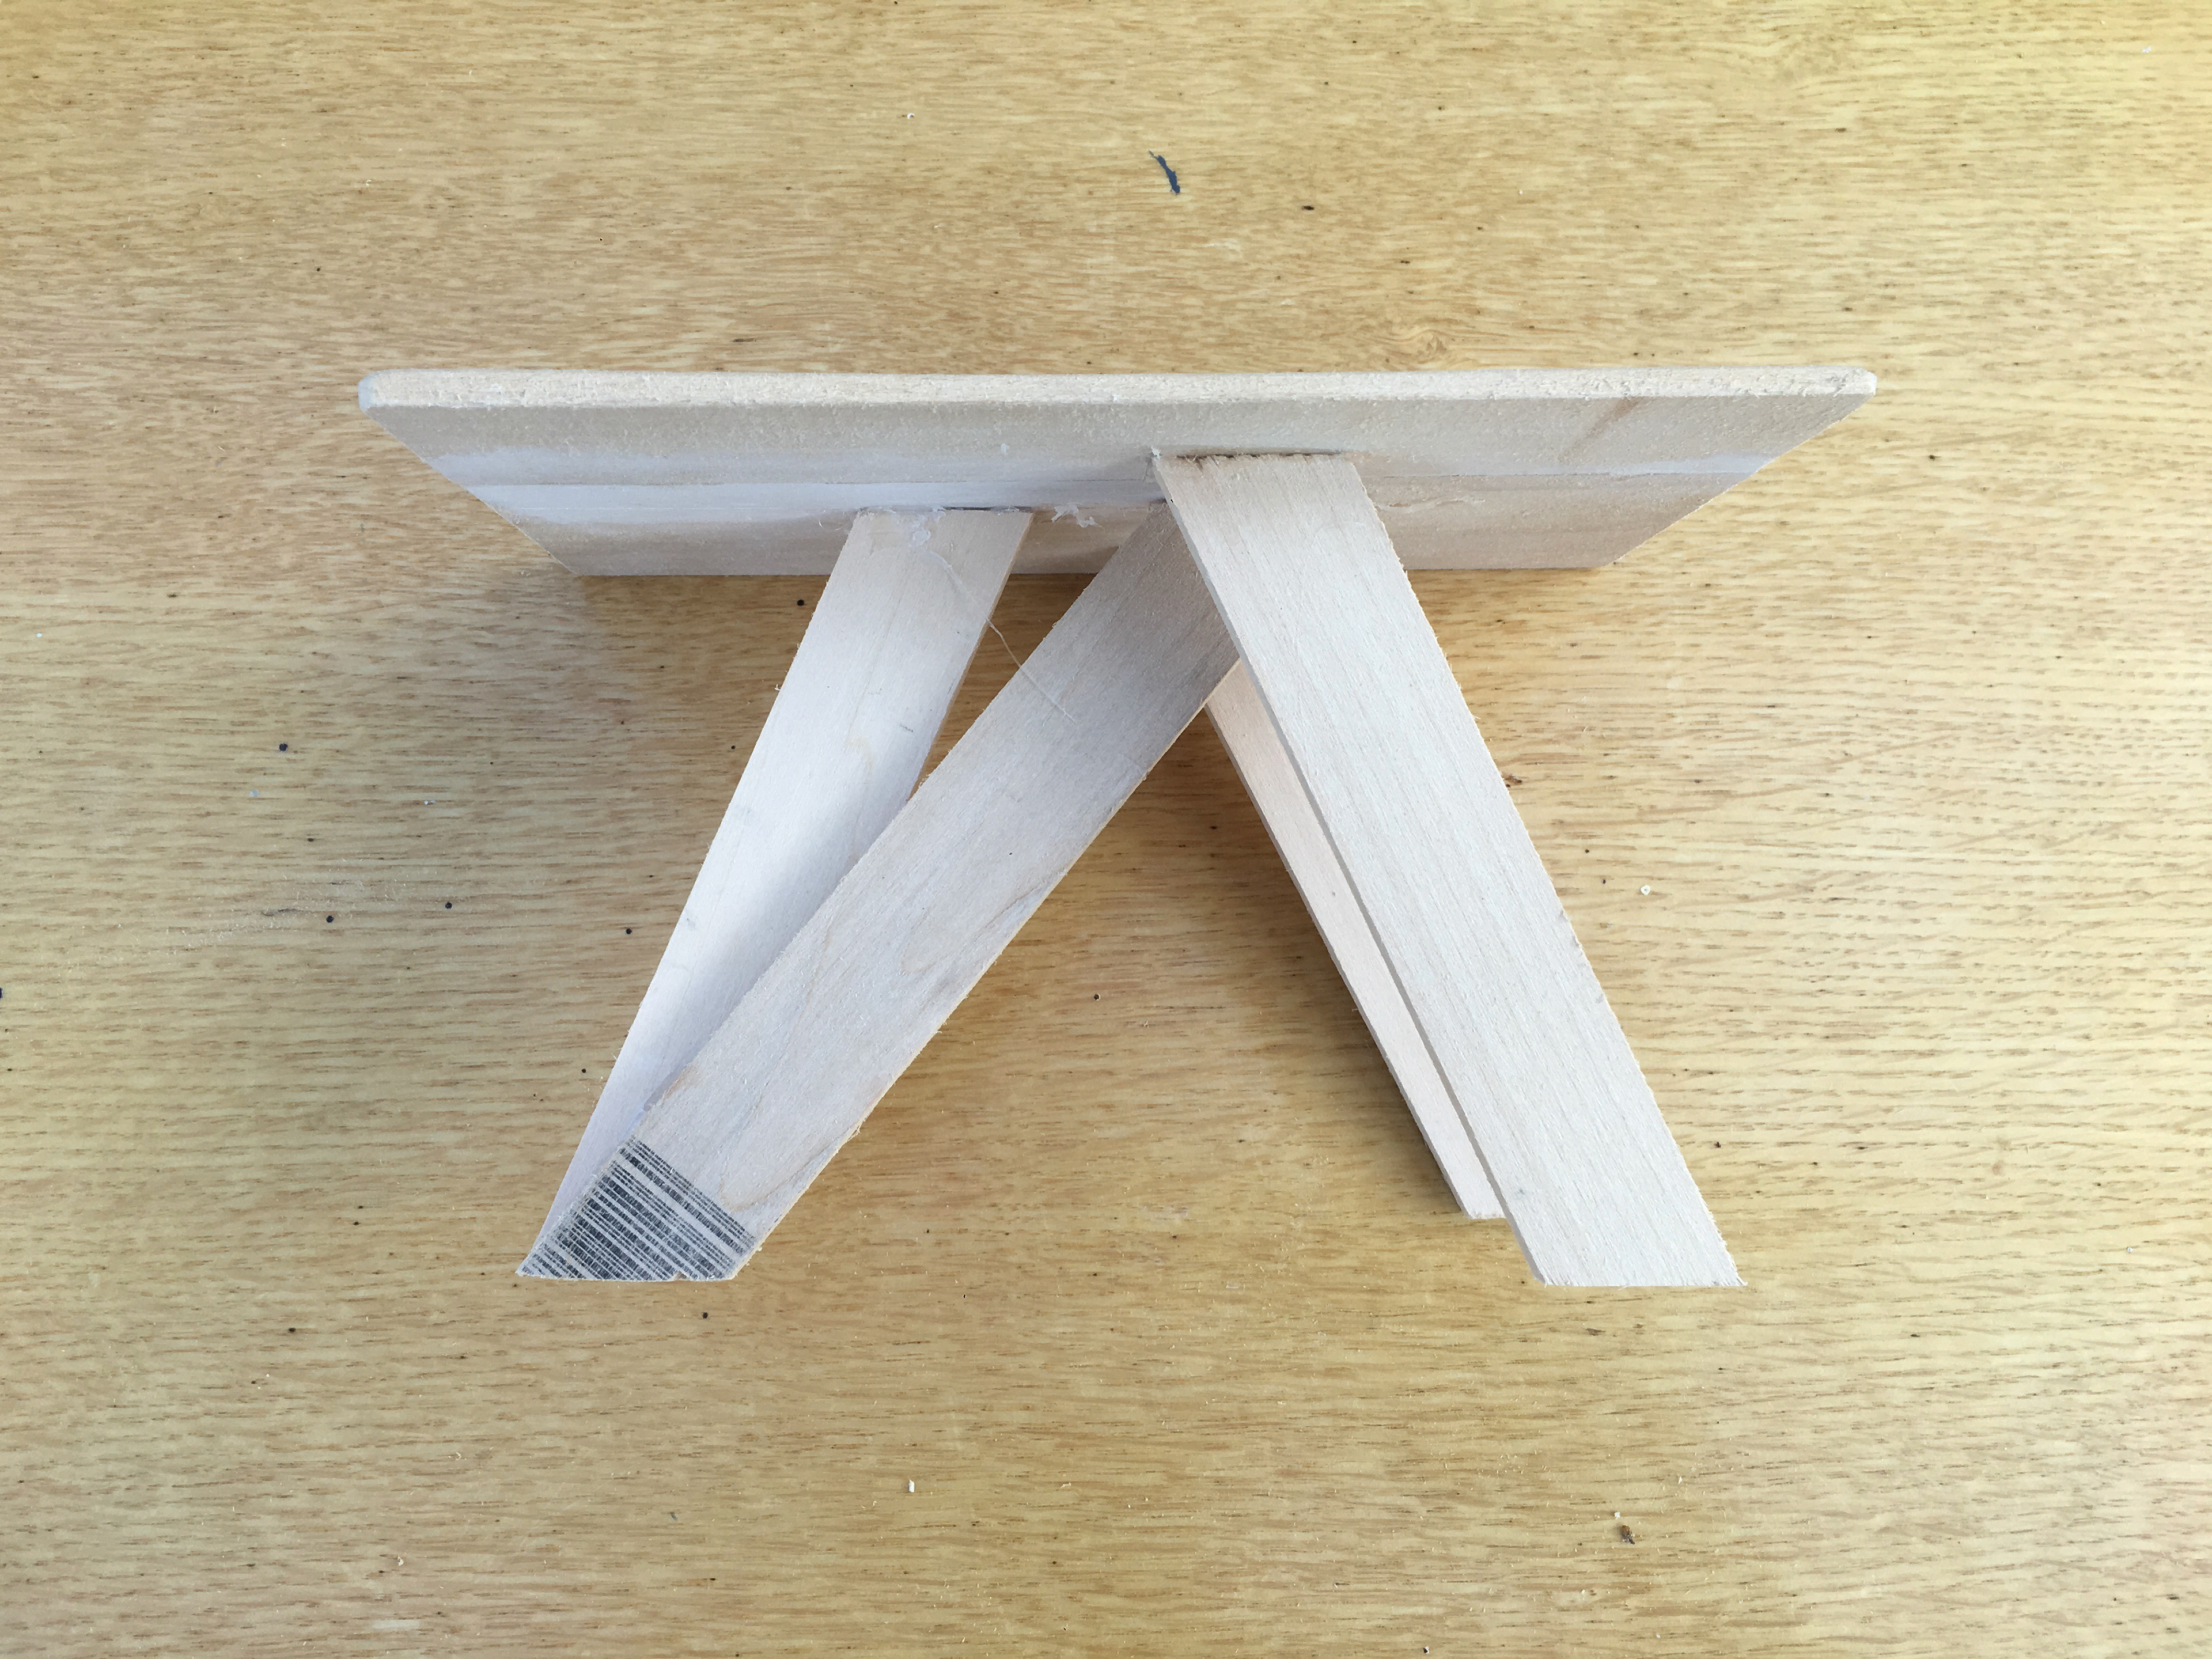
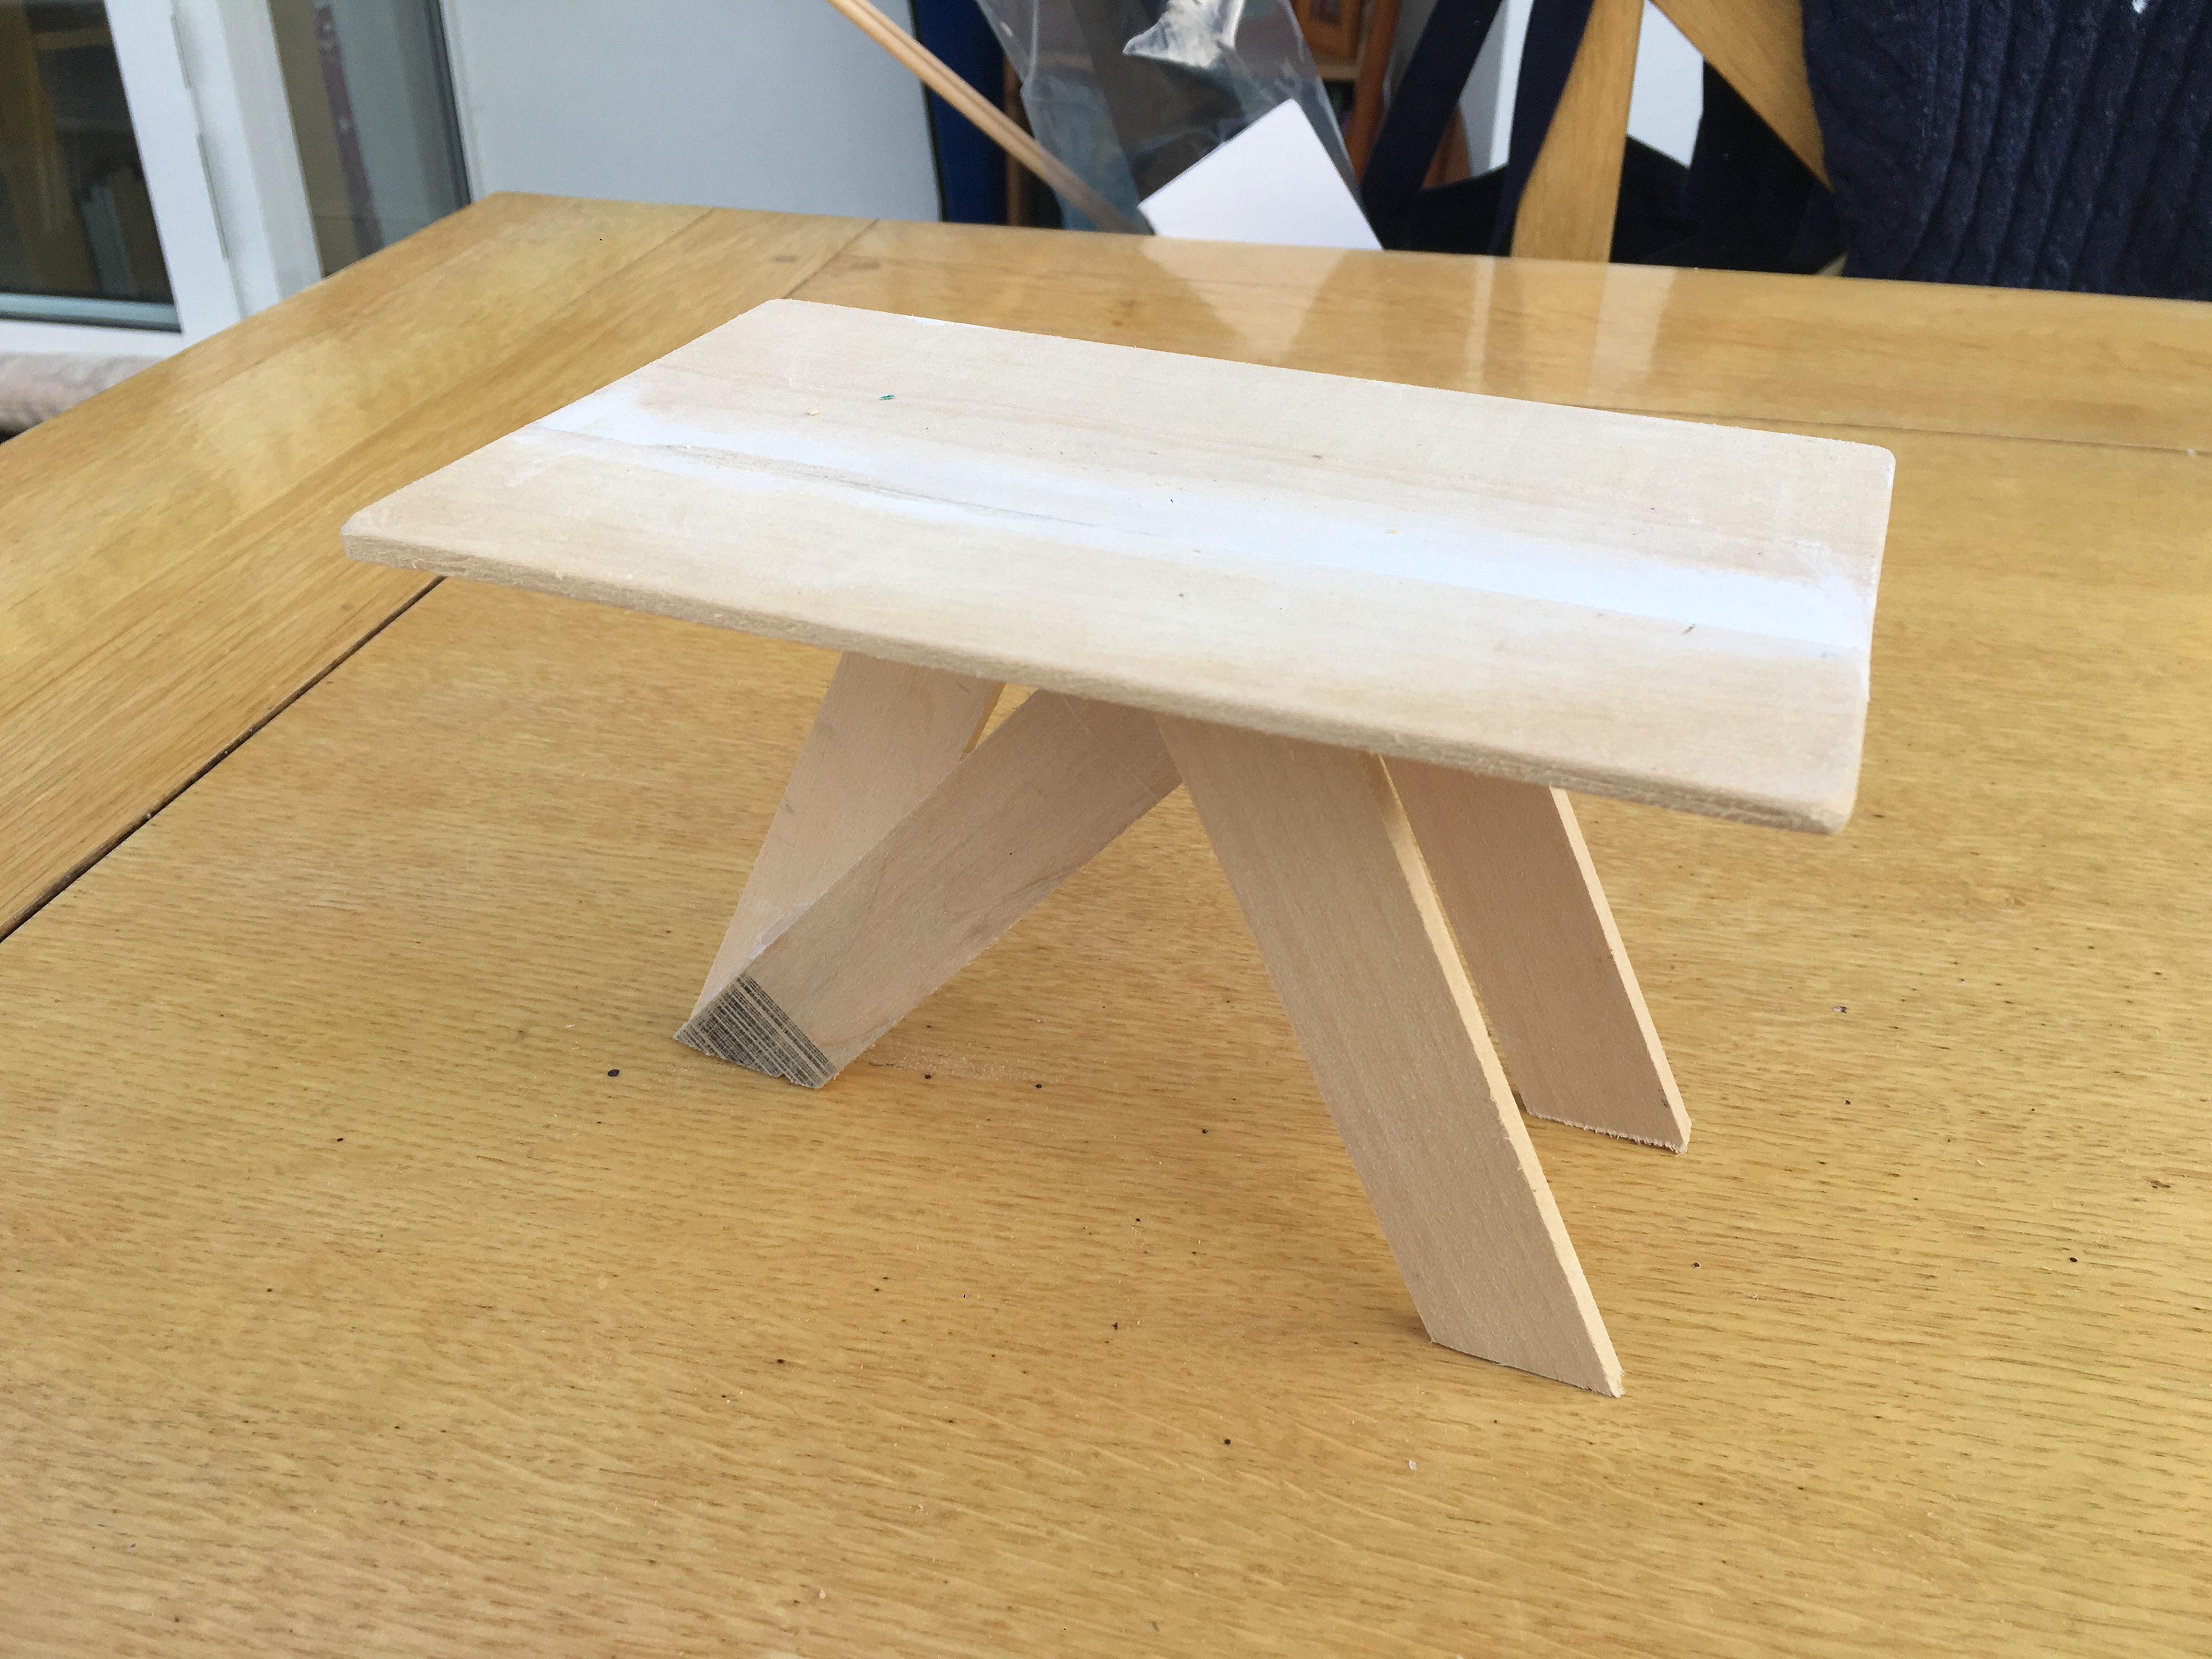
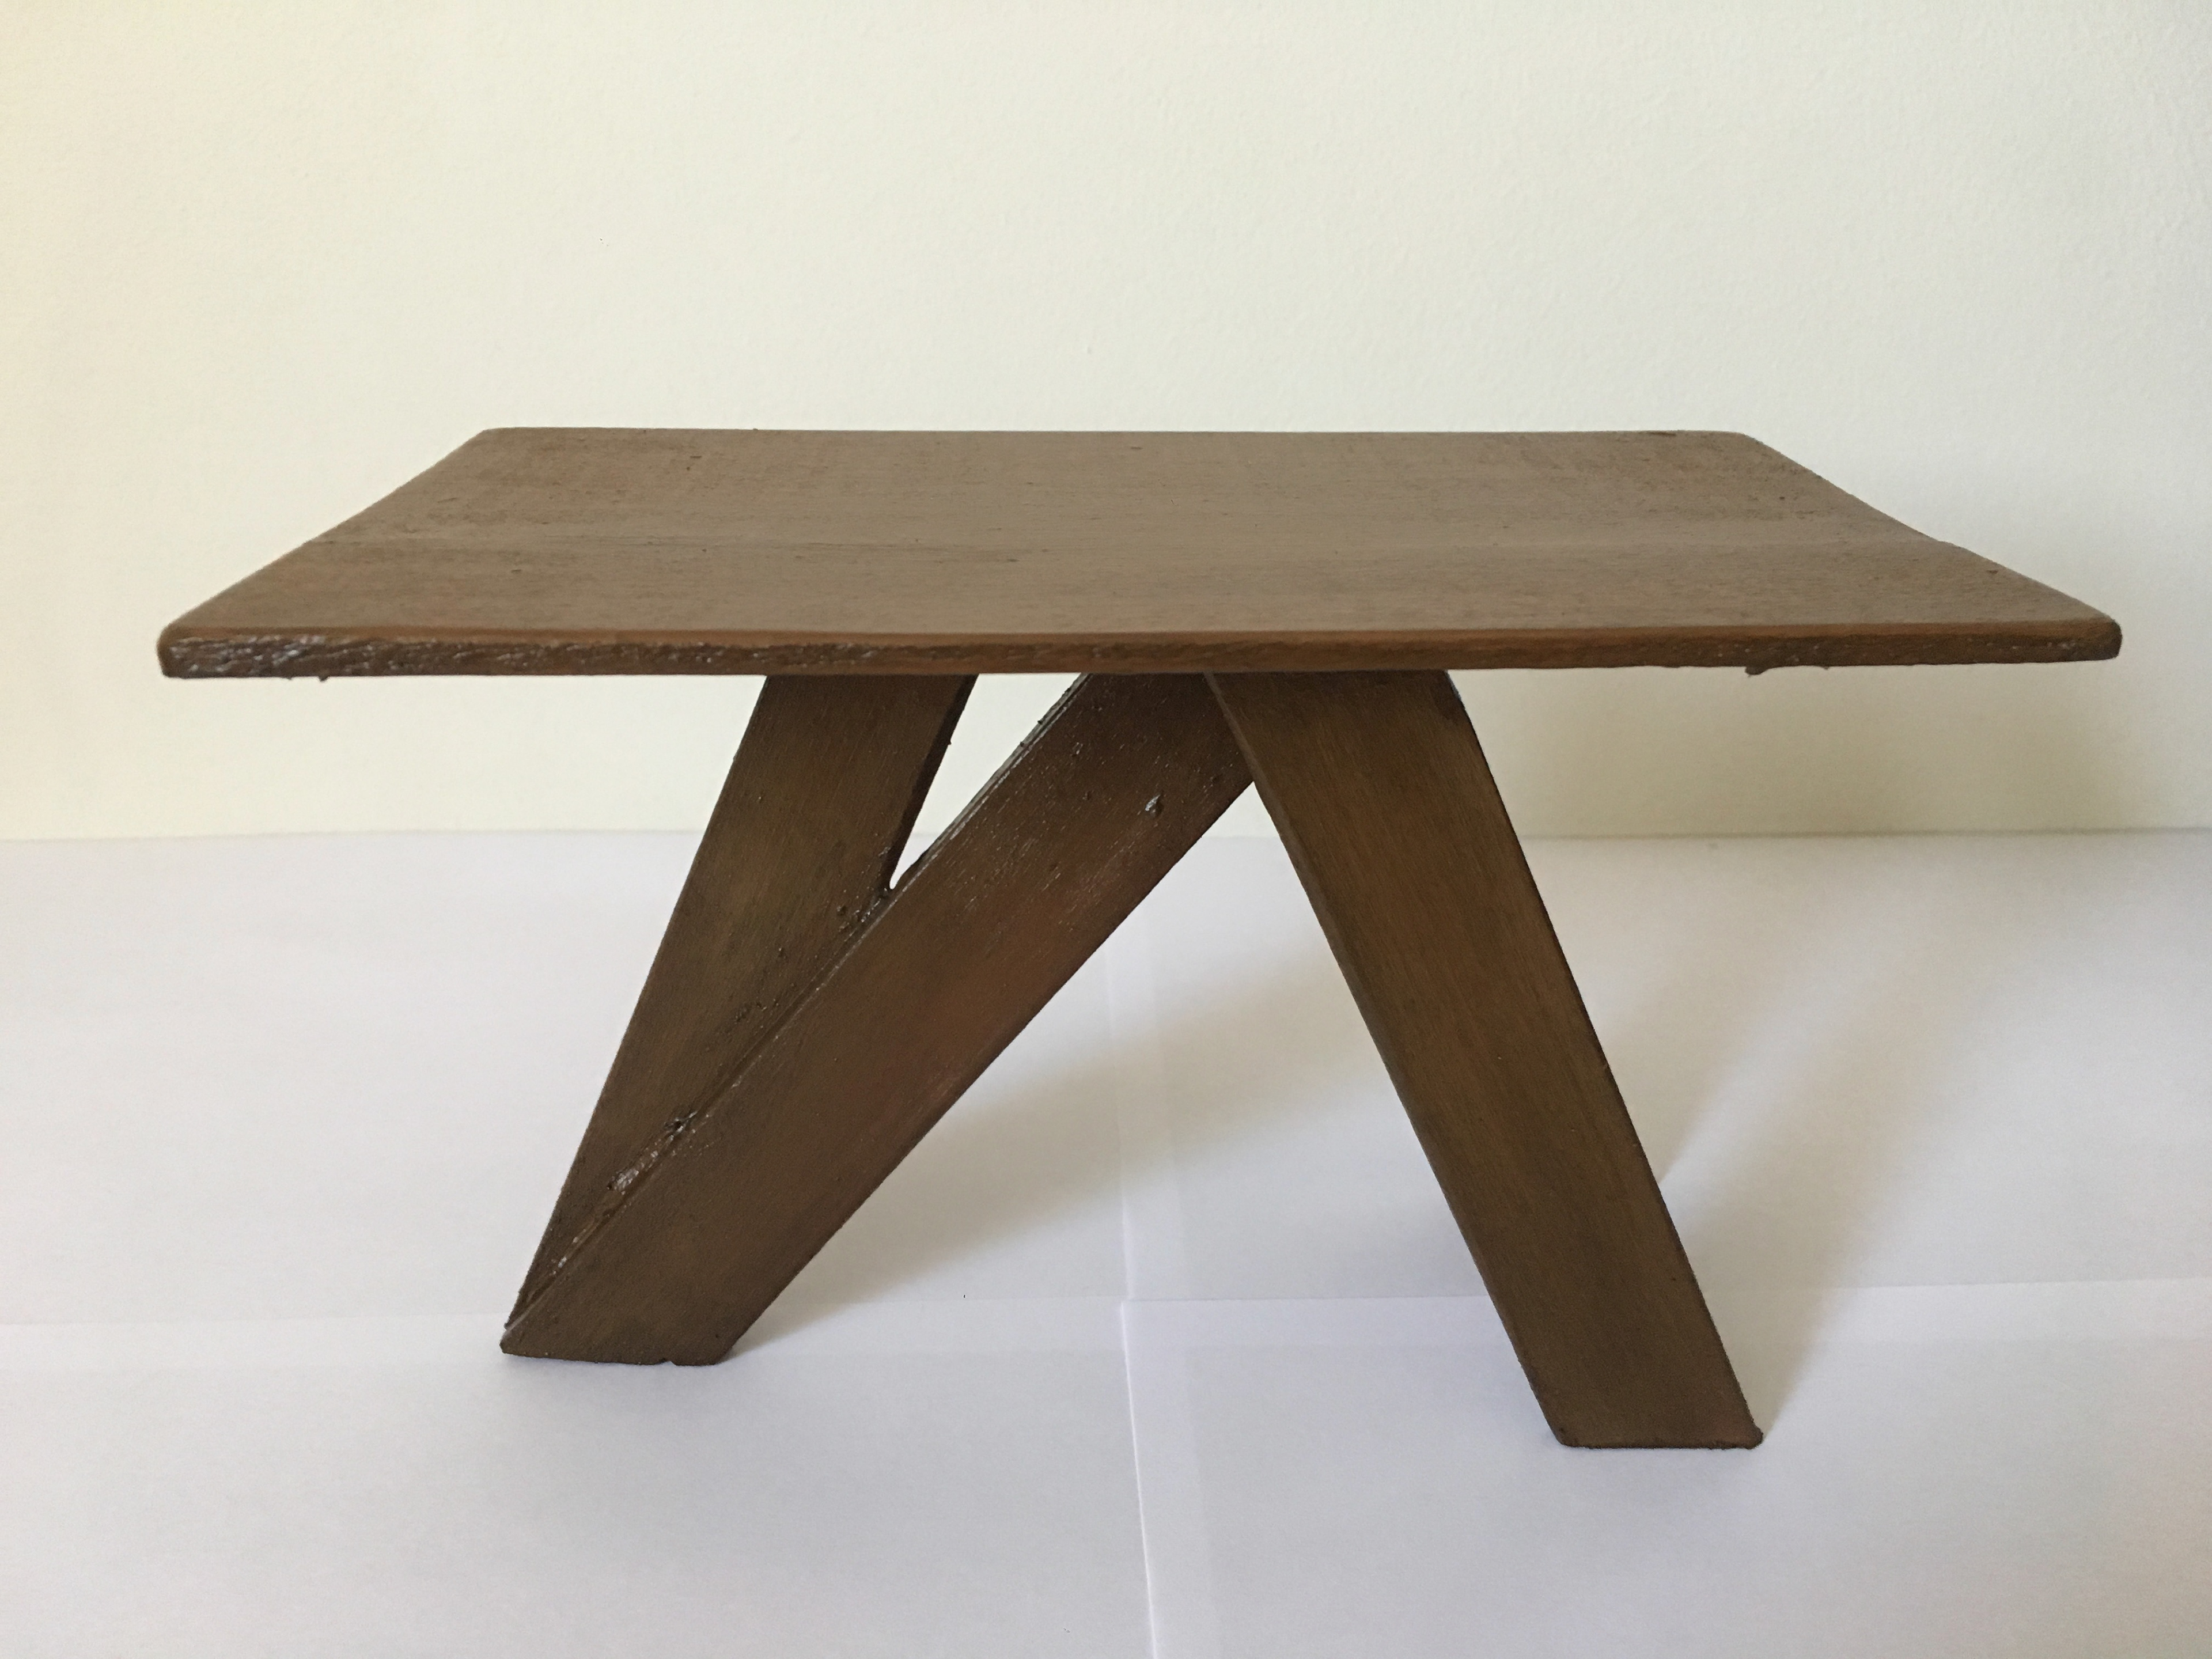
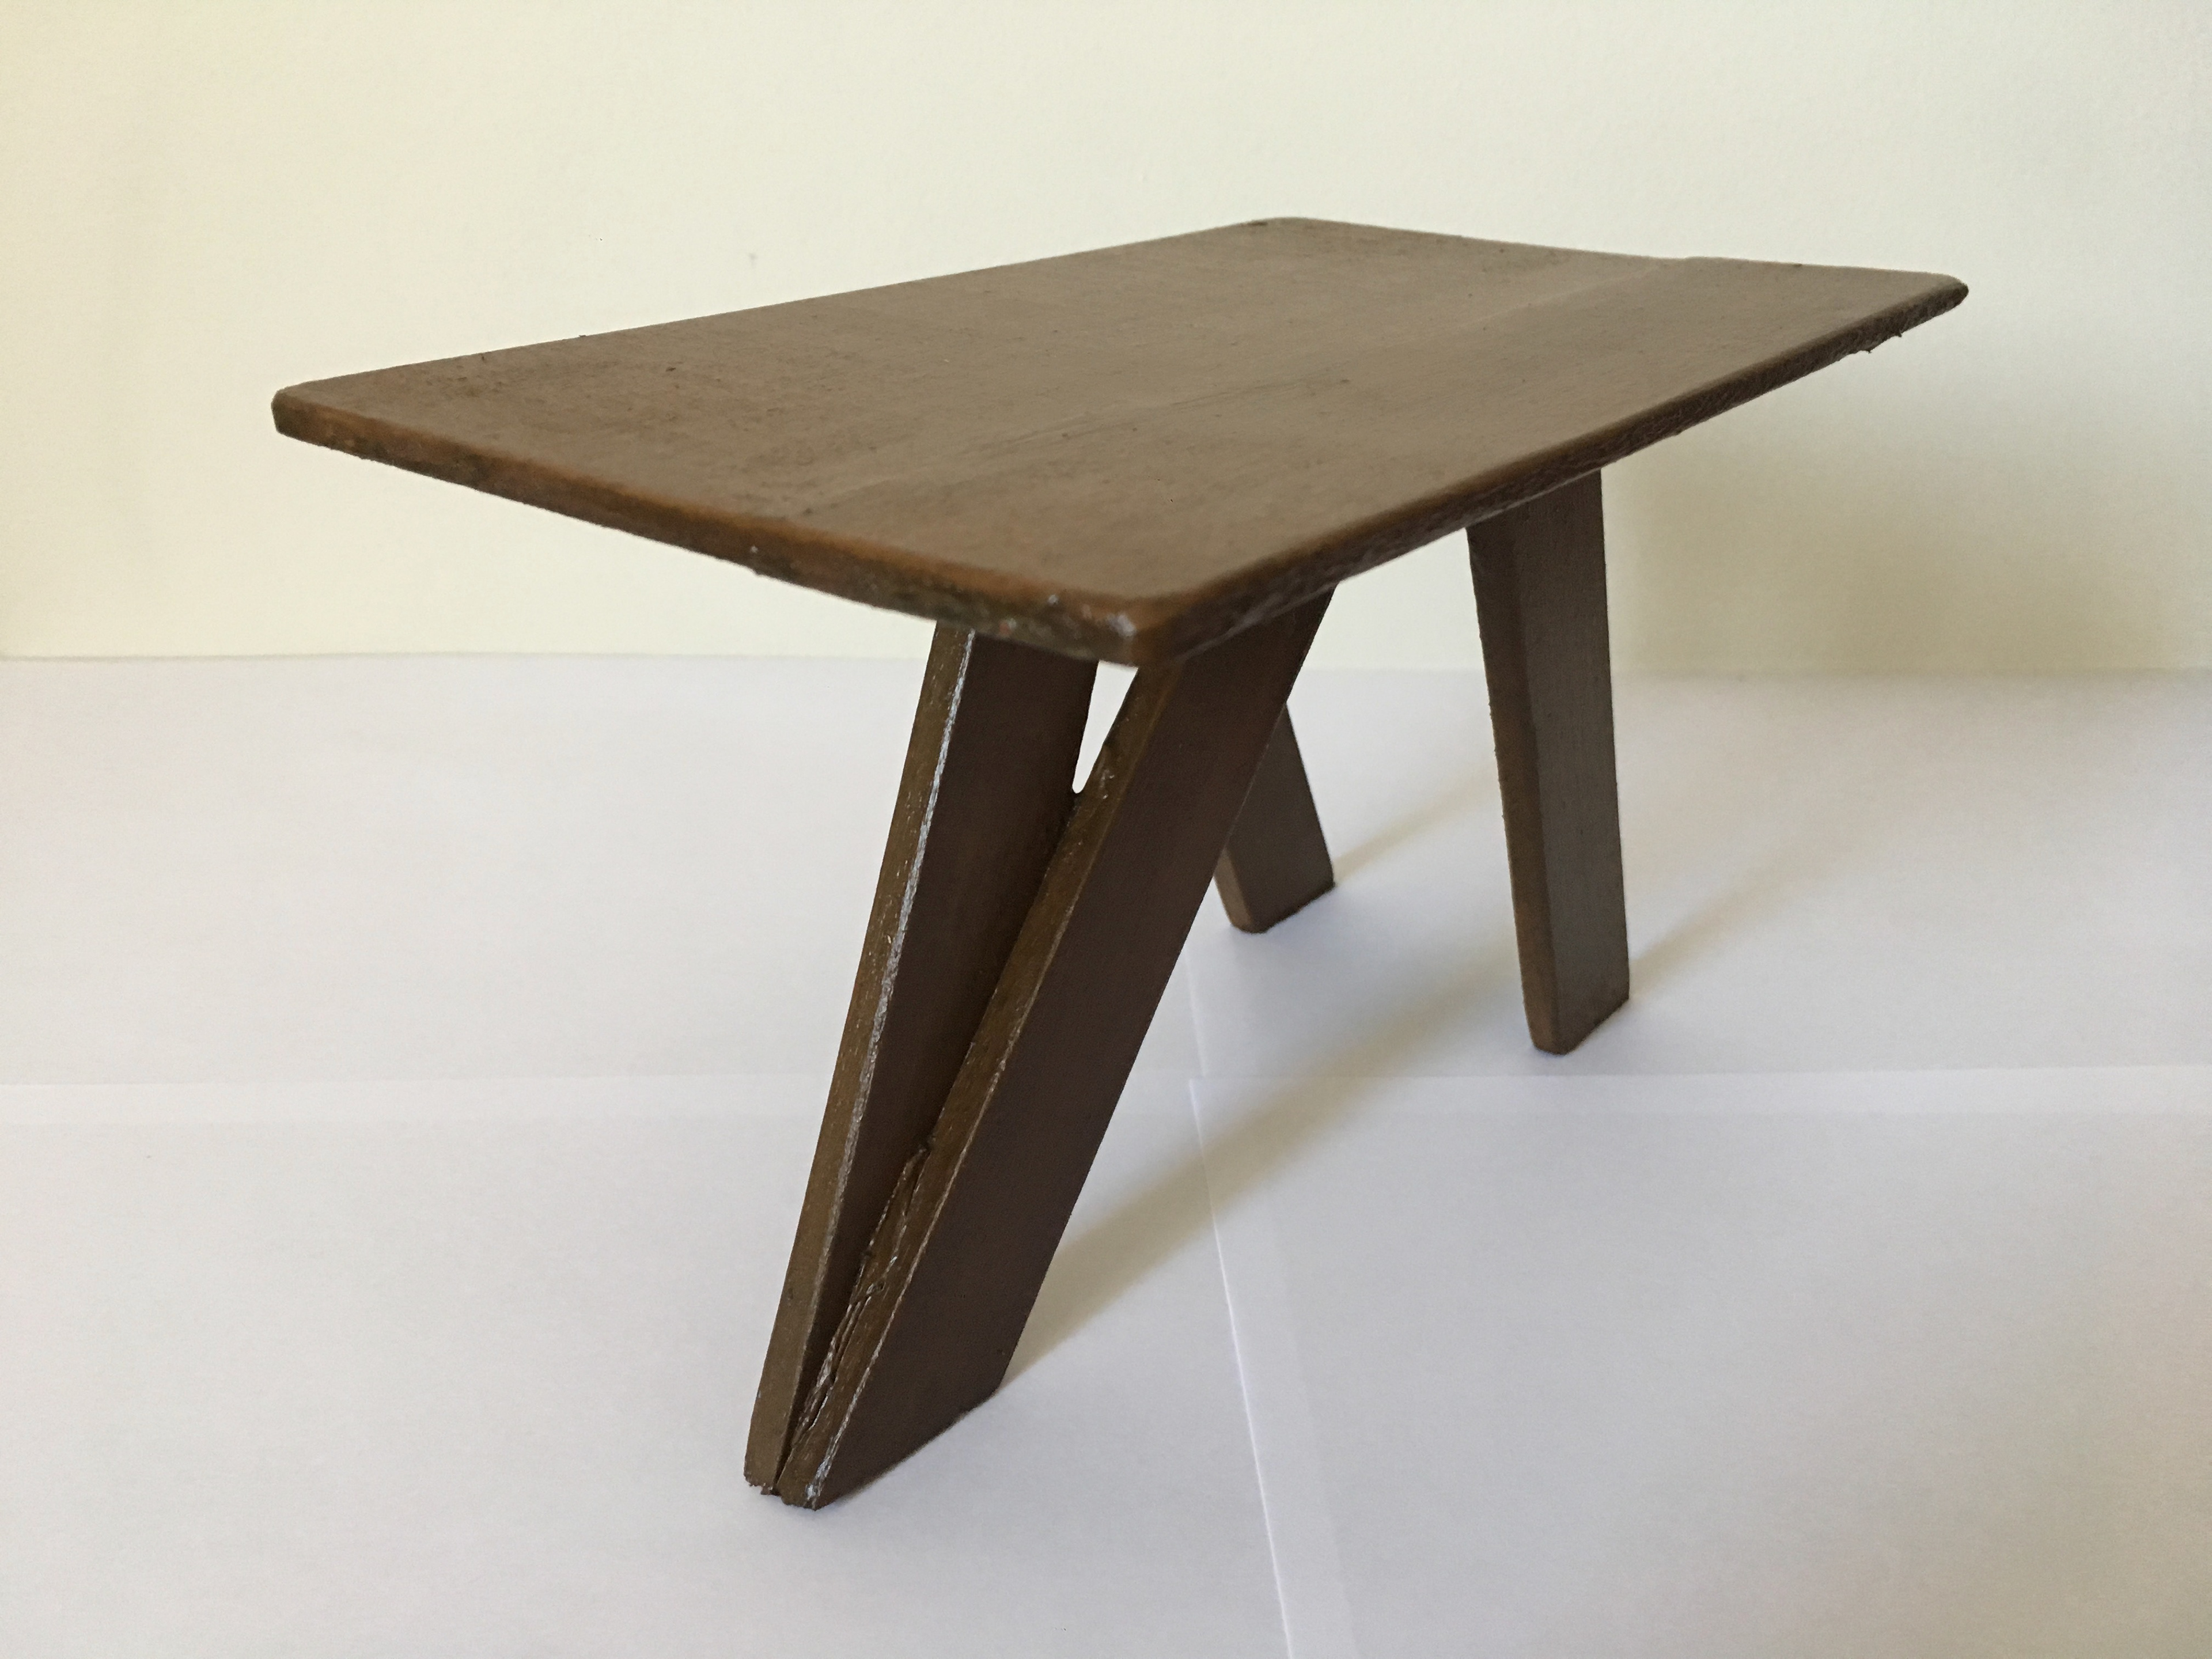
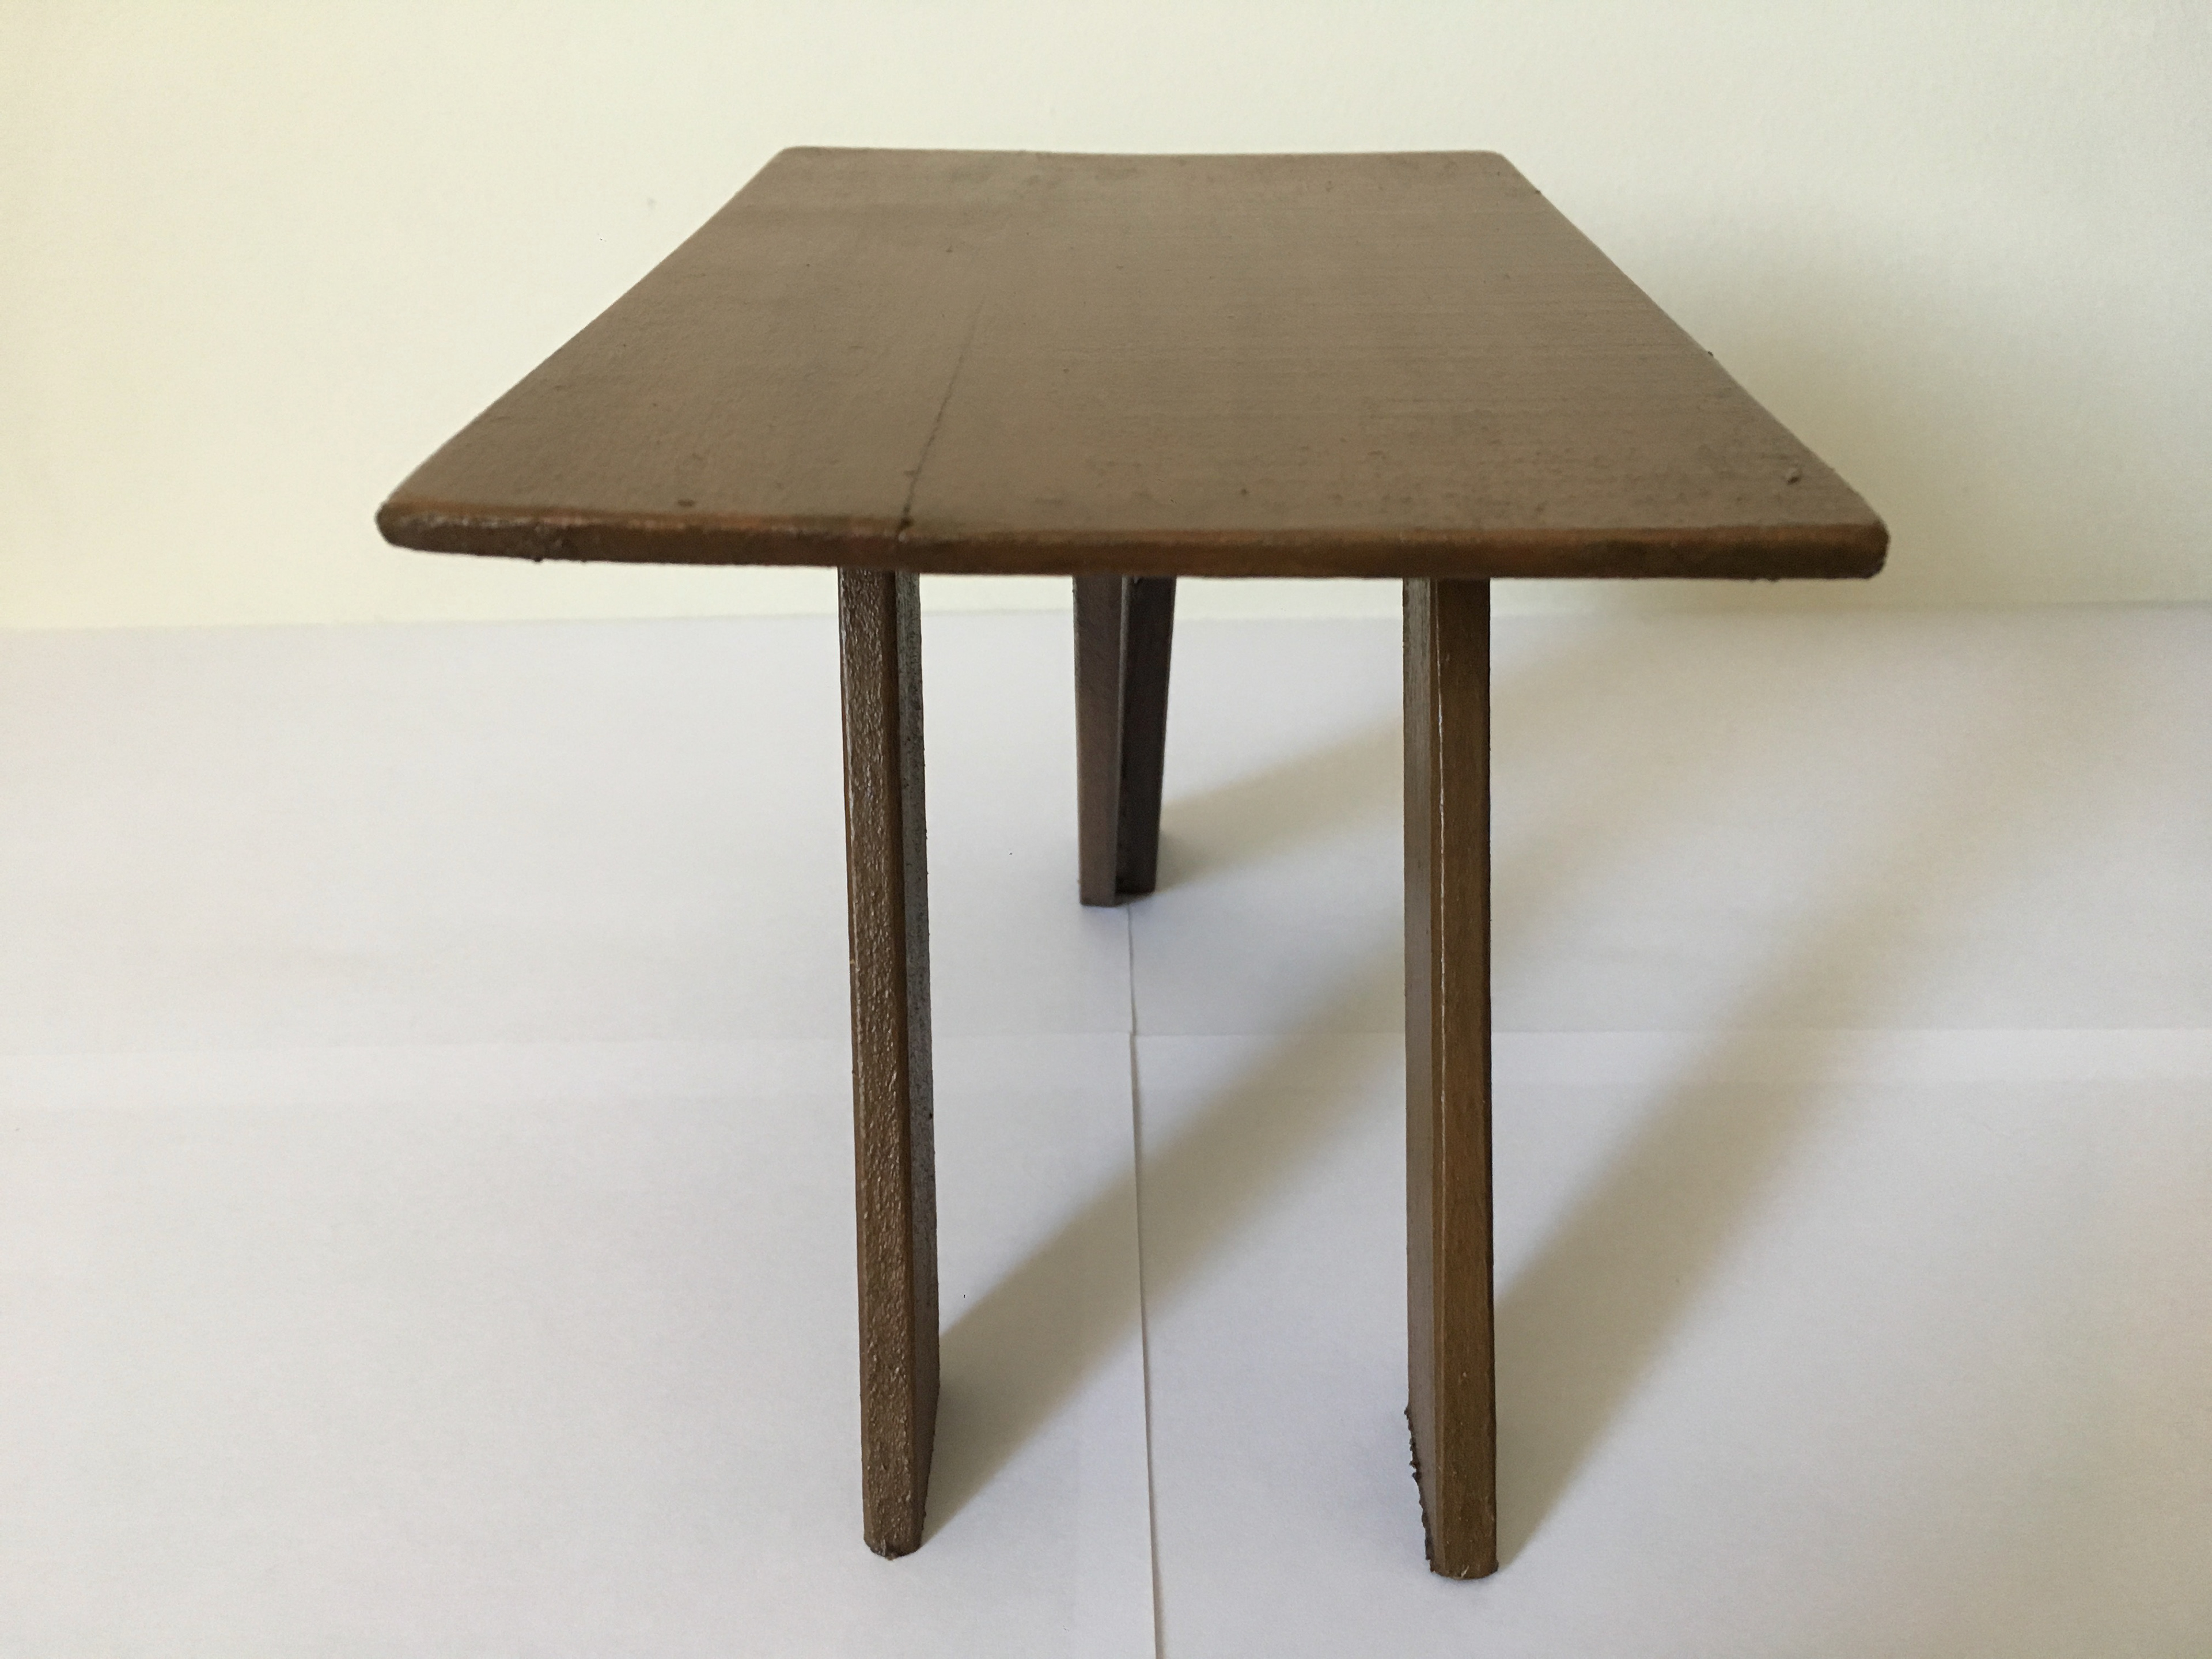
The table for the sitting room was made from obeche wood and multi- purpose filler was used to remove any gaps. Paint work was produced using acrylics and varnish was added to preserve the structure and enhance the colour of the table.
The house plants were sculpted using Sculpey baked clay.
The shelves (in the photo above) were built using obeche wood. acrylics were used for the paint work and varnish was used to enhance the colour. This photo was used as a background for a 2D/ Live action hybrid test that I animated with my character, Emily.
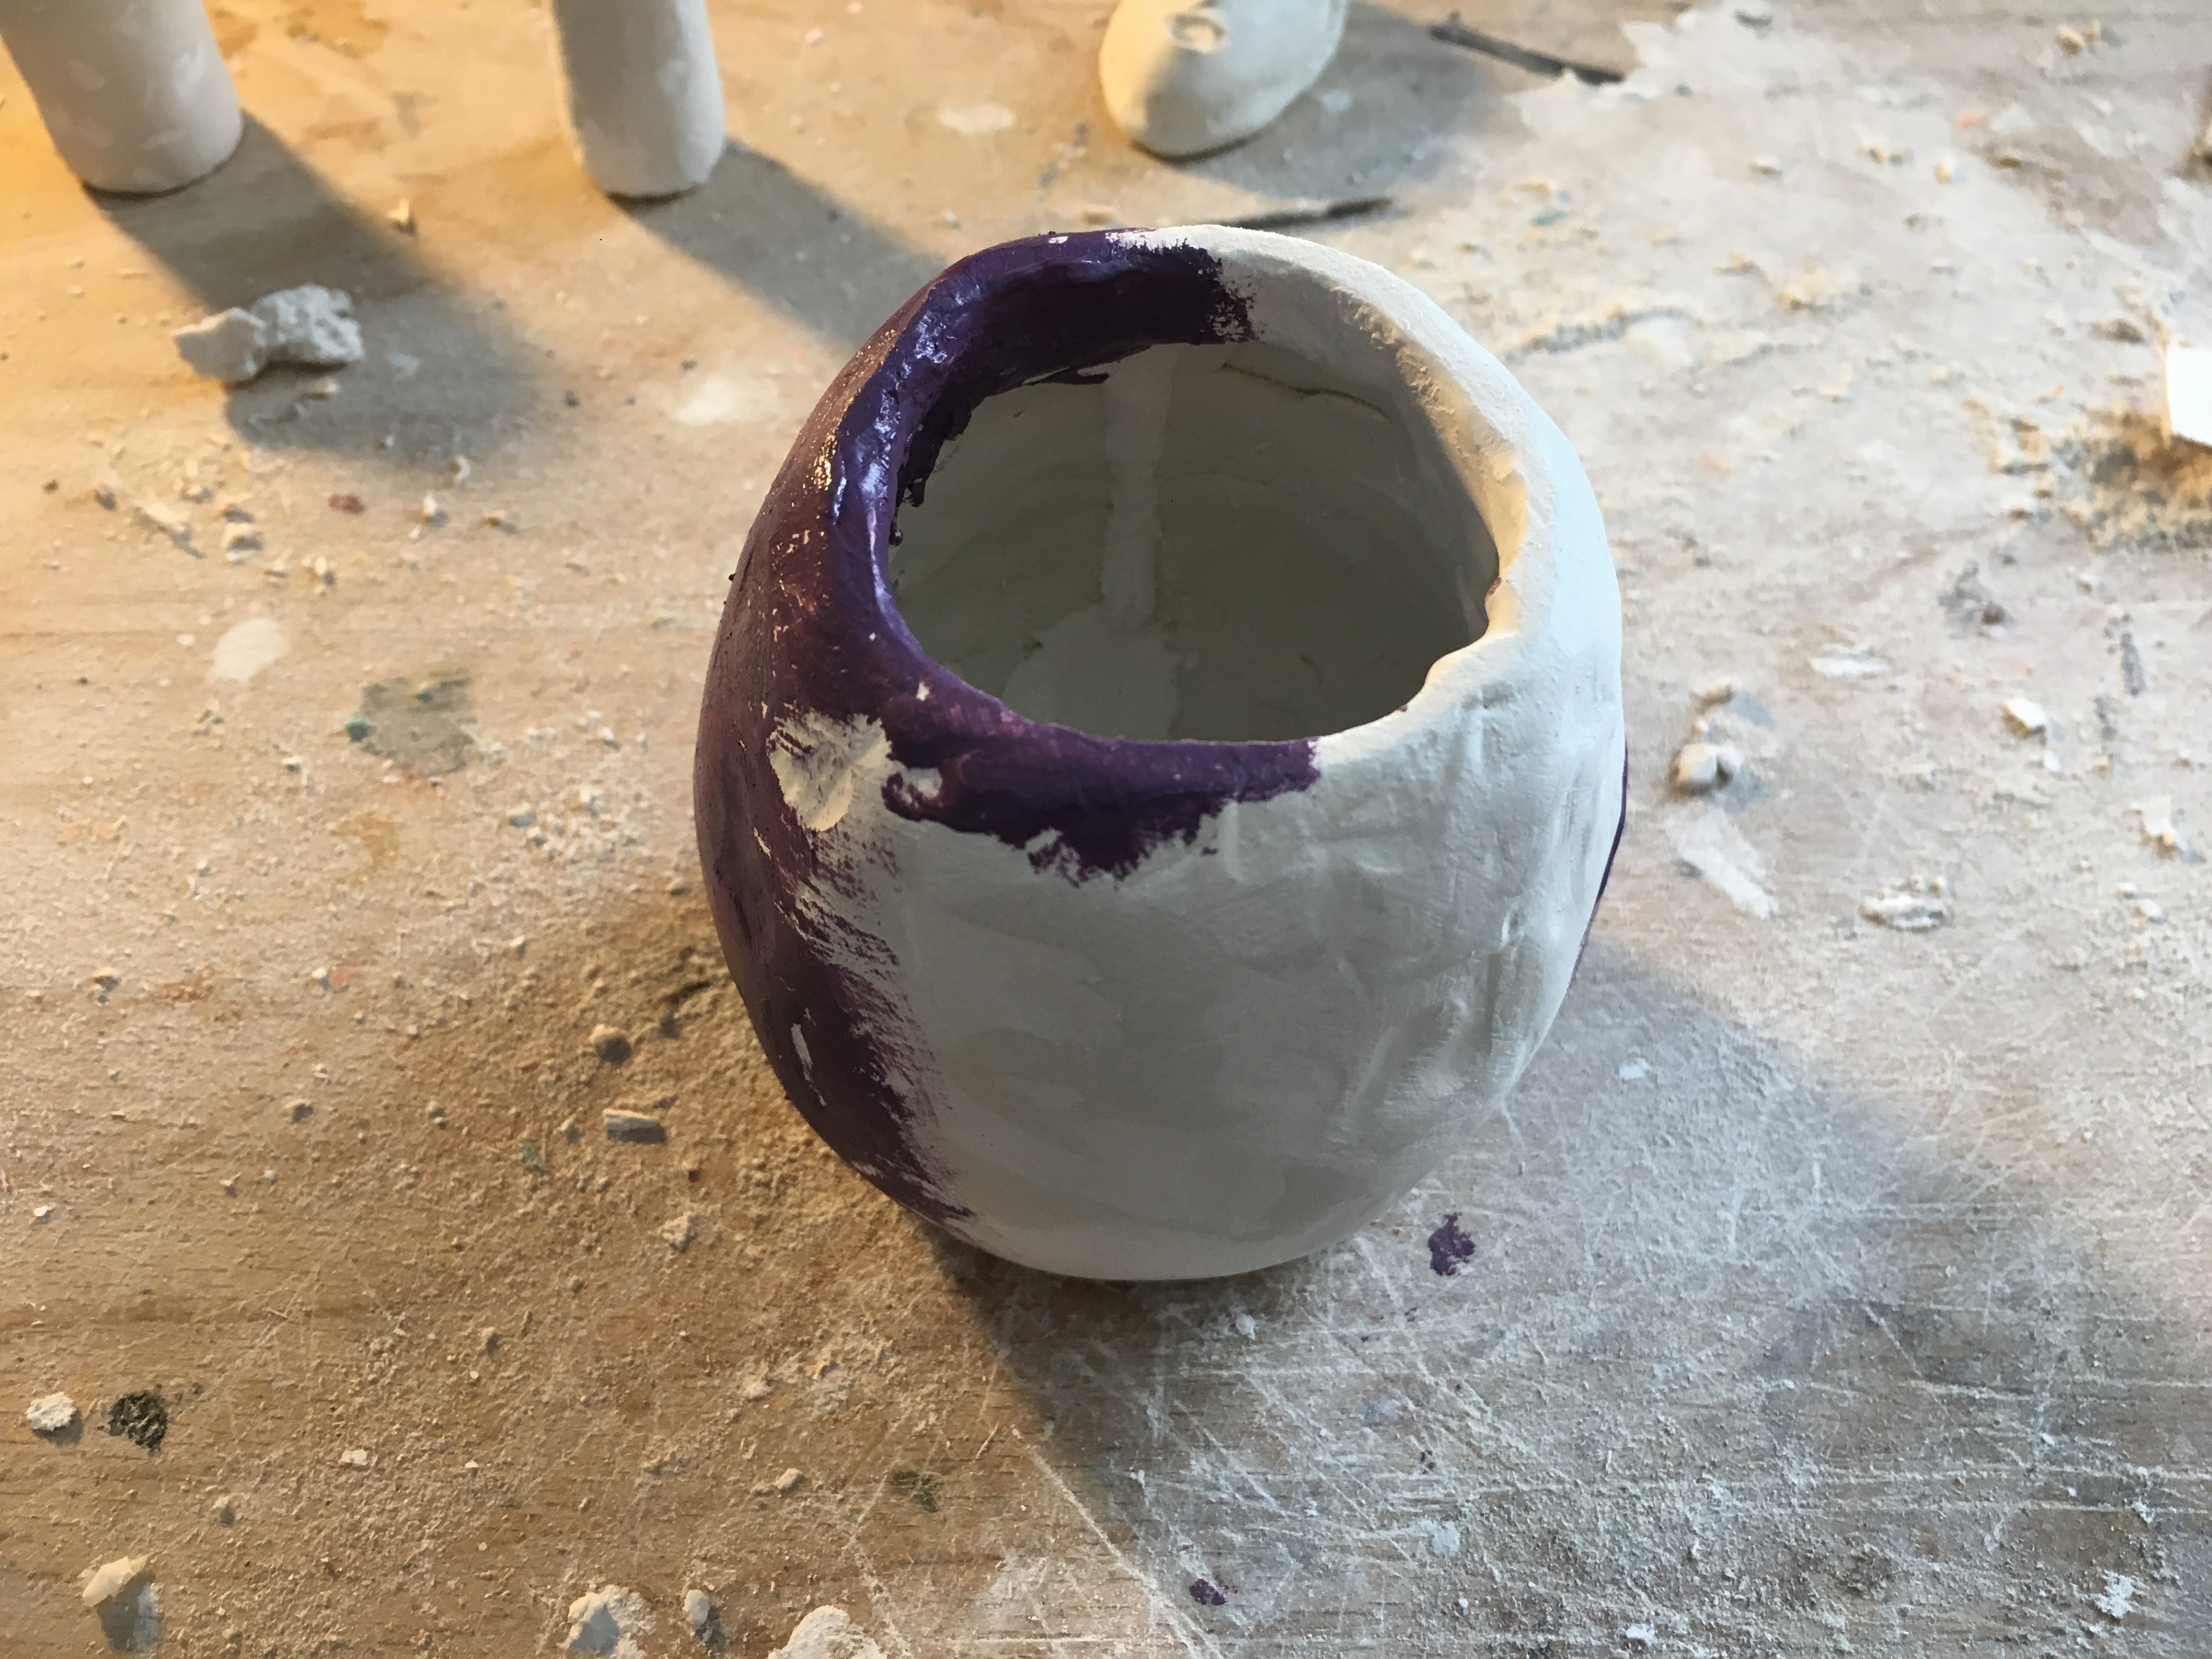
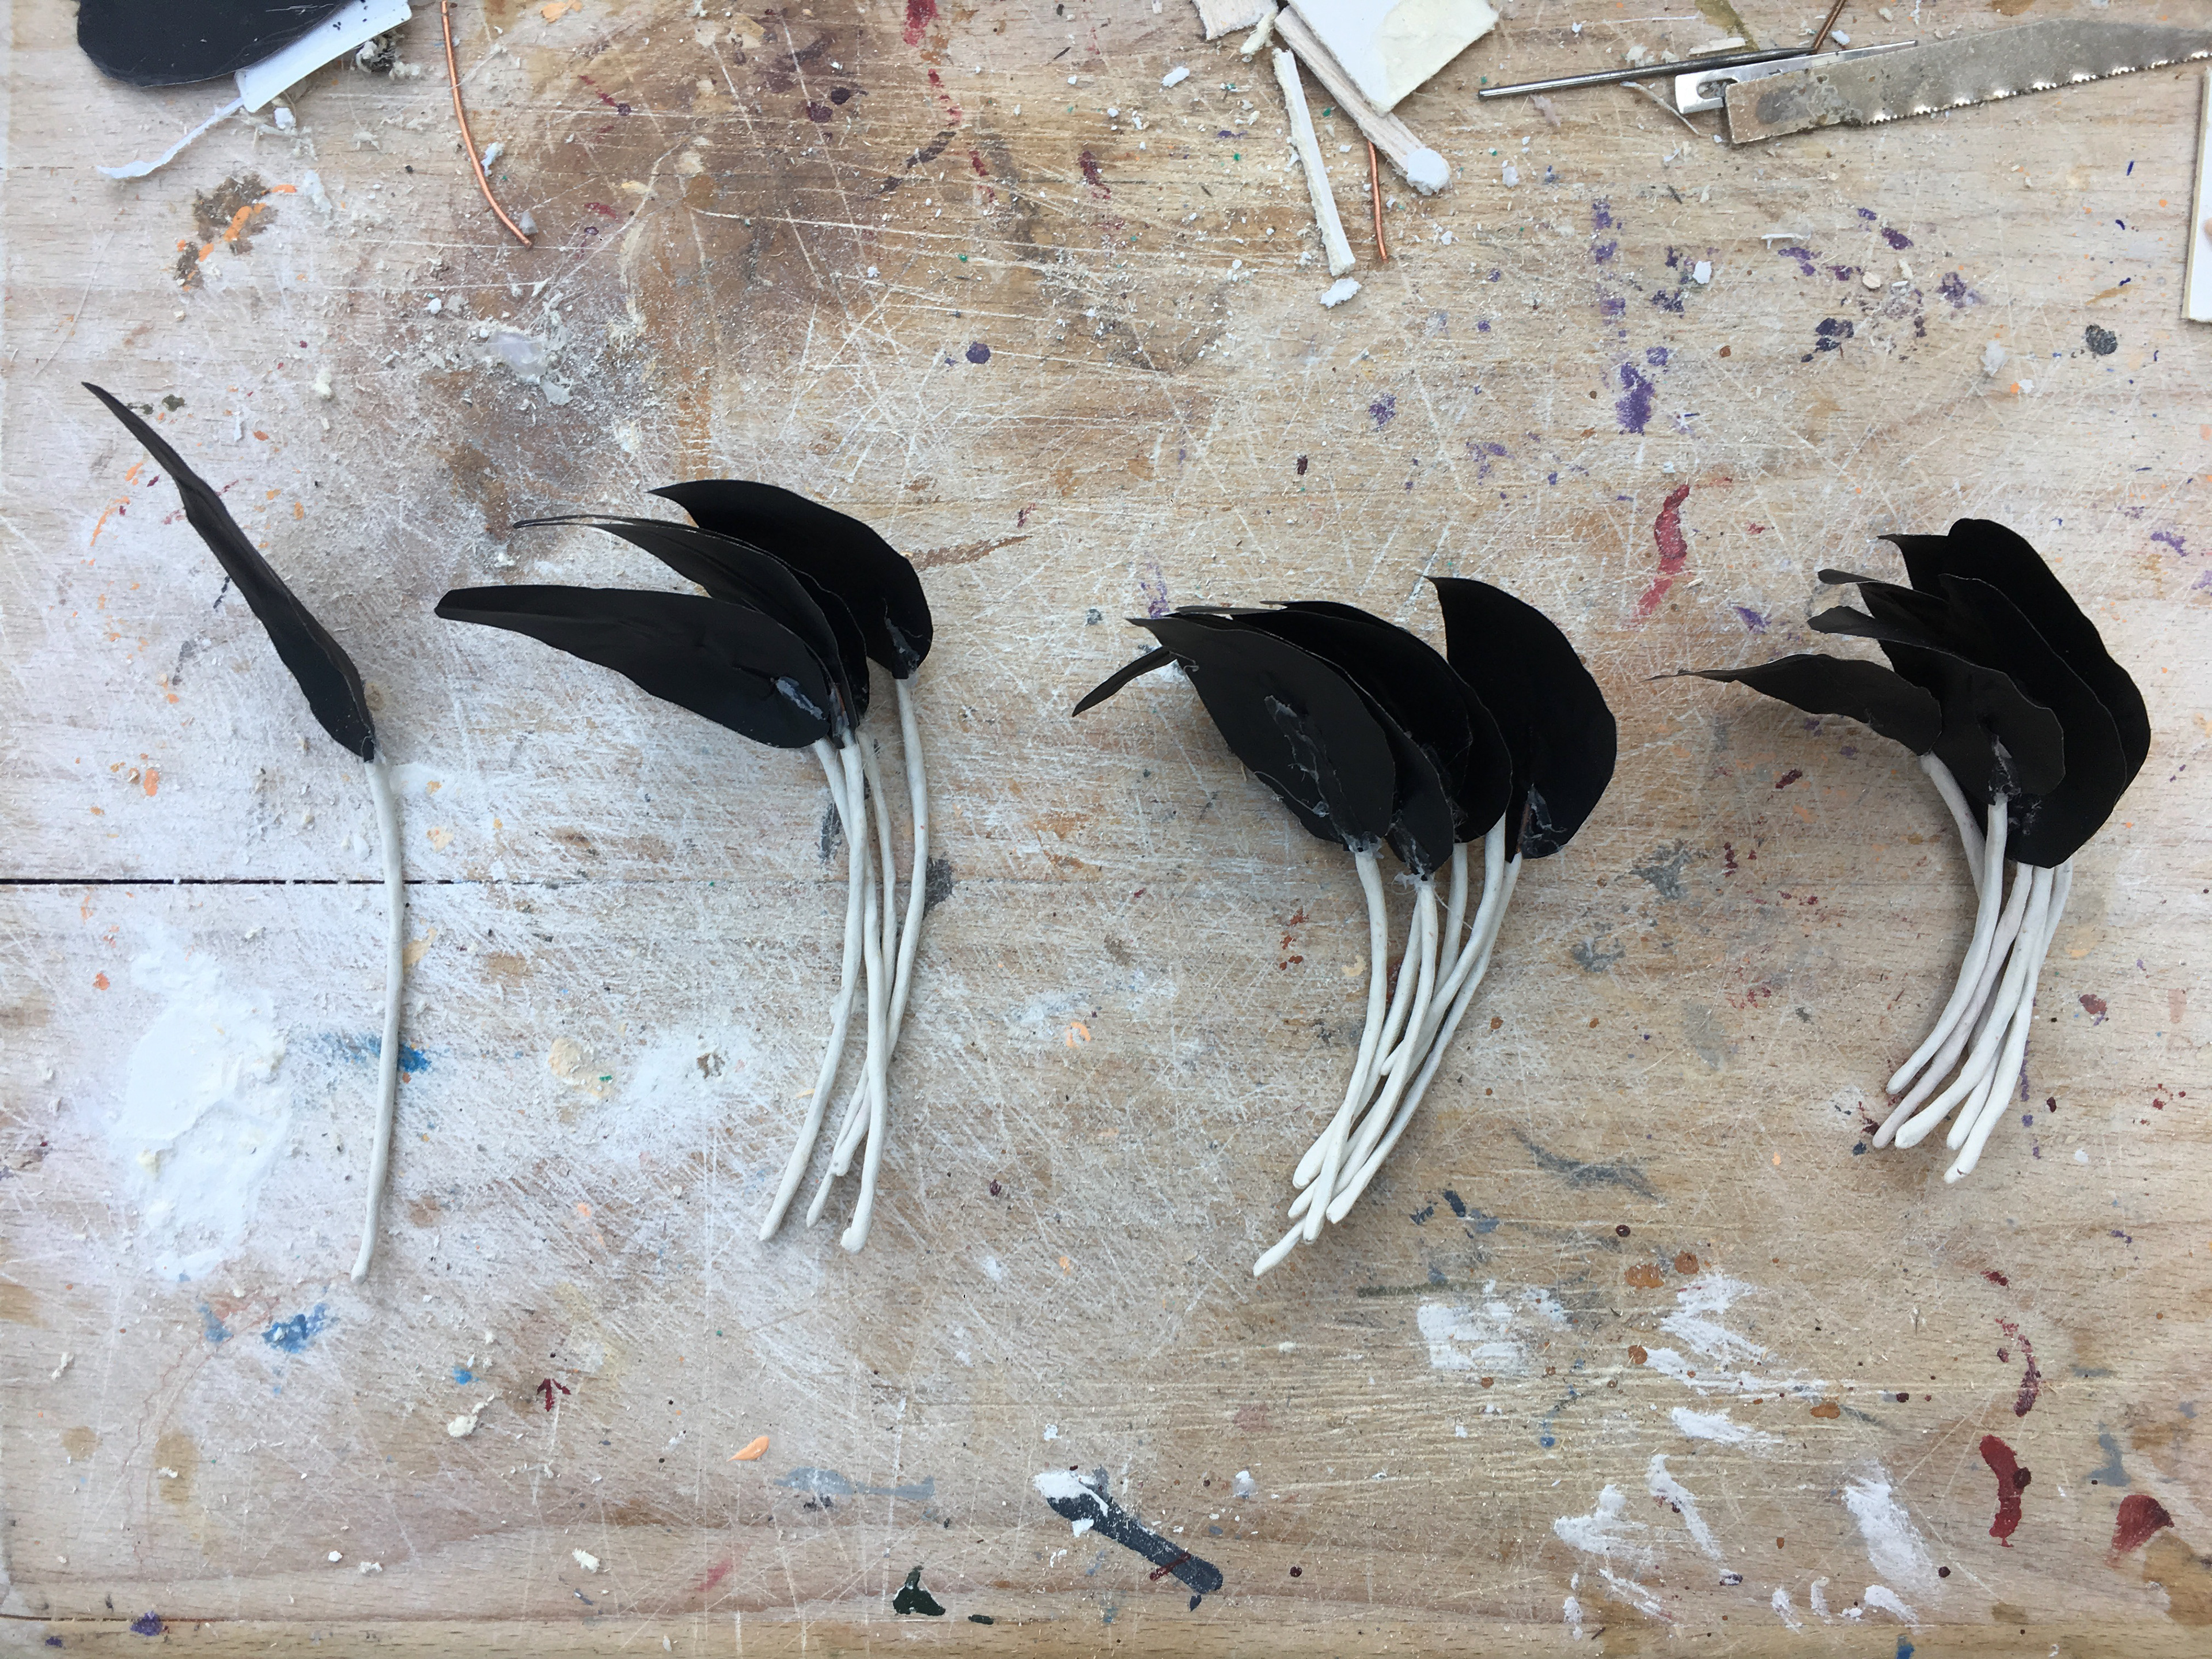
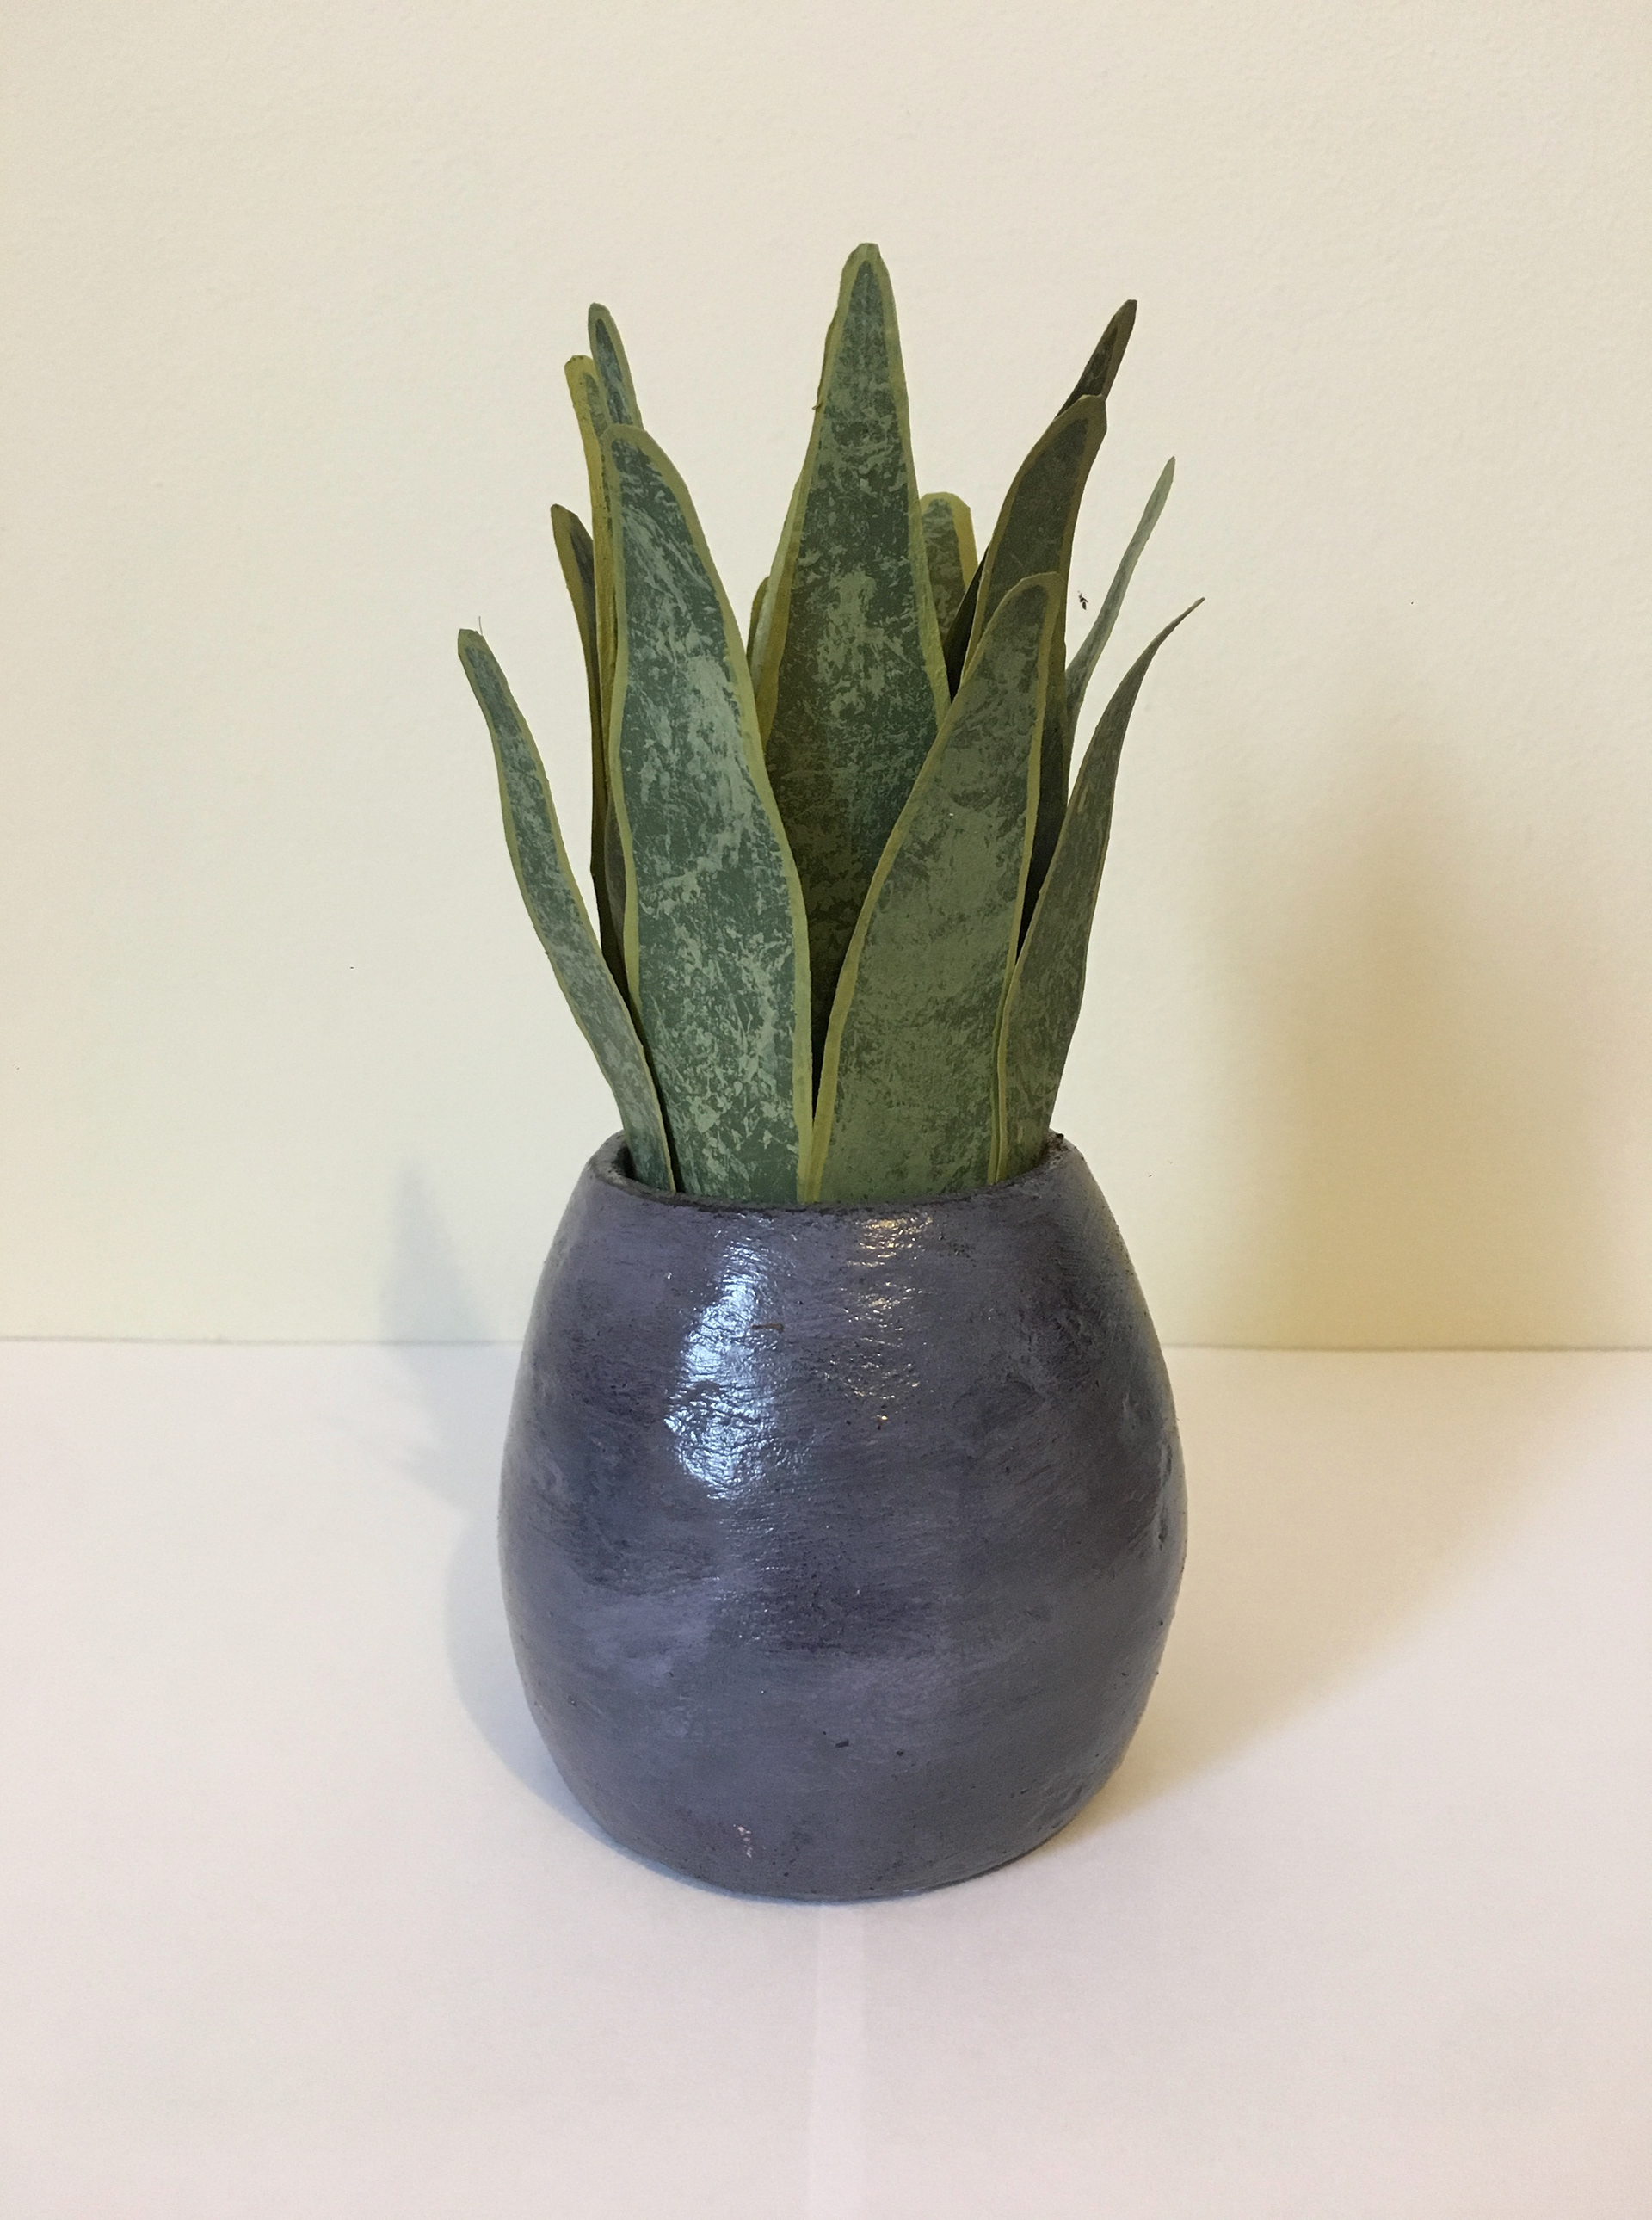
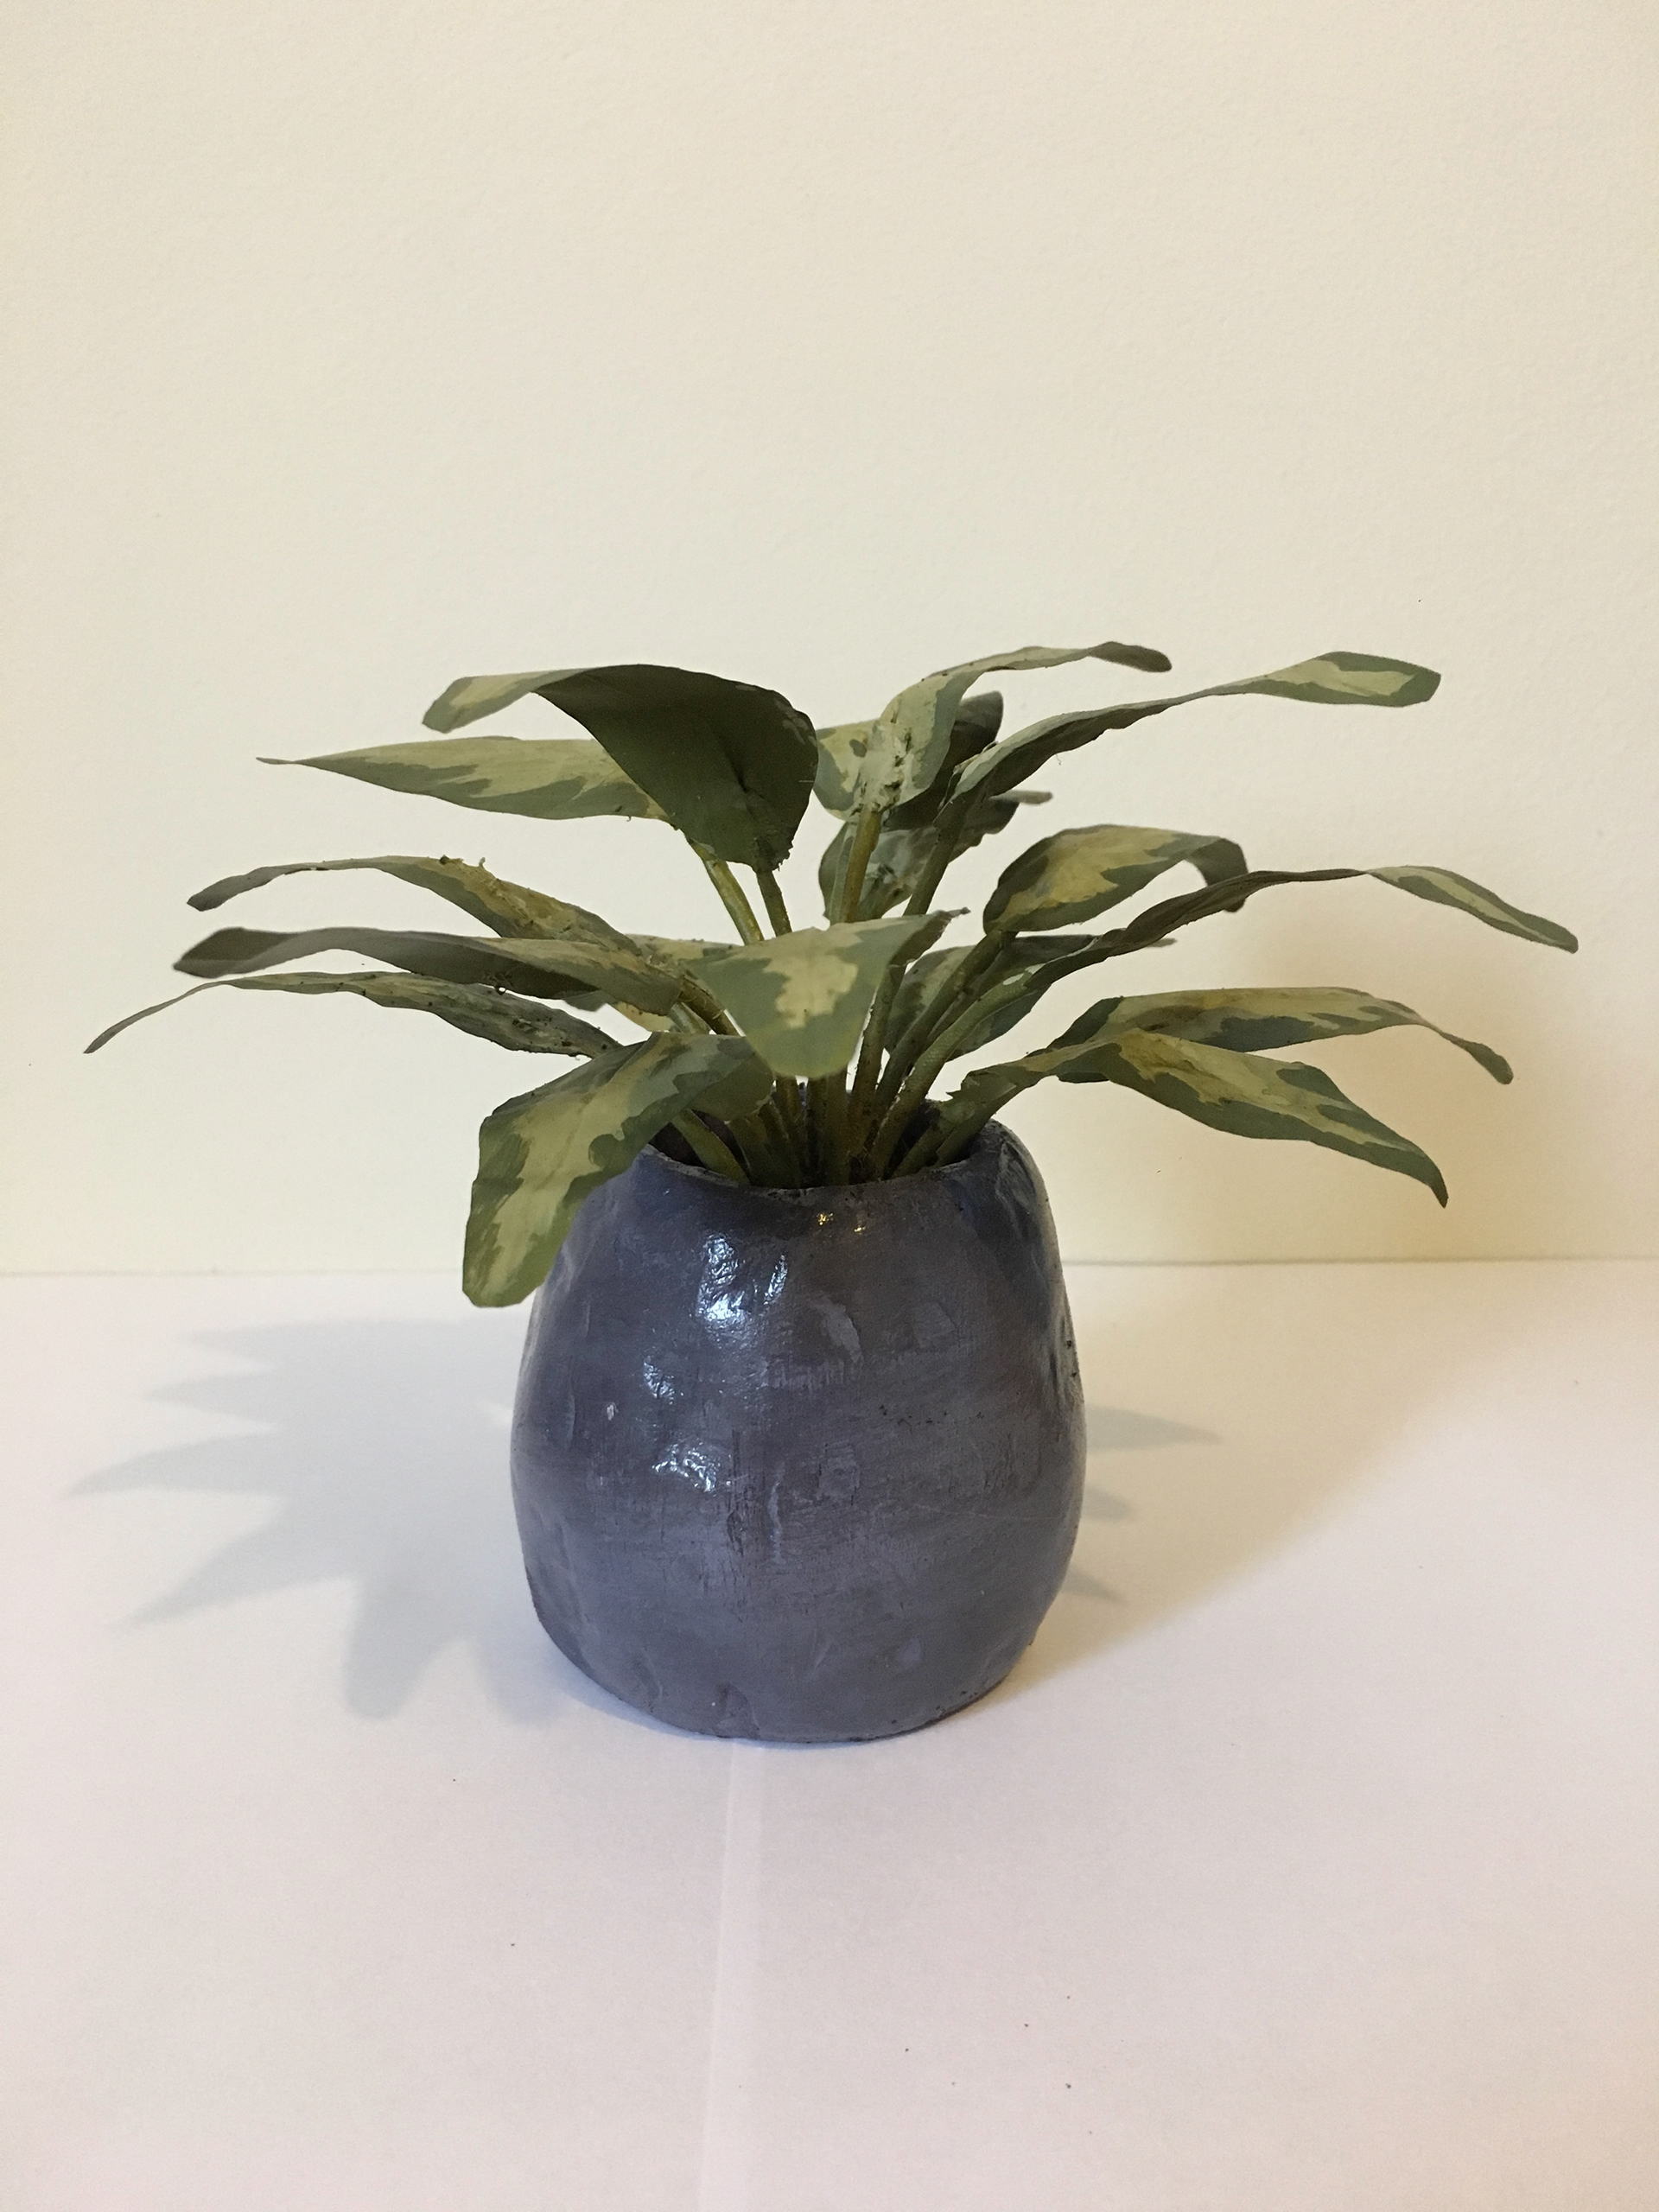
The house plants were created using a mix of cine- foil, sculpey oven clay and aluminium wire. Acrylics were use for the paint work and varnish was use to add a glossy surface to the plant pots.
The stools were built using obeche wood.
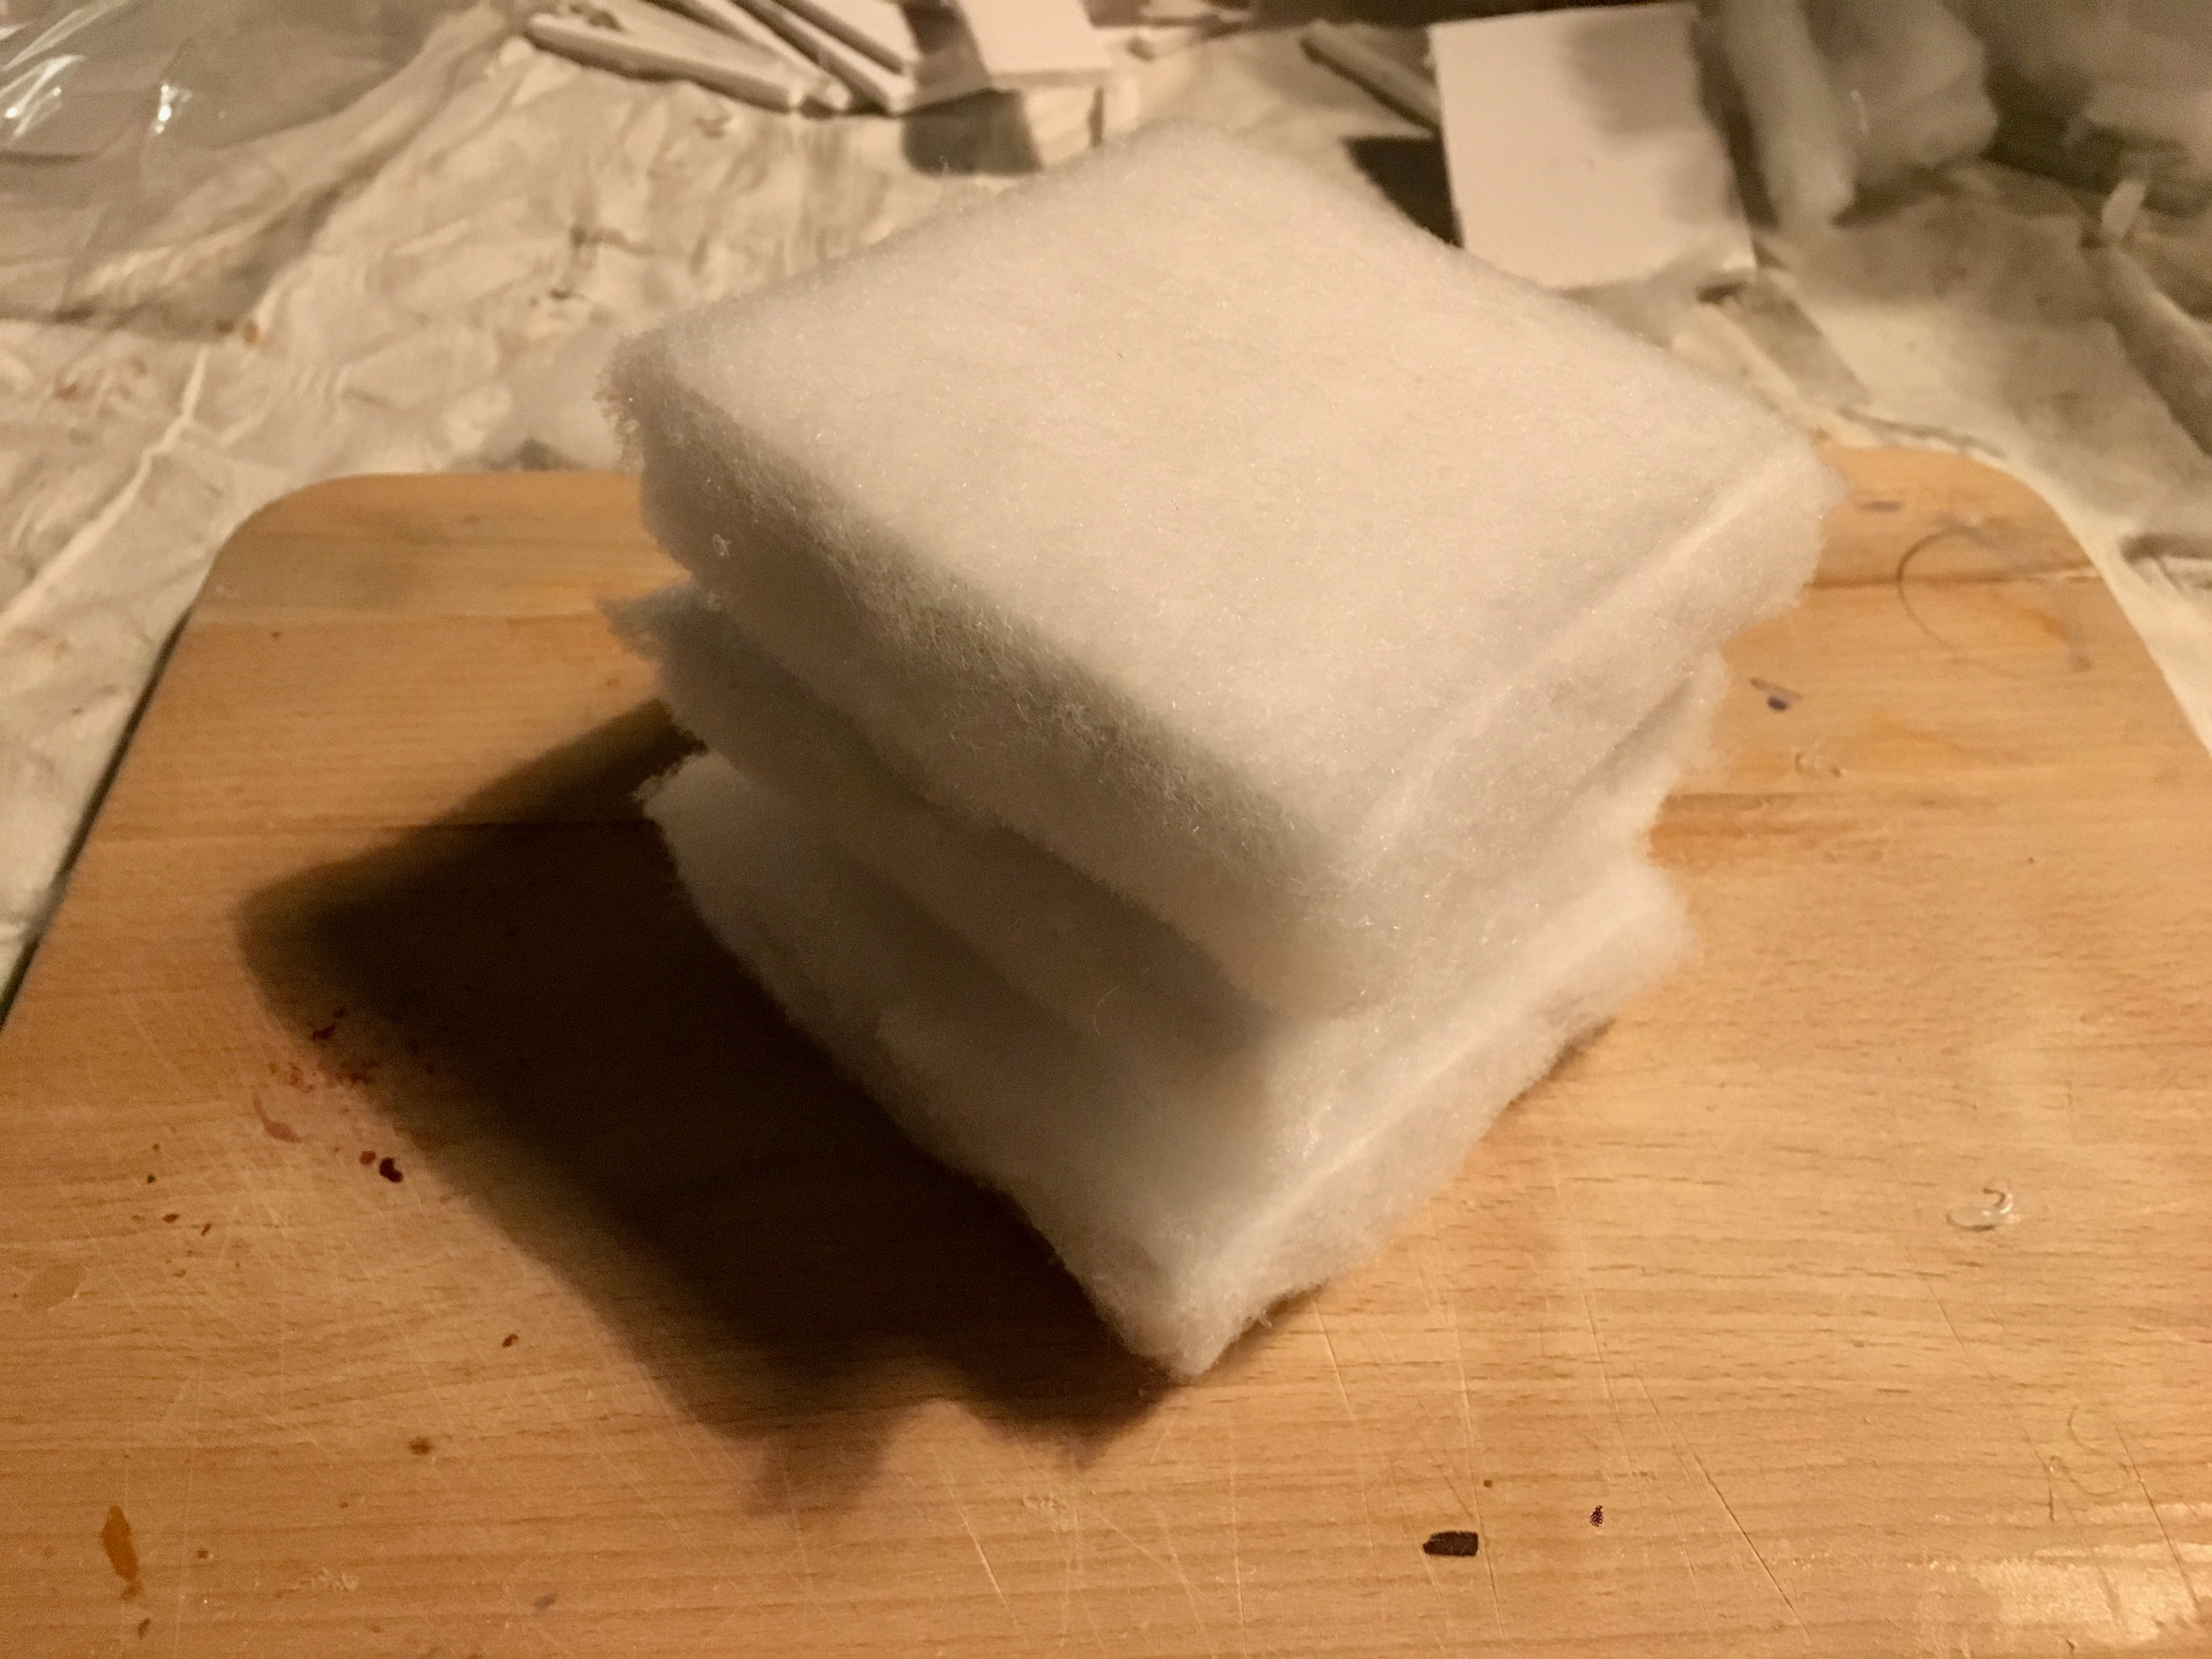
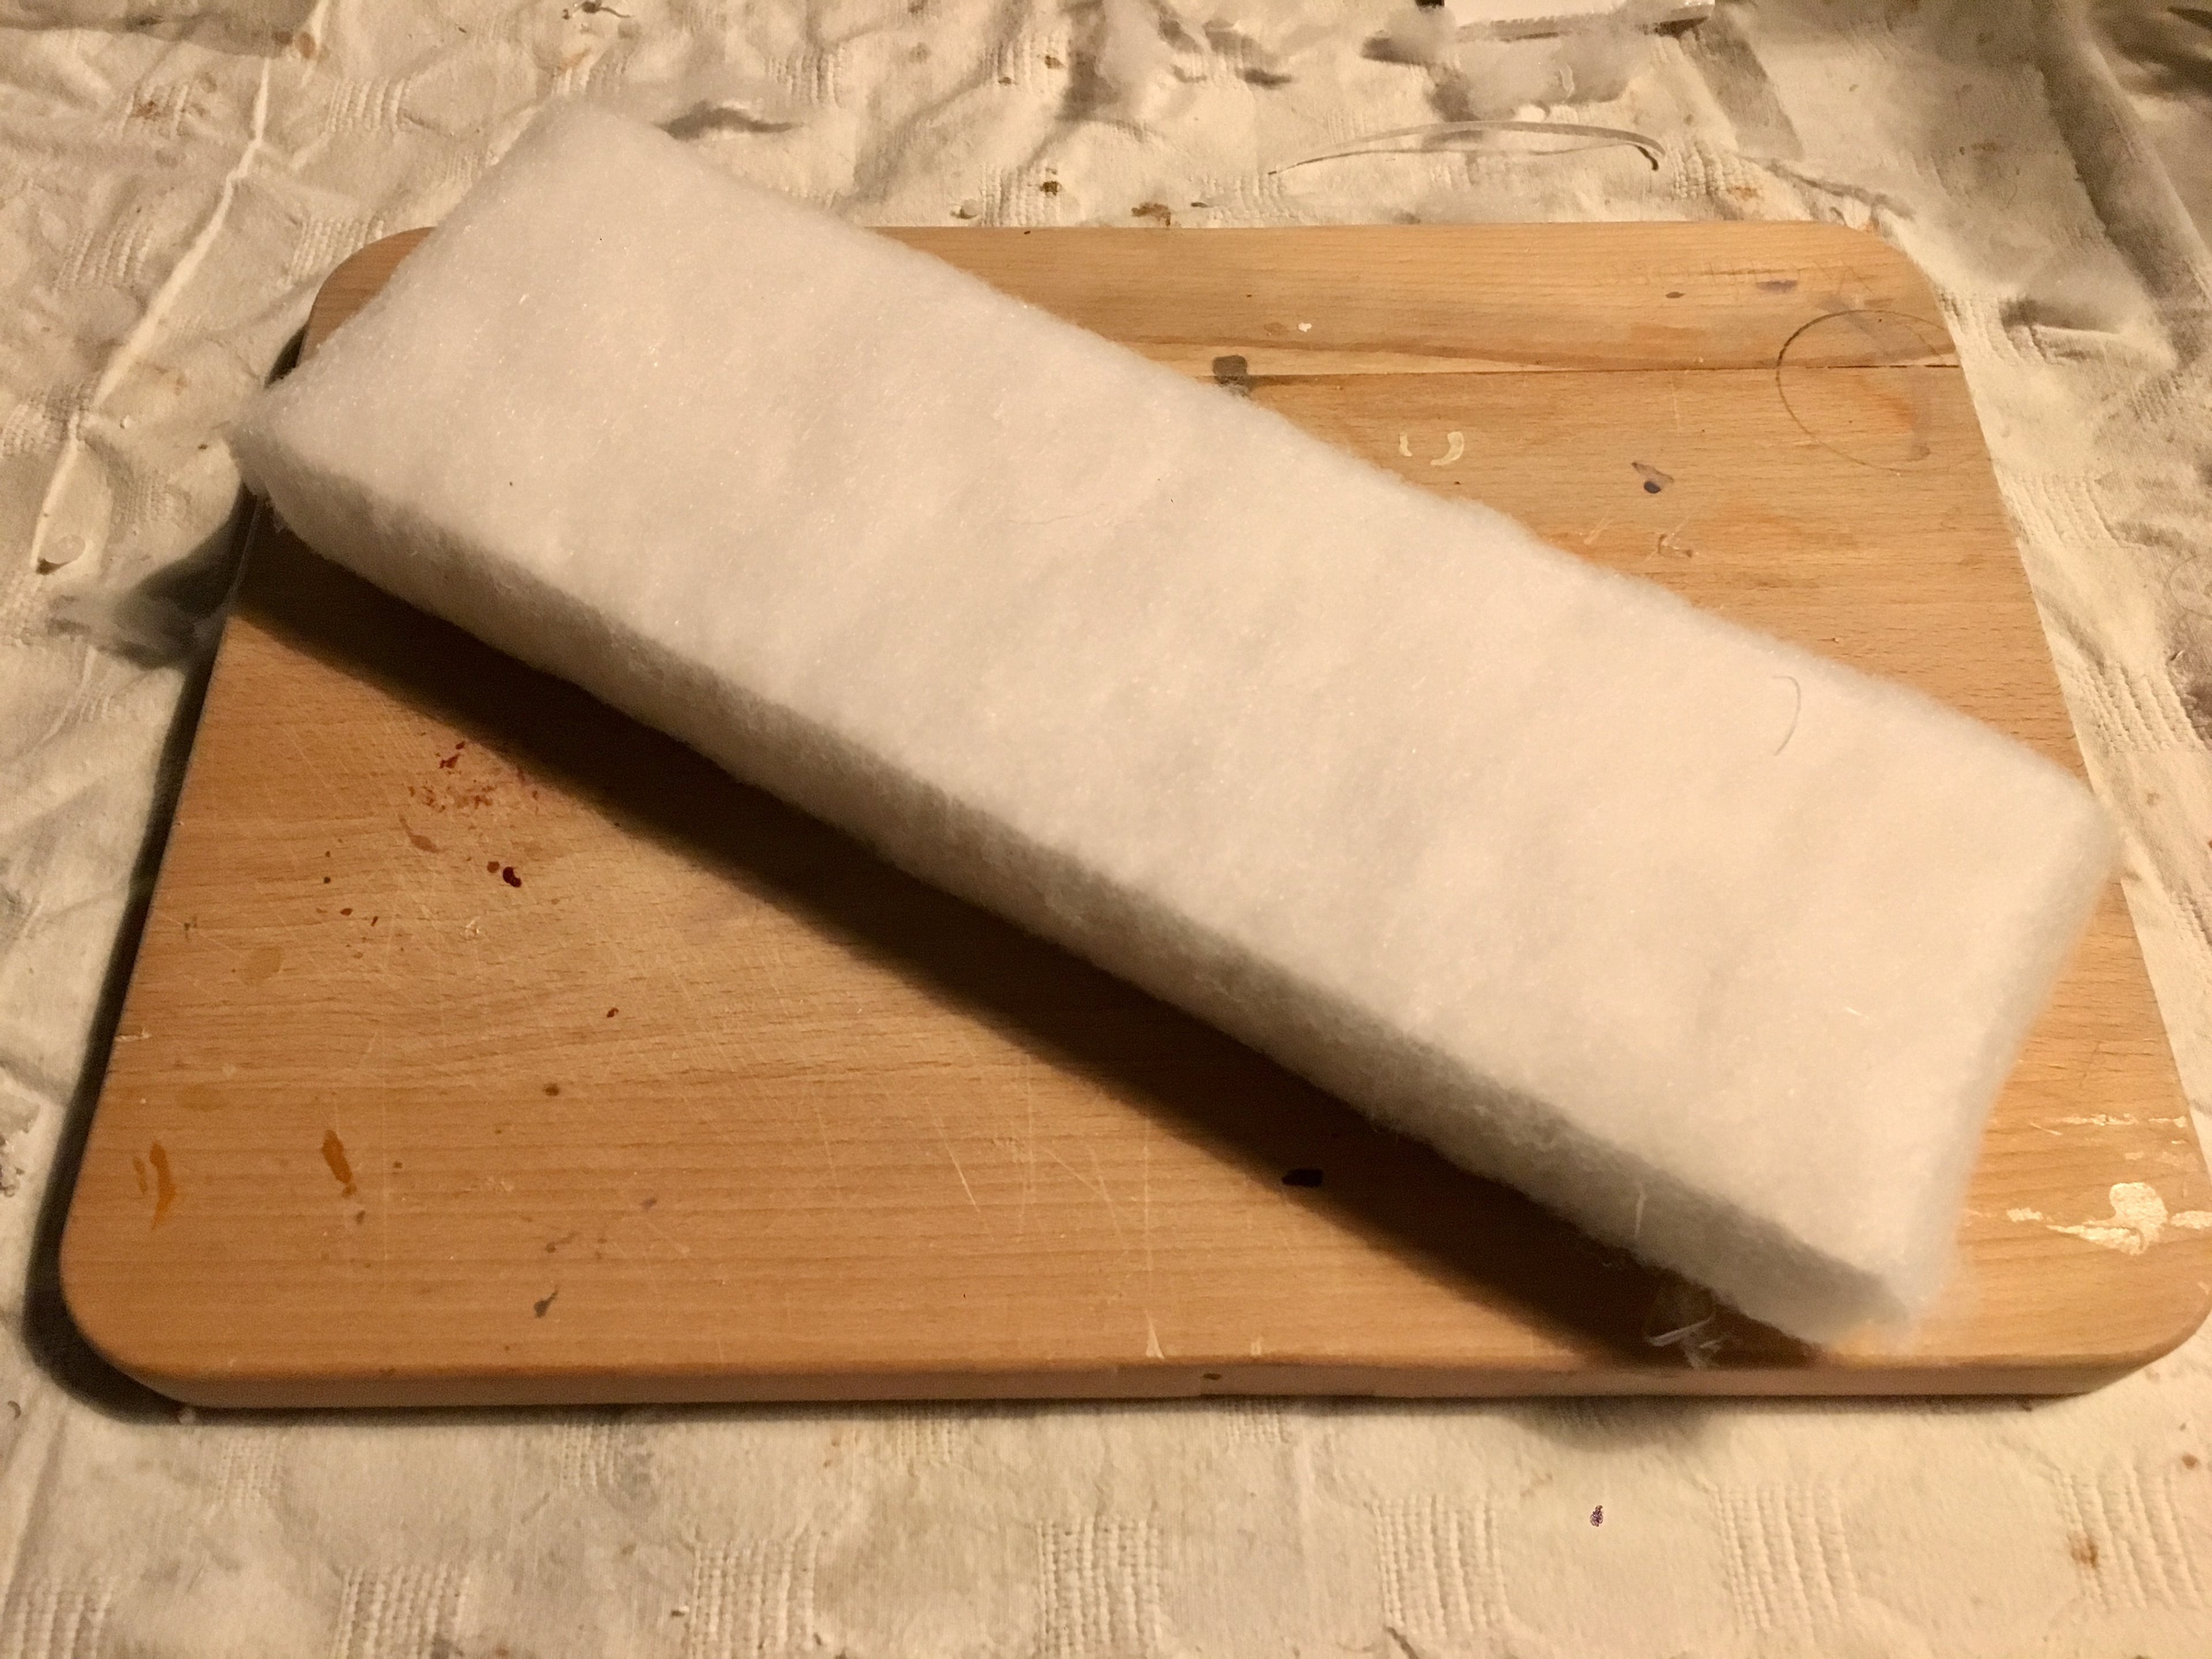
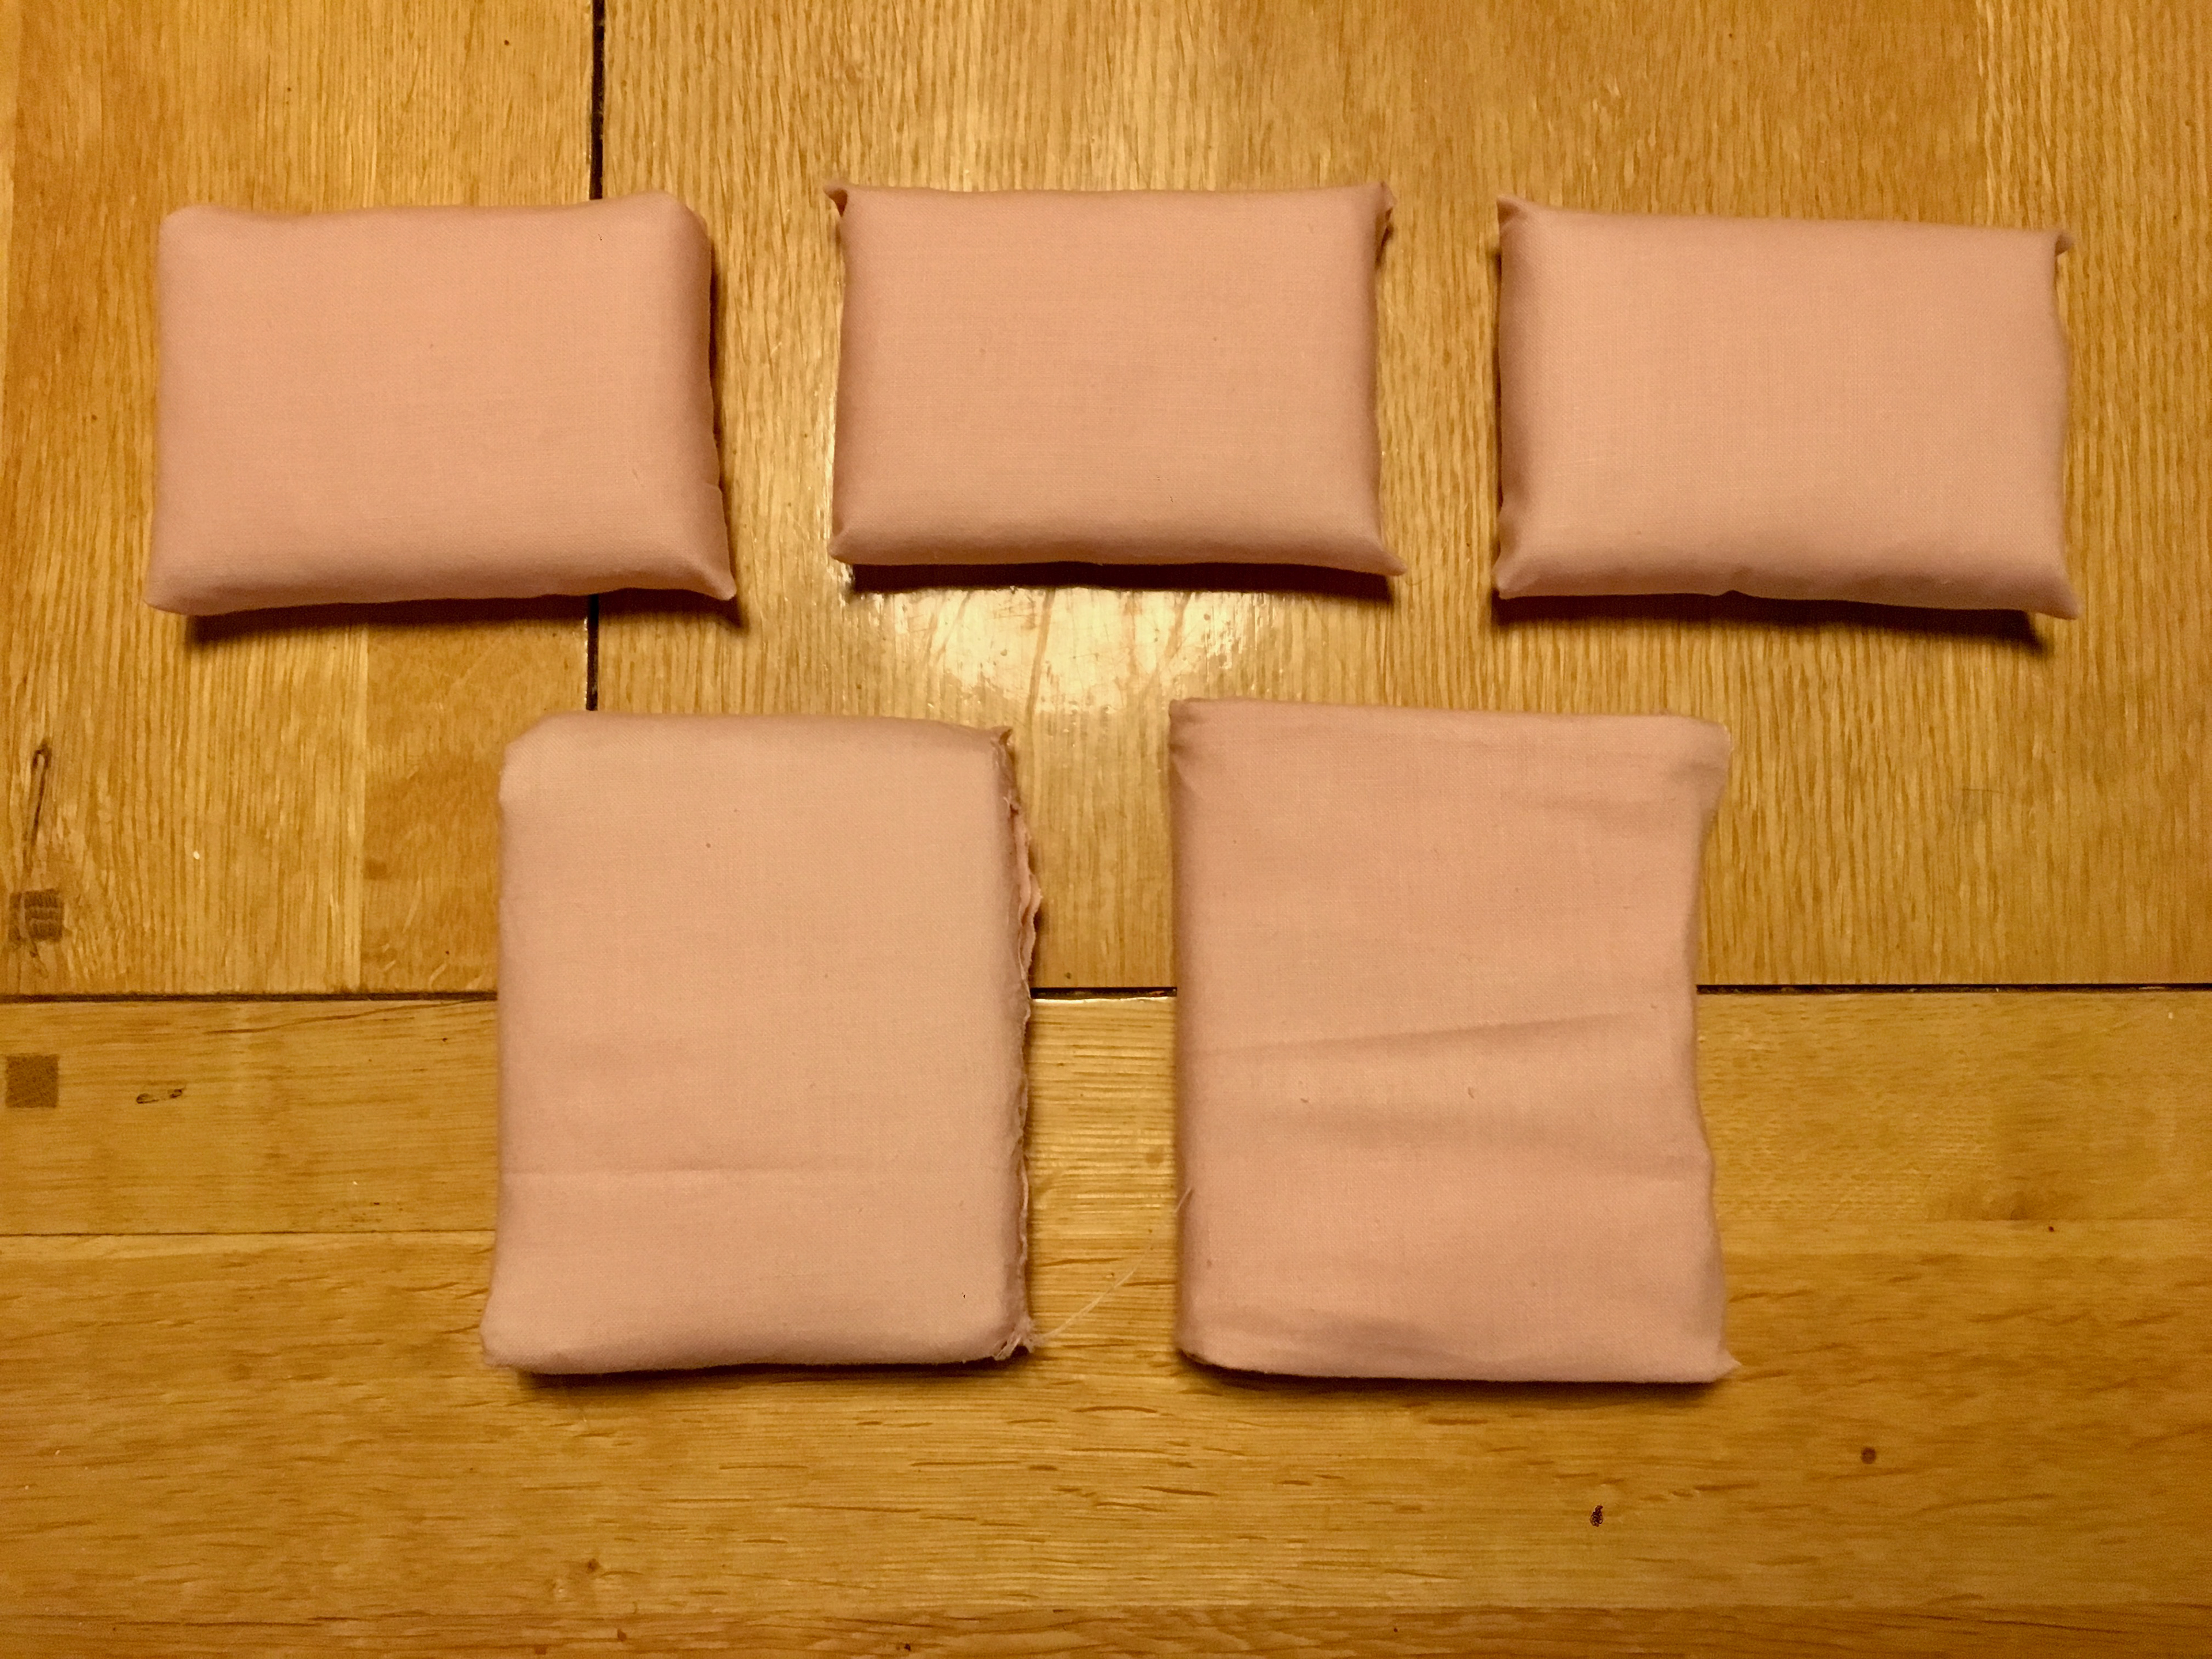
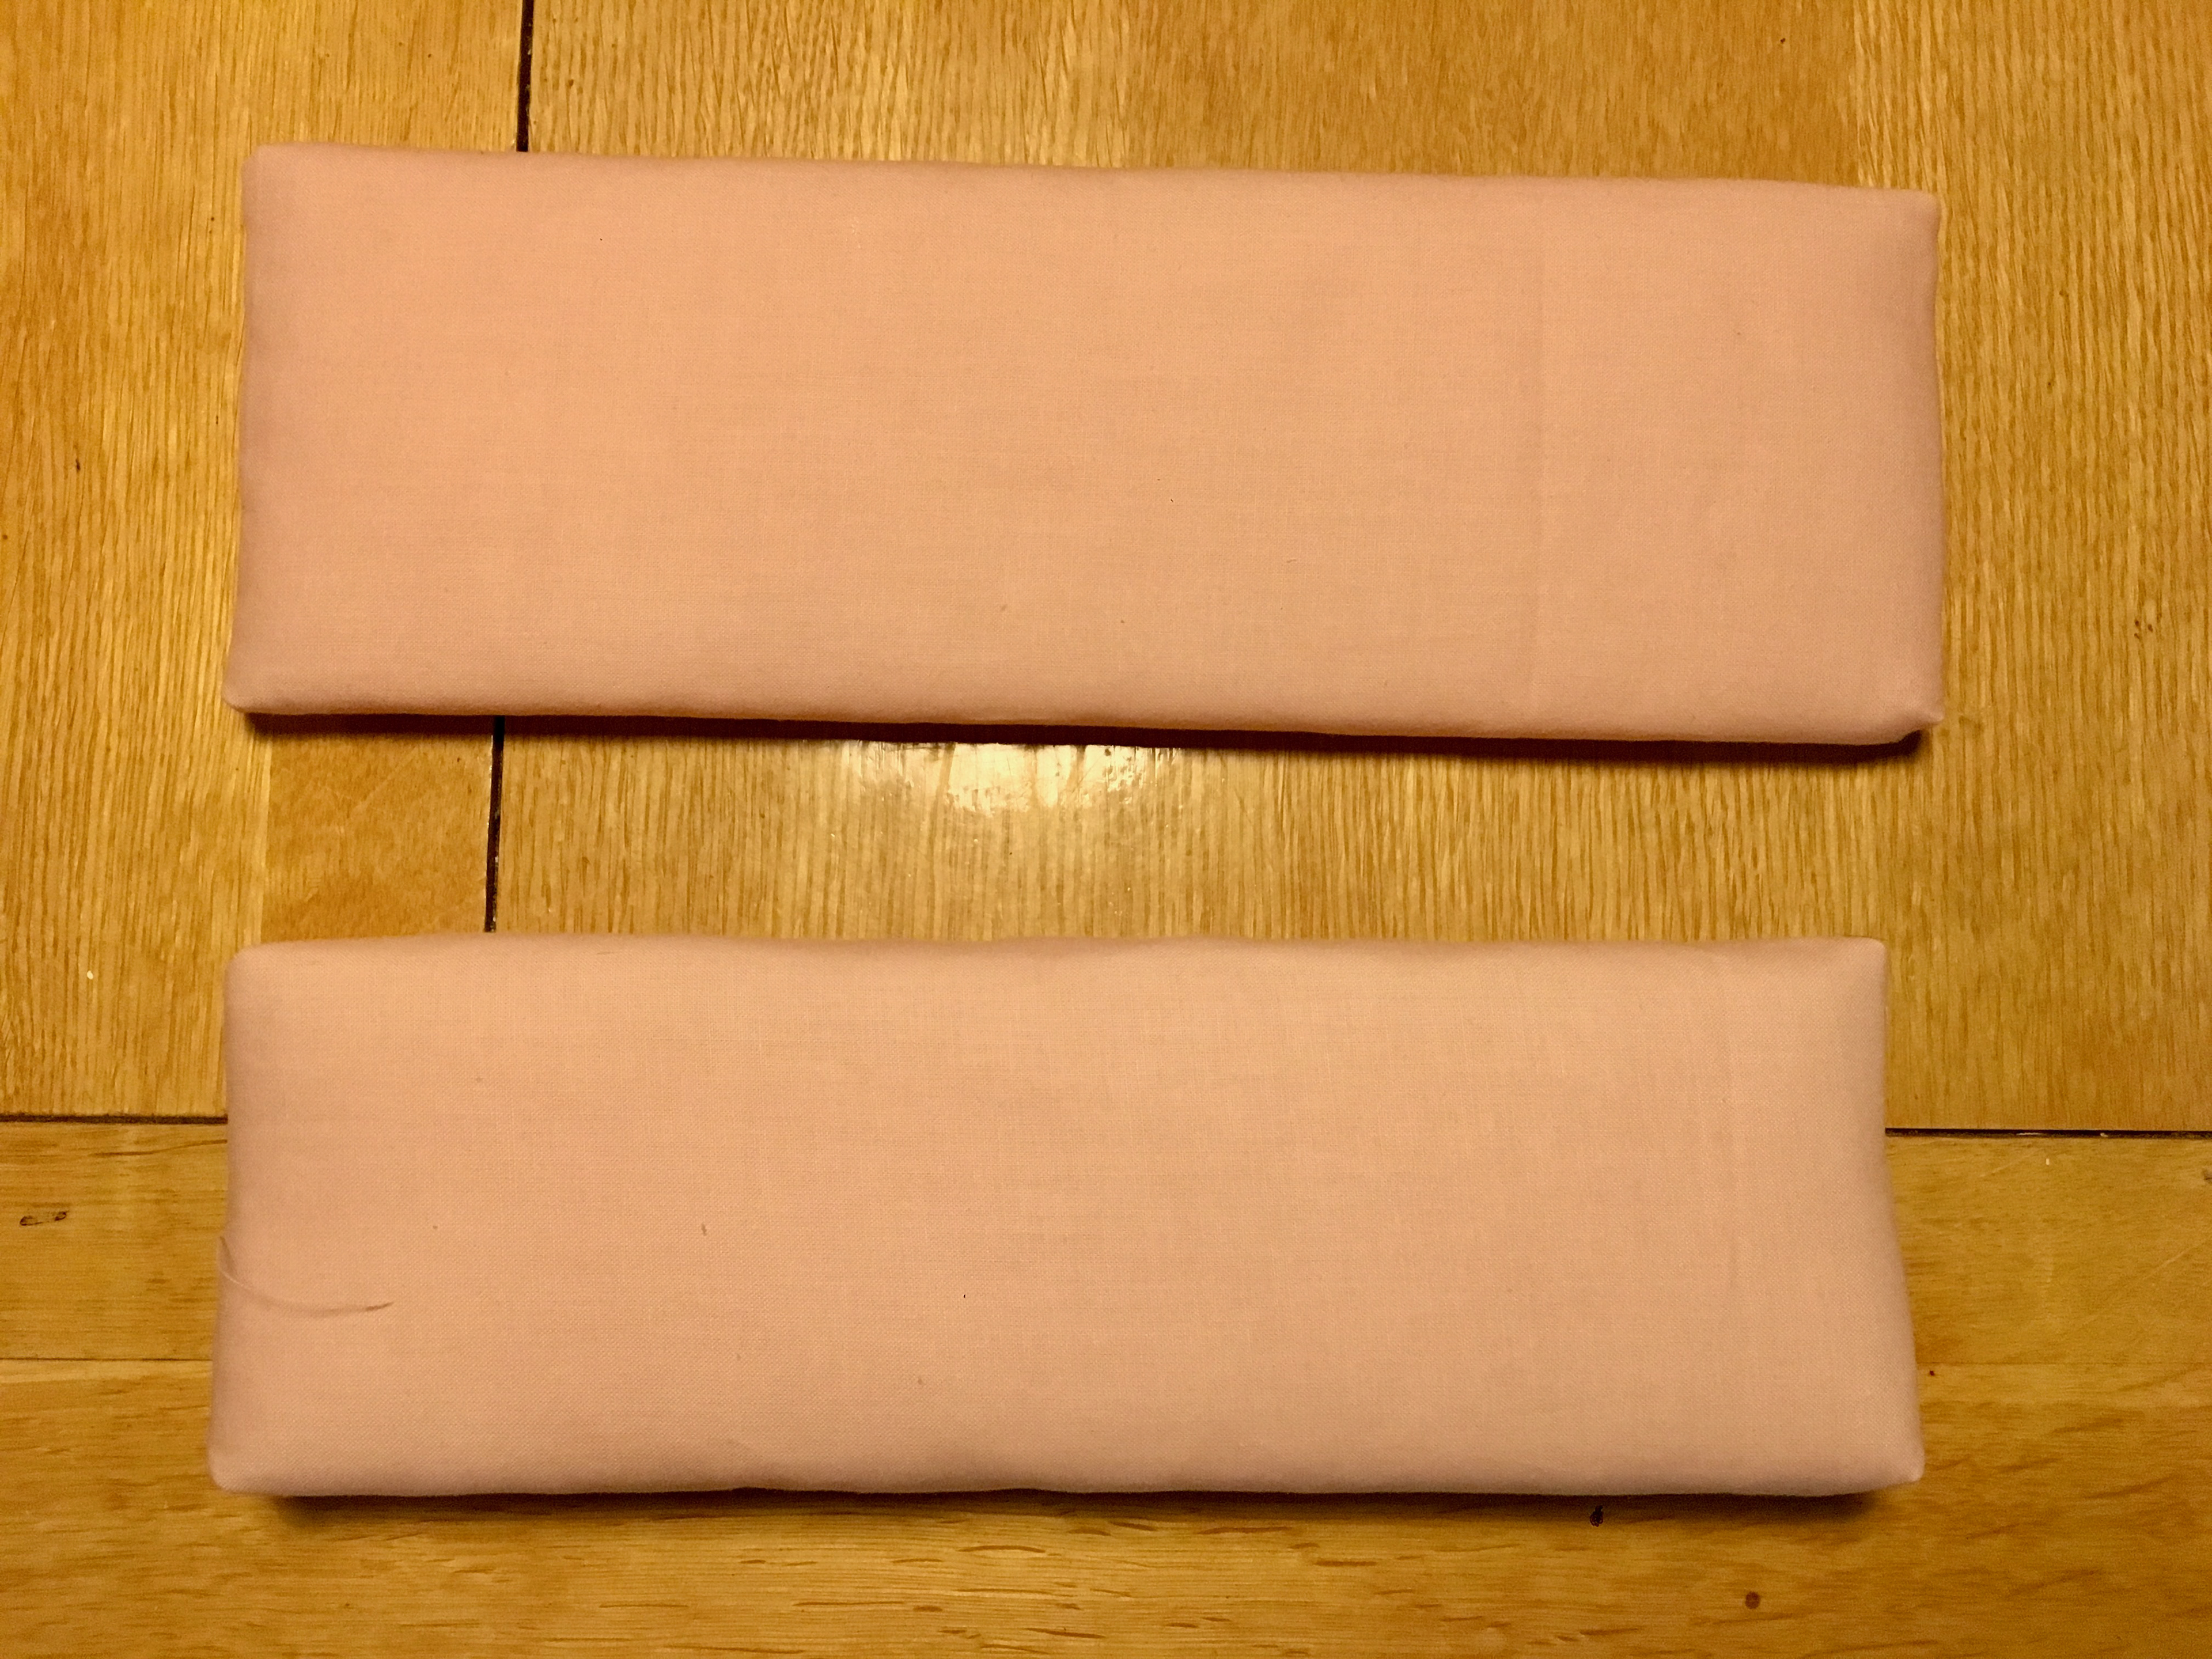
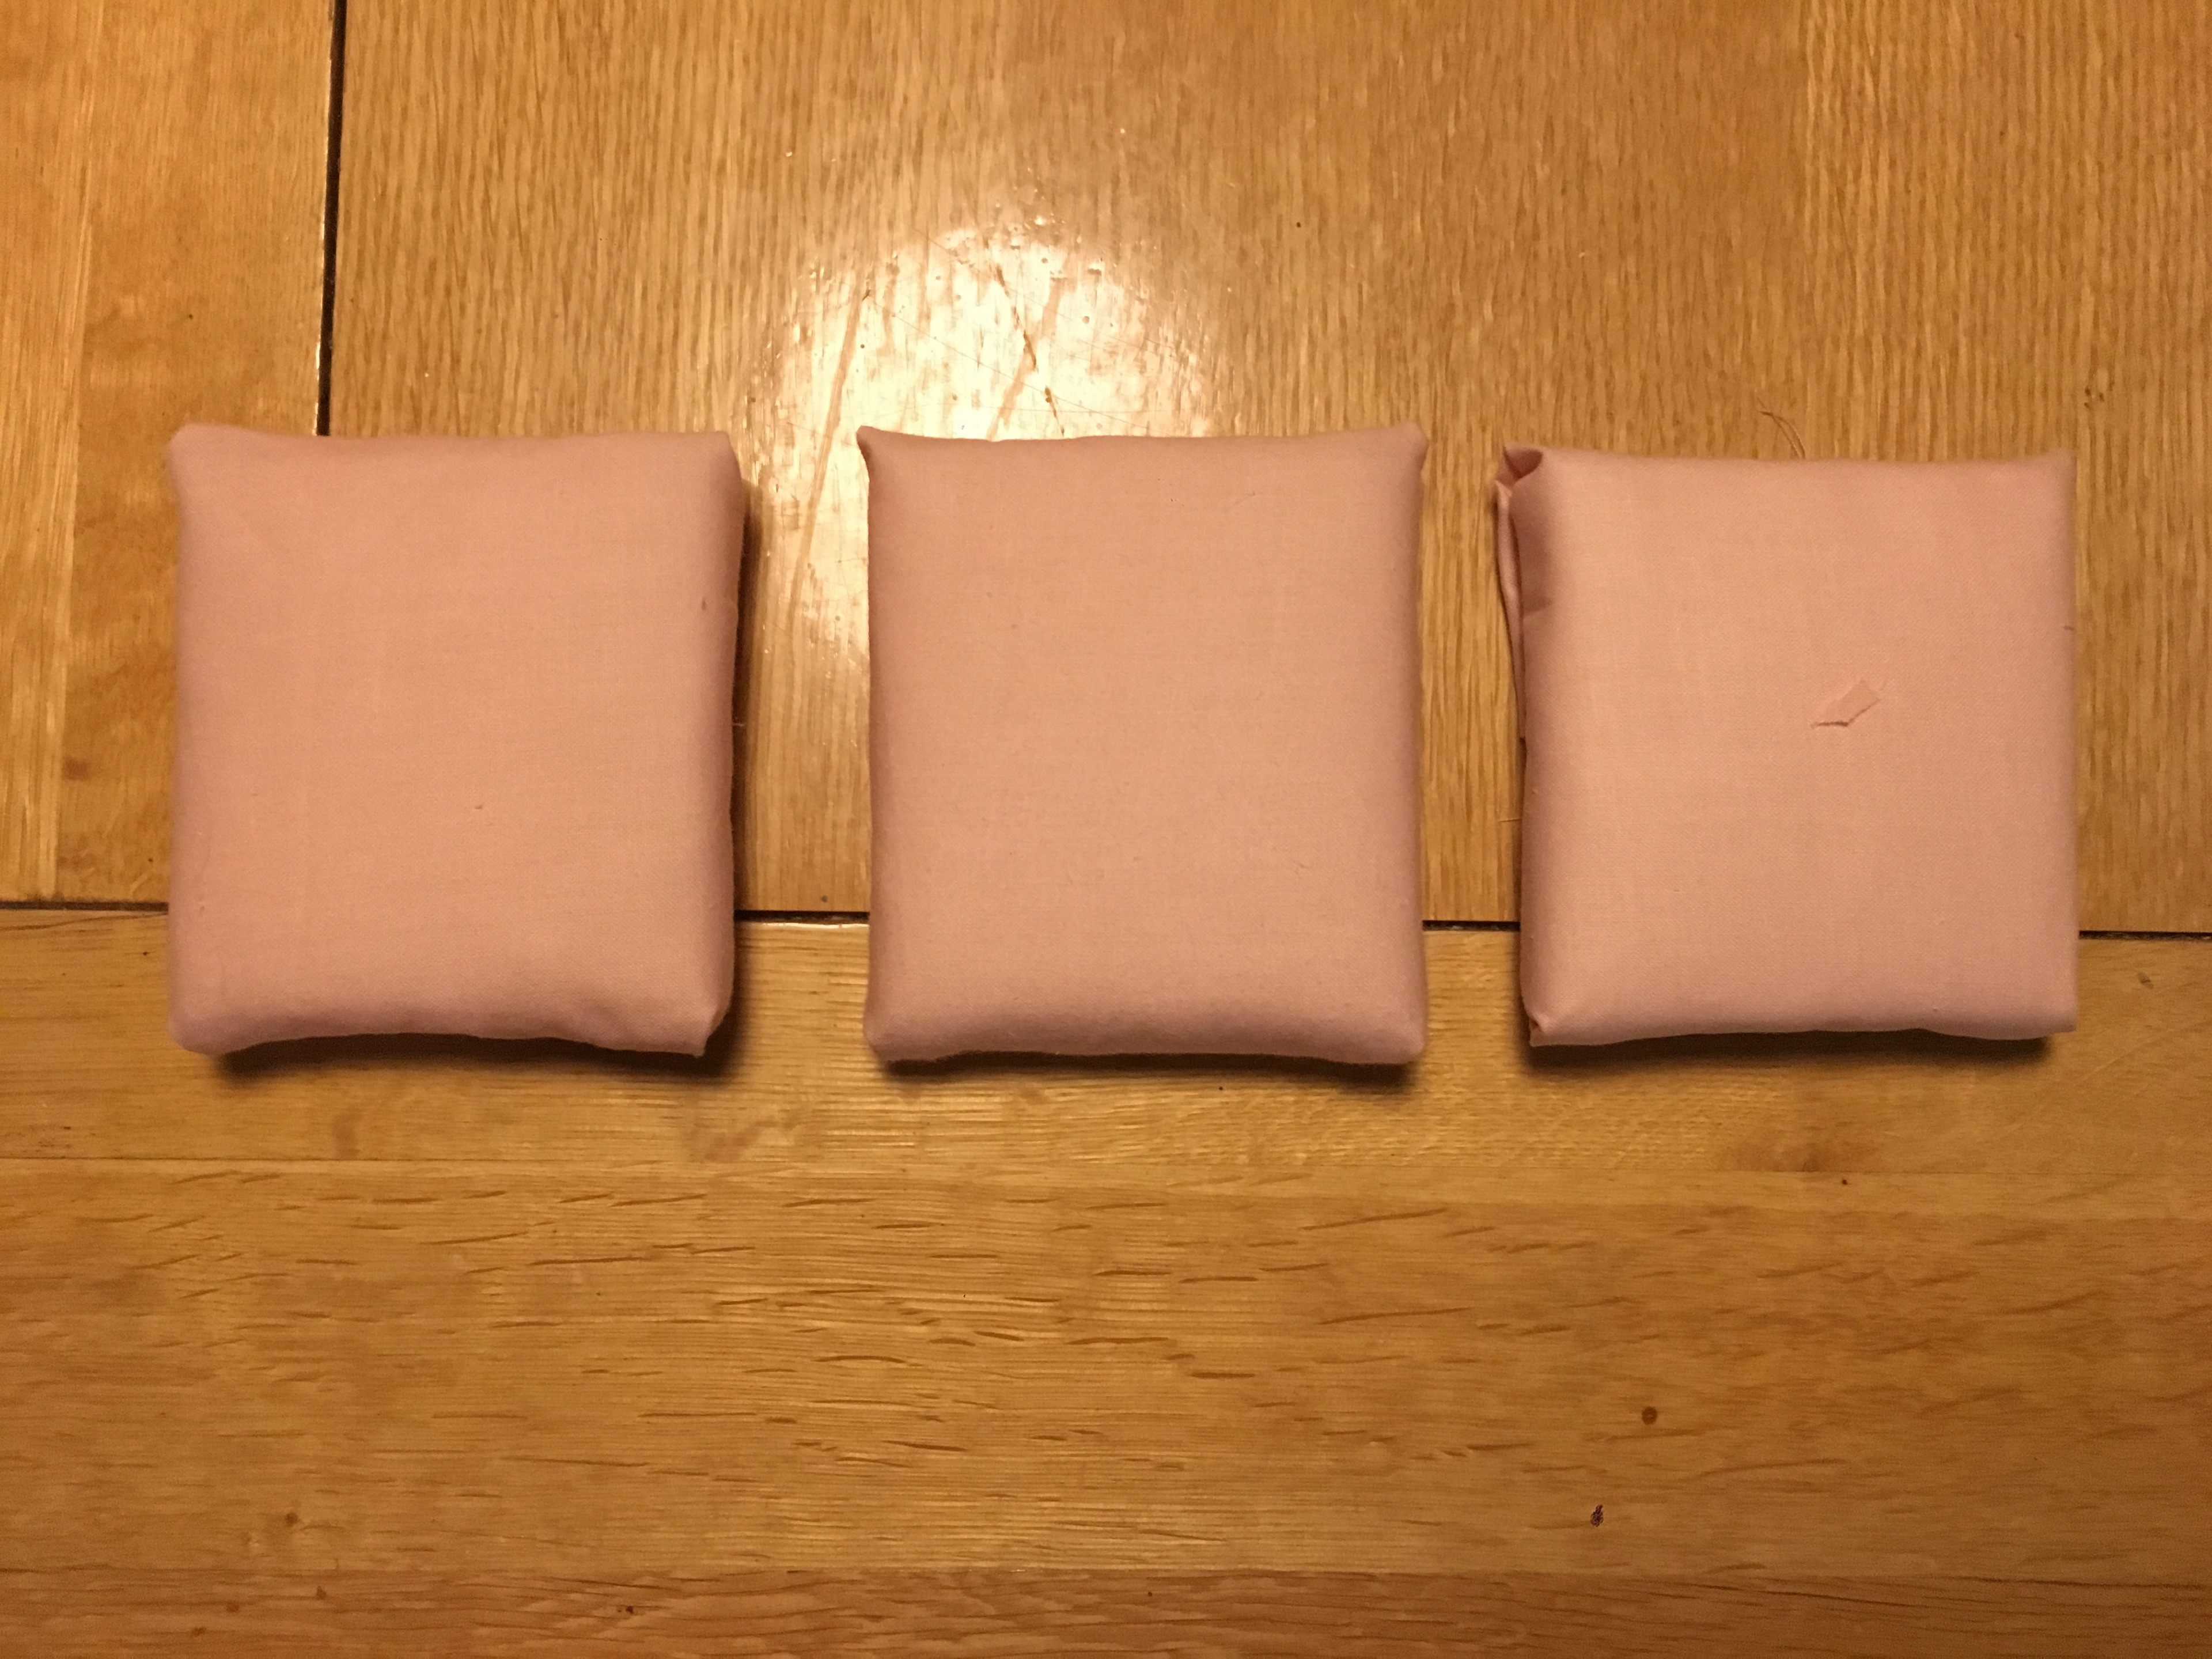
The sofa was build using foam board and cotton stuffing for the structure. Cotton sheets were used to create the sofa covers.
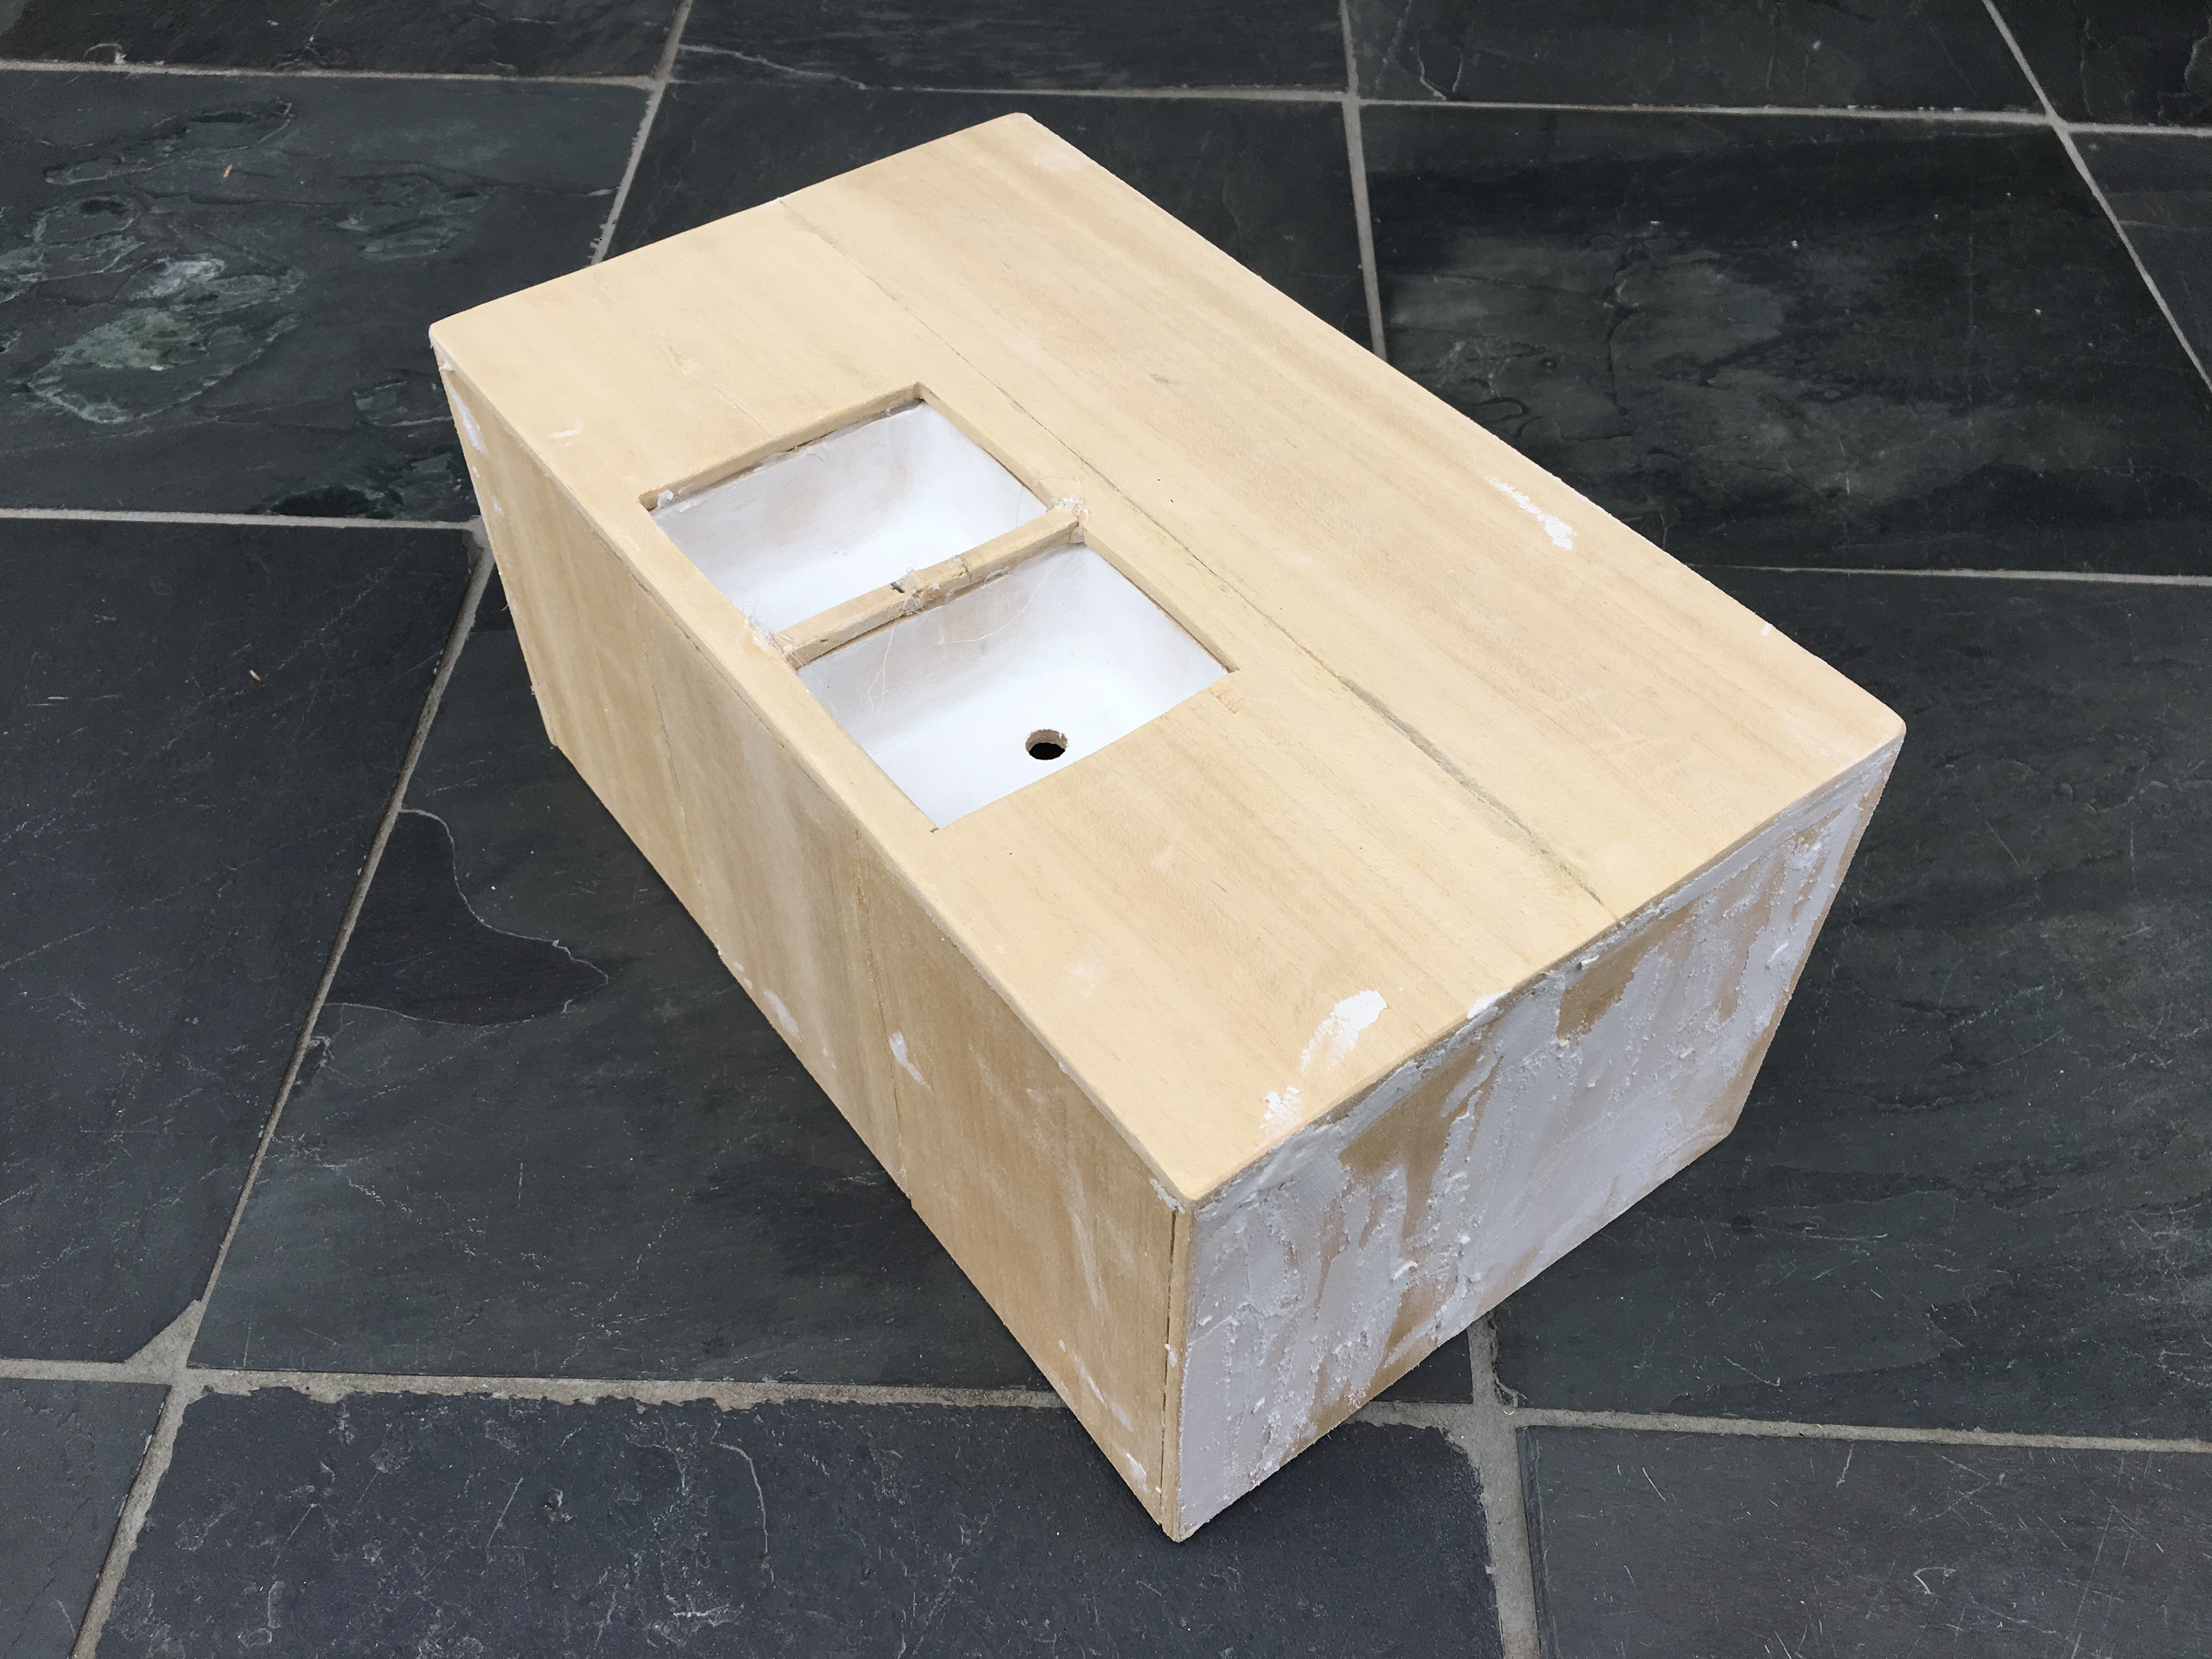
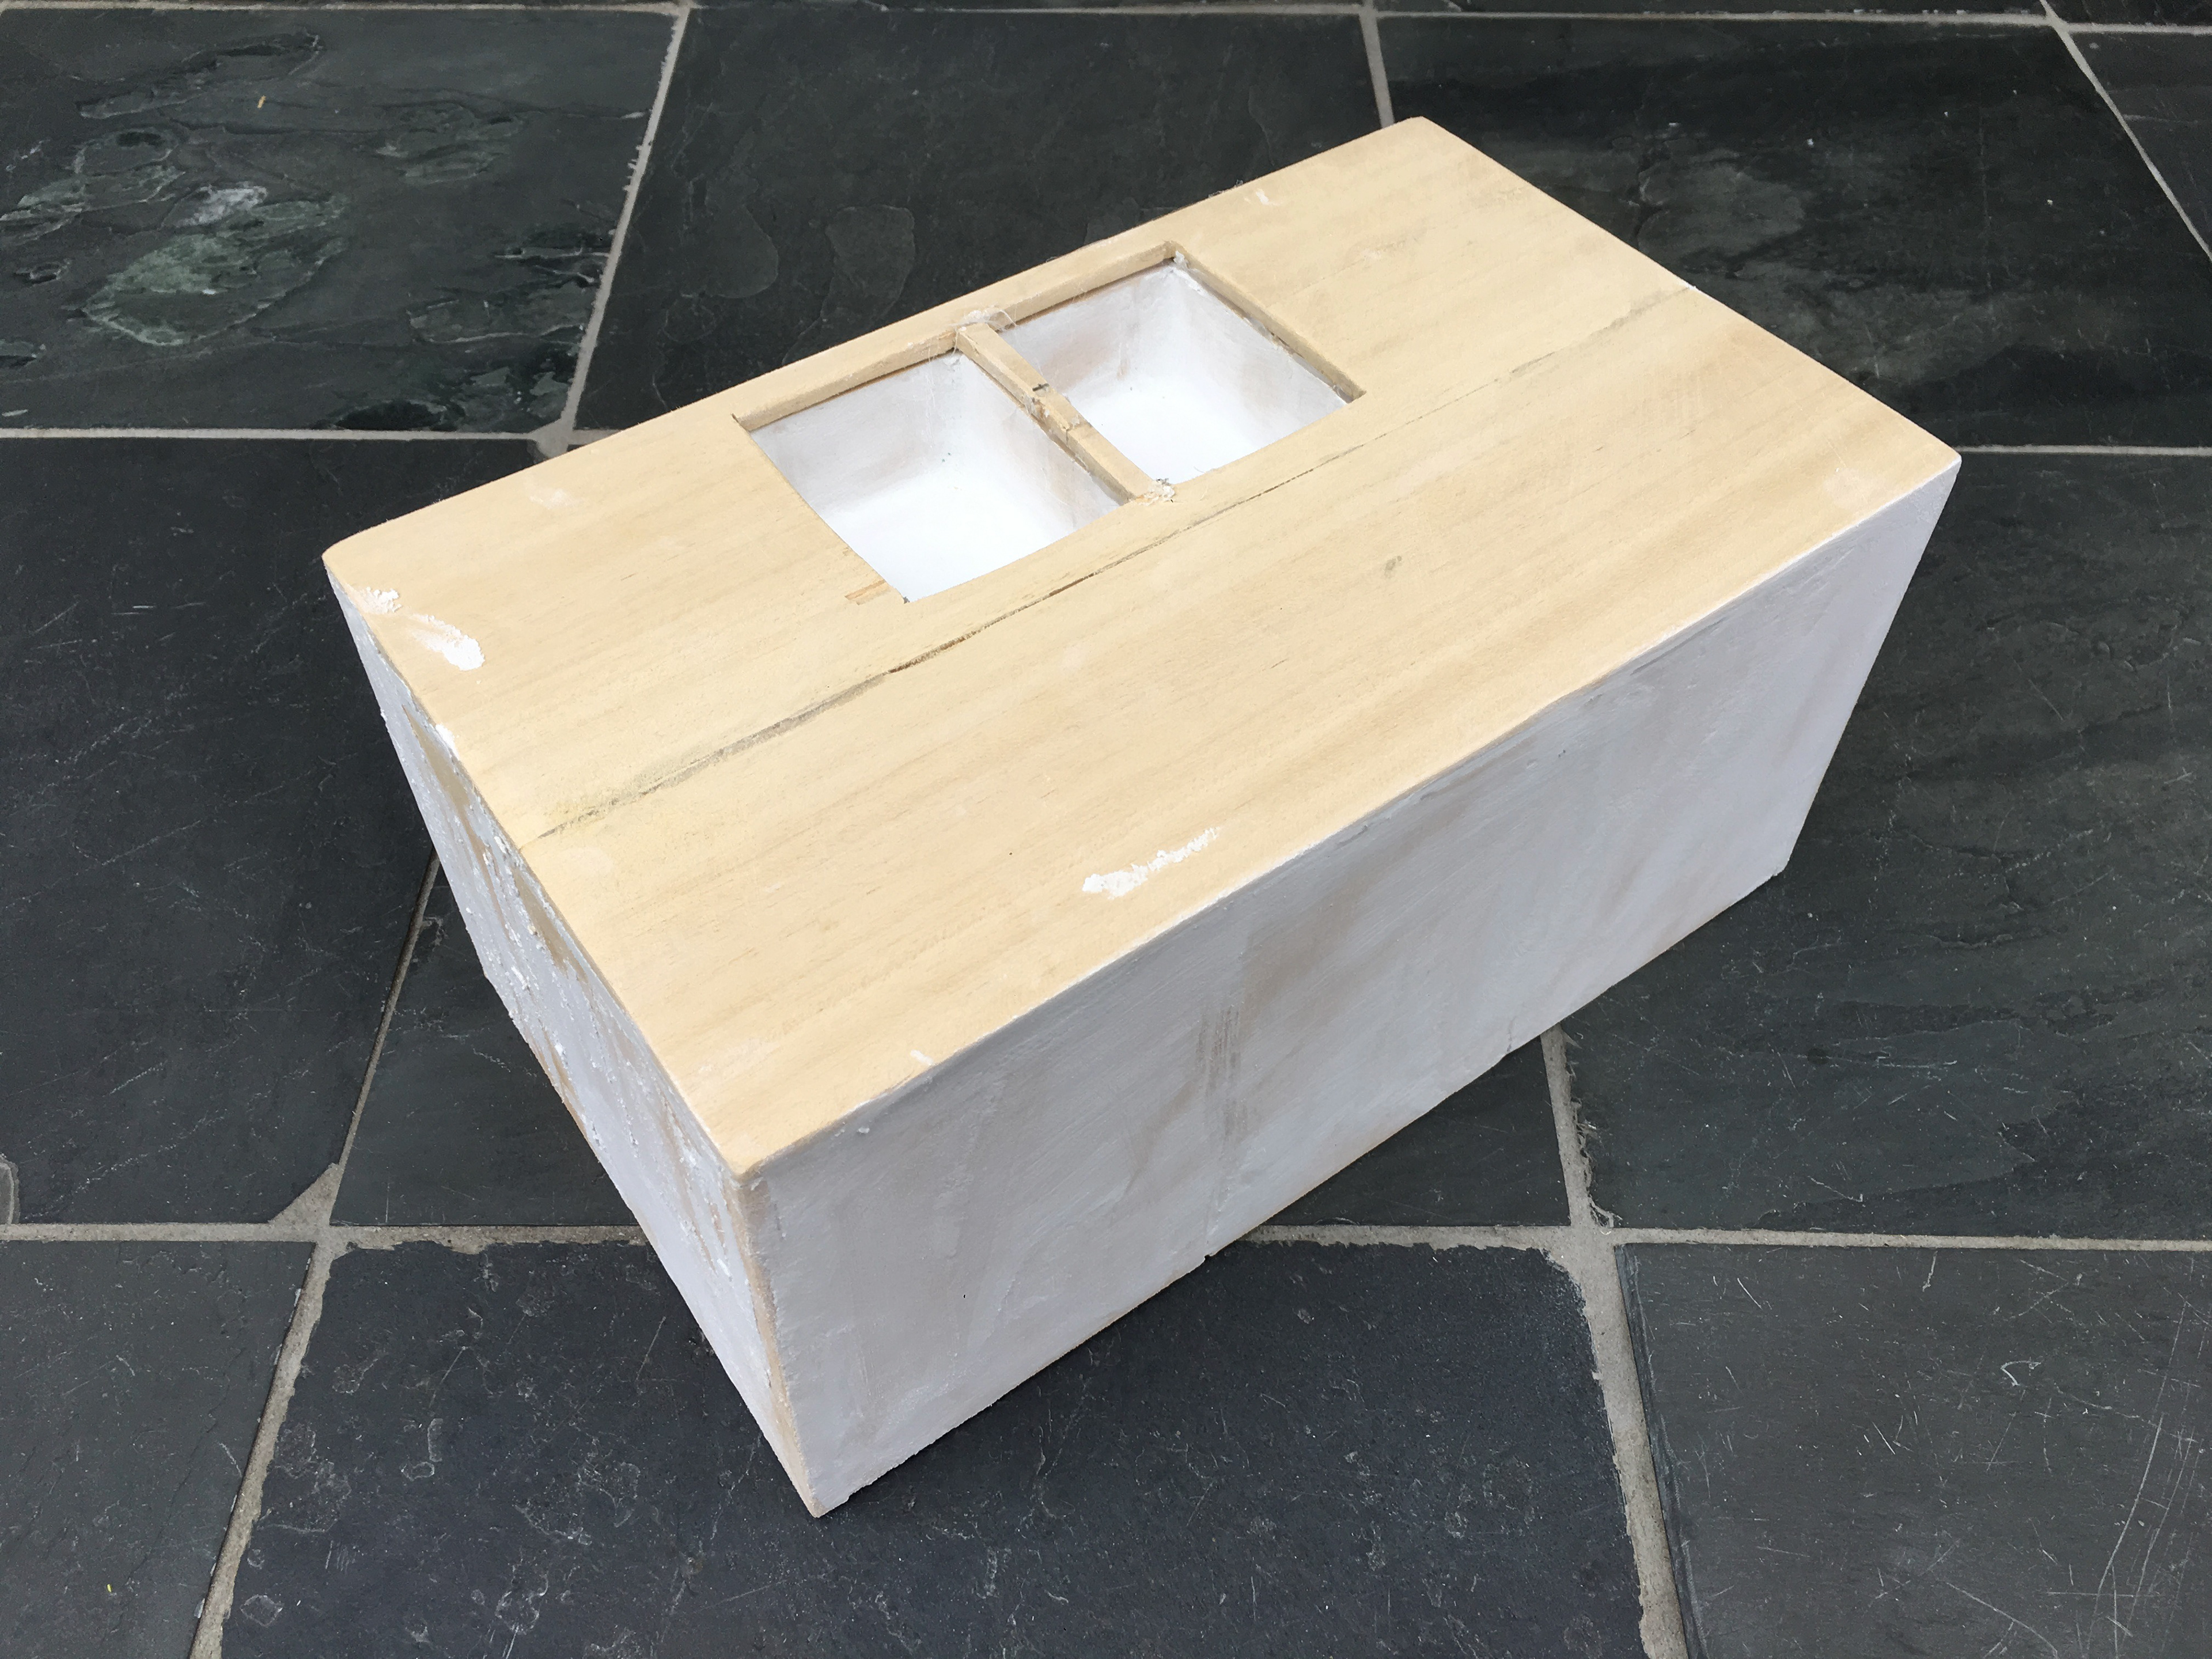
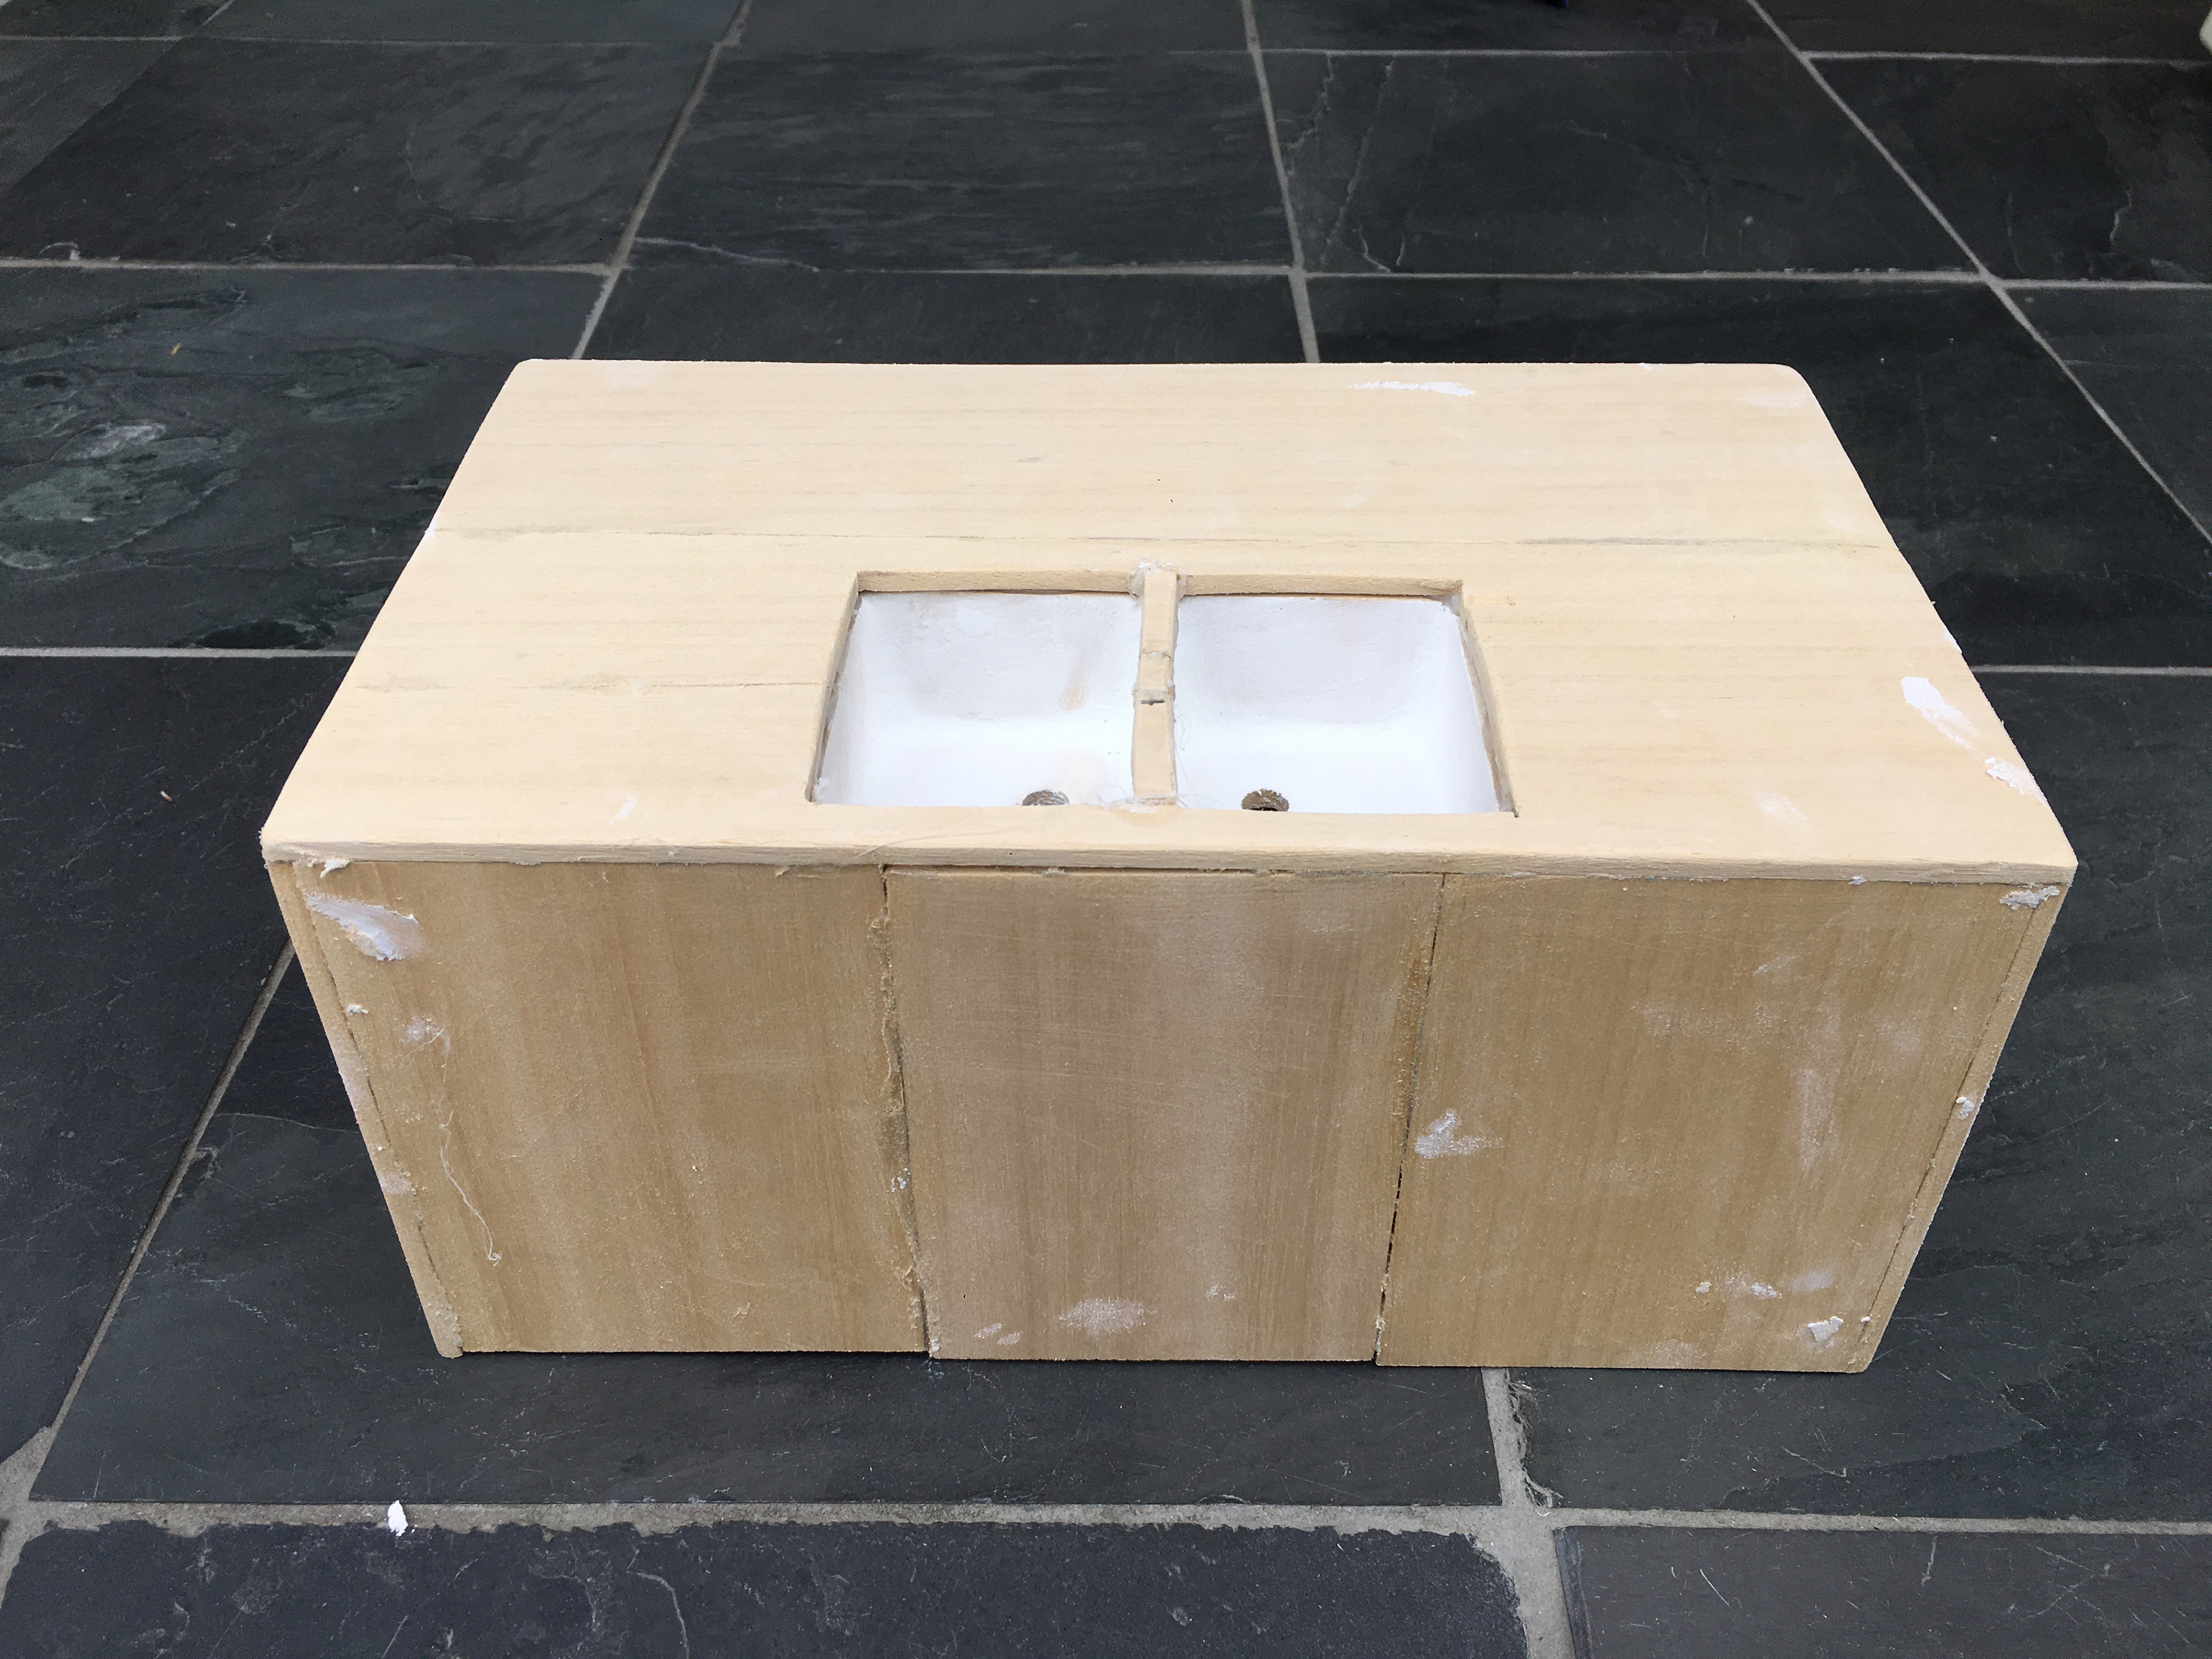
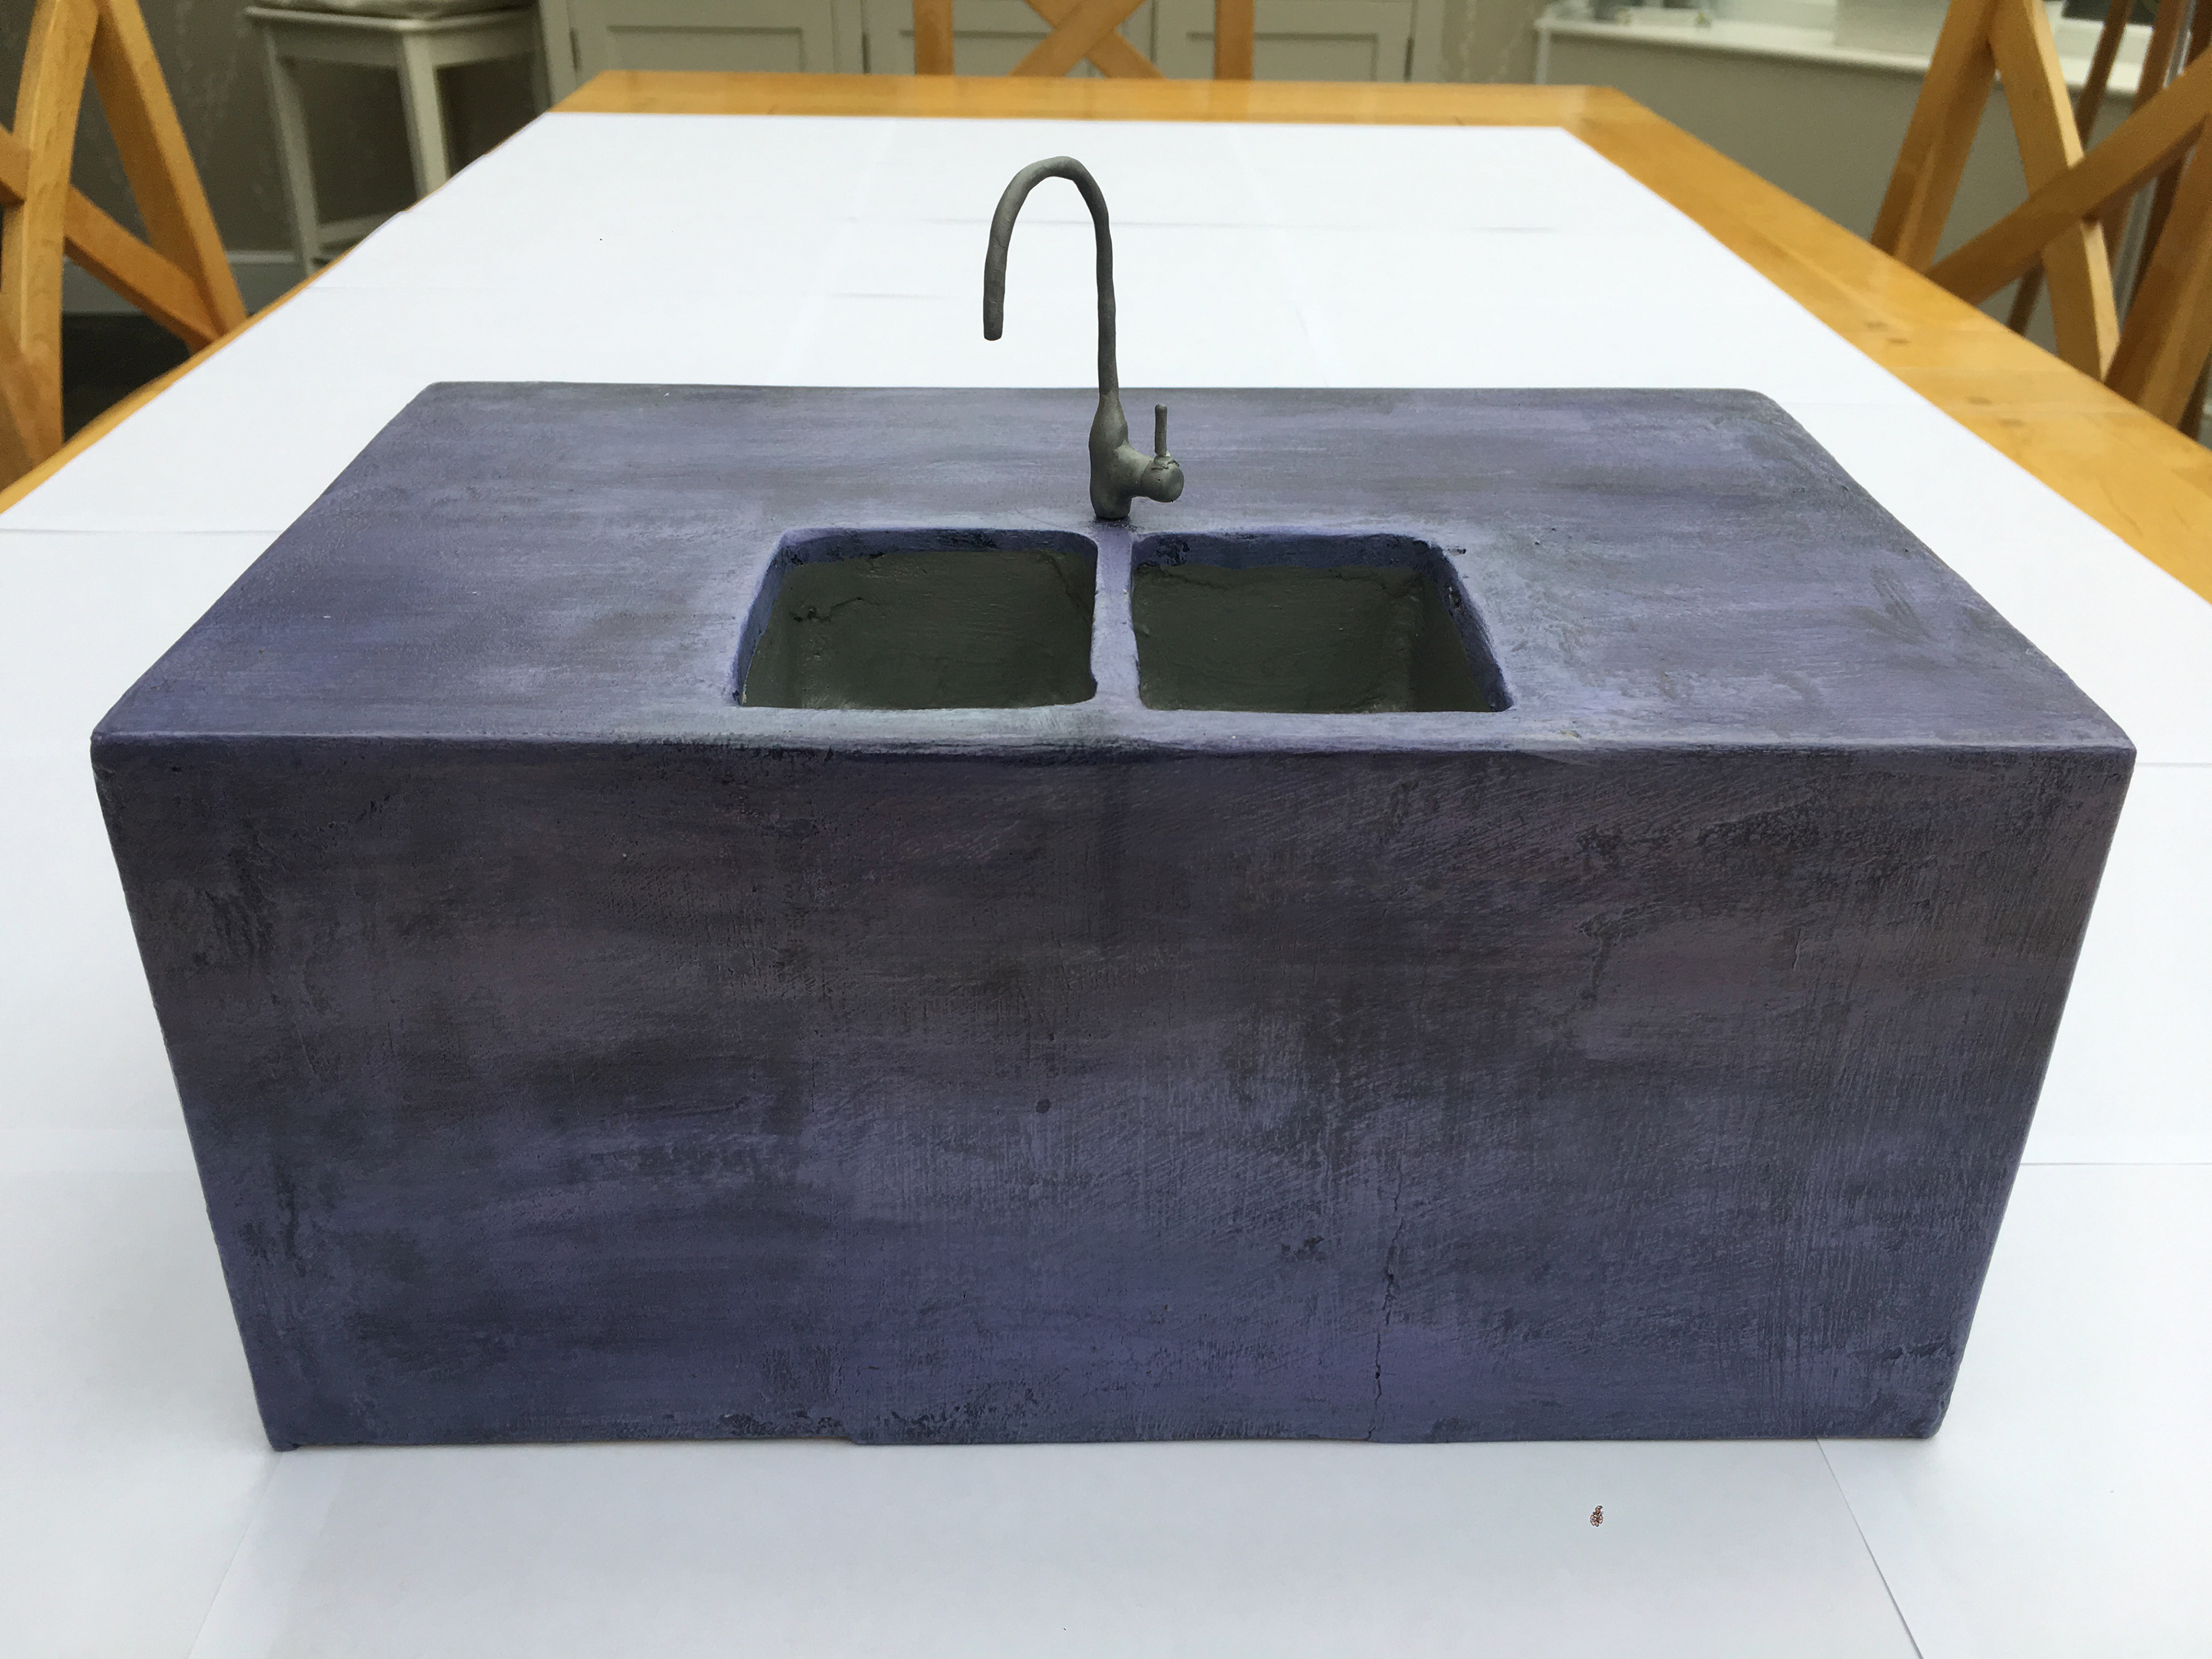
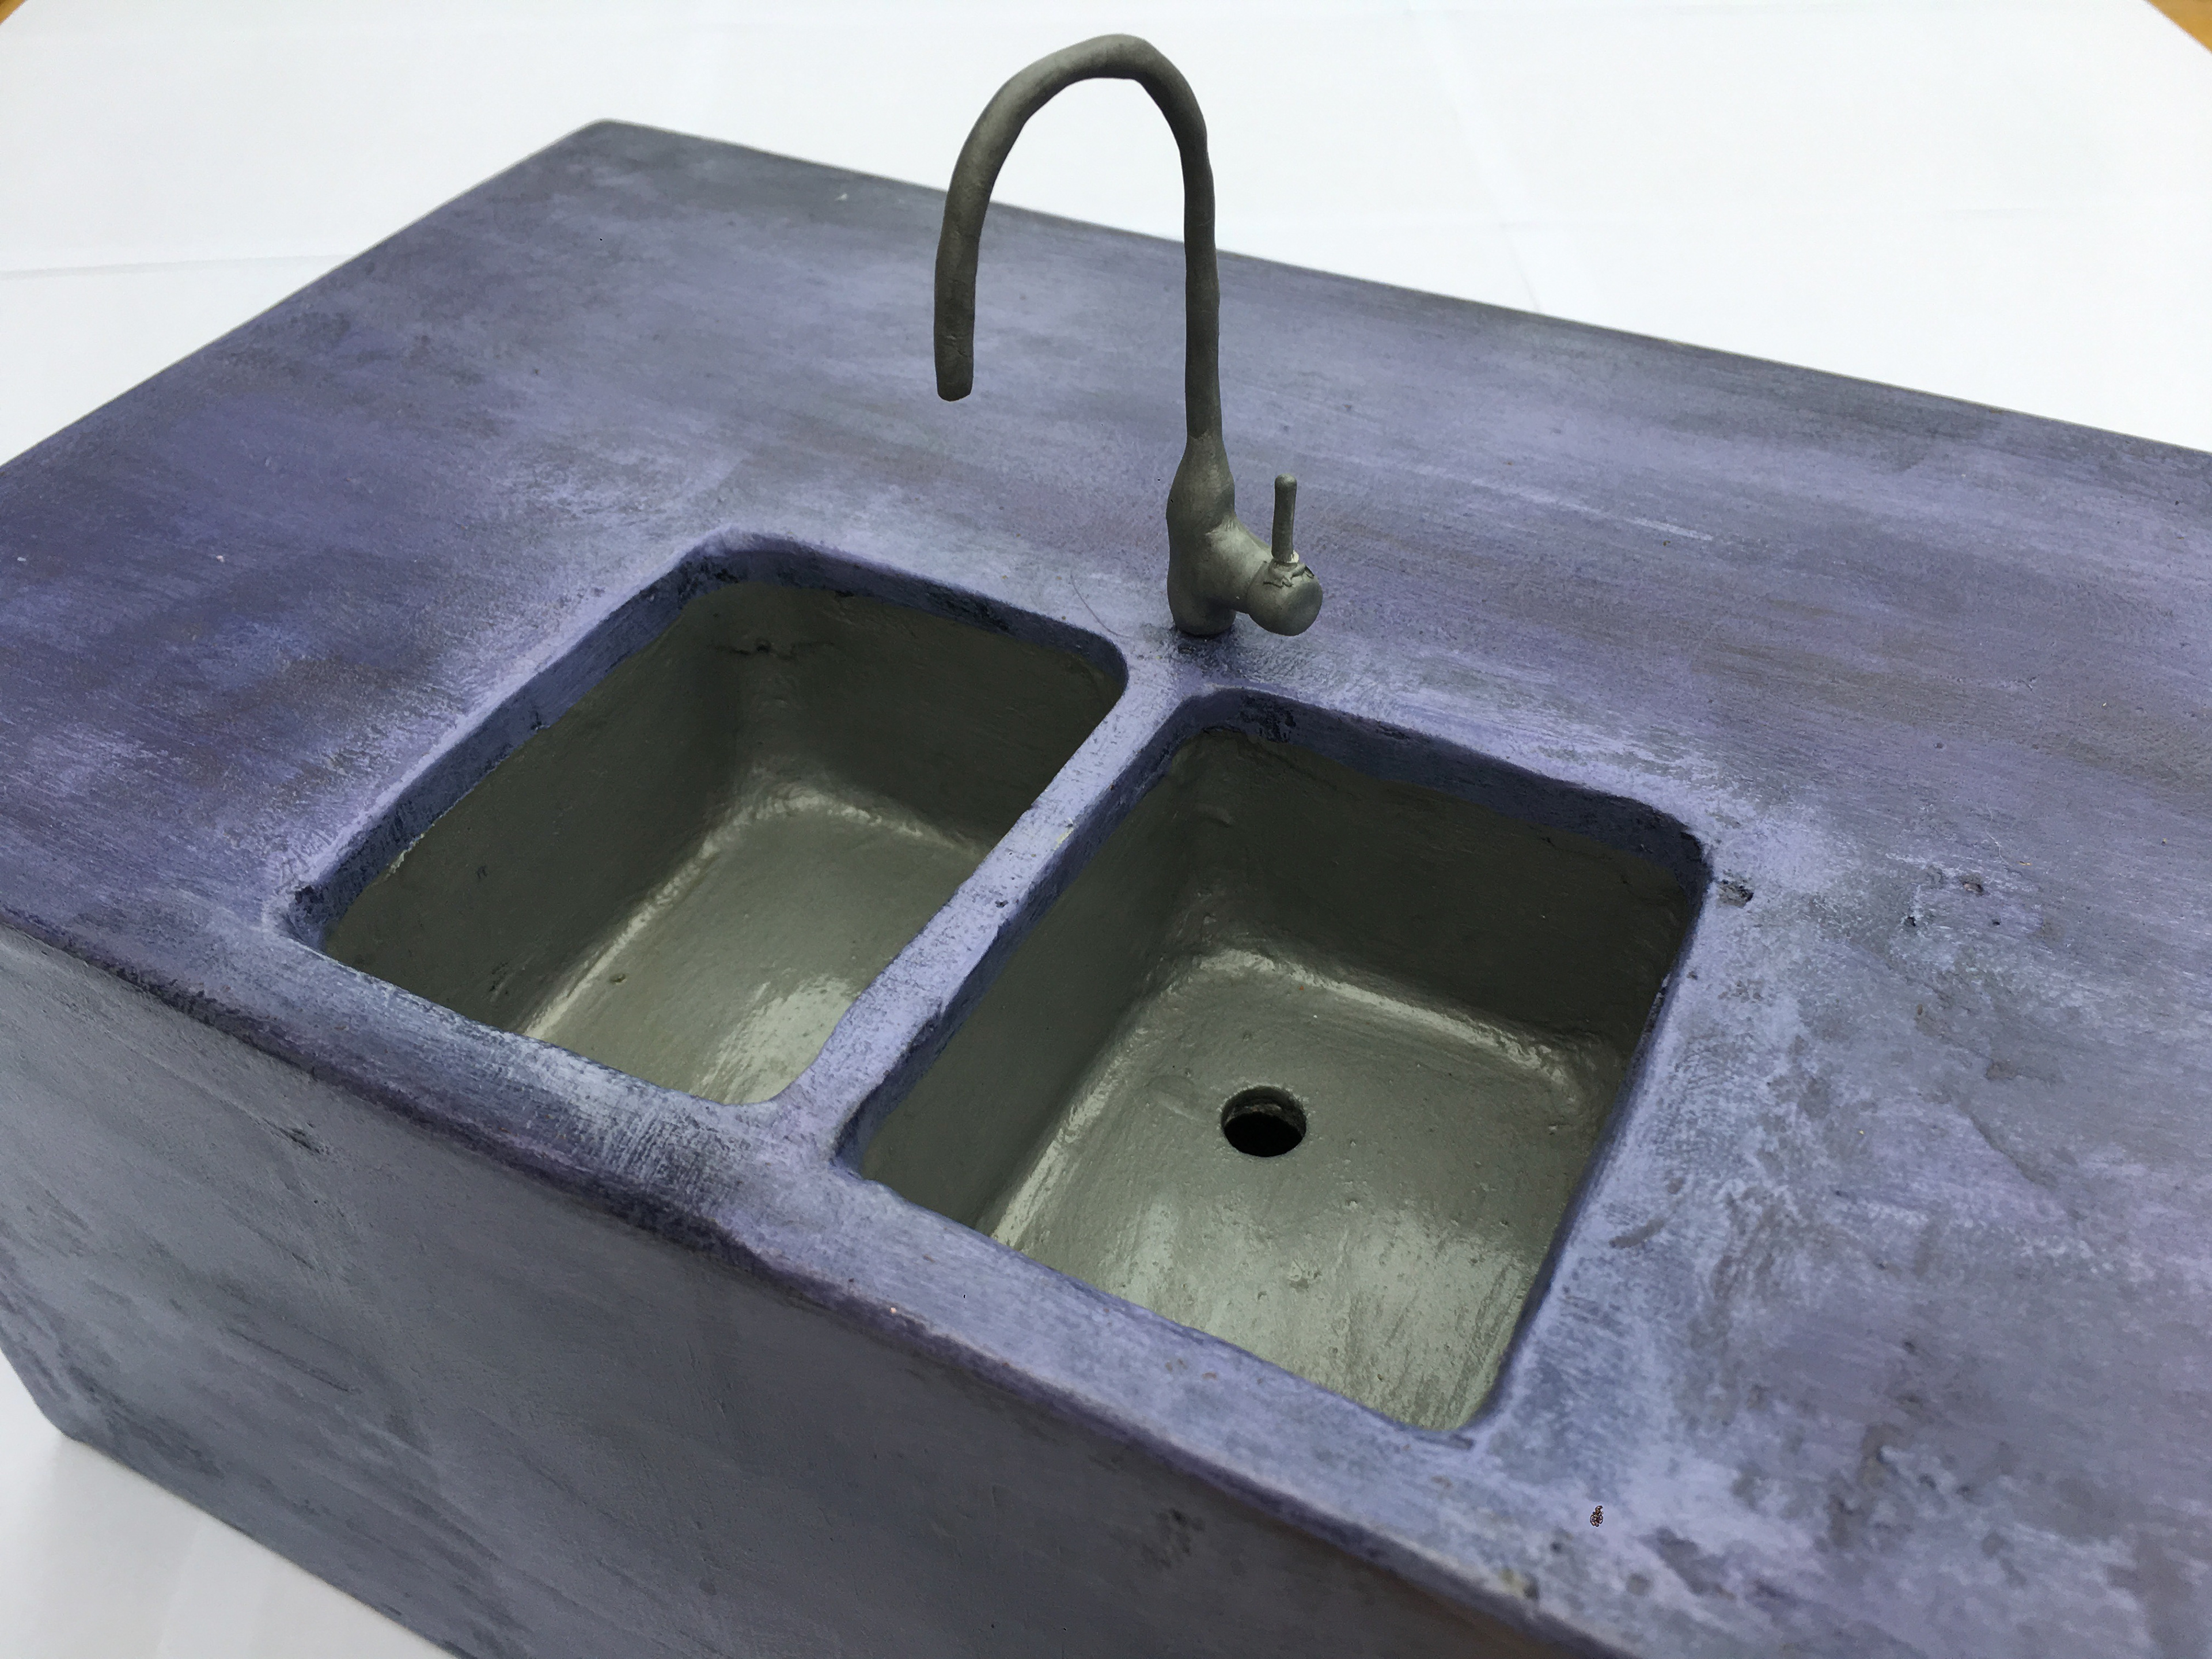
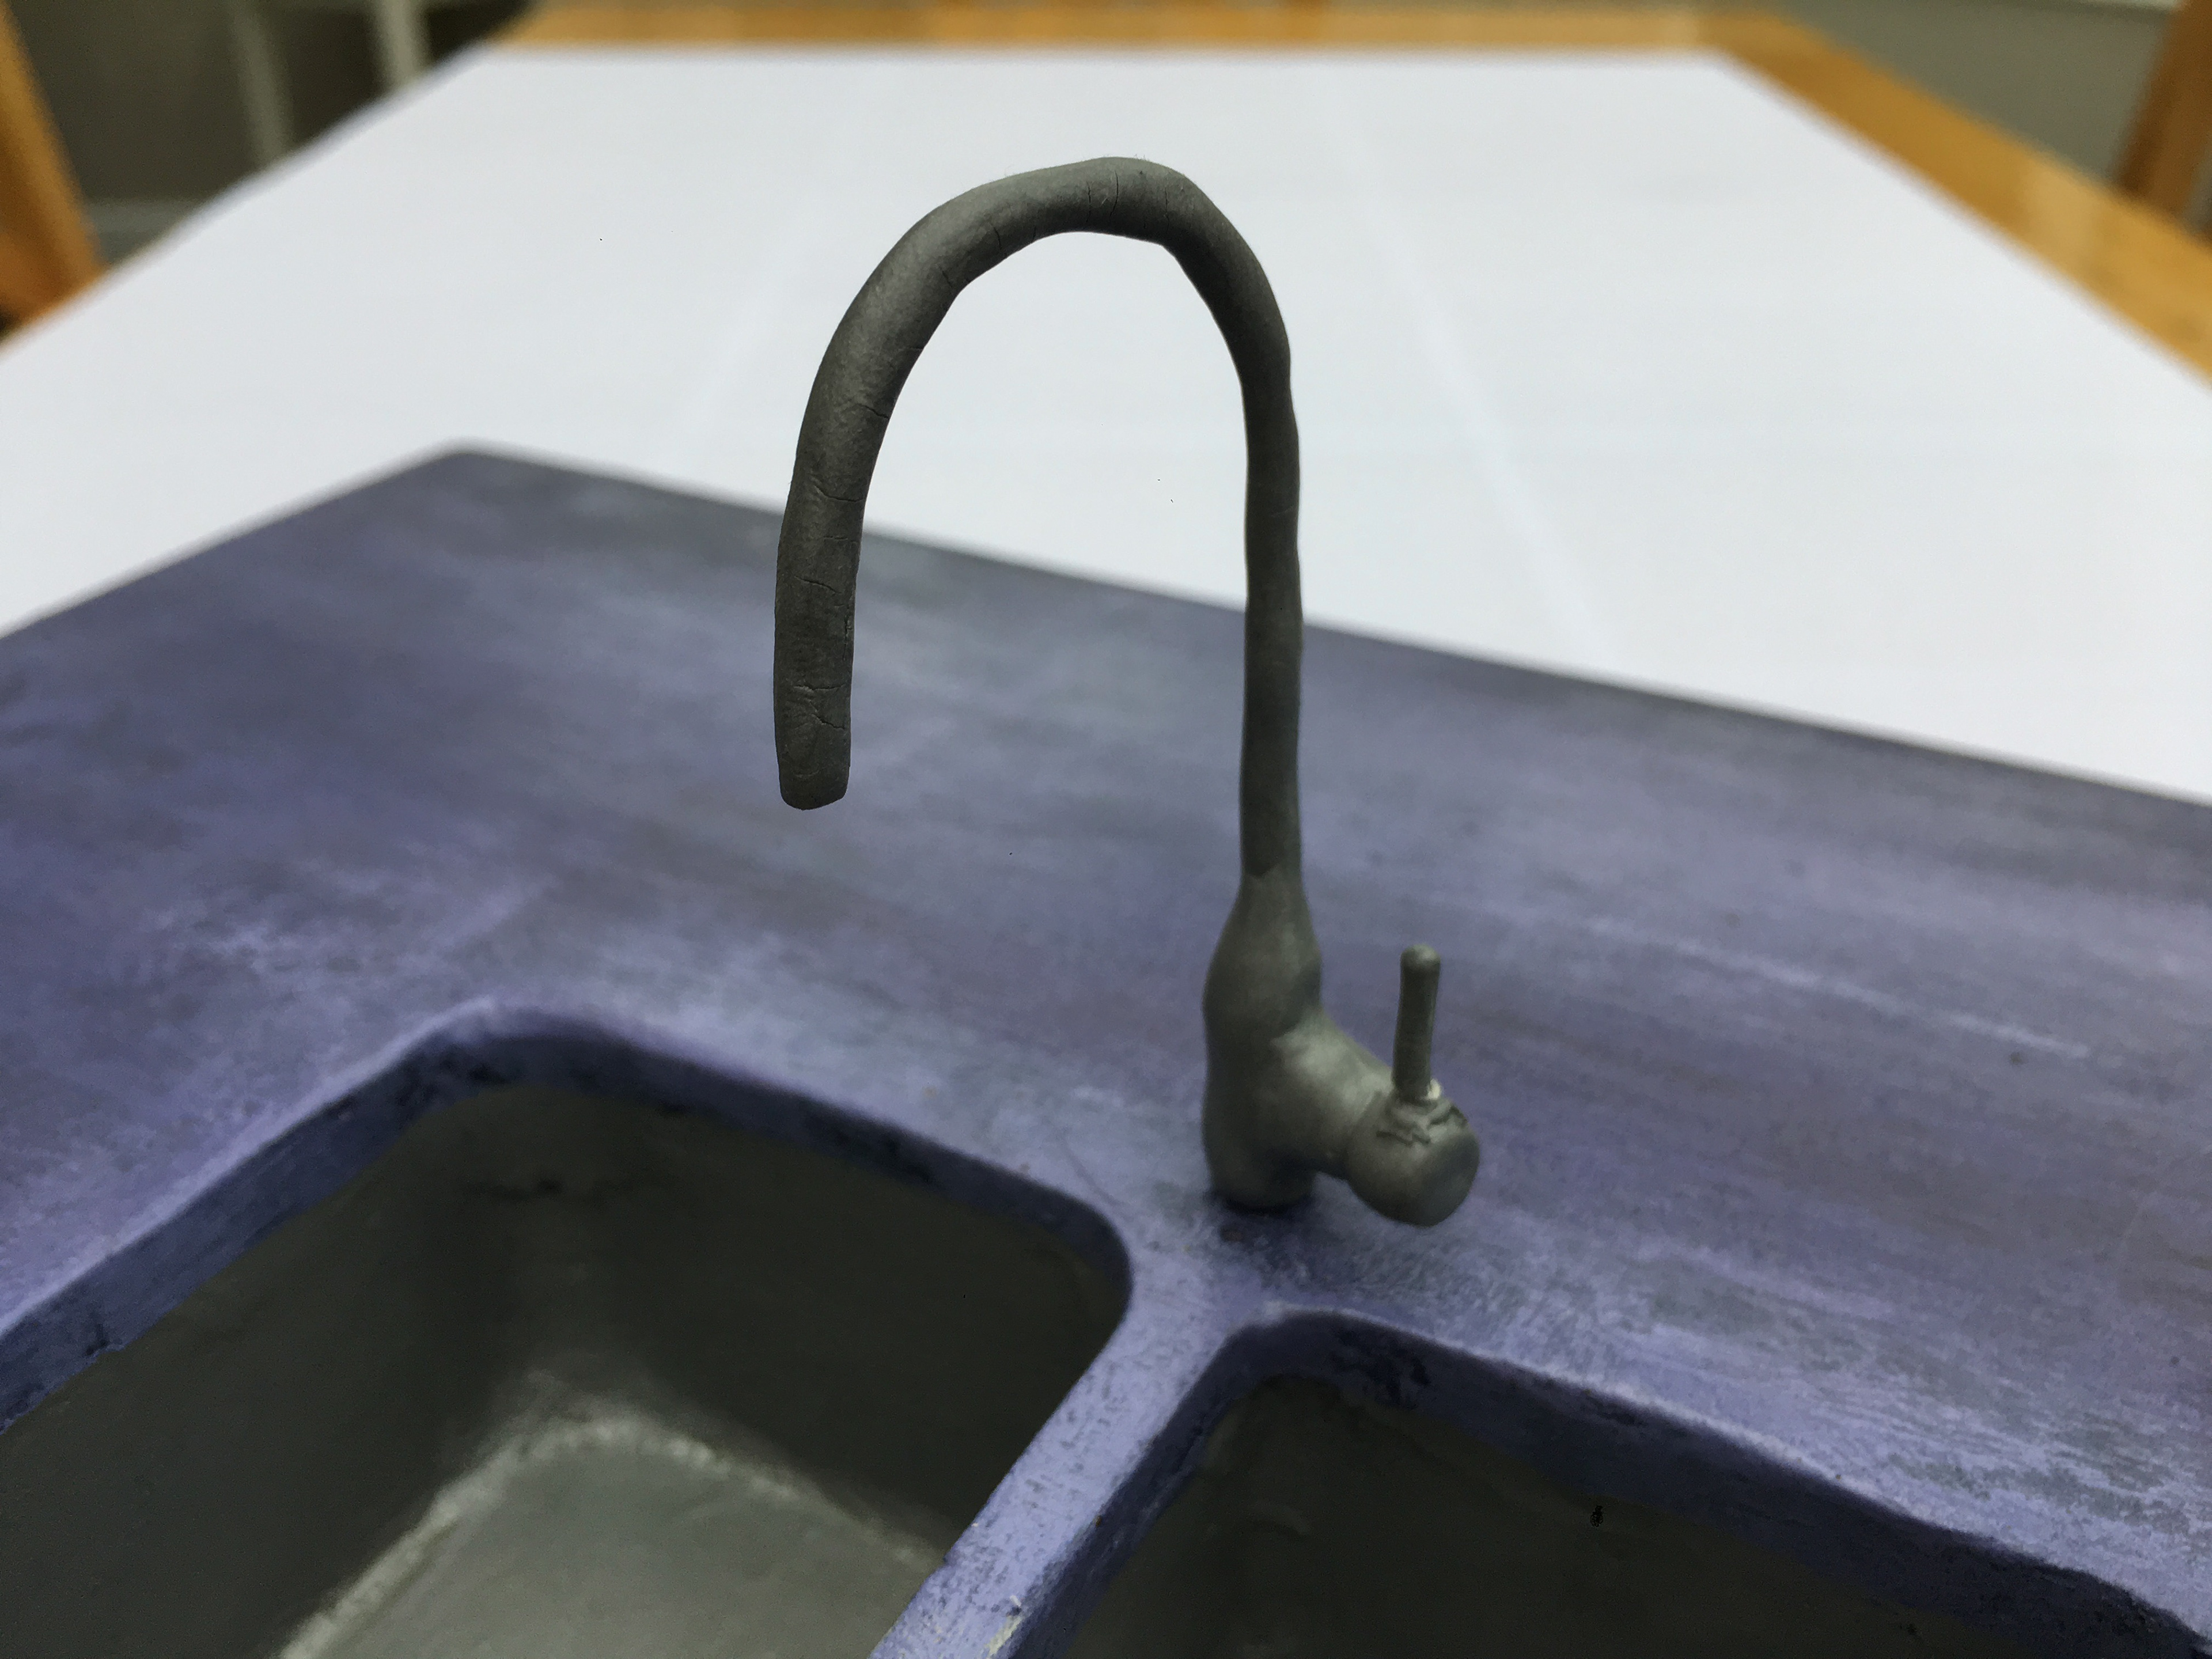
The sink was build using a mix obeche wood and multi- purpose filler. The tap was sculpted using aluminium wire and sculpey oven clay. The paint work was done using acrylics and varnish was used to create a glossy surface.
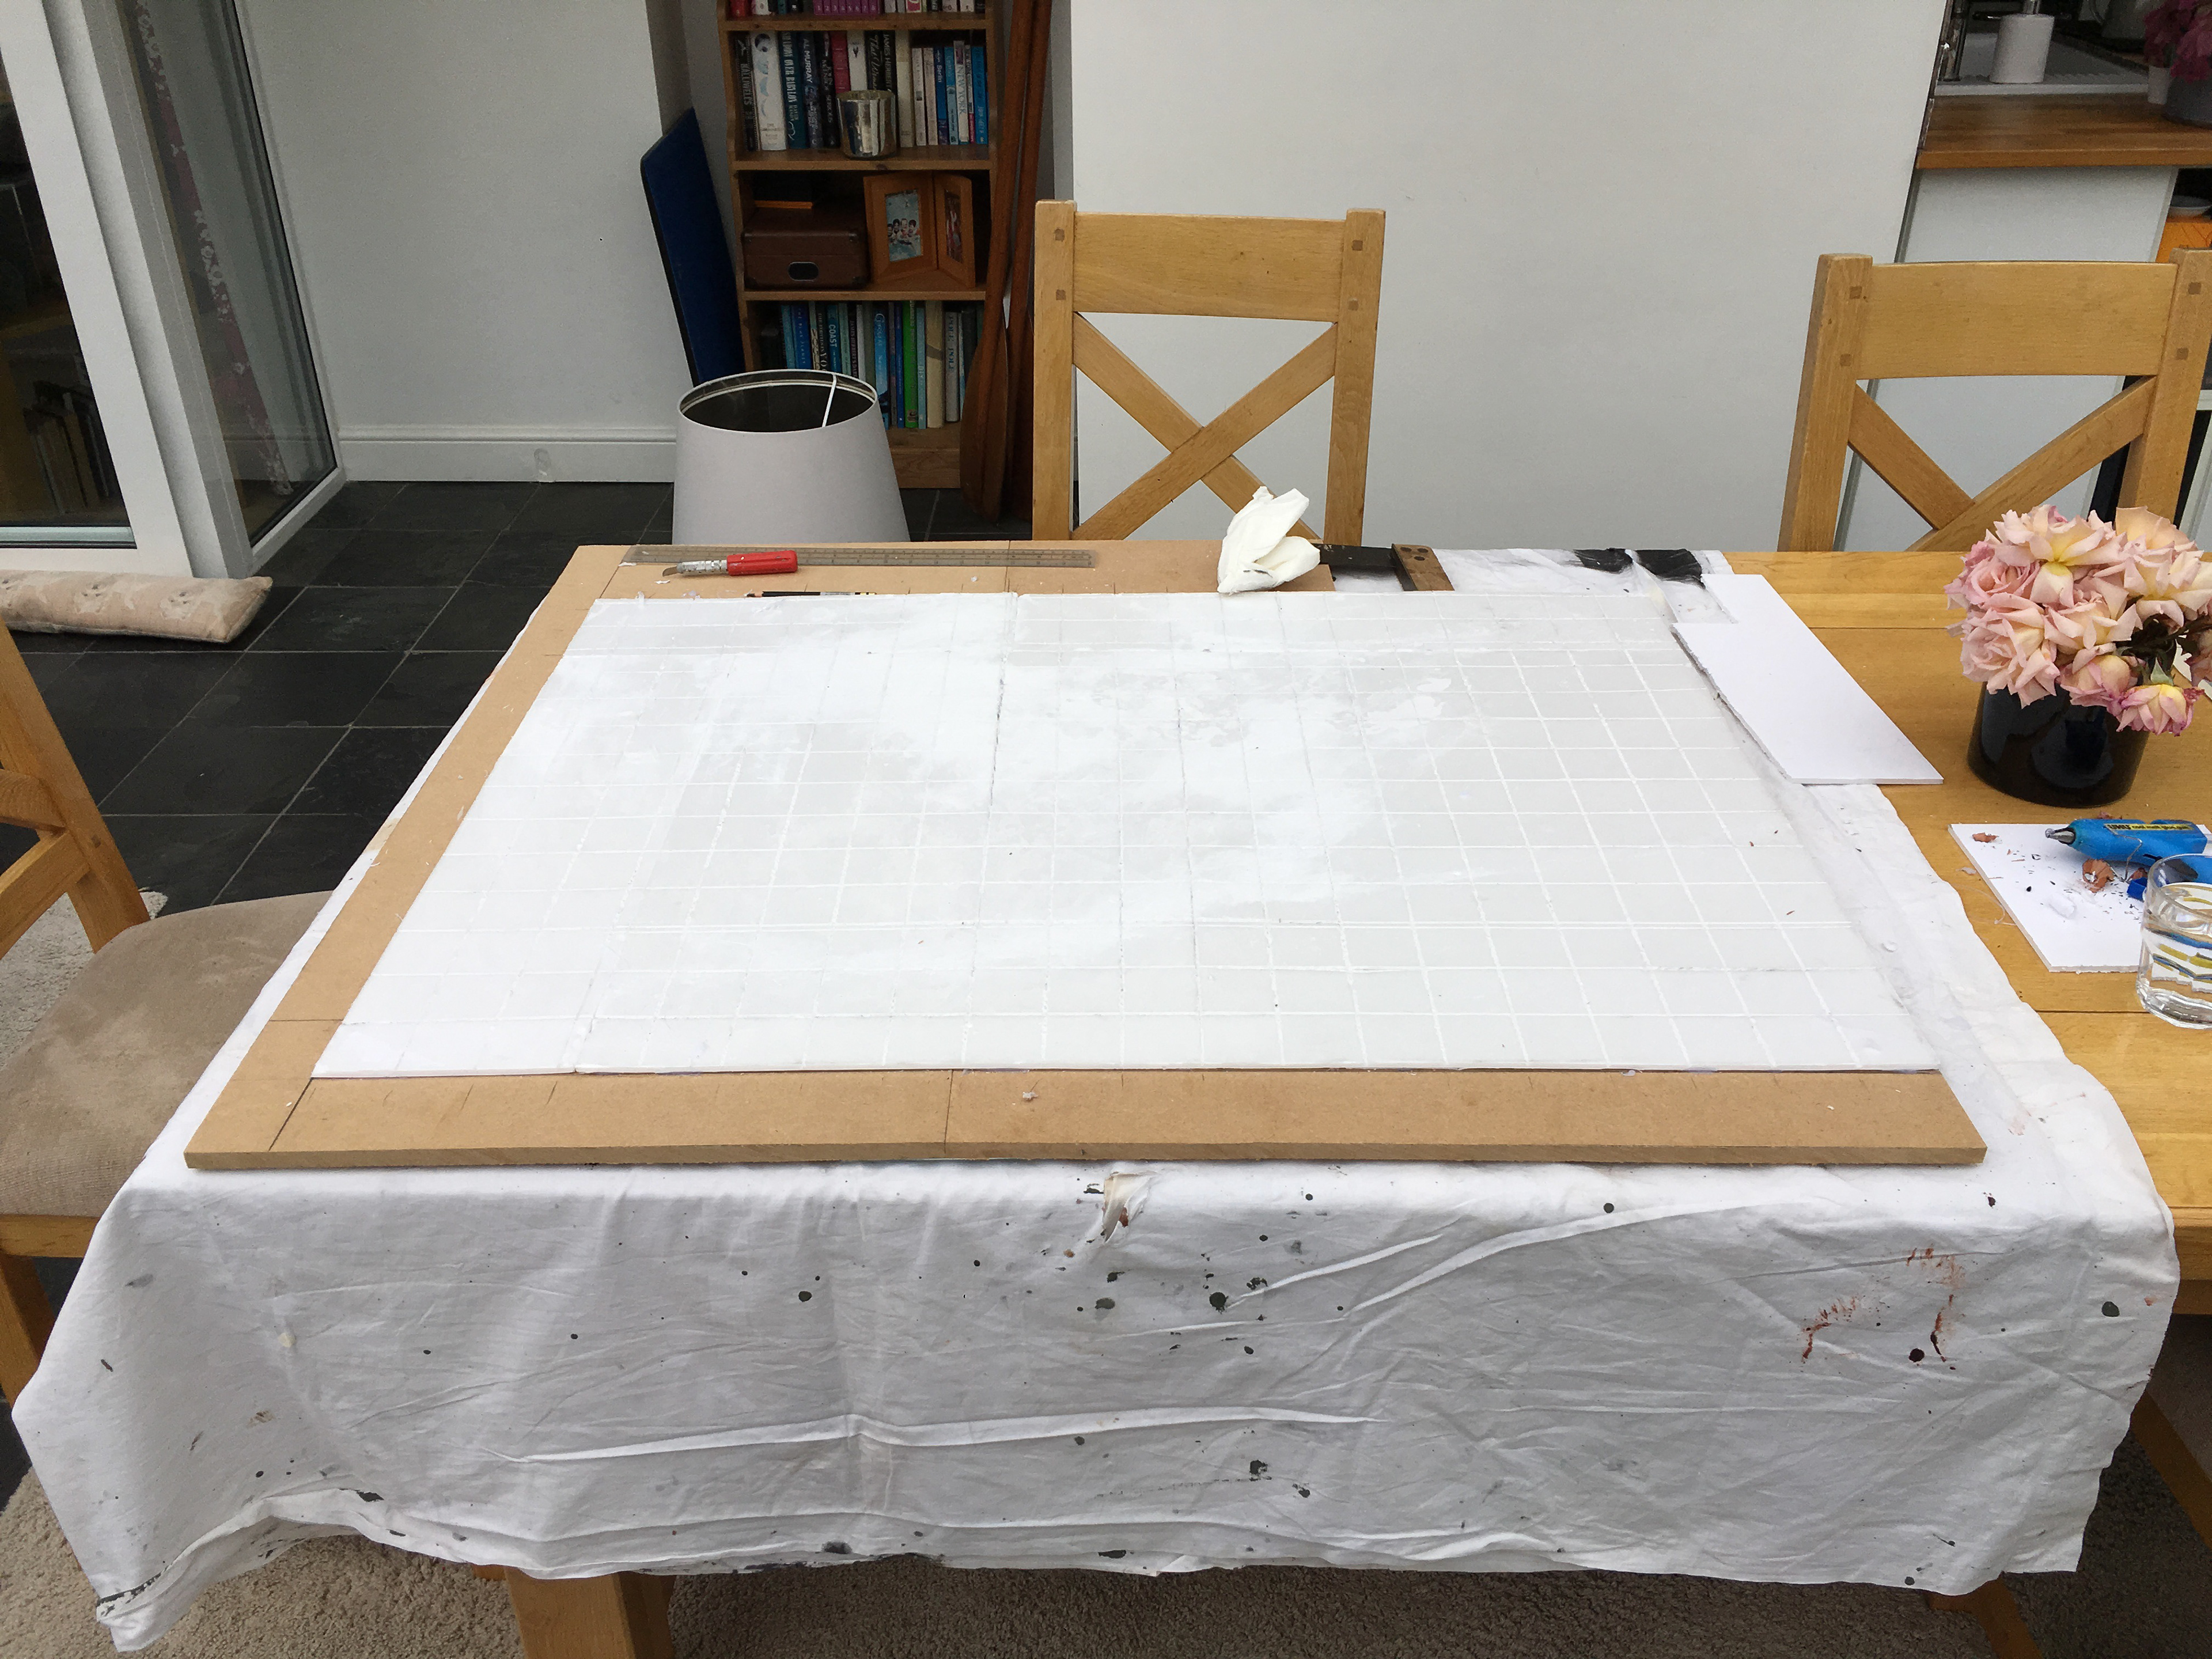
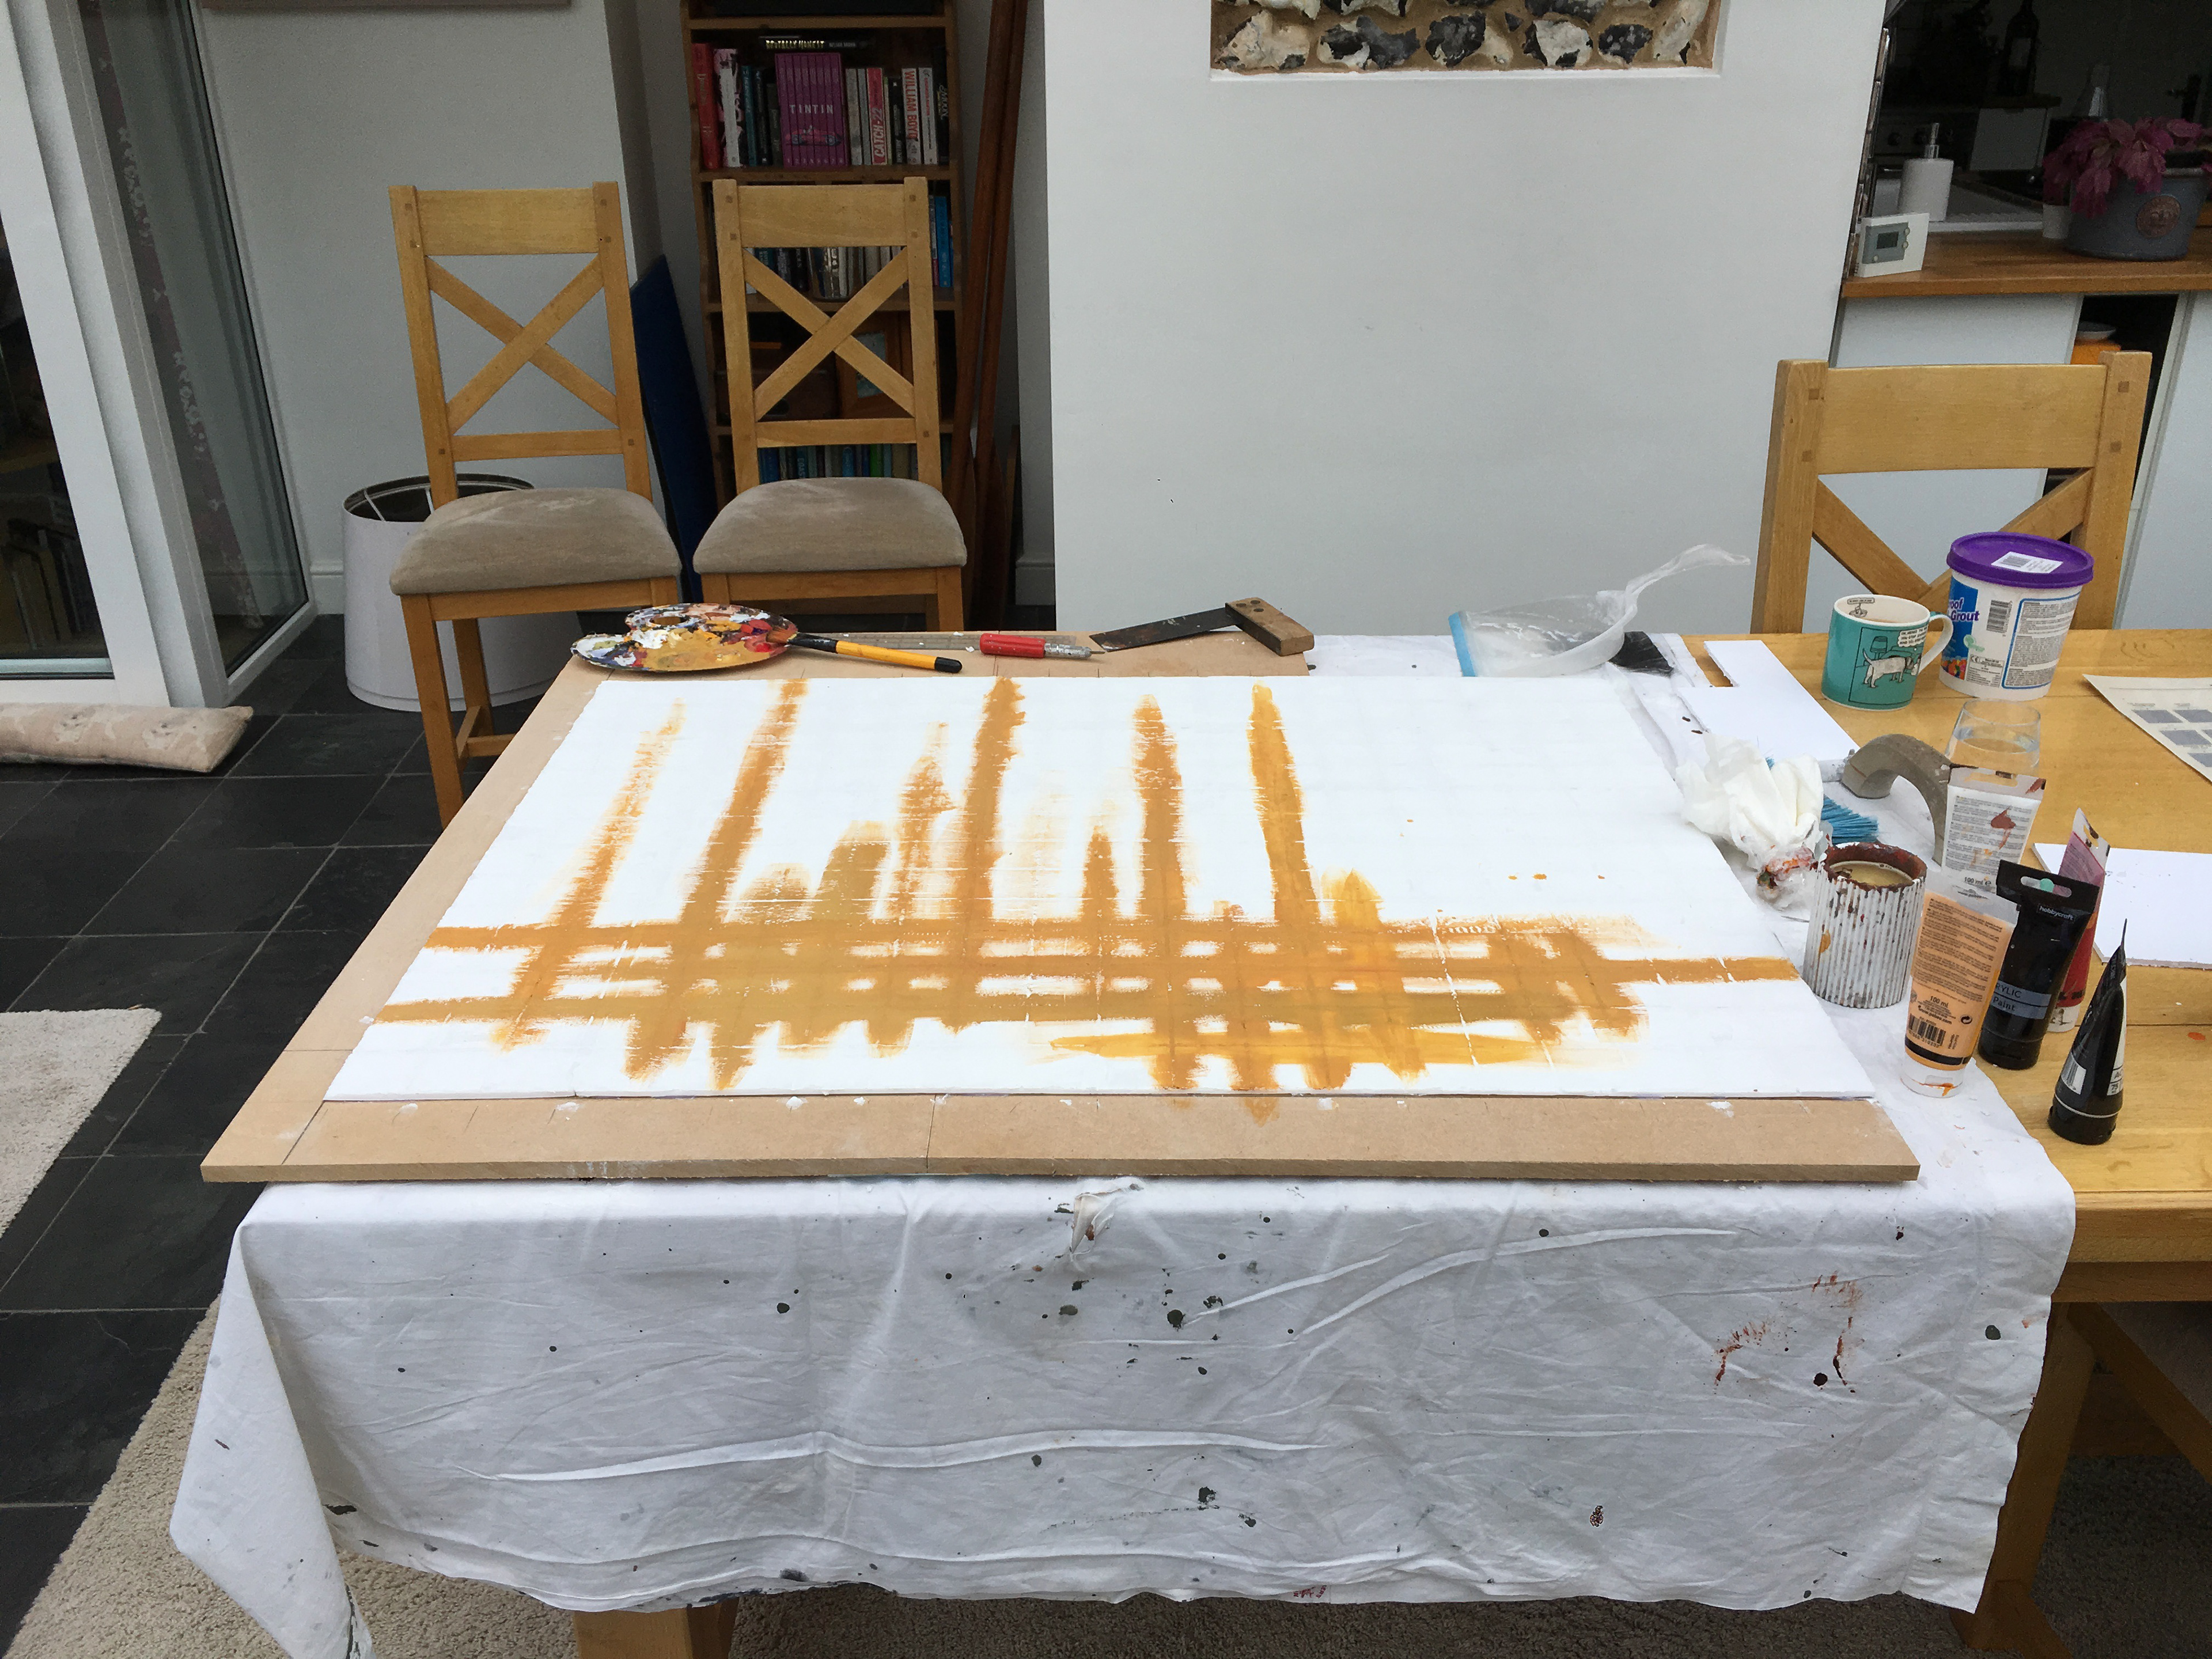
The kitchen floor was created using the foam board as the base. Afterwards, I used a rotary tool to etch in the tiles and I applied multi- purpose filler to add texture to the foam. Following this stage, I used acrylics for the paint job on the tiles and used varnish to add a glossy texture to the tiles.
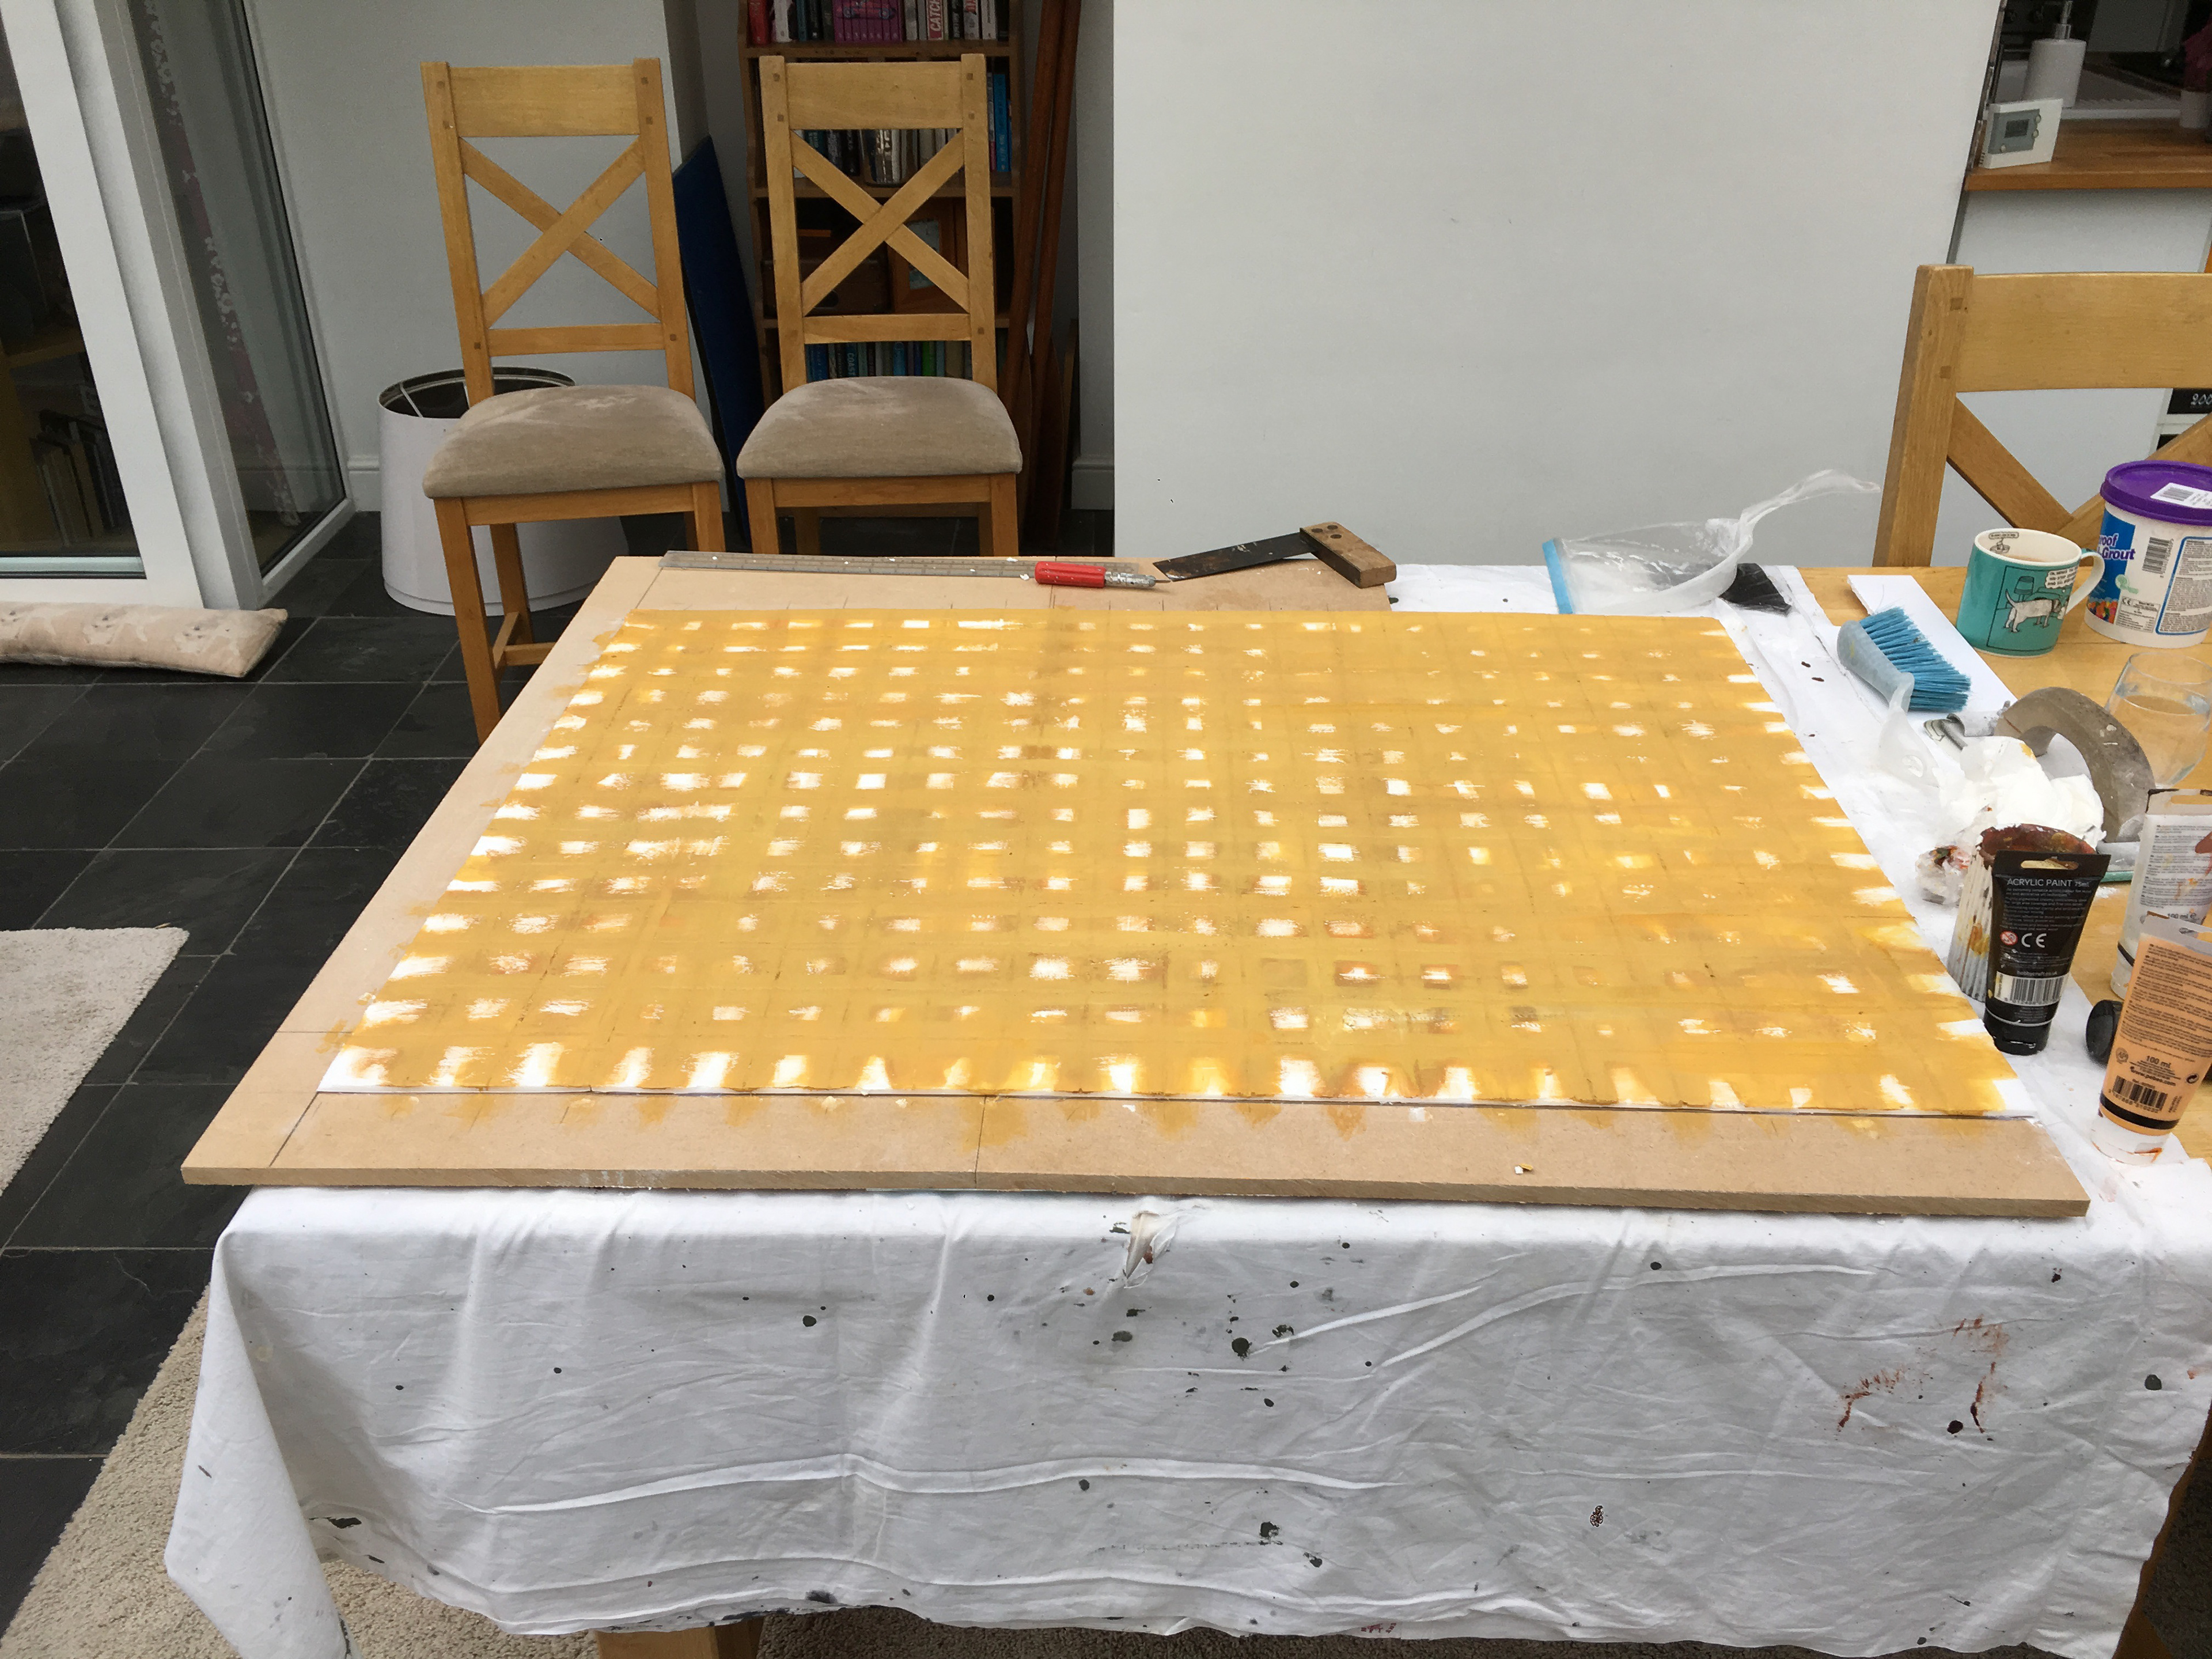
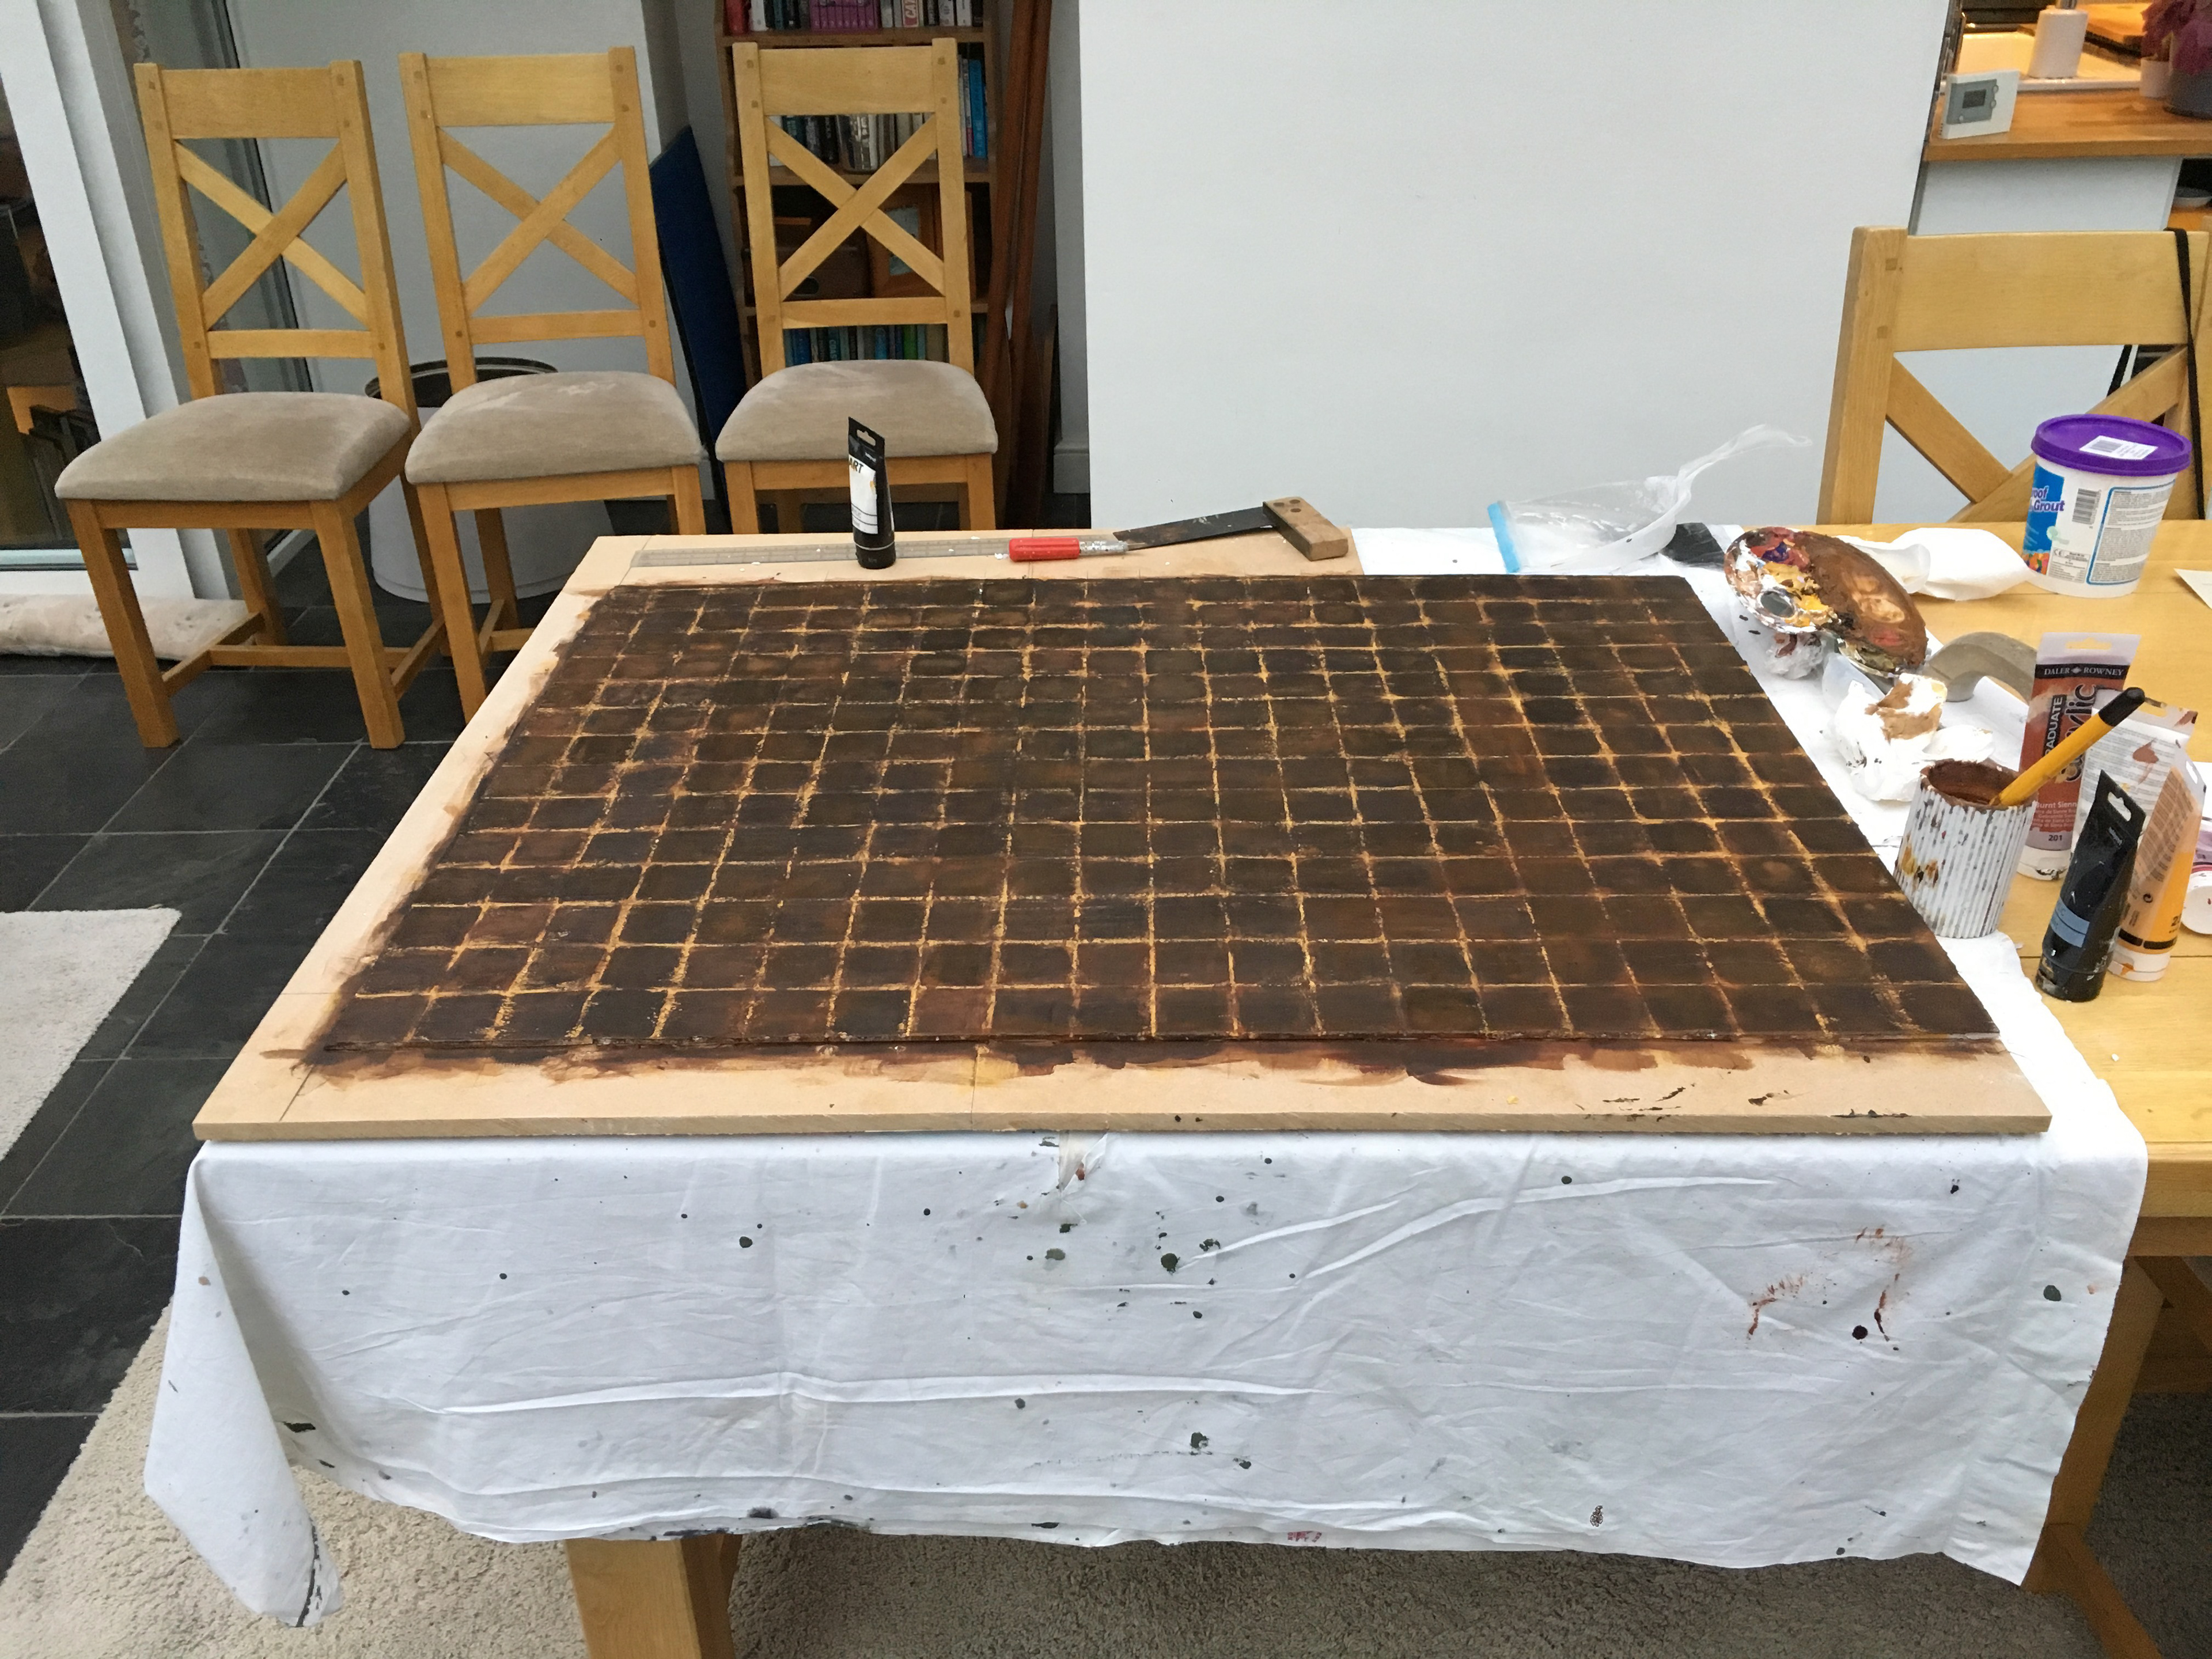
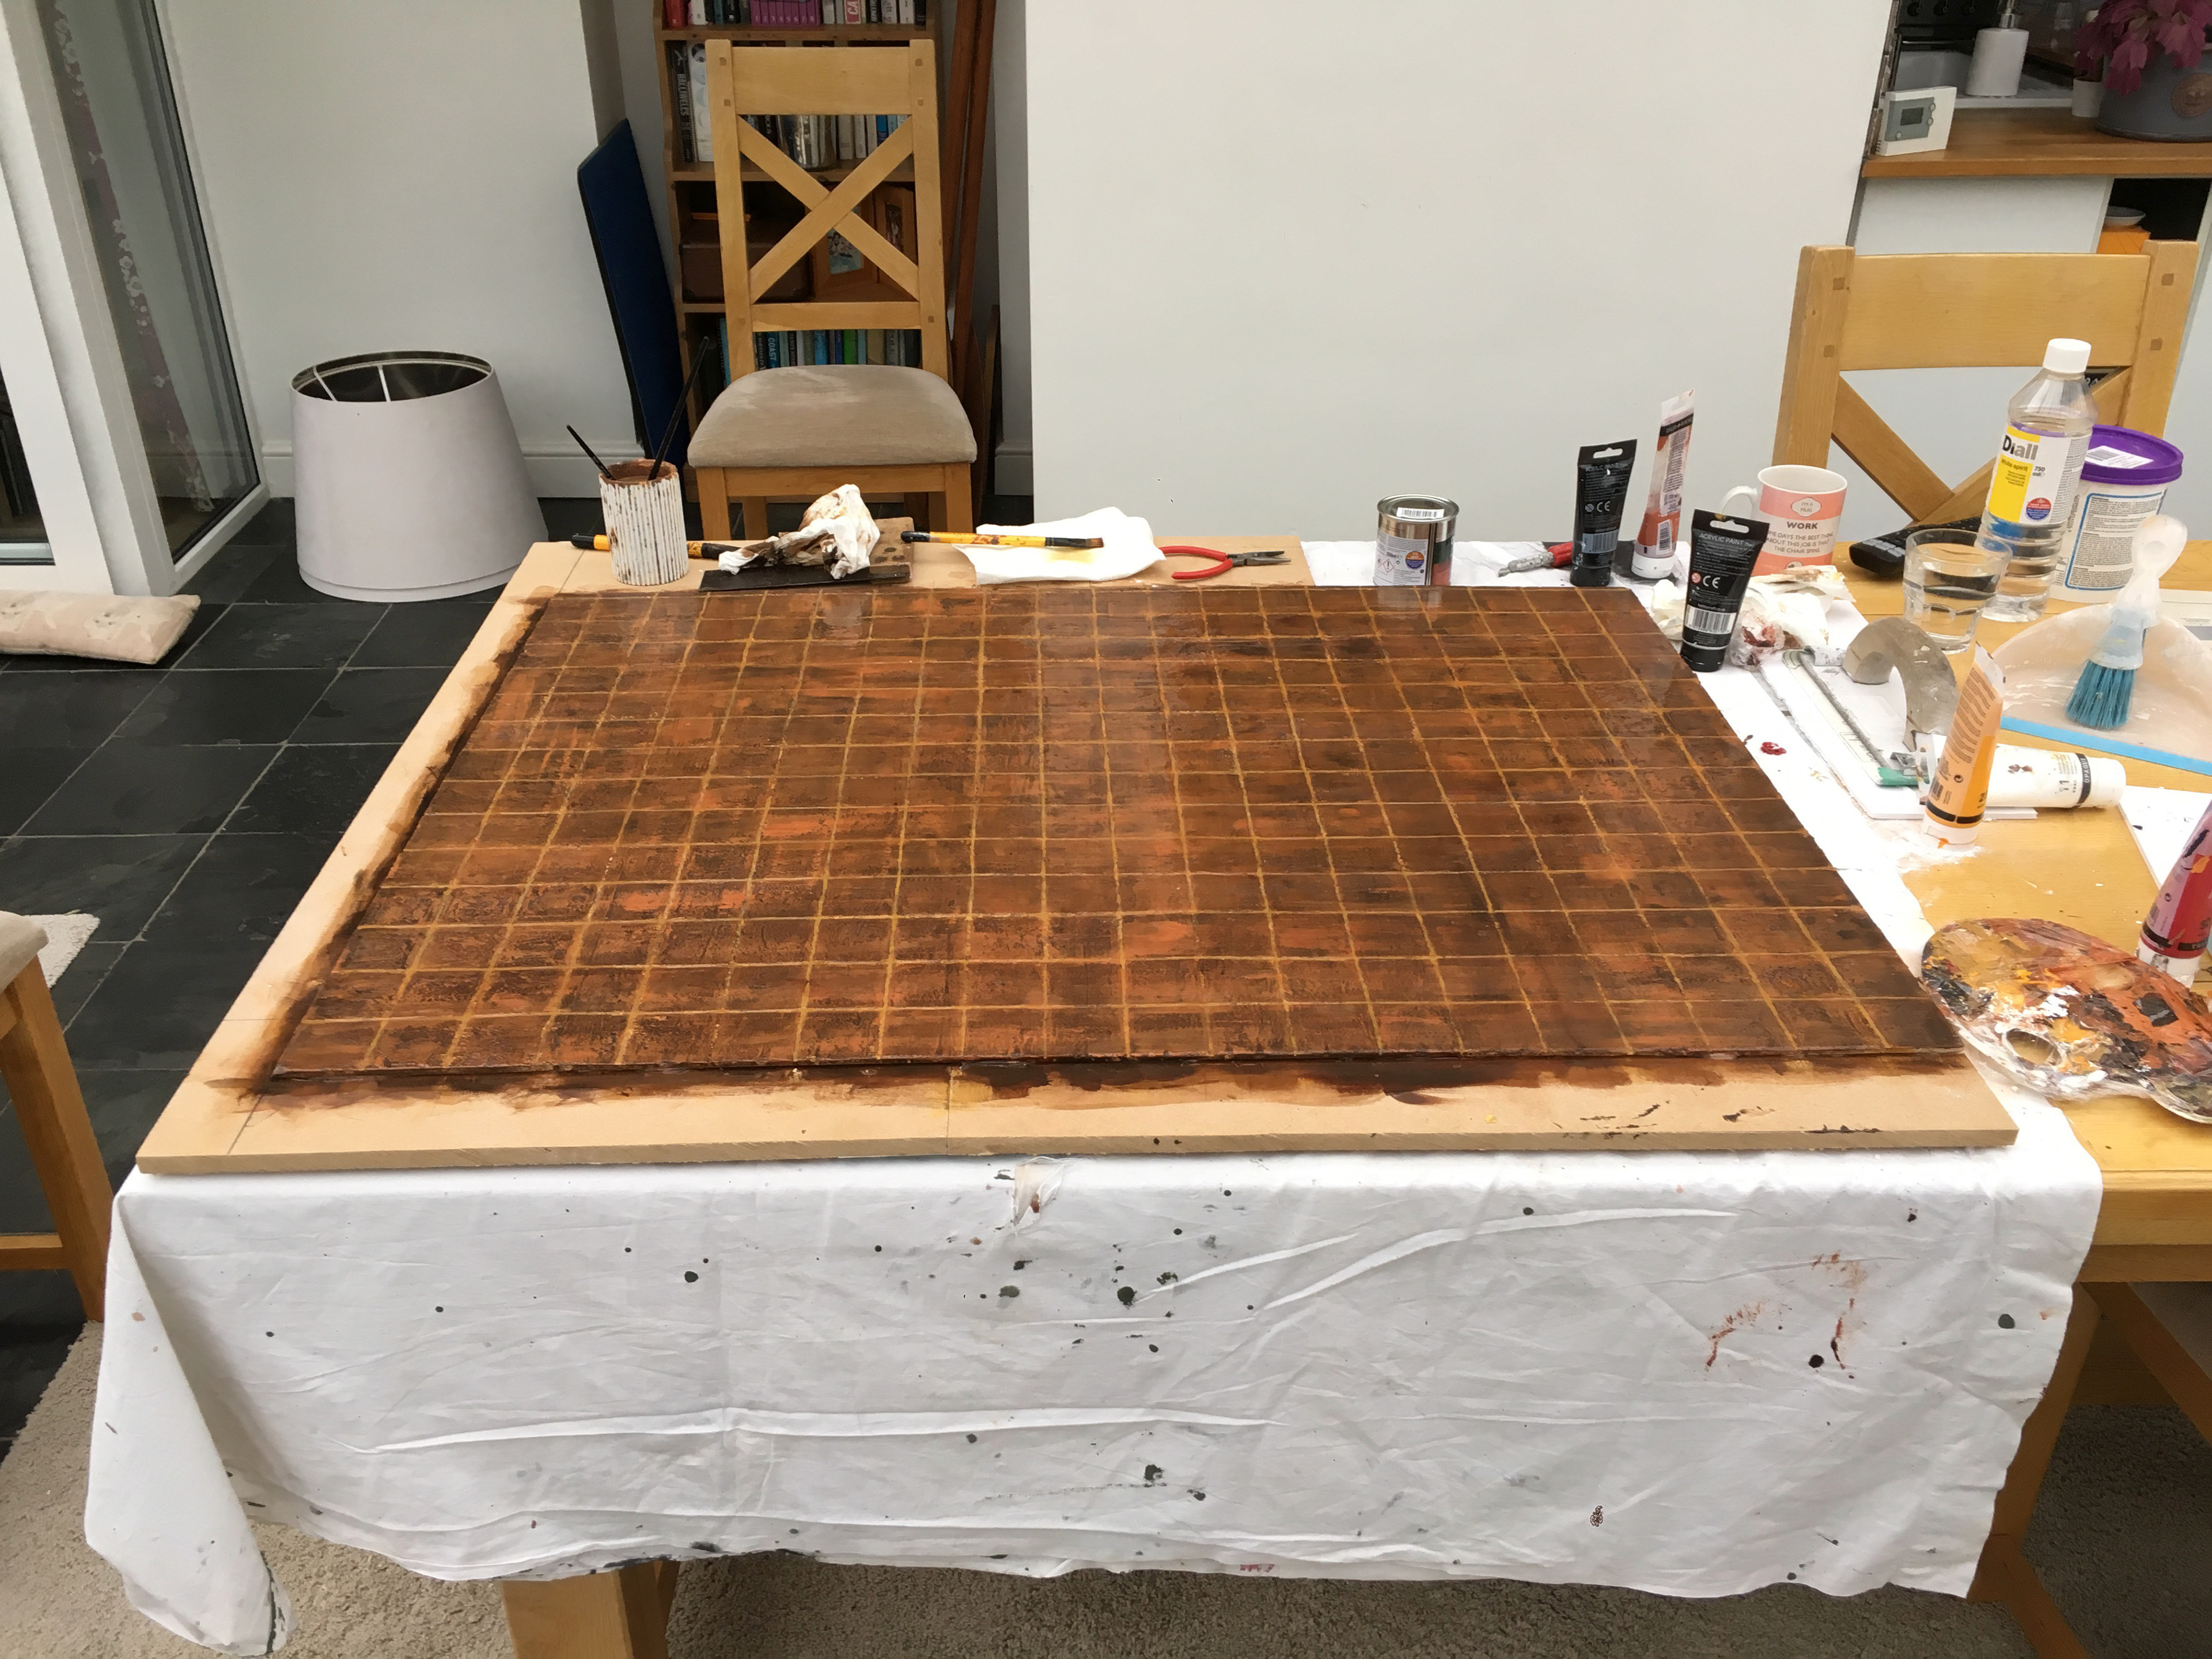
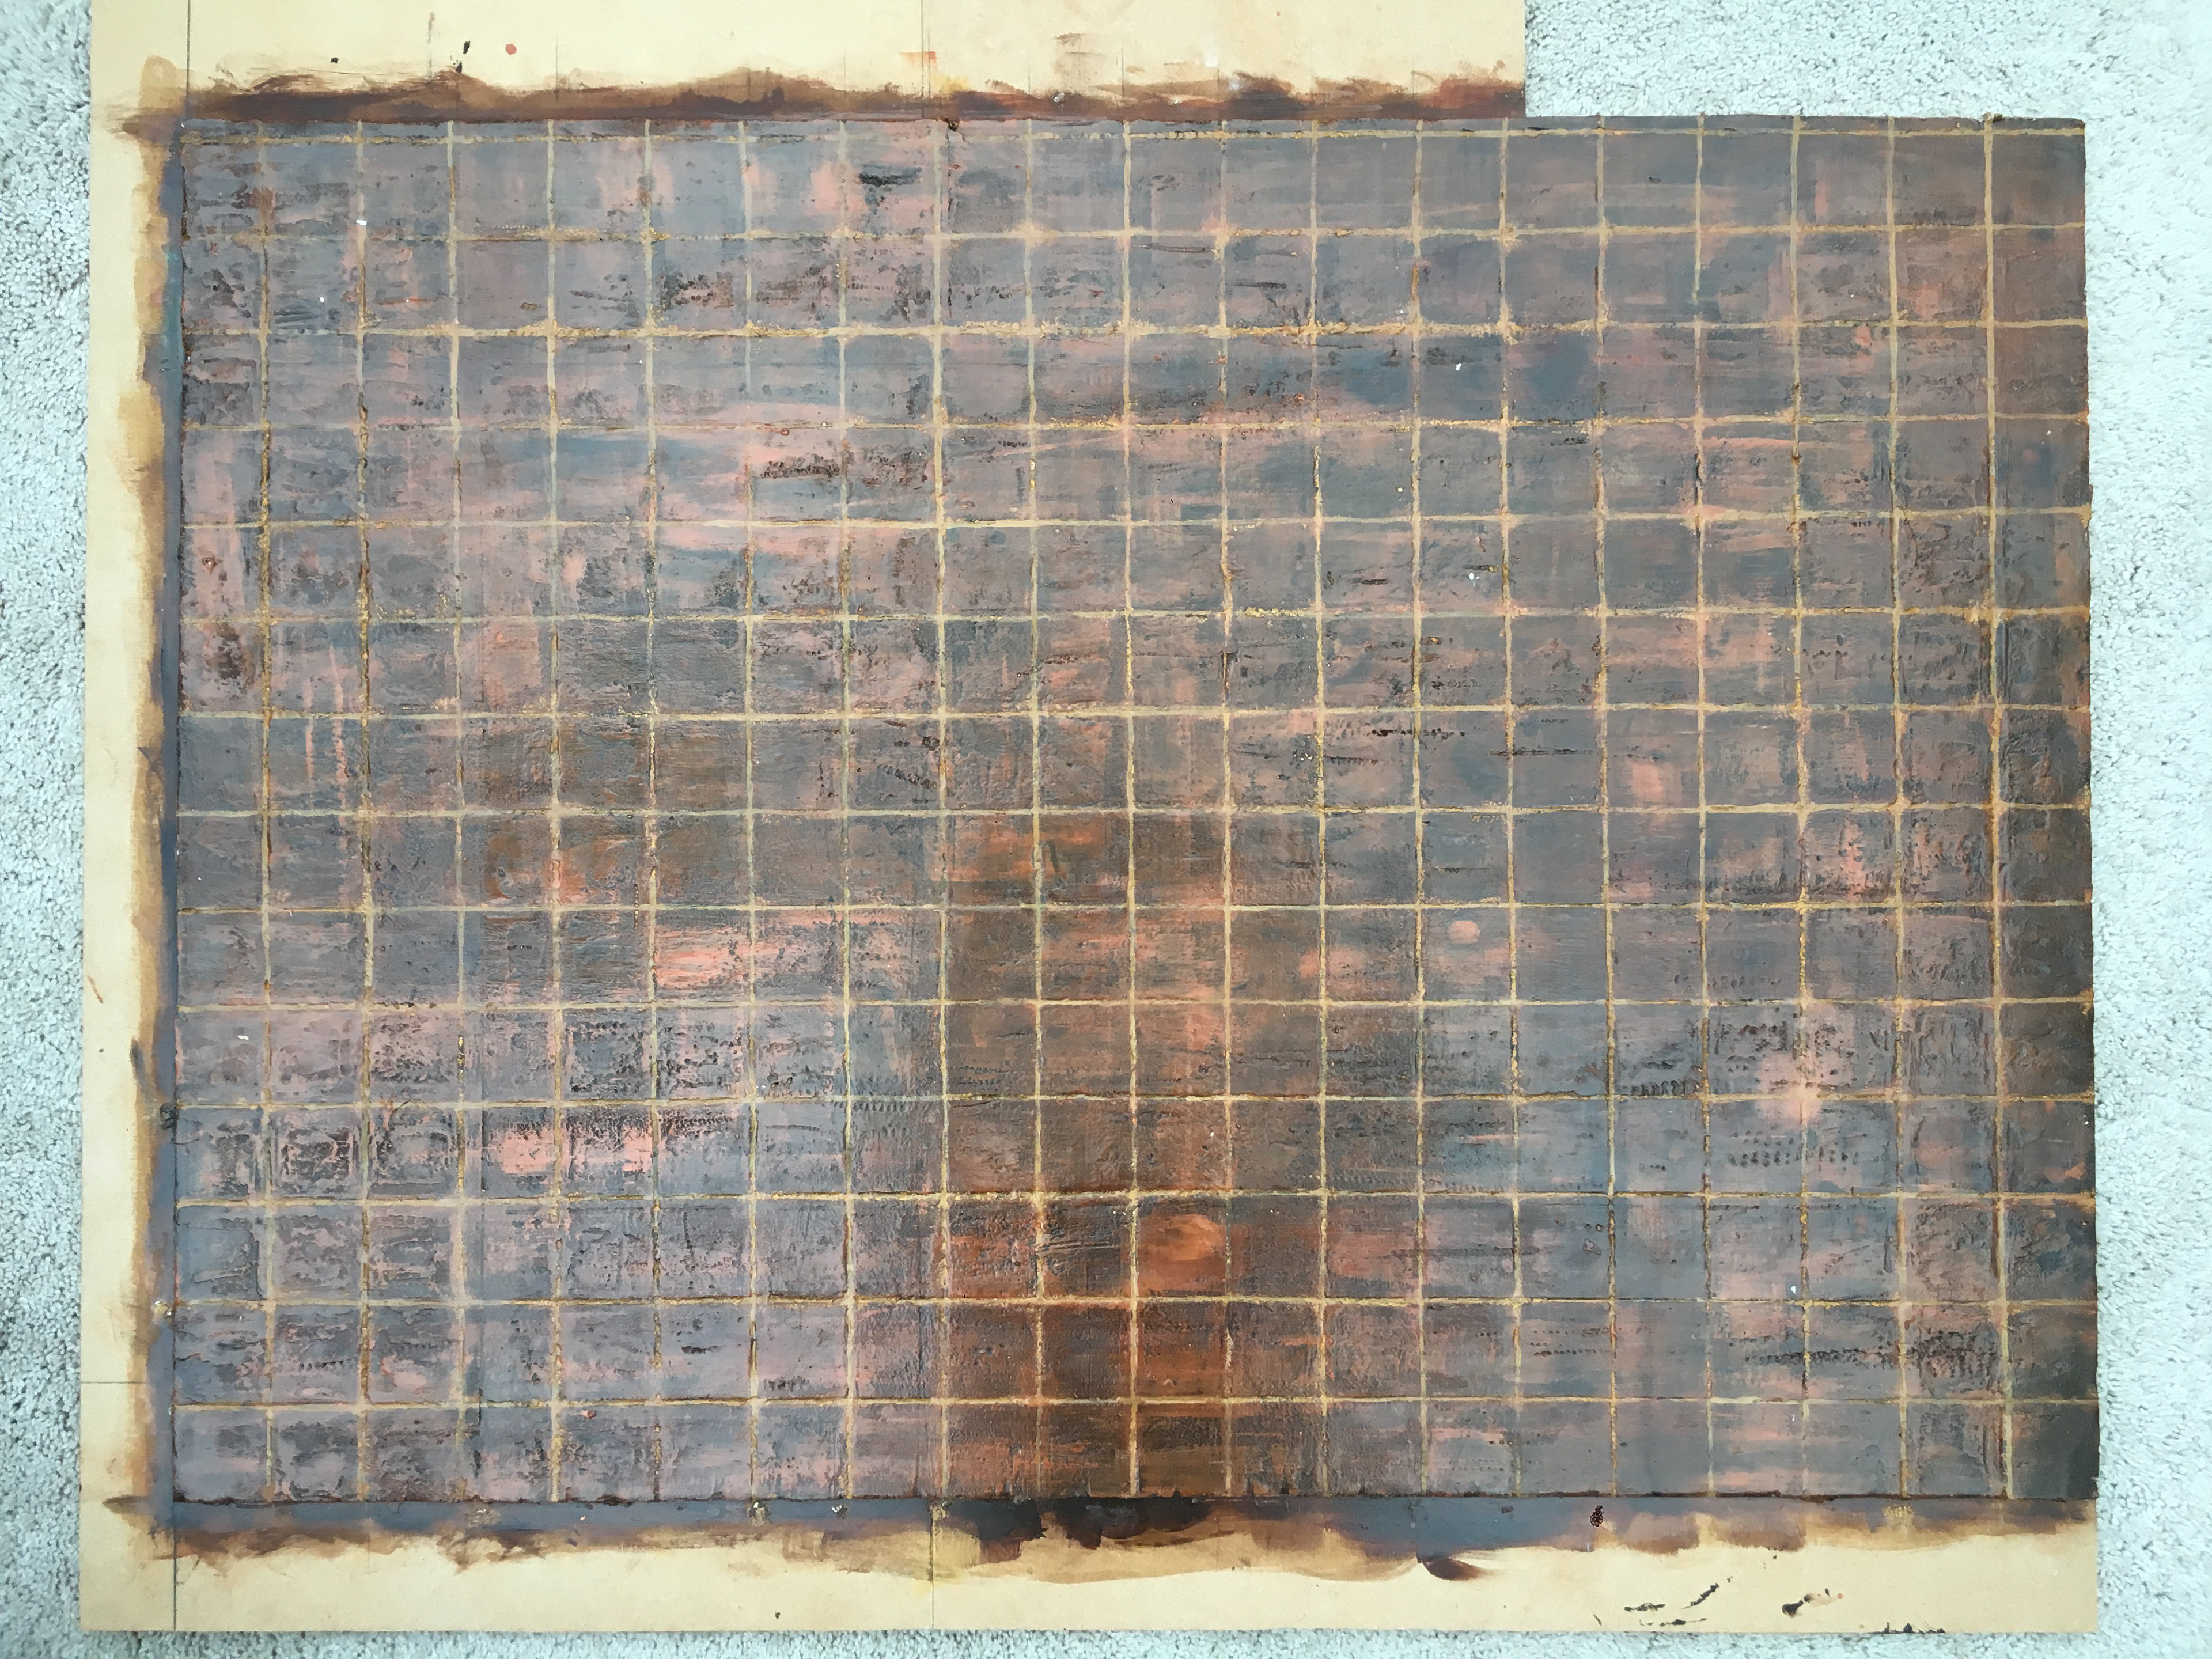
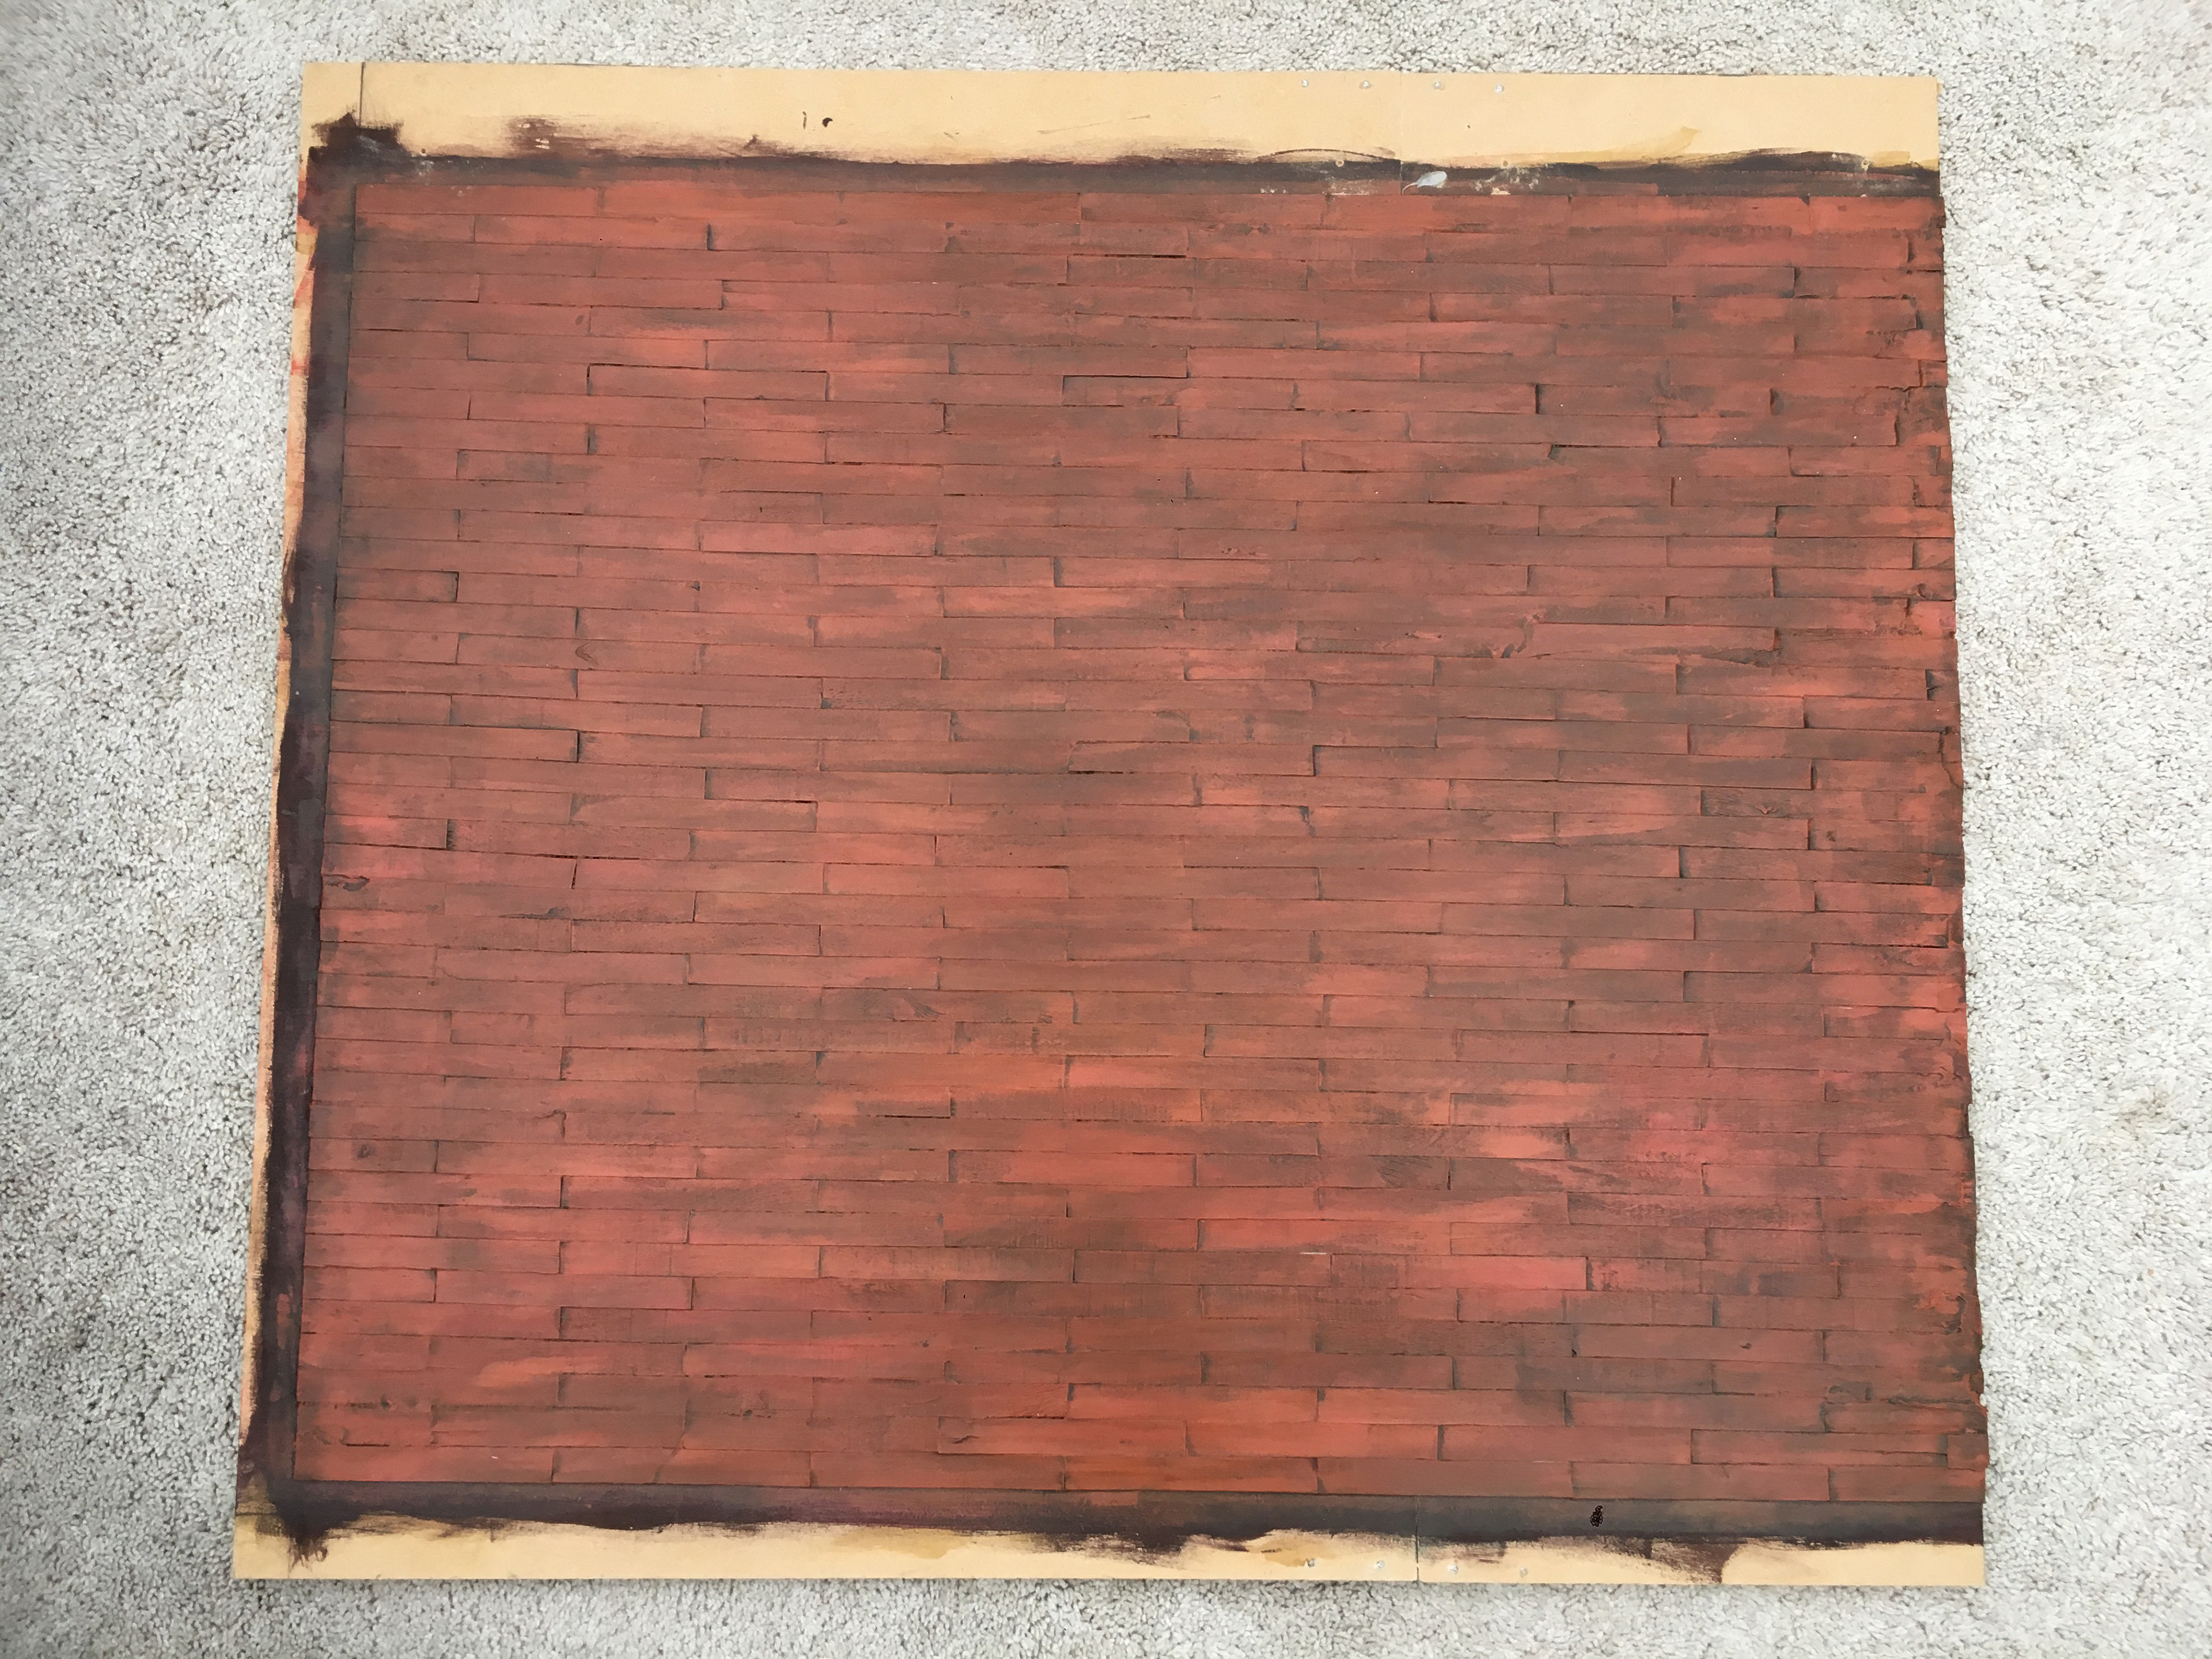
The floor boards were created using ice lolly sticks and acrylics were used for the paint jobs. Furthermore, vanish was used to enhance the colour and add a matte texture to the floor boards.
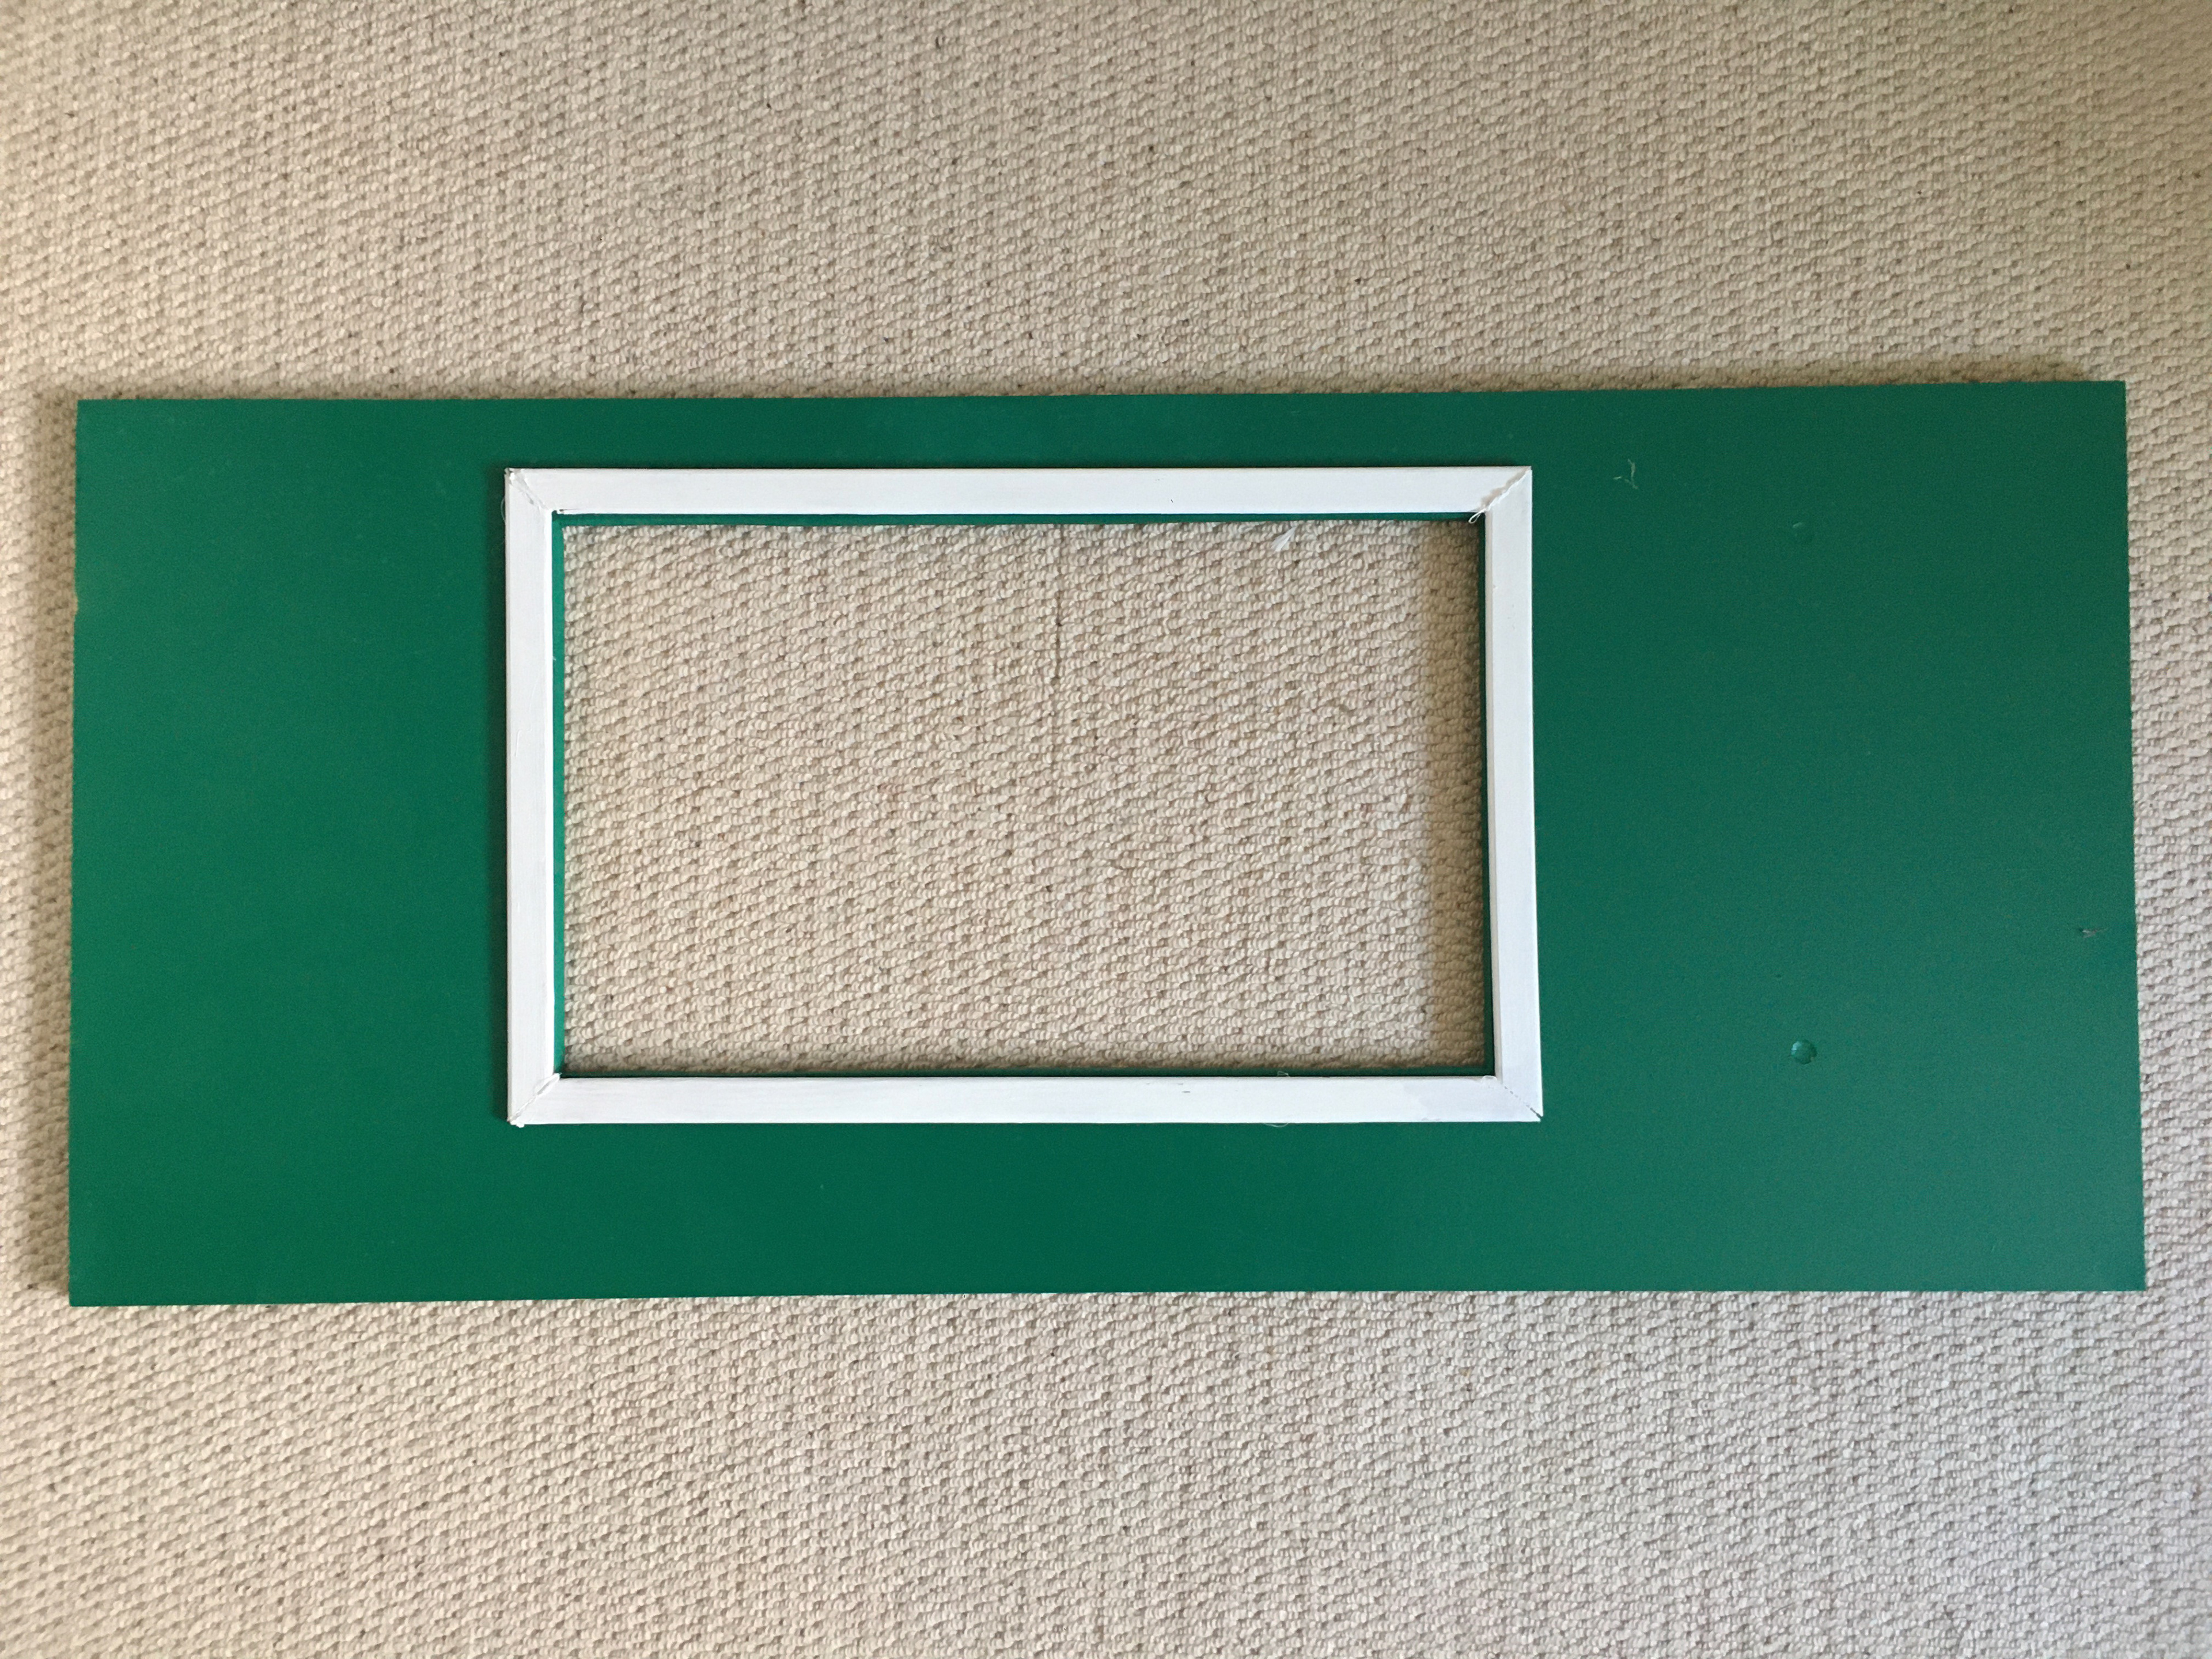
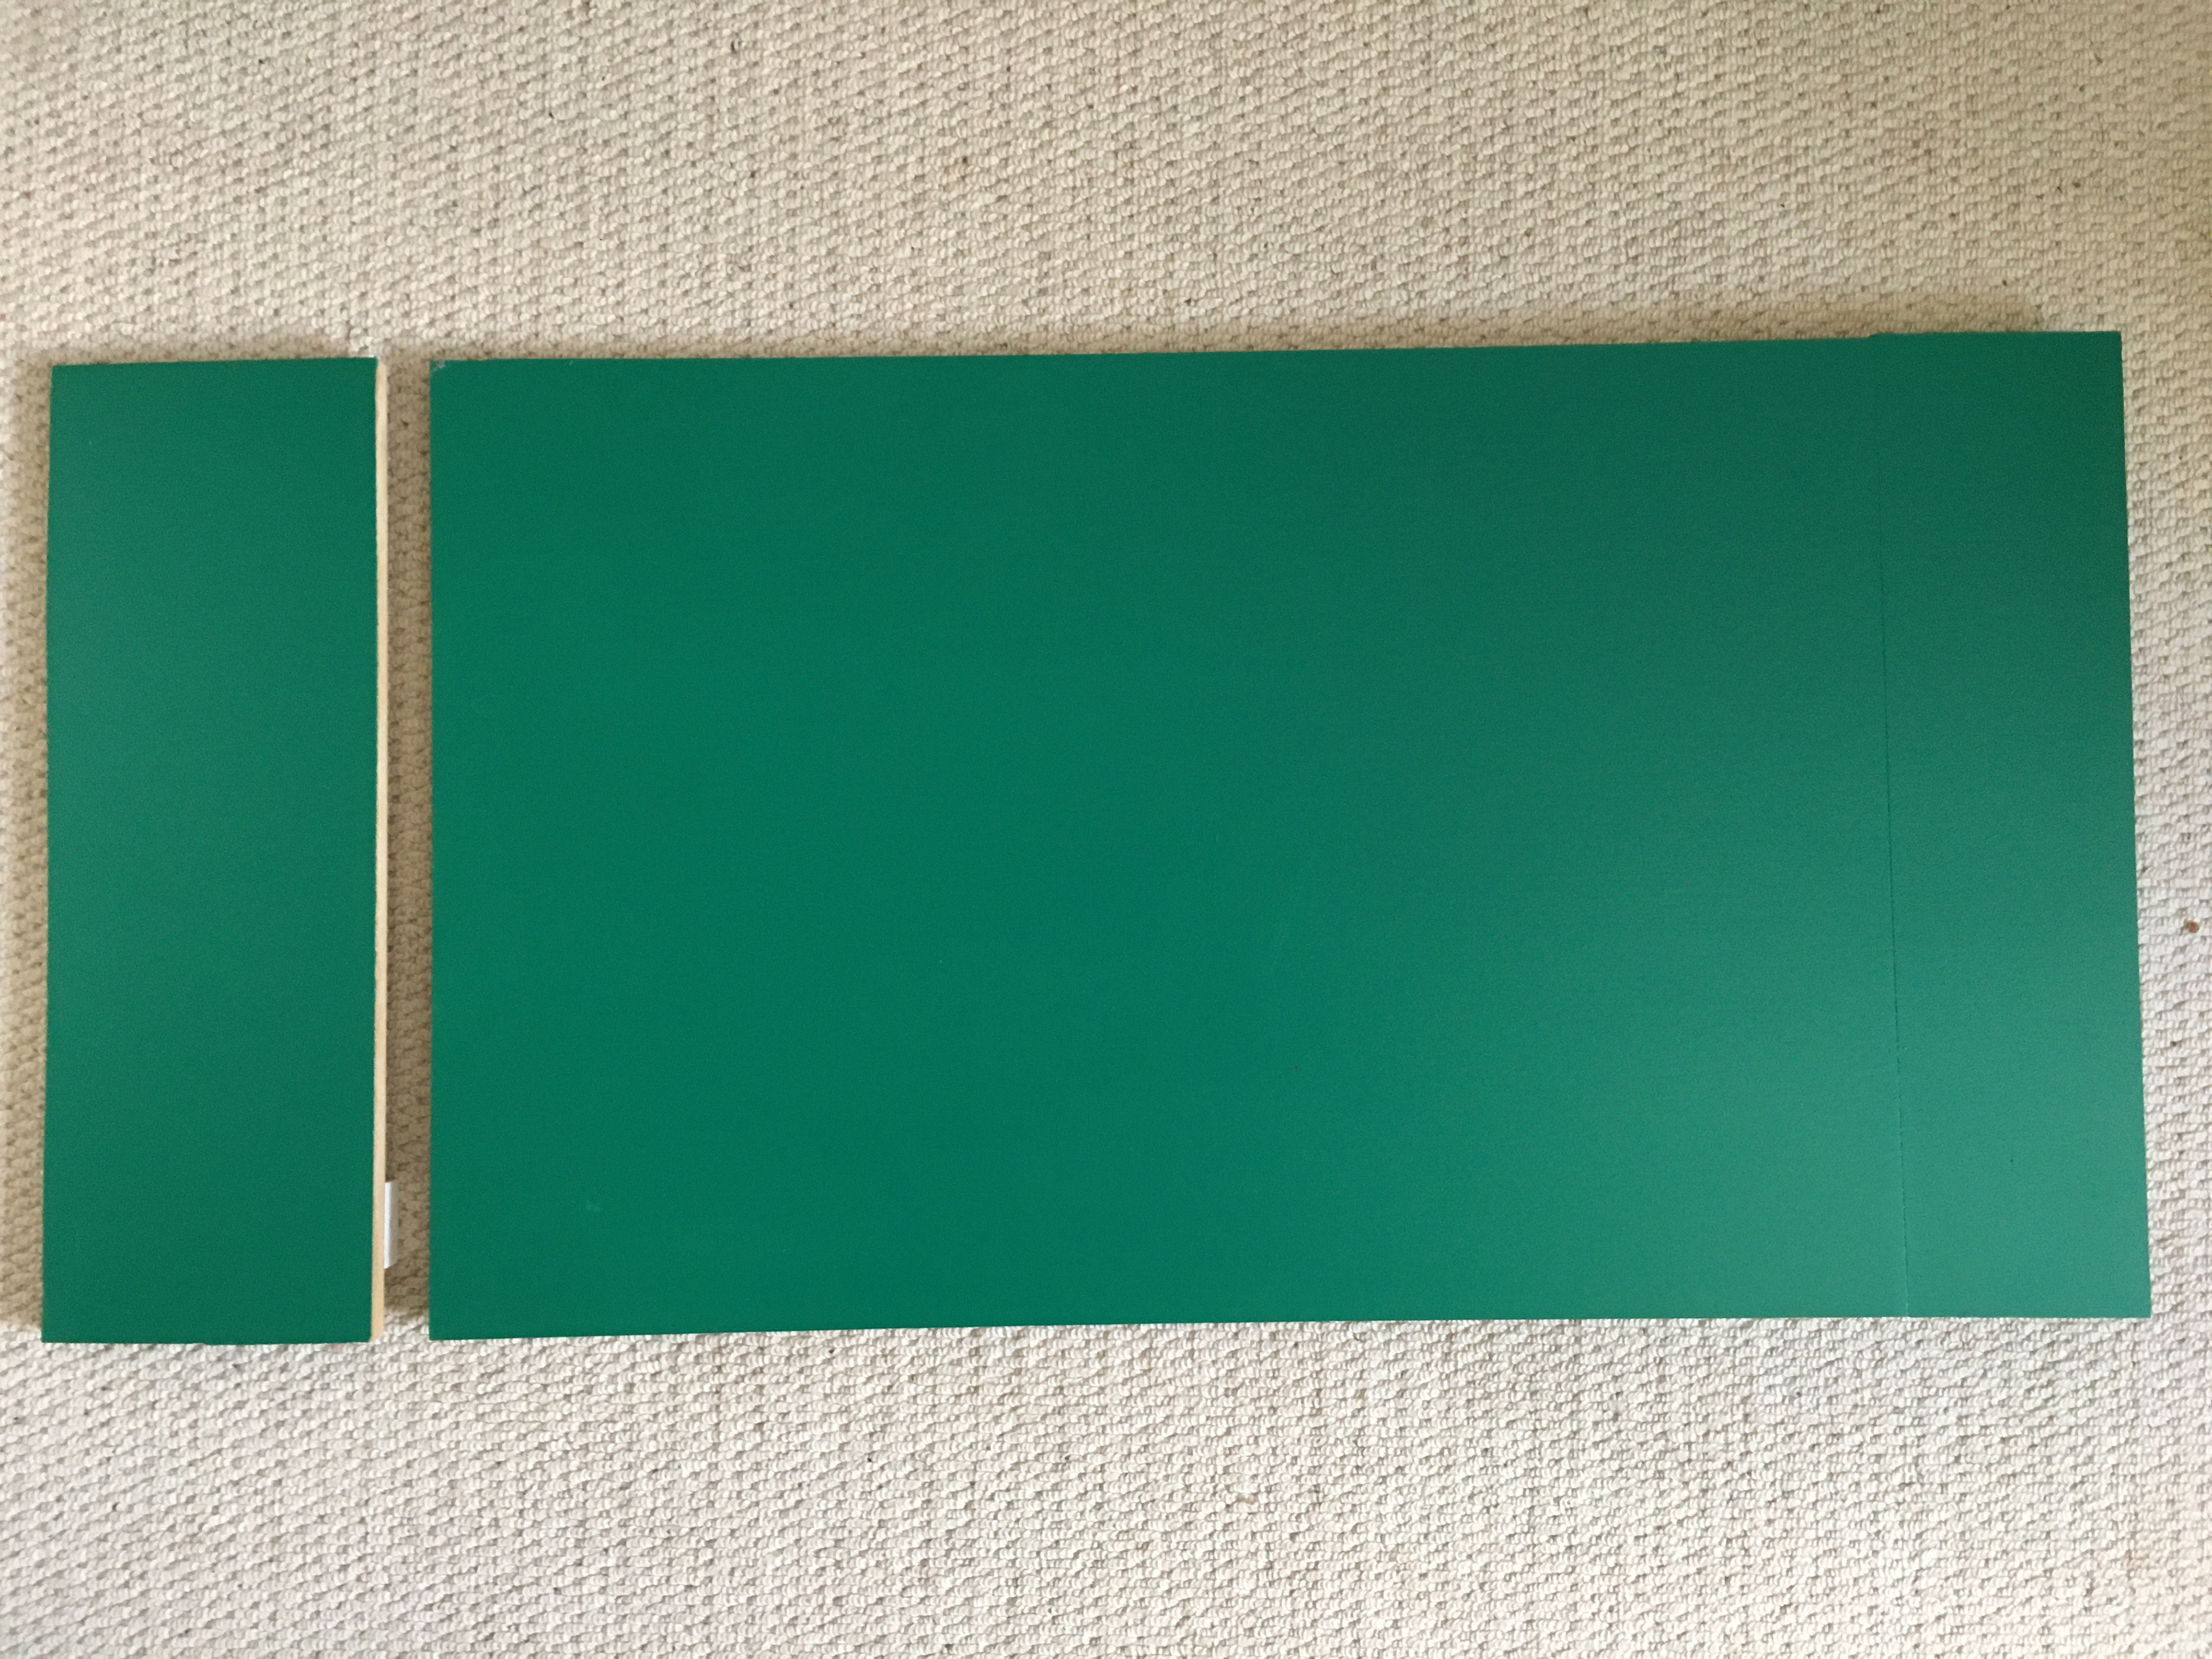
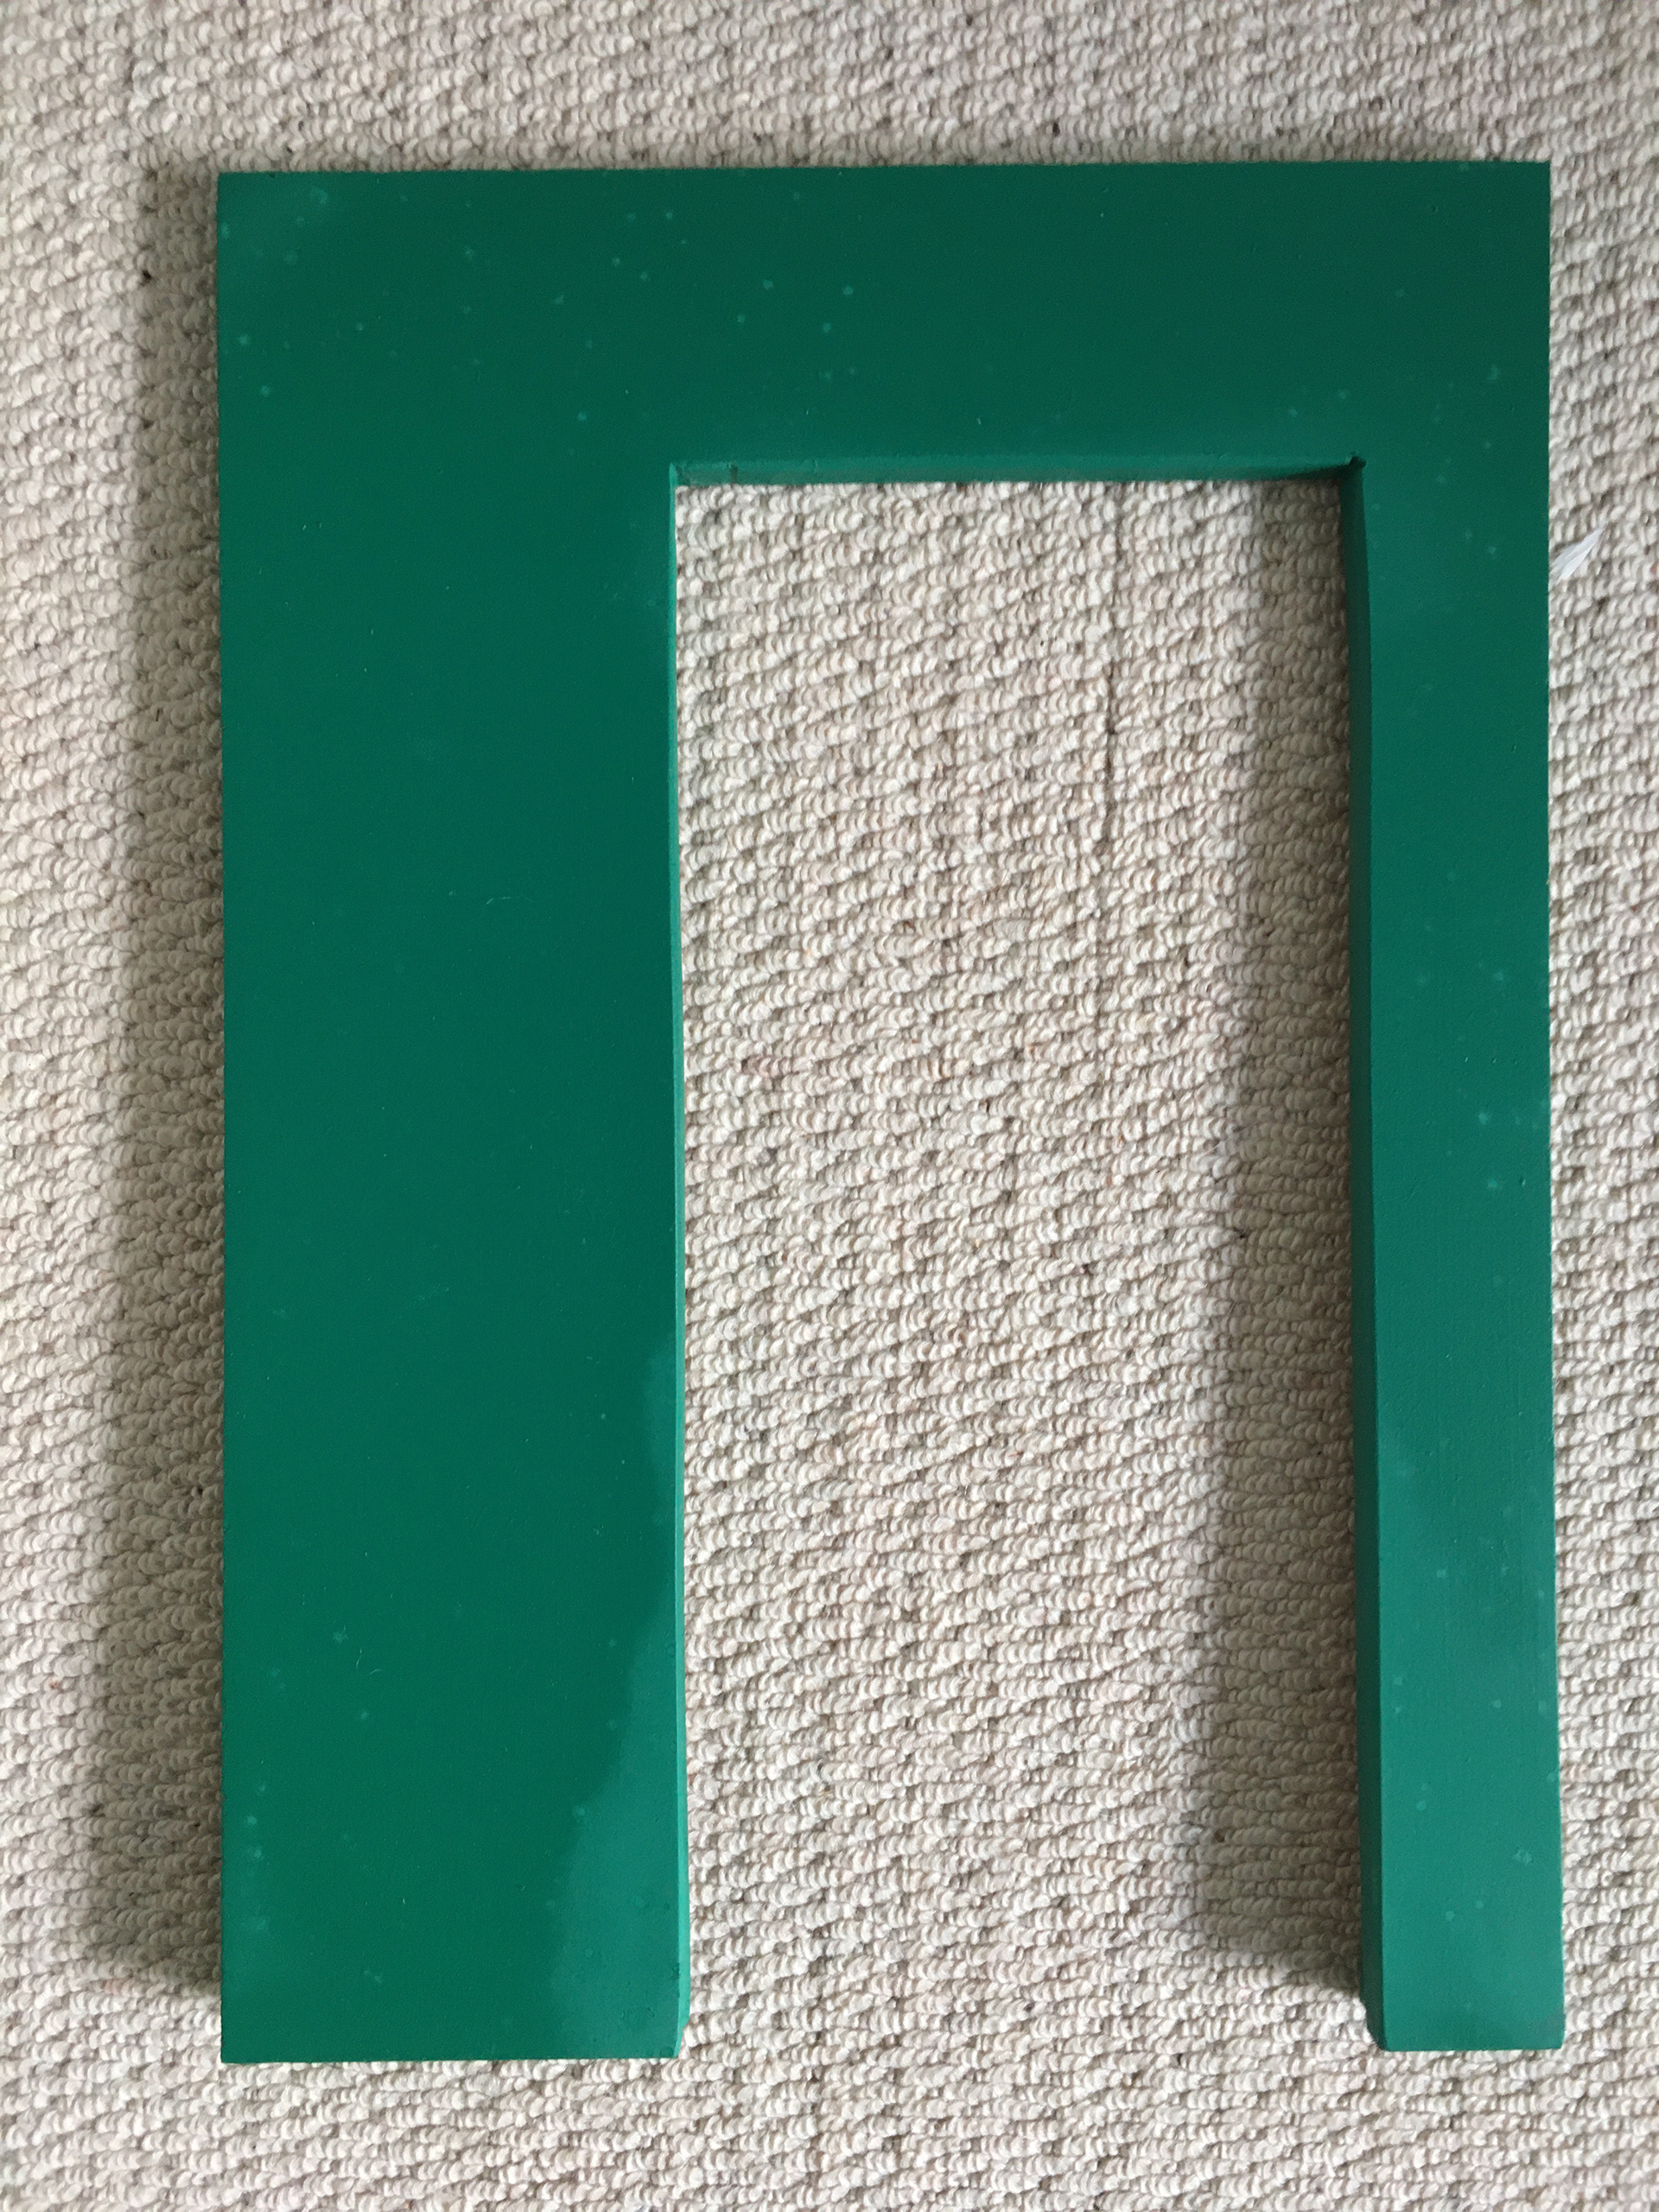
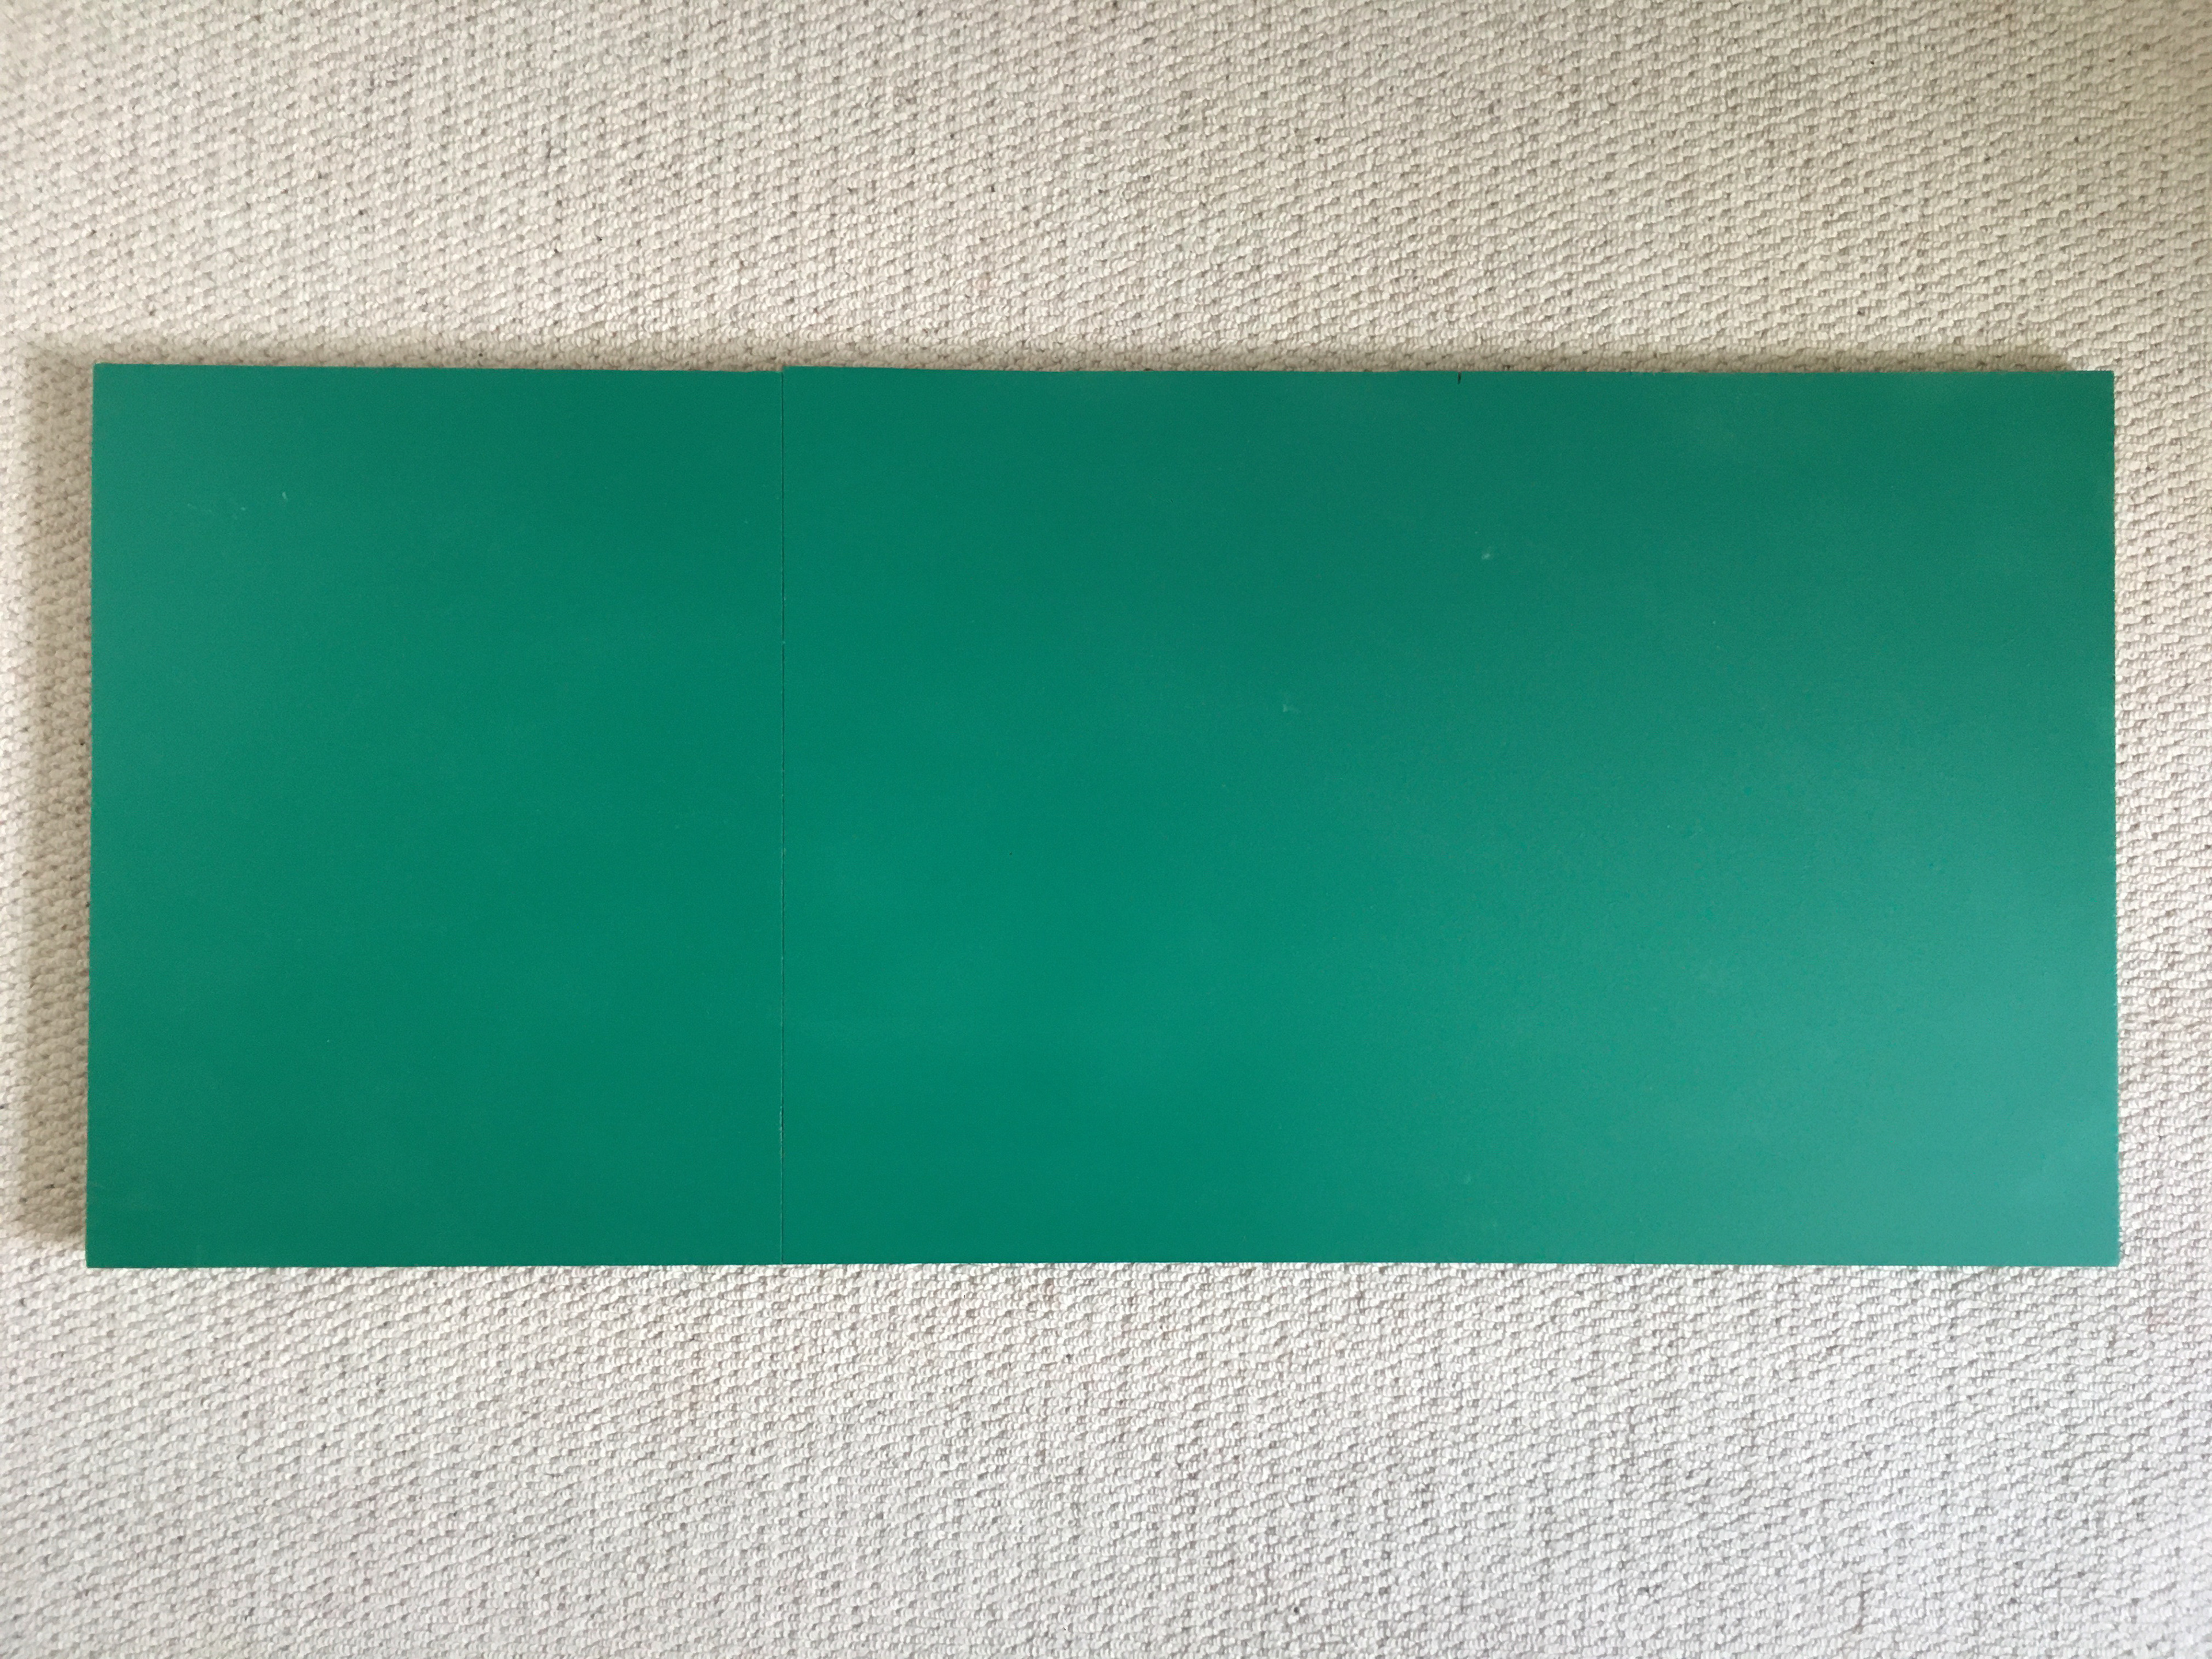
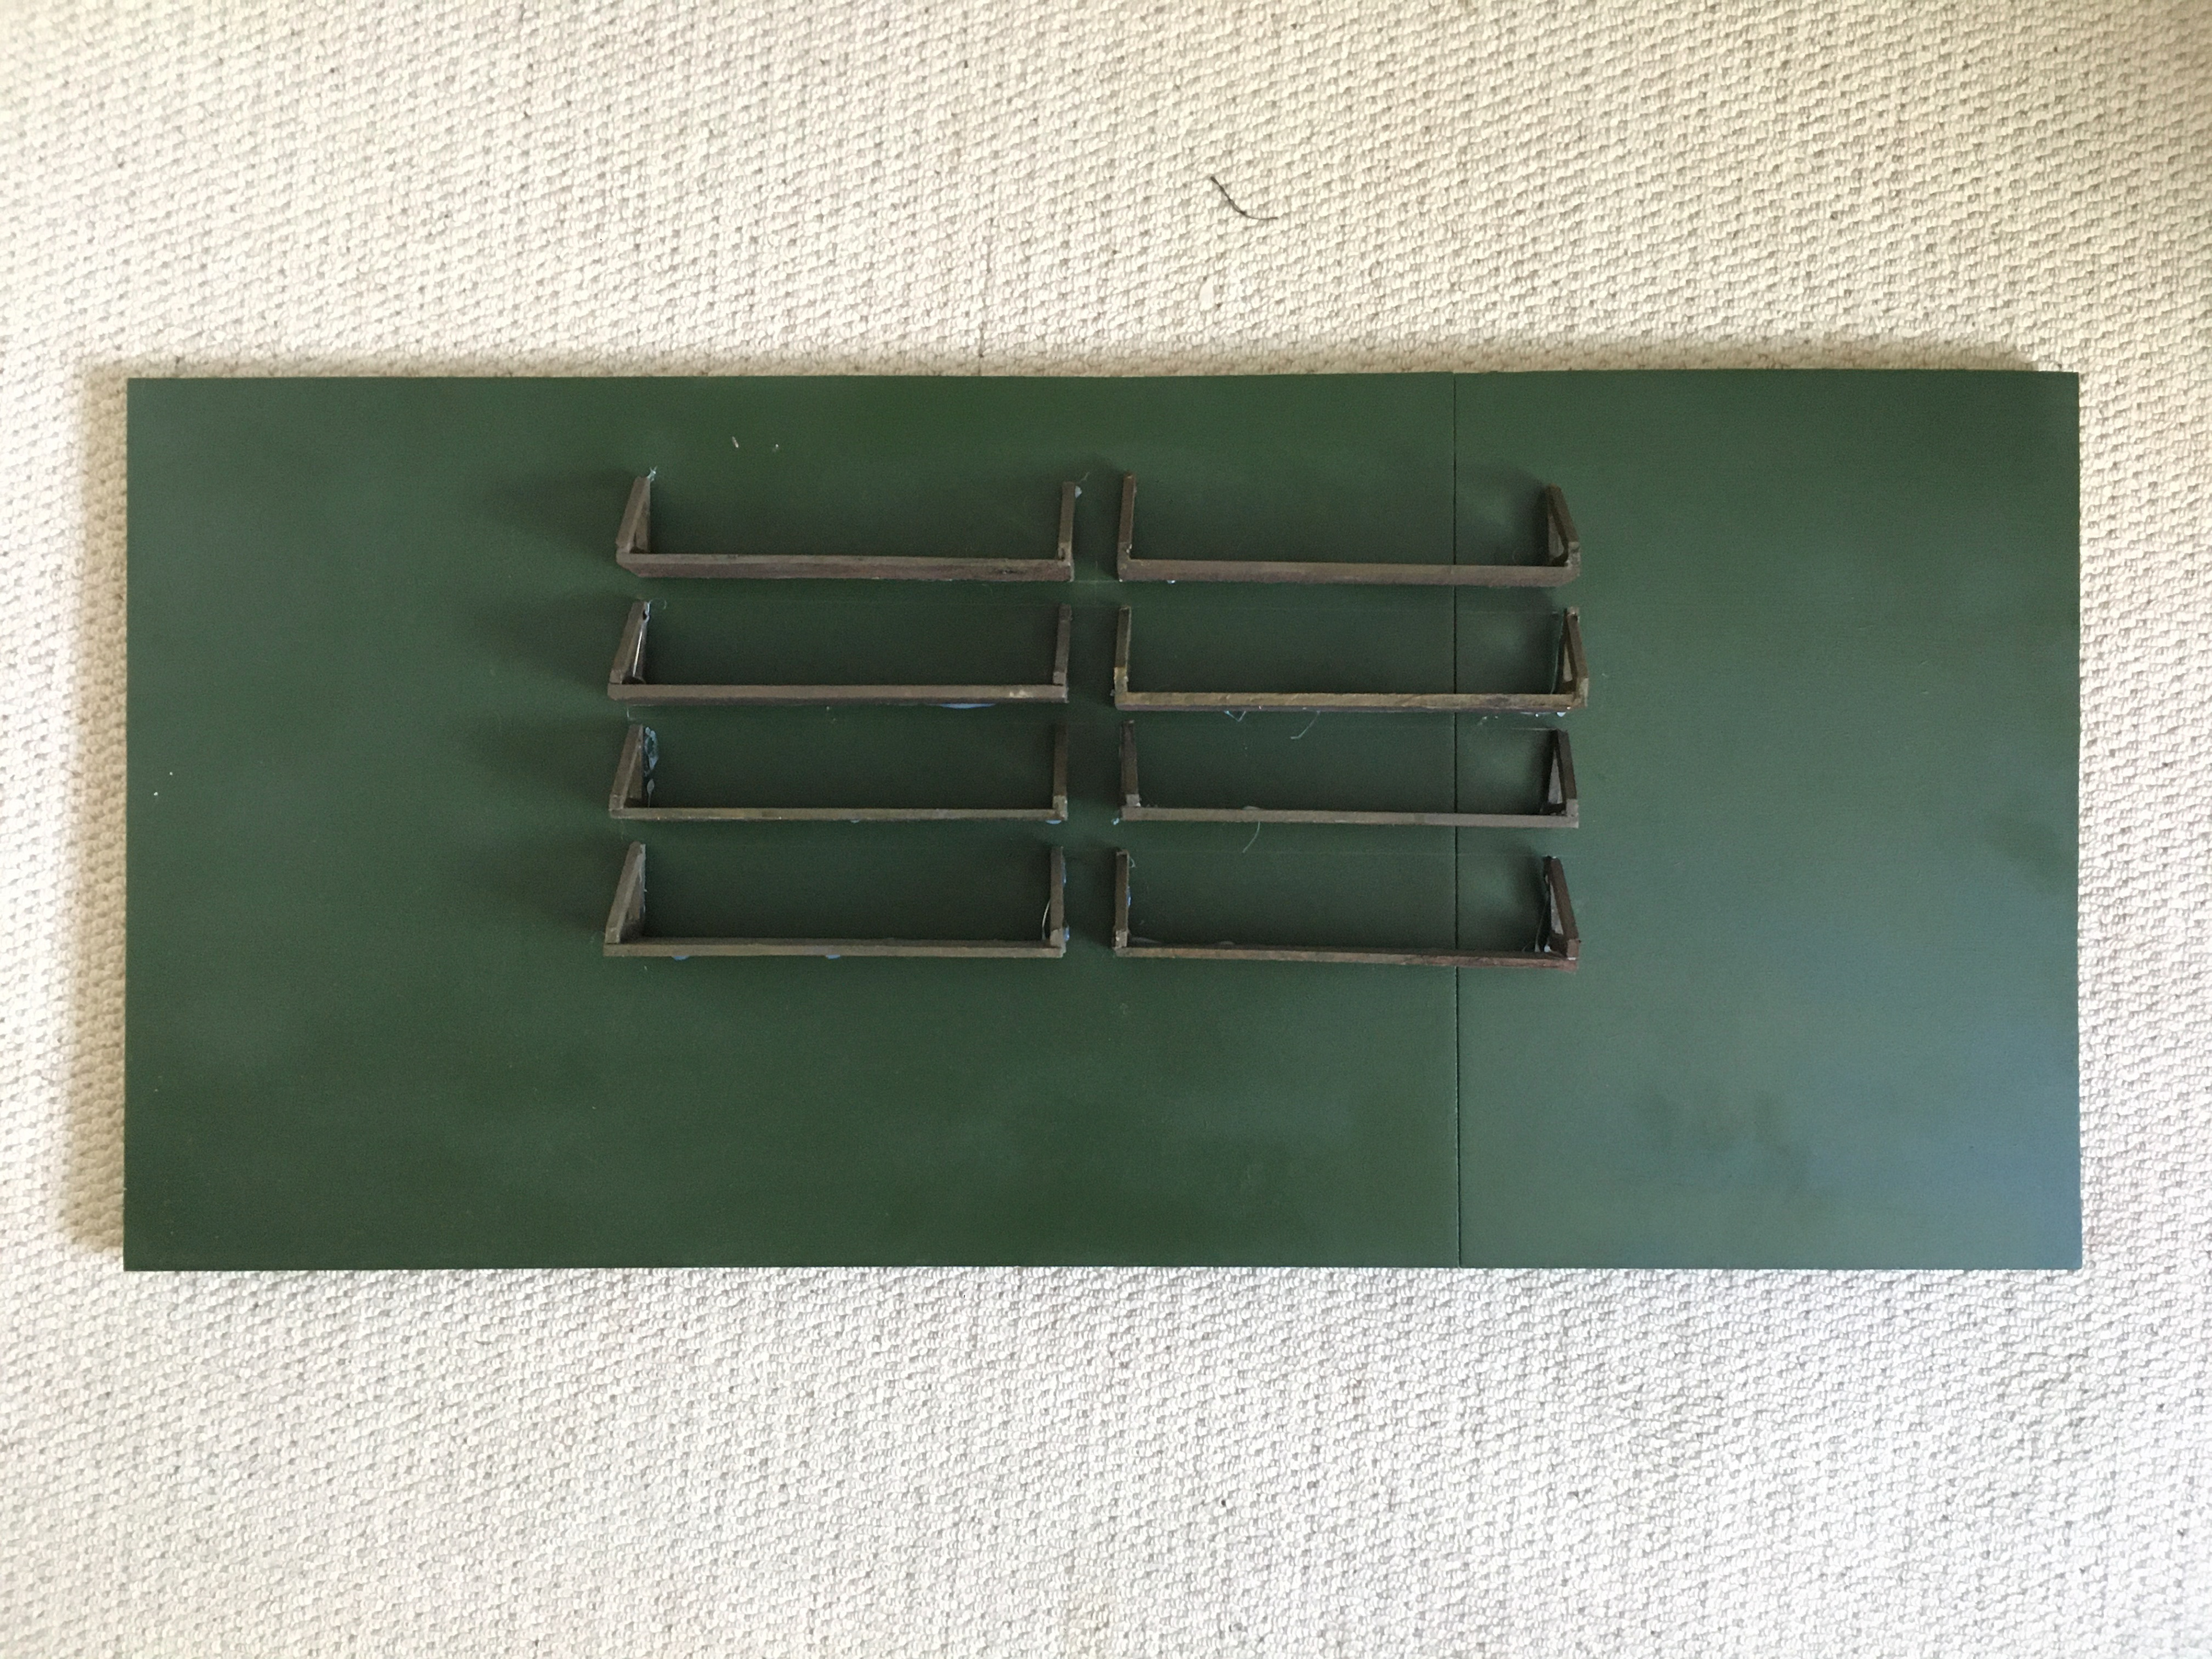
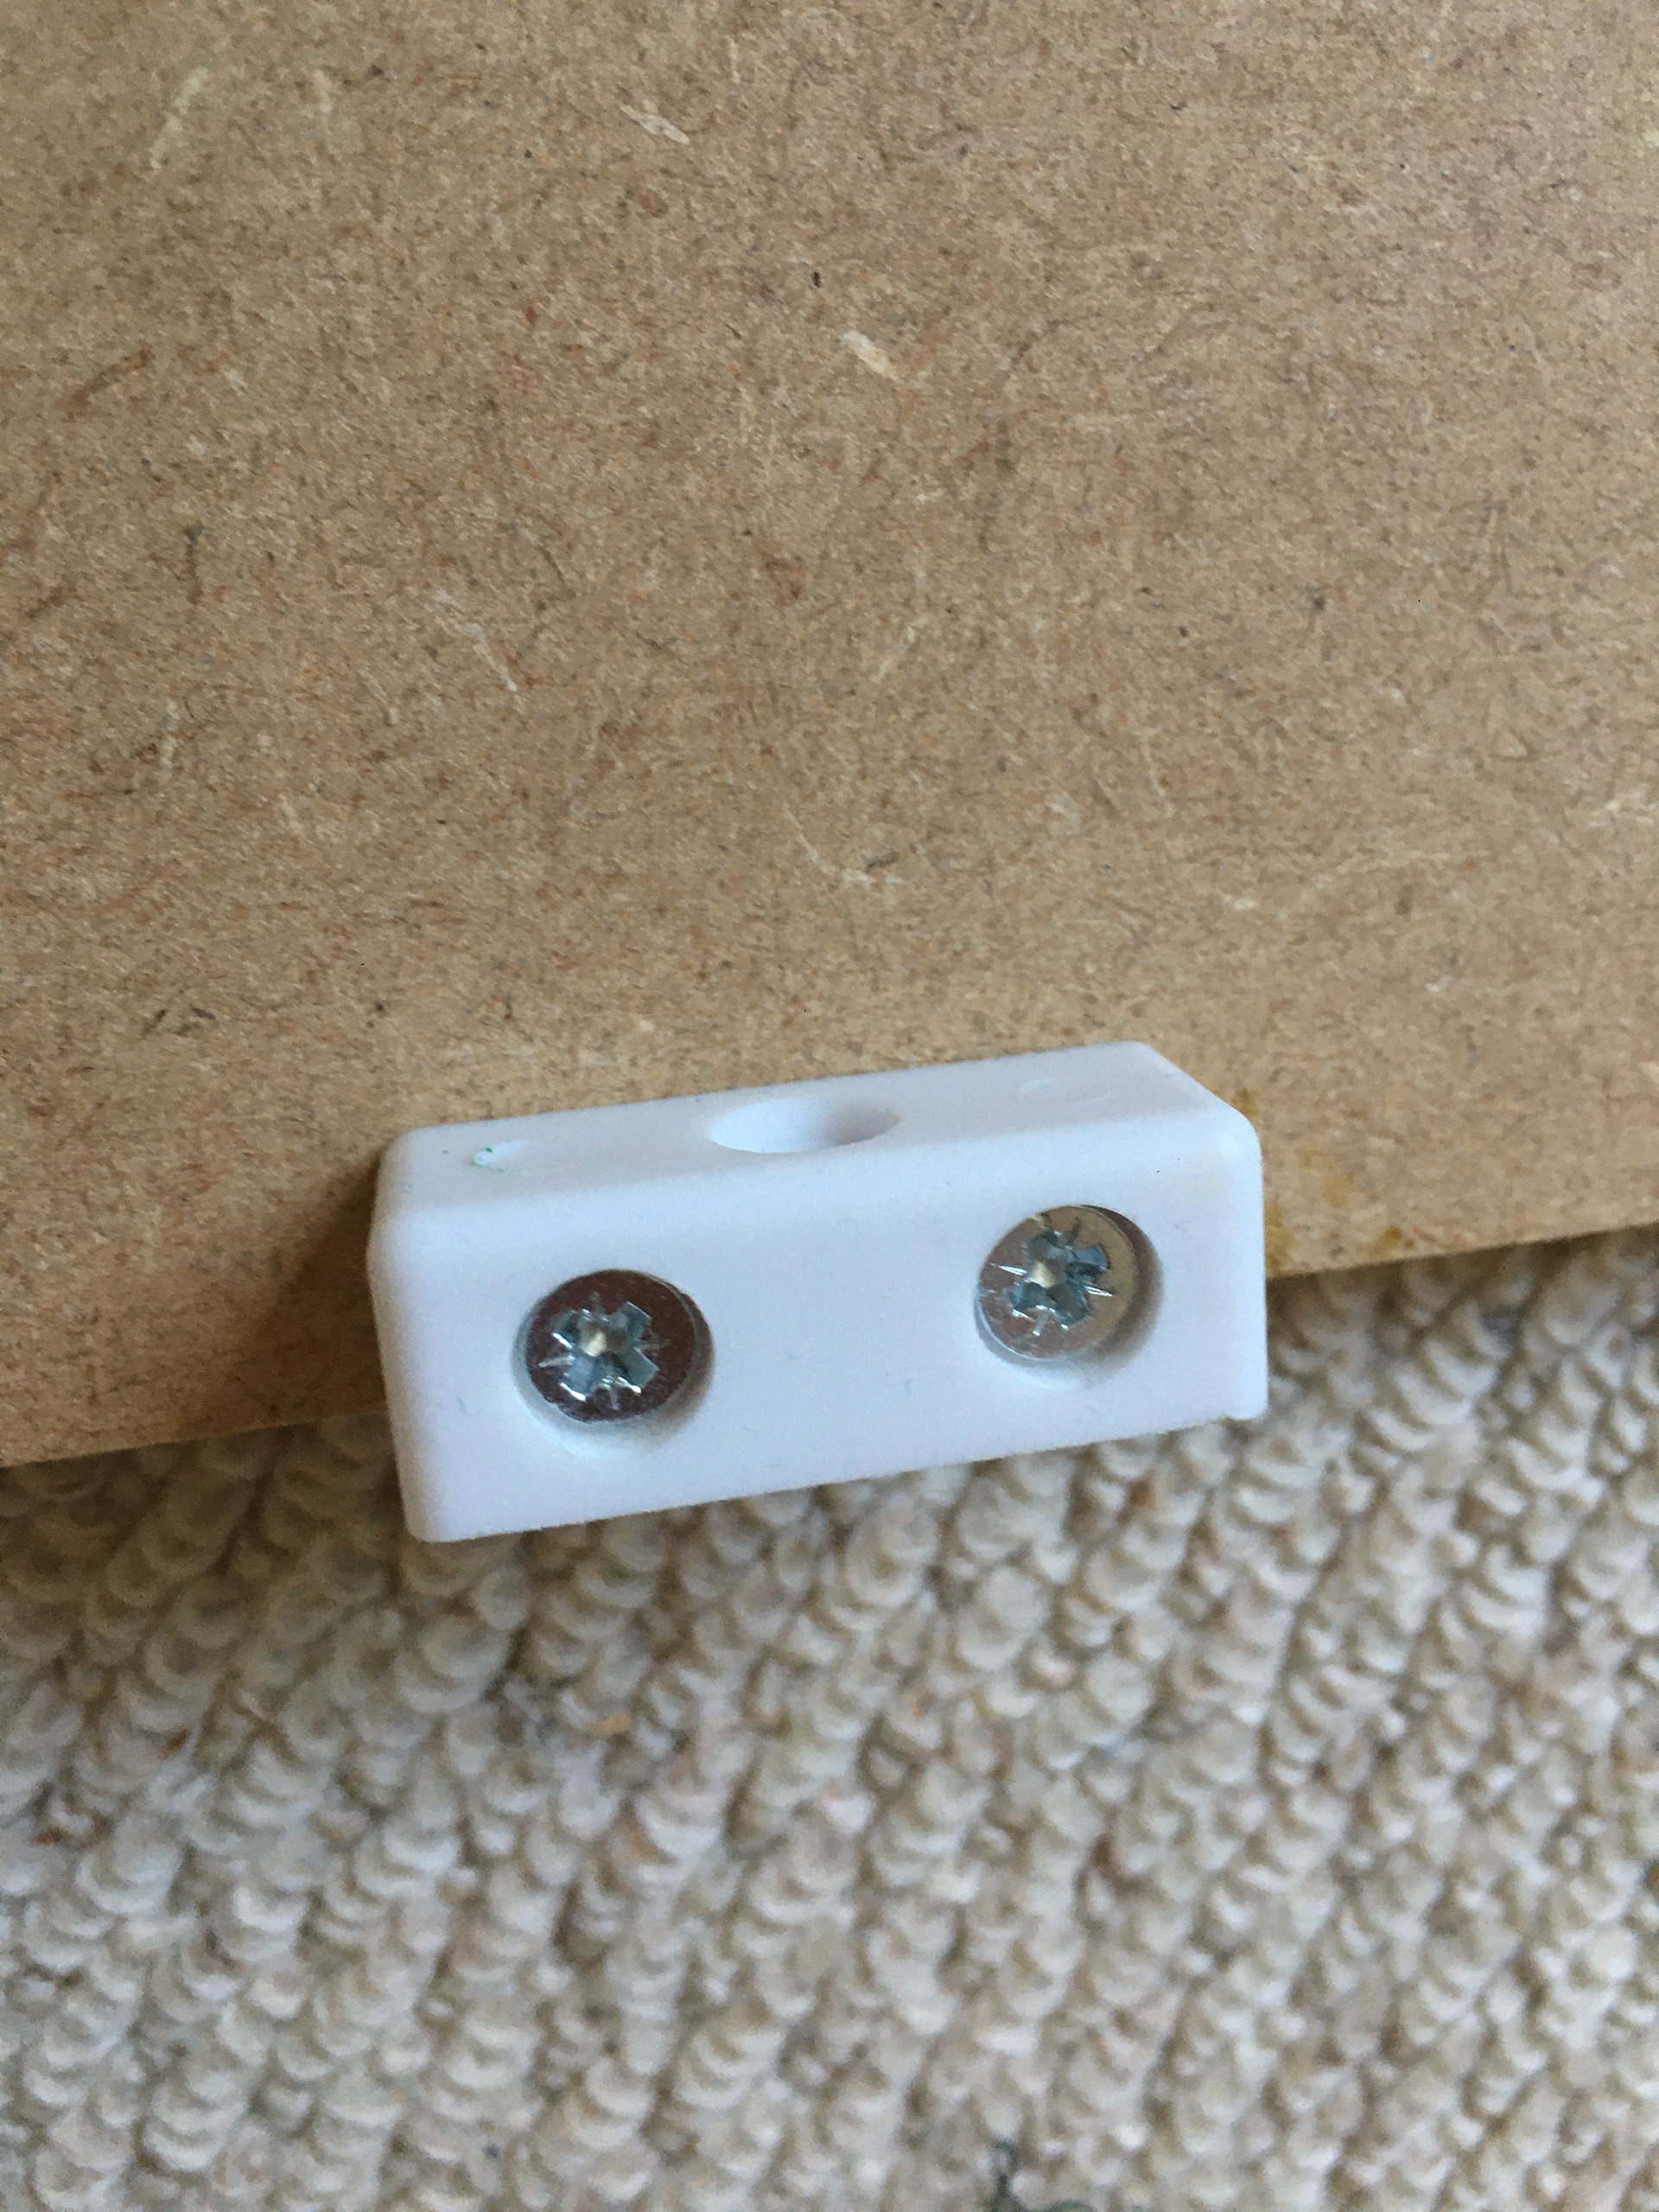
The green walls were constructed using MDF wood. The wood was sanded down and coated with a sealer. Following this stage, several coats of spray paint were applied to the MDF. Each segment for the wall was attached to the floor panels using a screw cube.
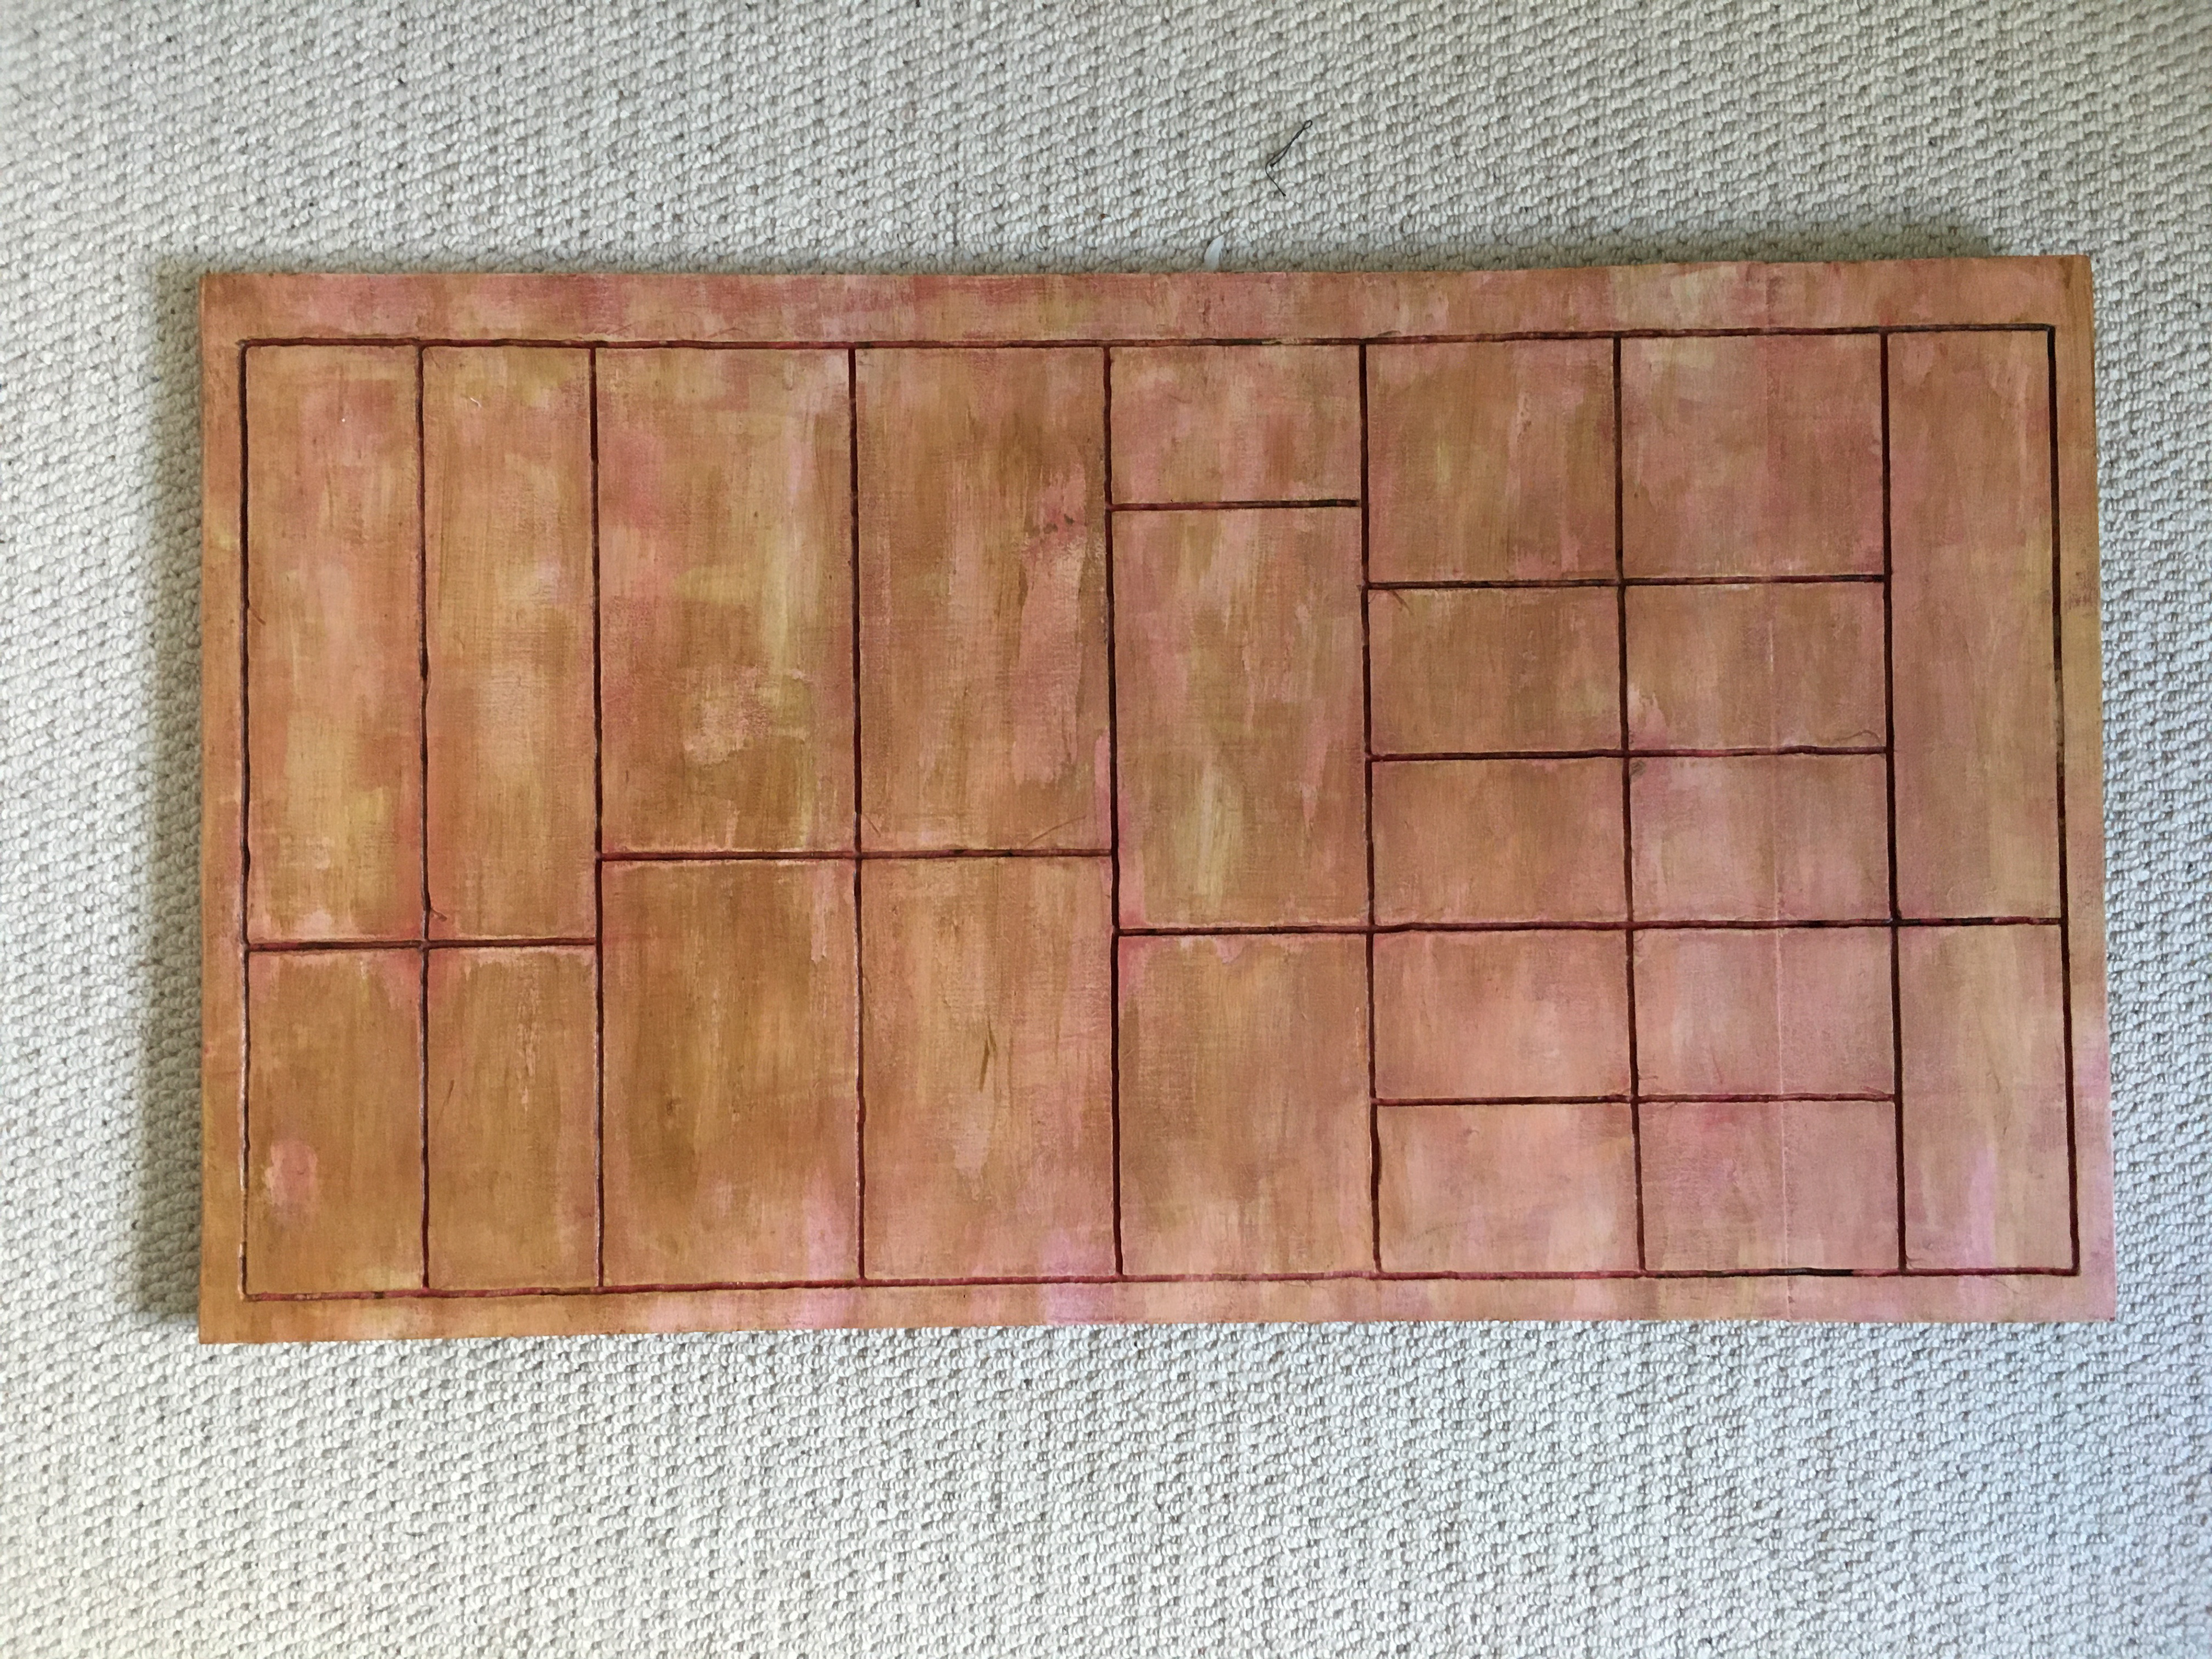
The cabinet doors were constructed using a similar process, however the paint work was achieved using acrylics and a rotary tool was used to engrave cupboards and drawers.
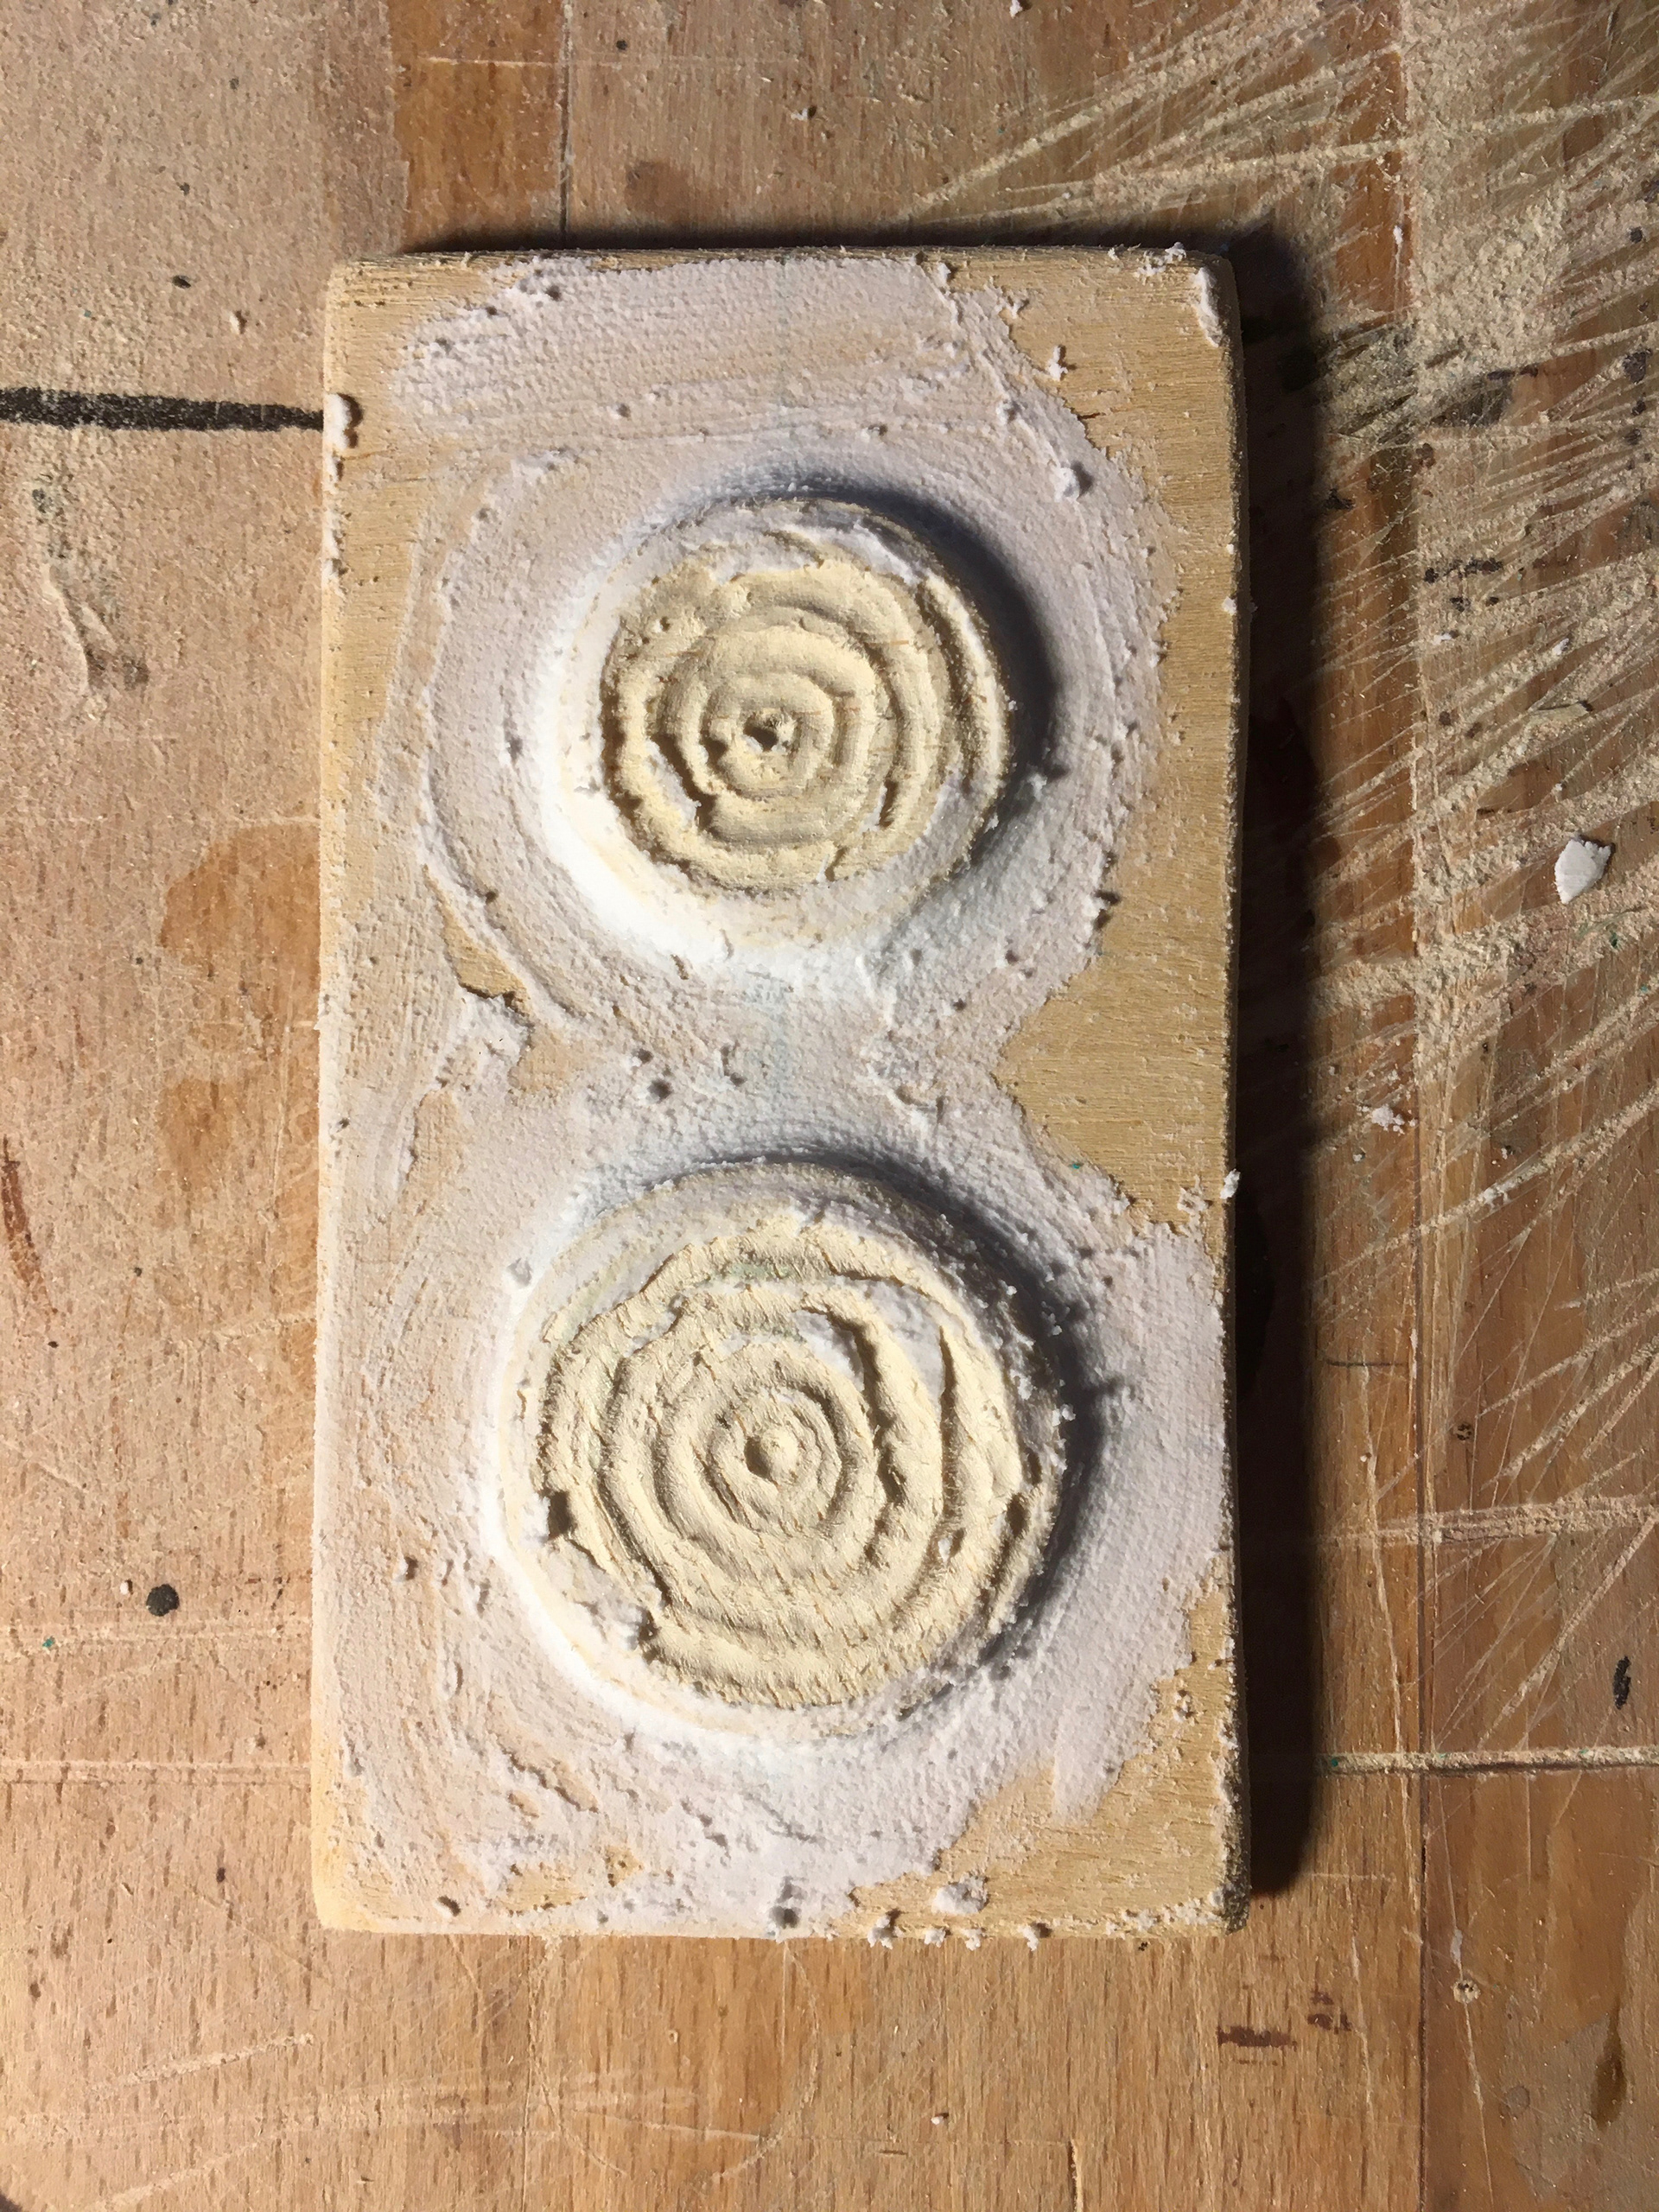

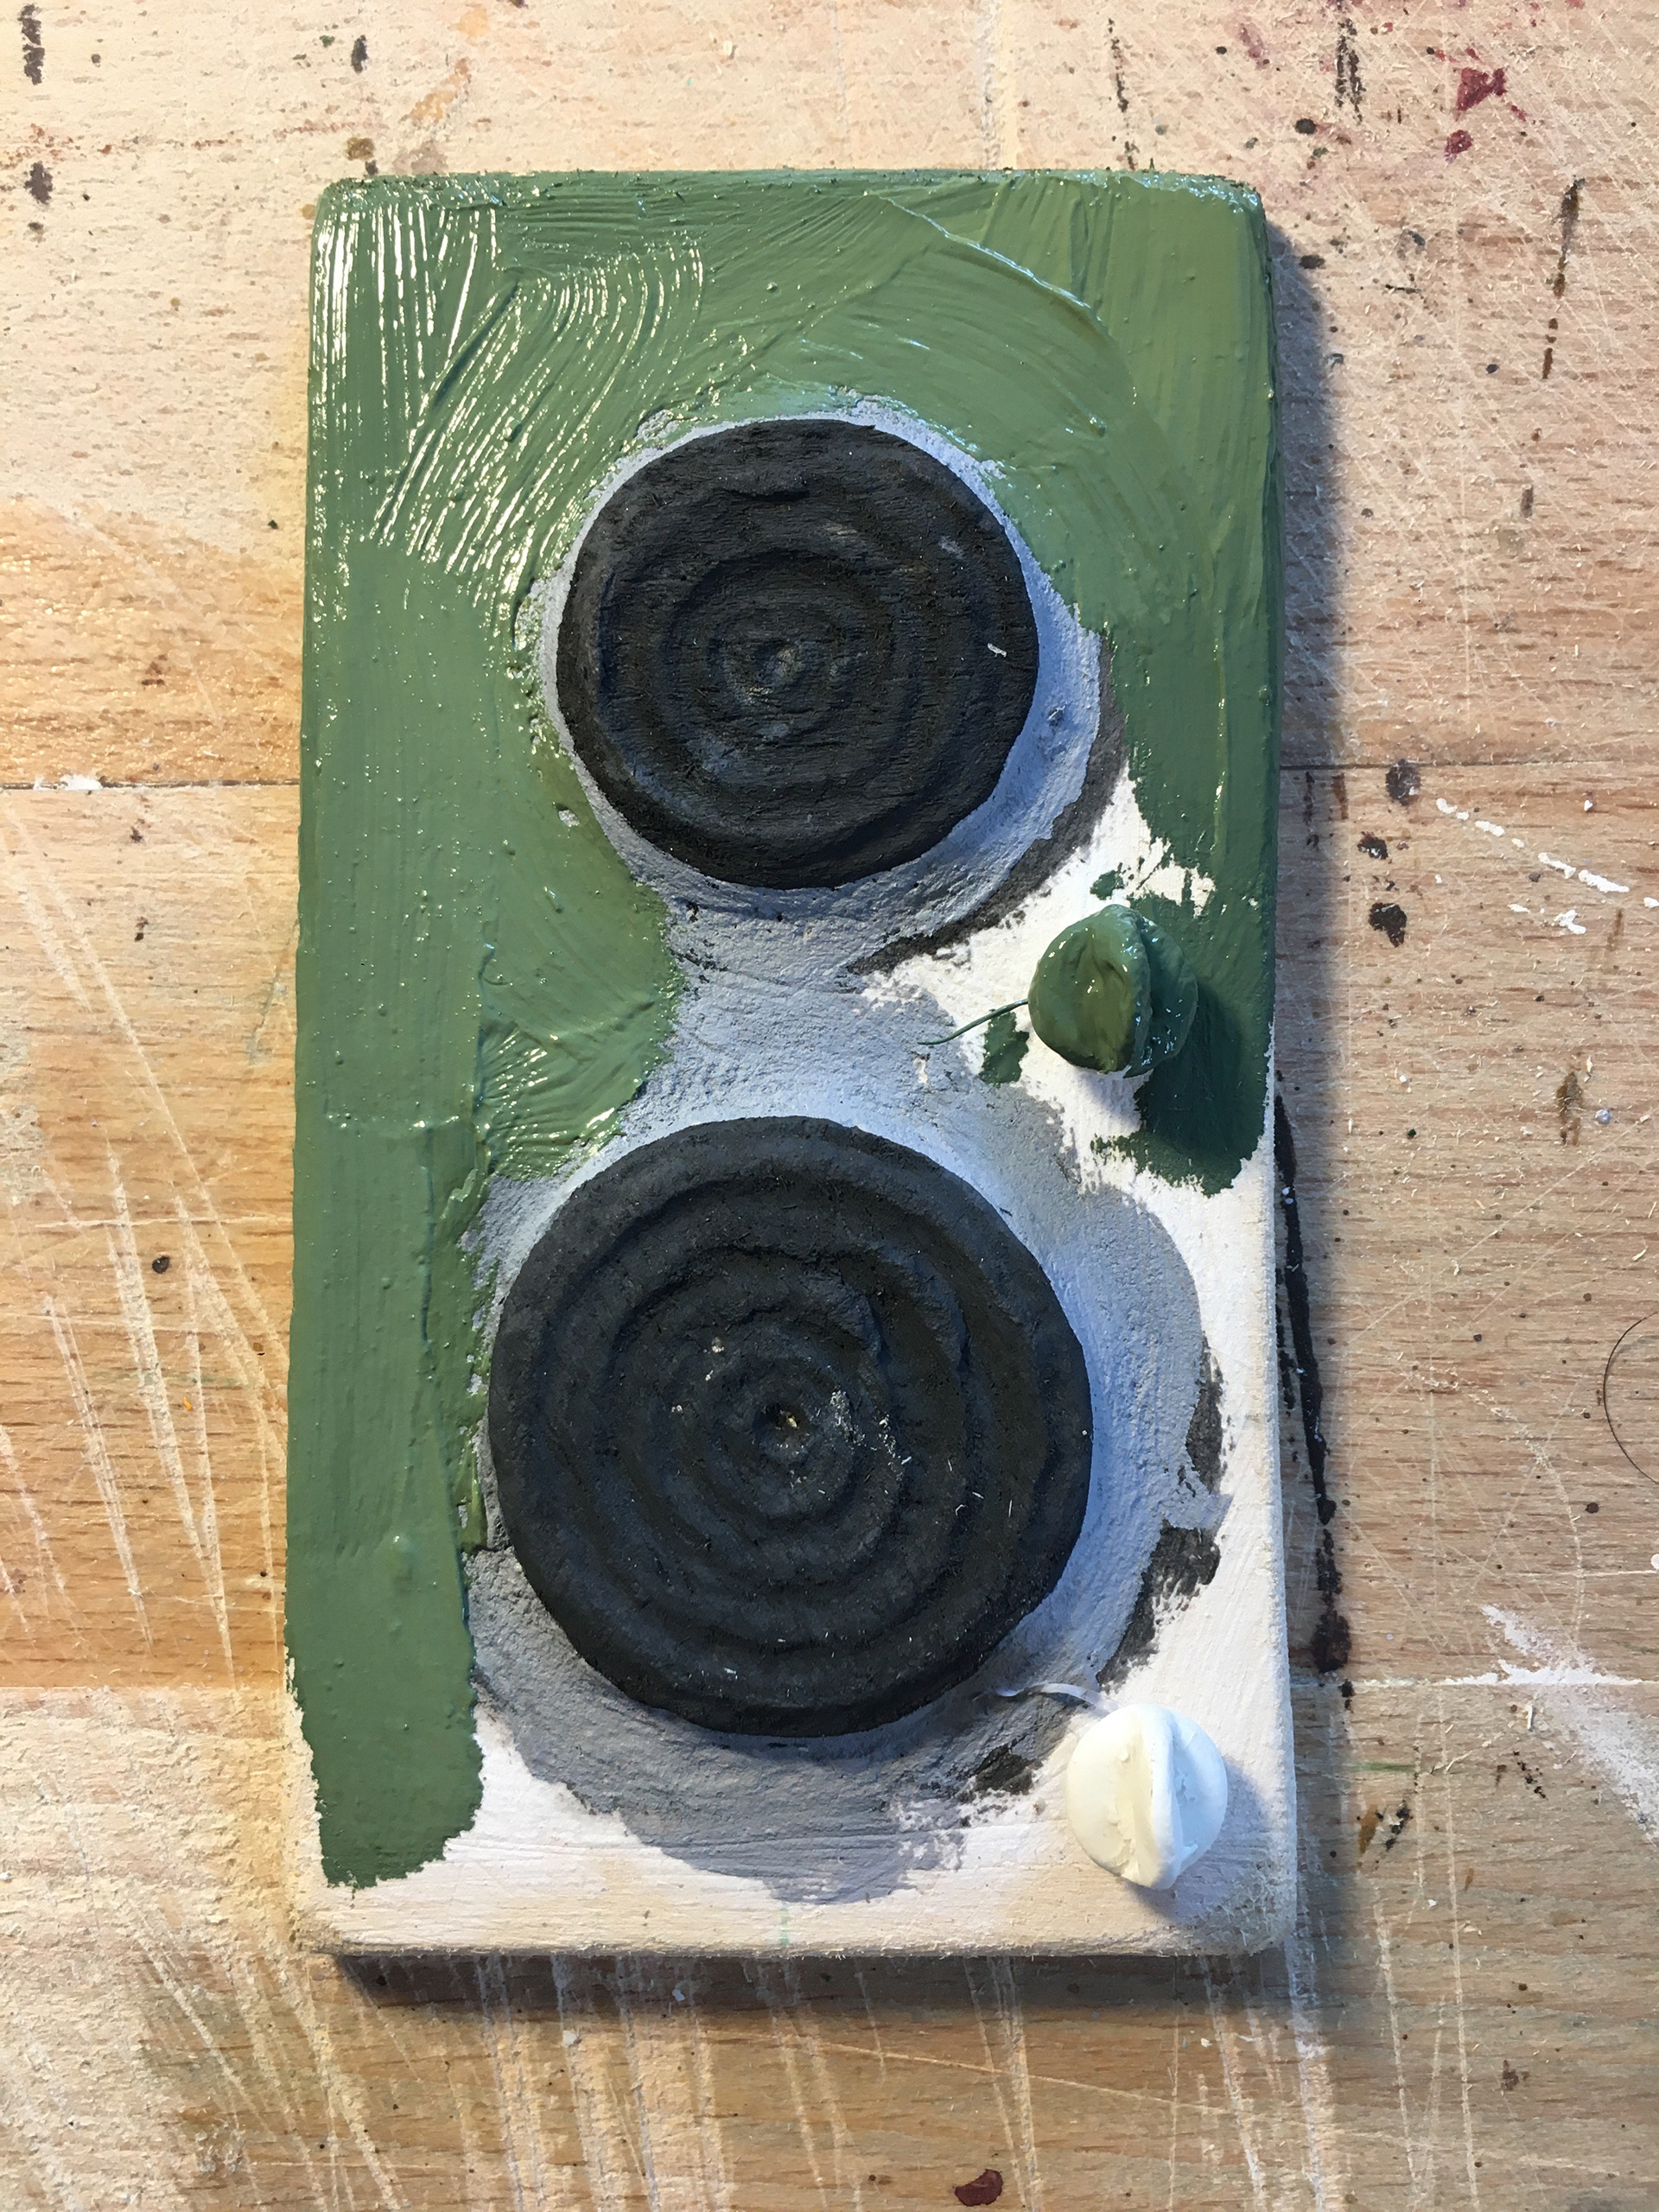

The electric cooker was created using a mix of obeche wood, multi- purpose filler and sculpey oven clay. A rotary tool was used to carve the grooves on the electric hobs. A gloss varnish was applied to the body of the cooker.
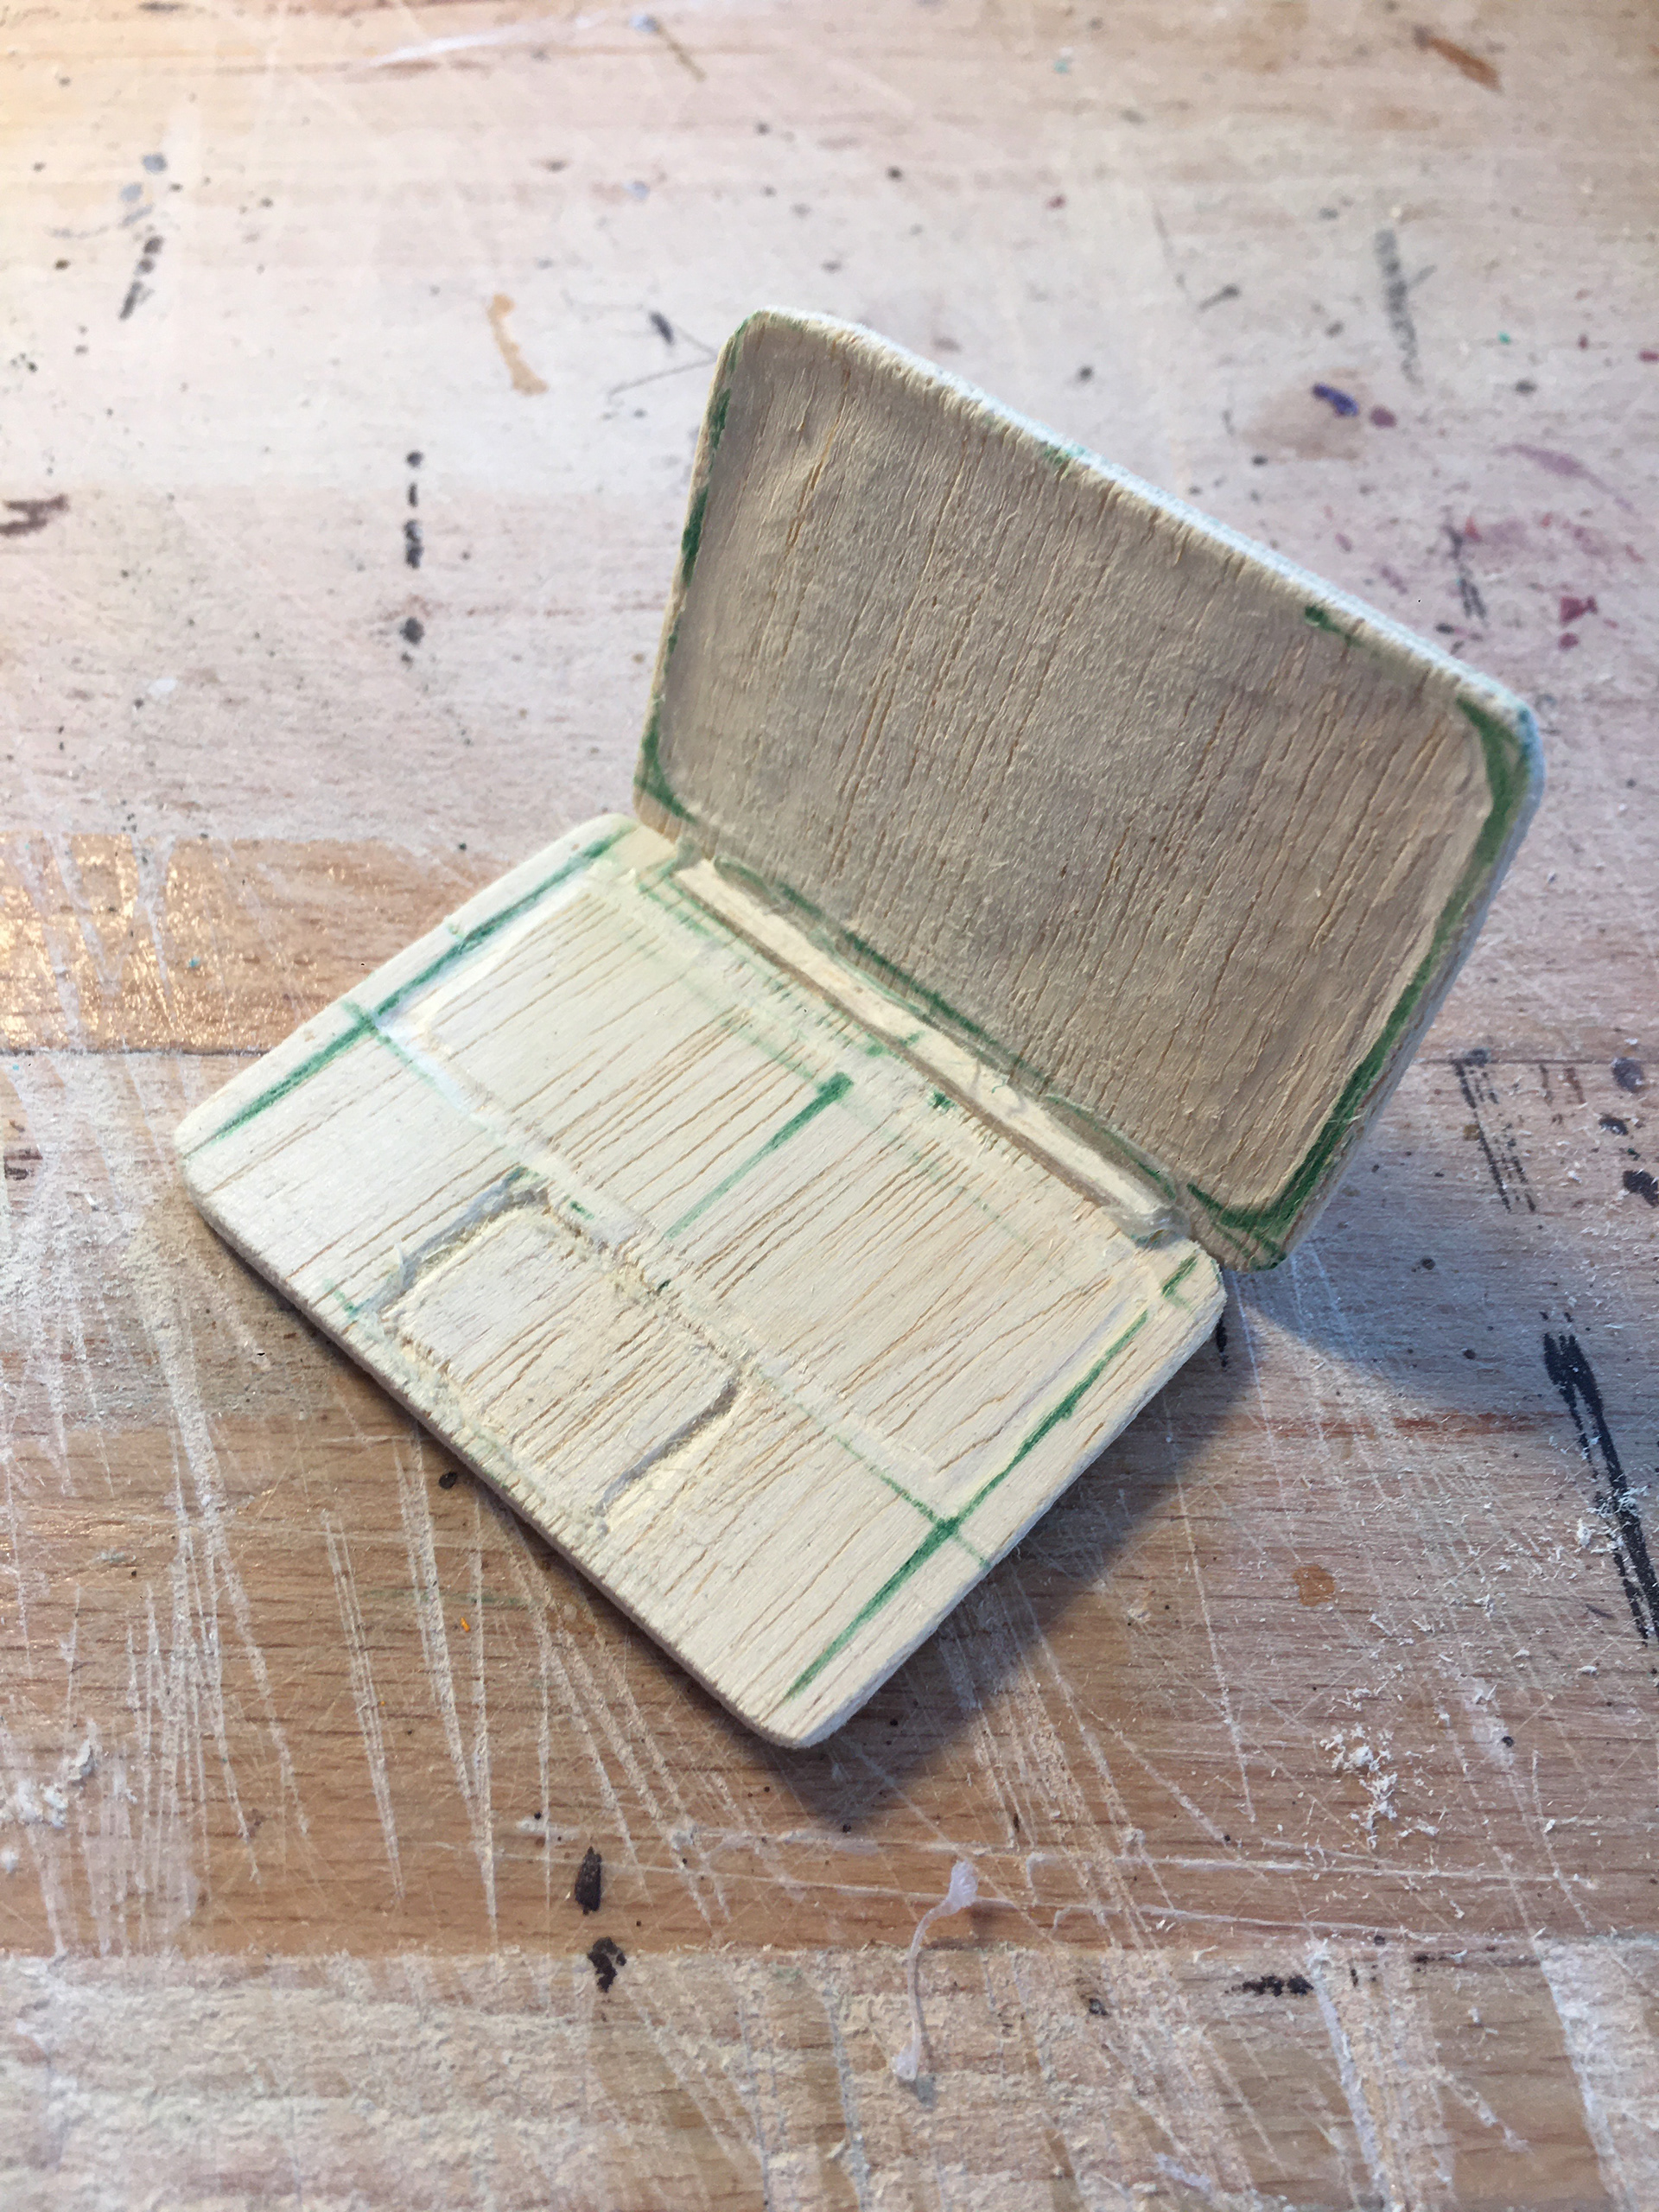
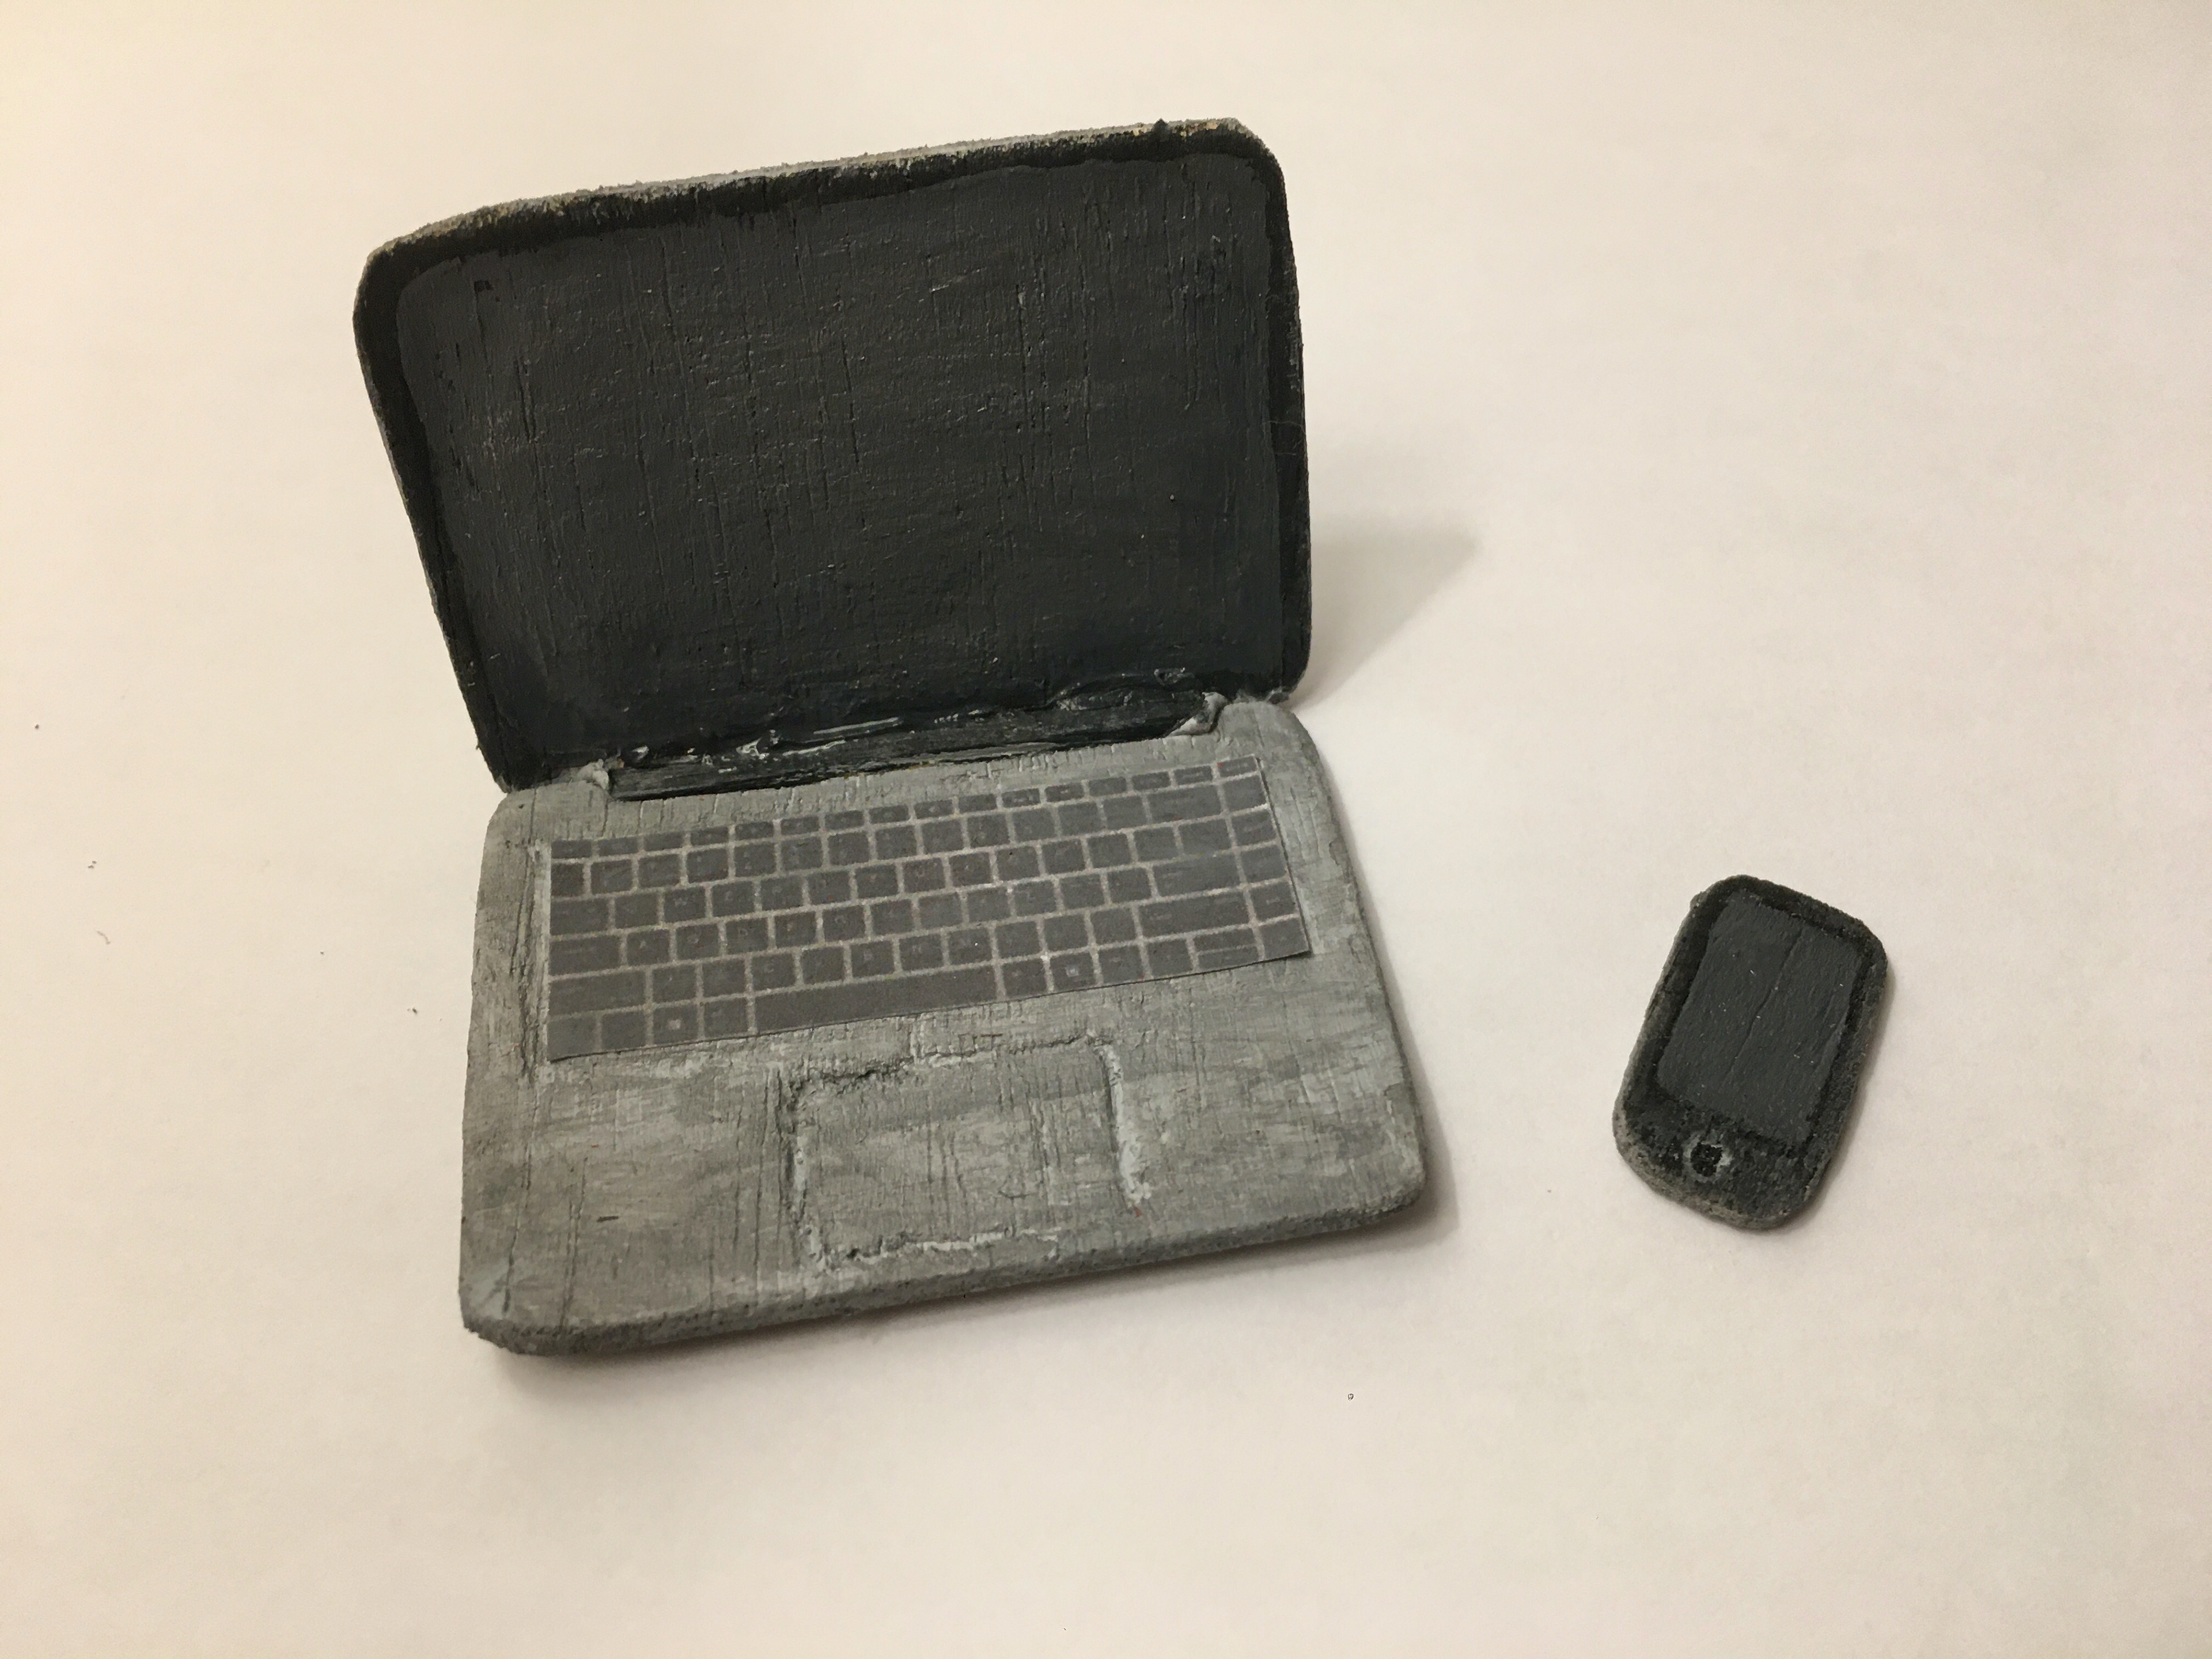
The Laptop and the phone were created using obeche wood. a rotary tool was used to engrave the screen and the mouse on the laptop. In addition, the rotary tool was used to carve the screen and the button on the phone. Acrylics were used for the paintwork on both props. The Keyboard was made from a decal found online and a gloss varnish was applied to the laptop screen and the phone screen.
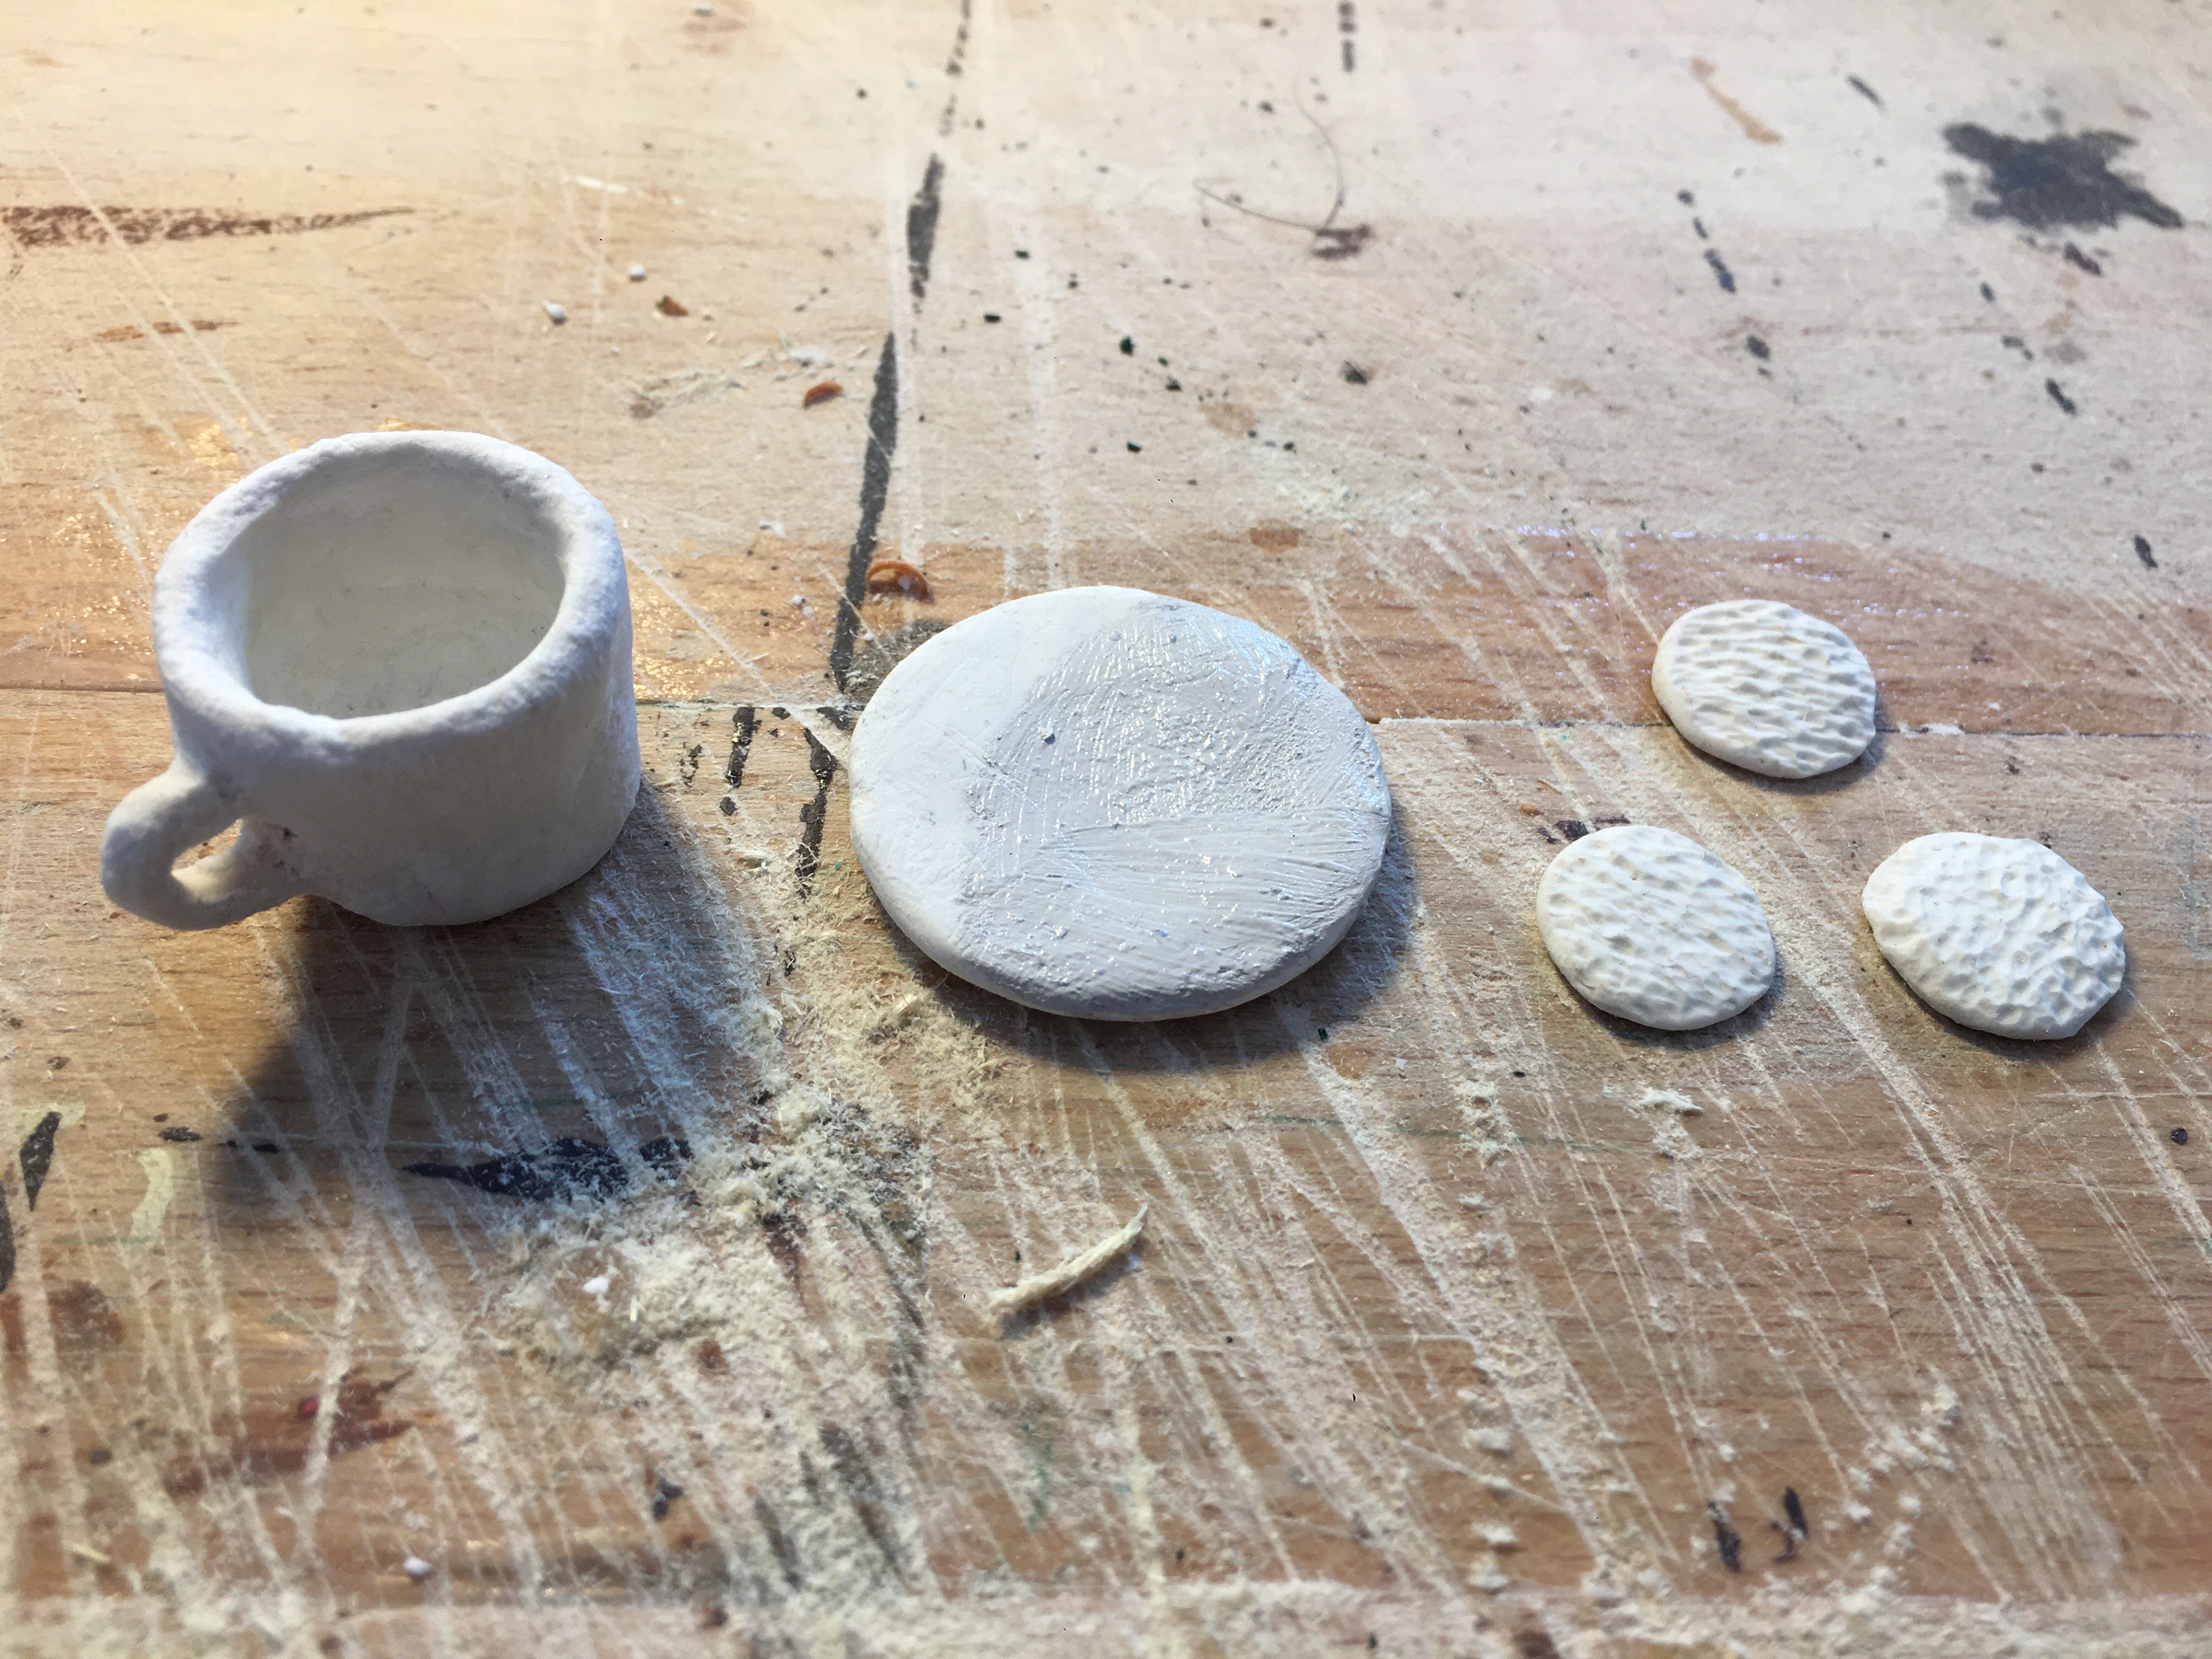
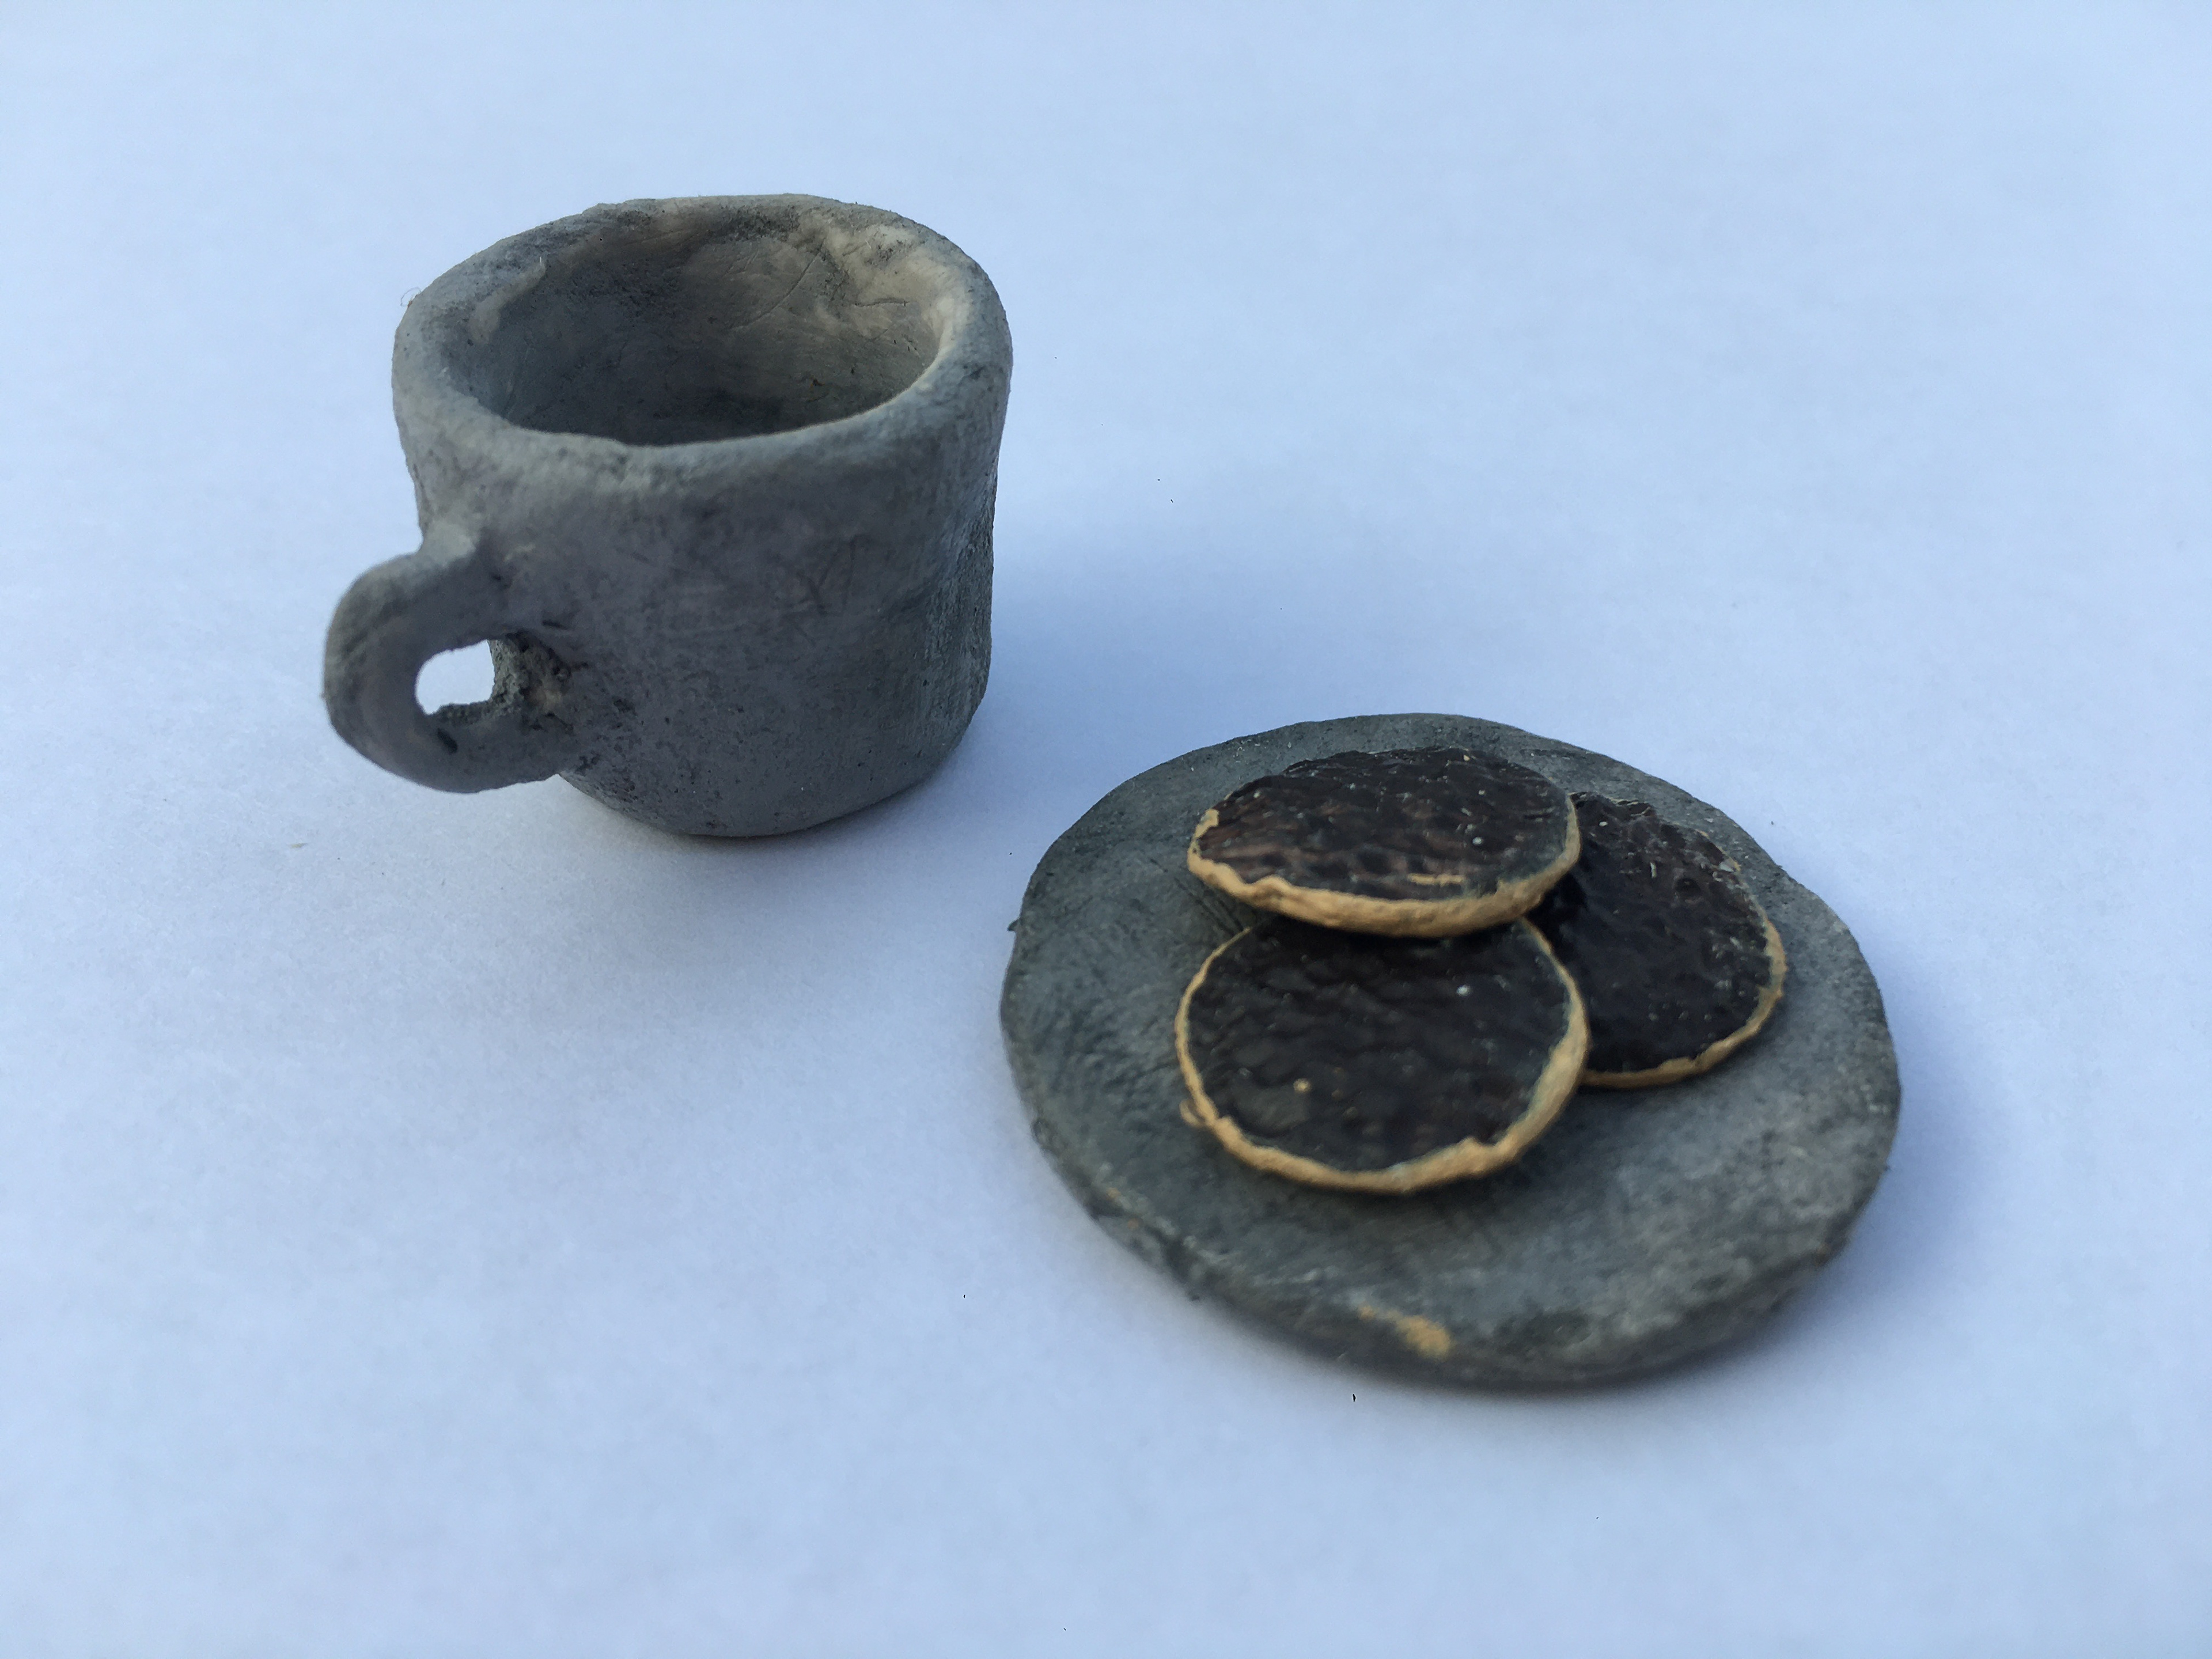


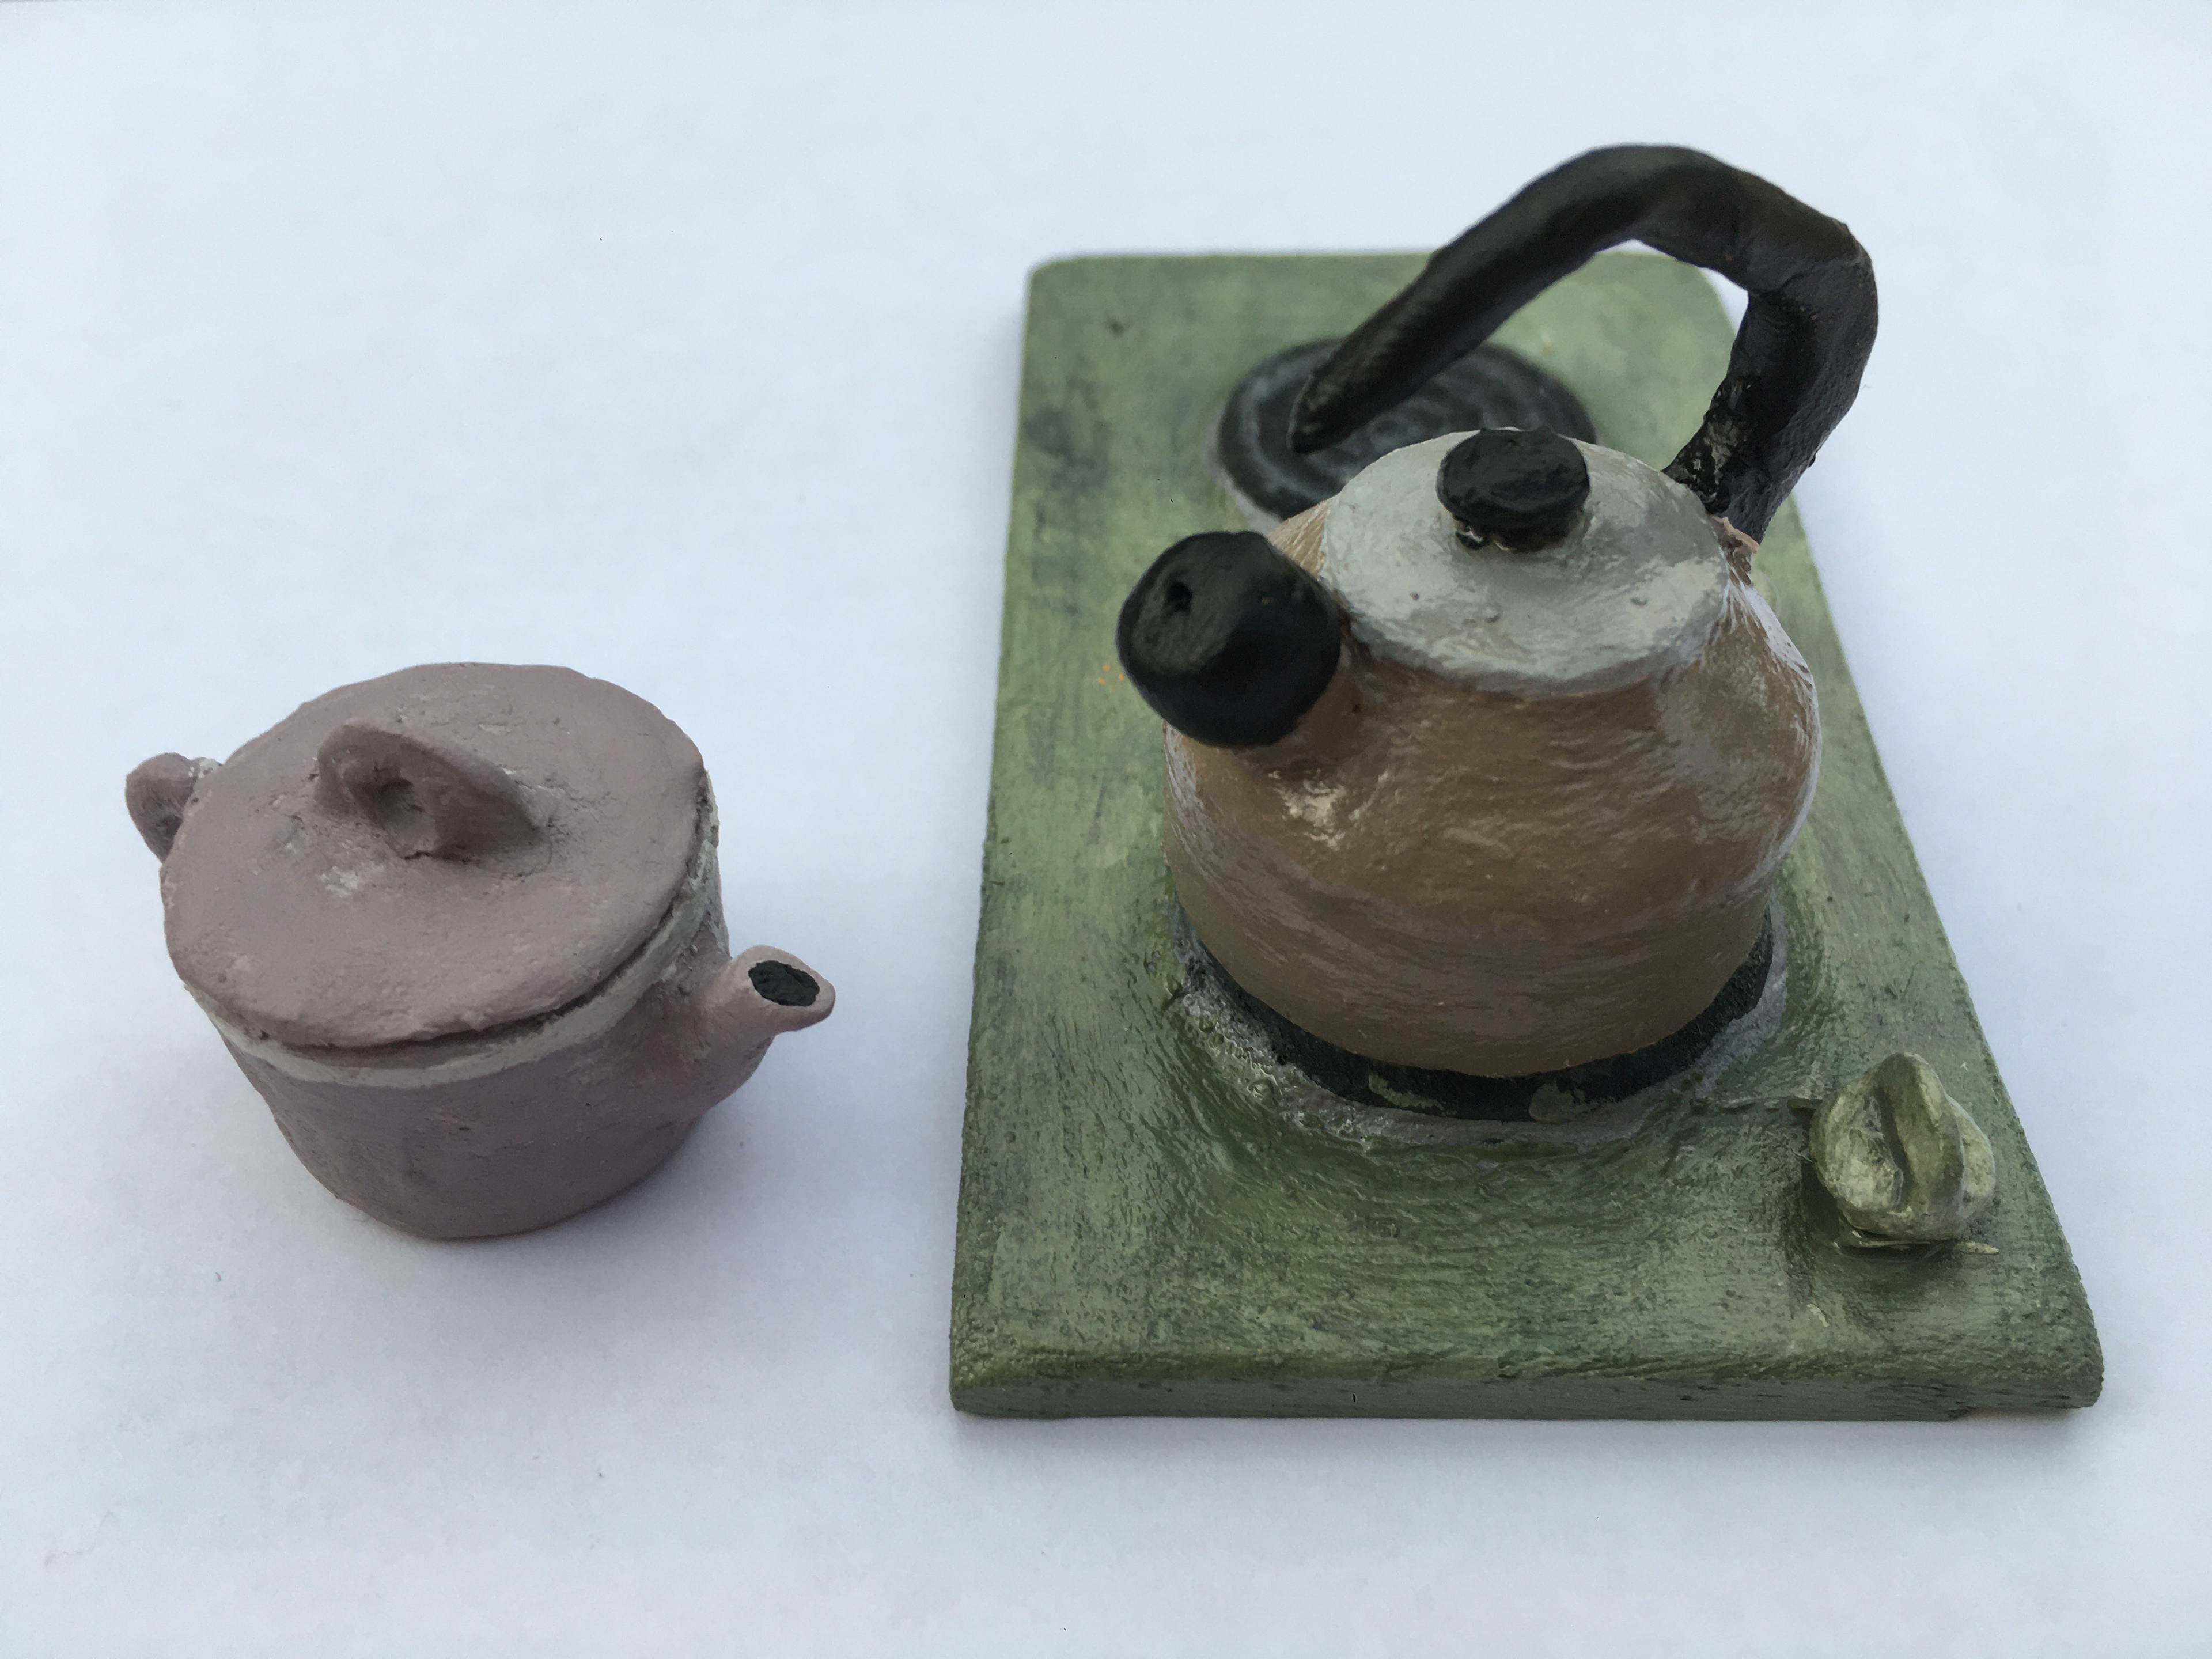
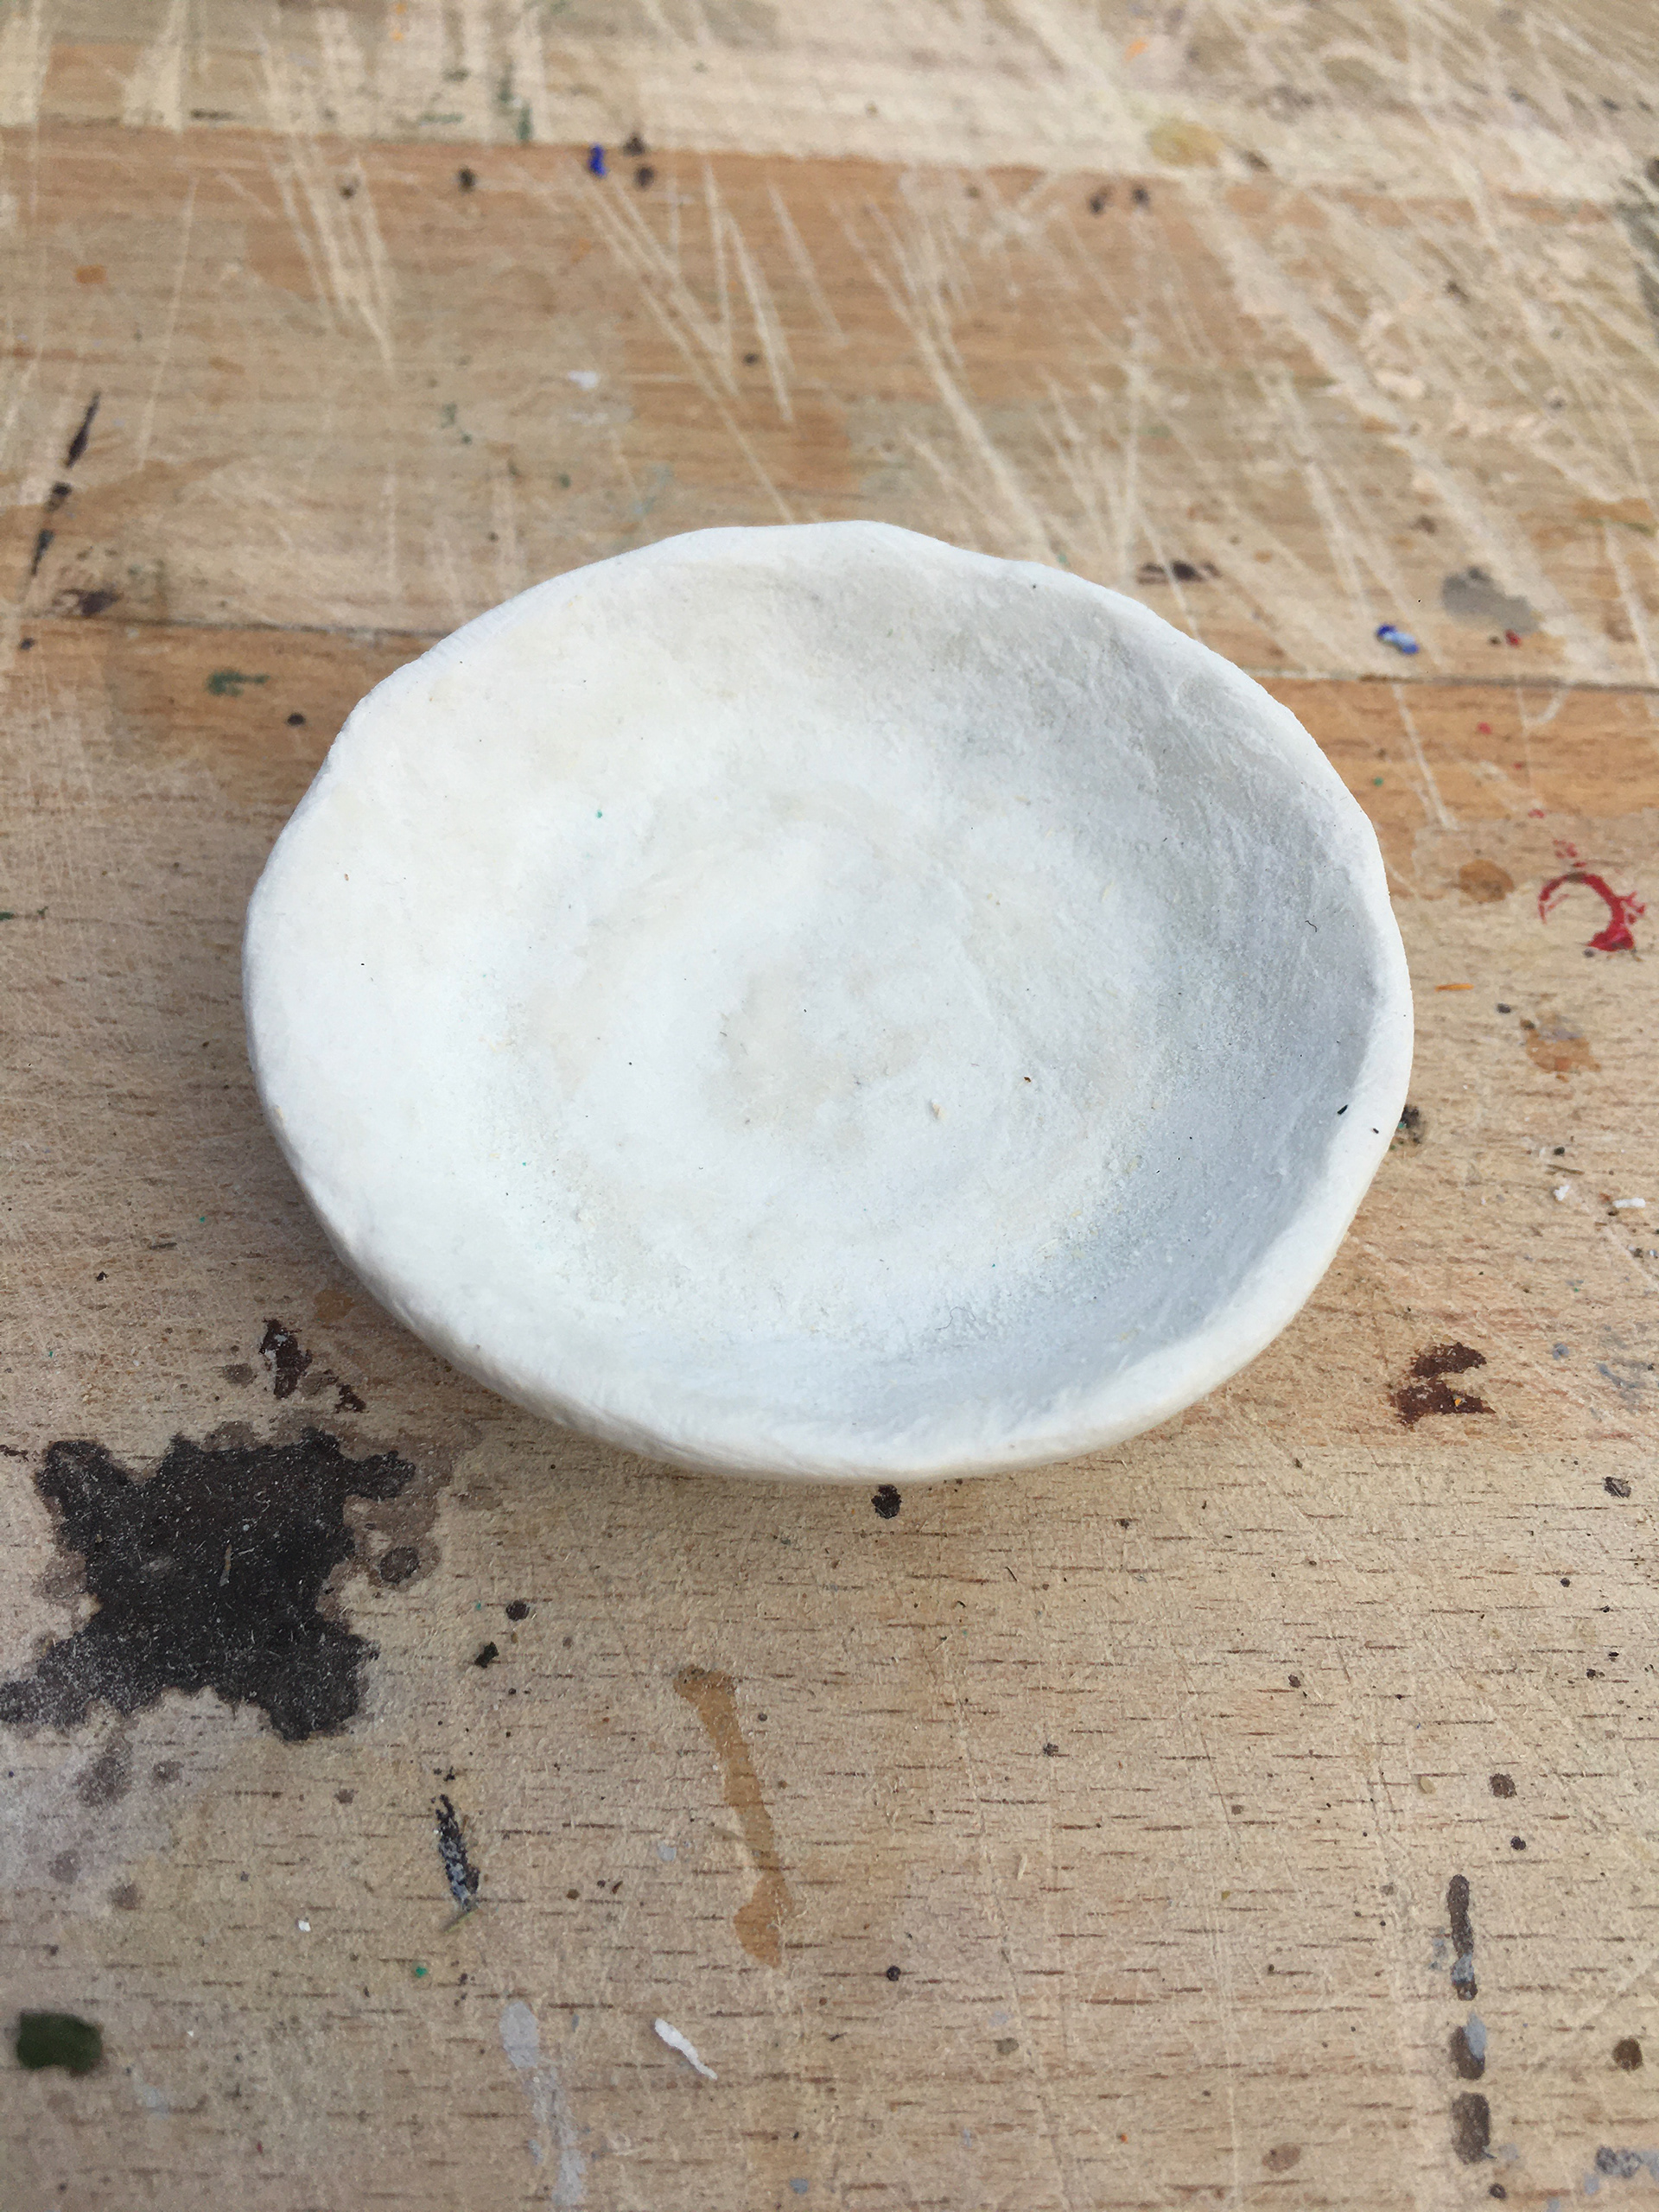
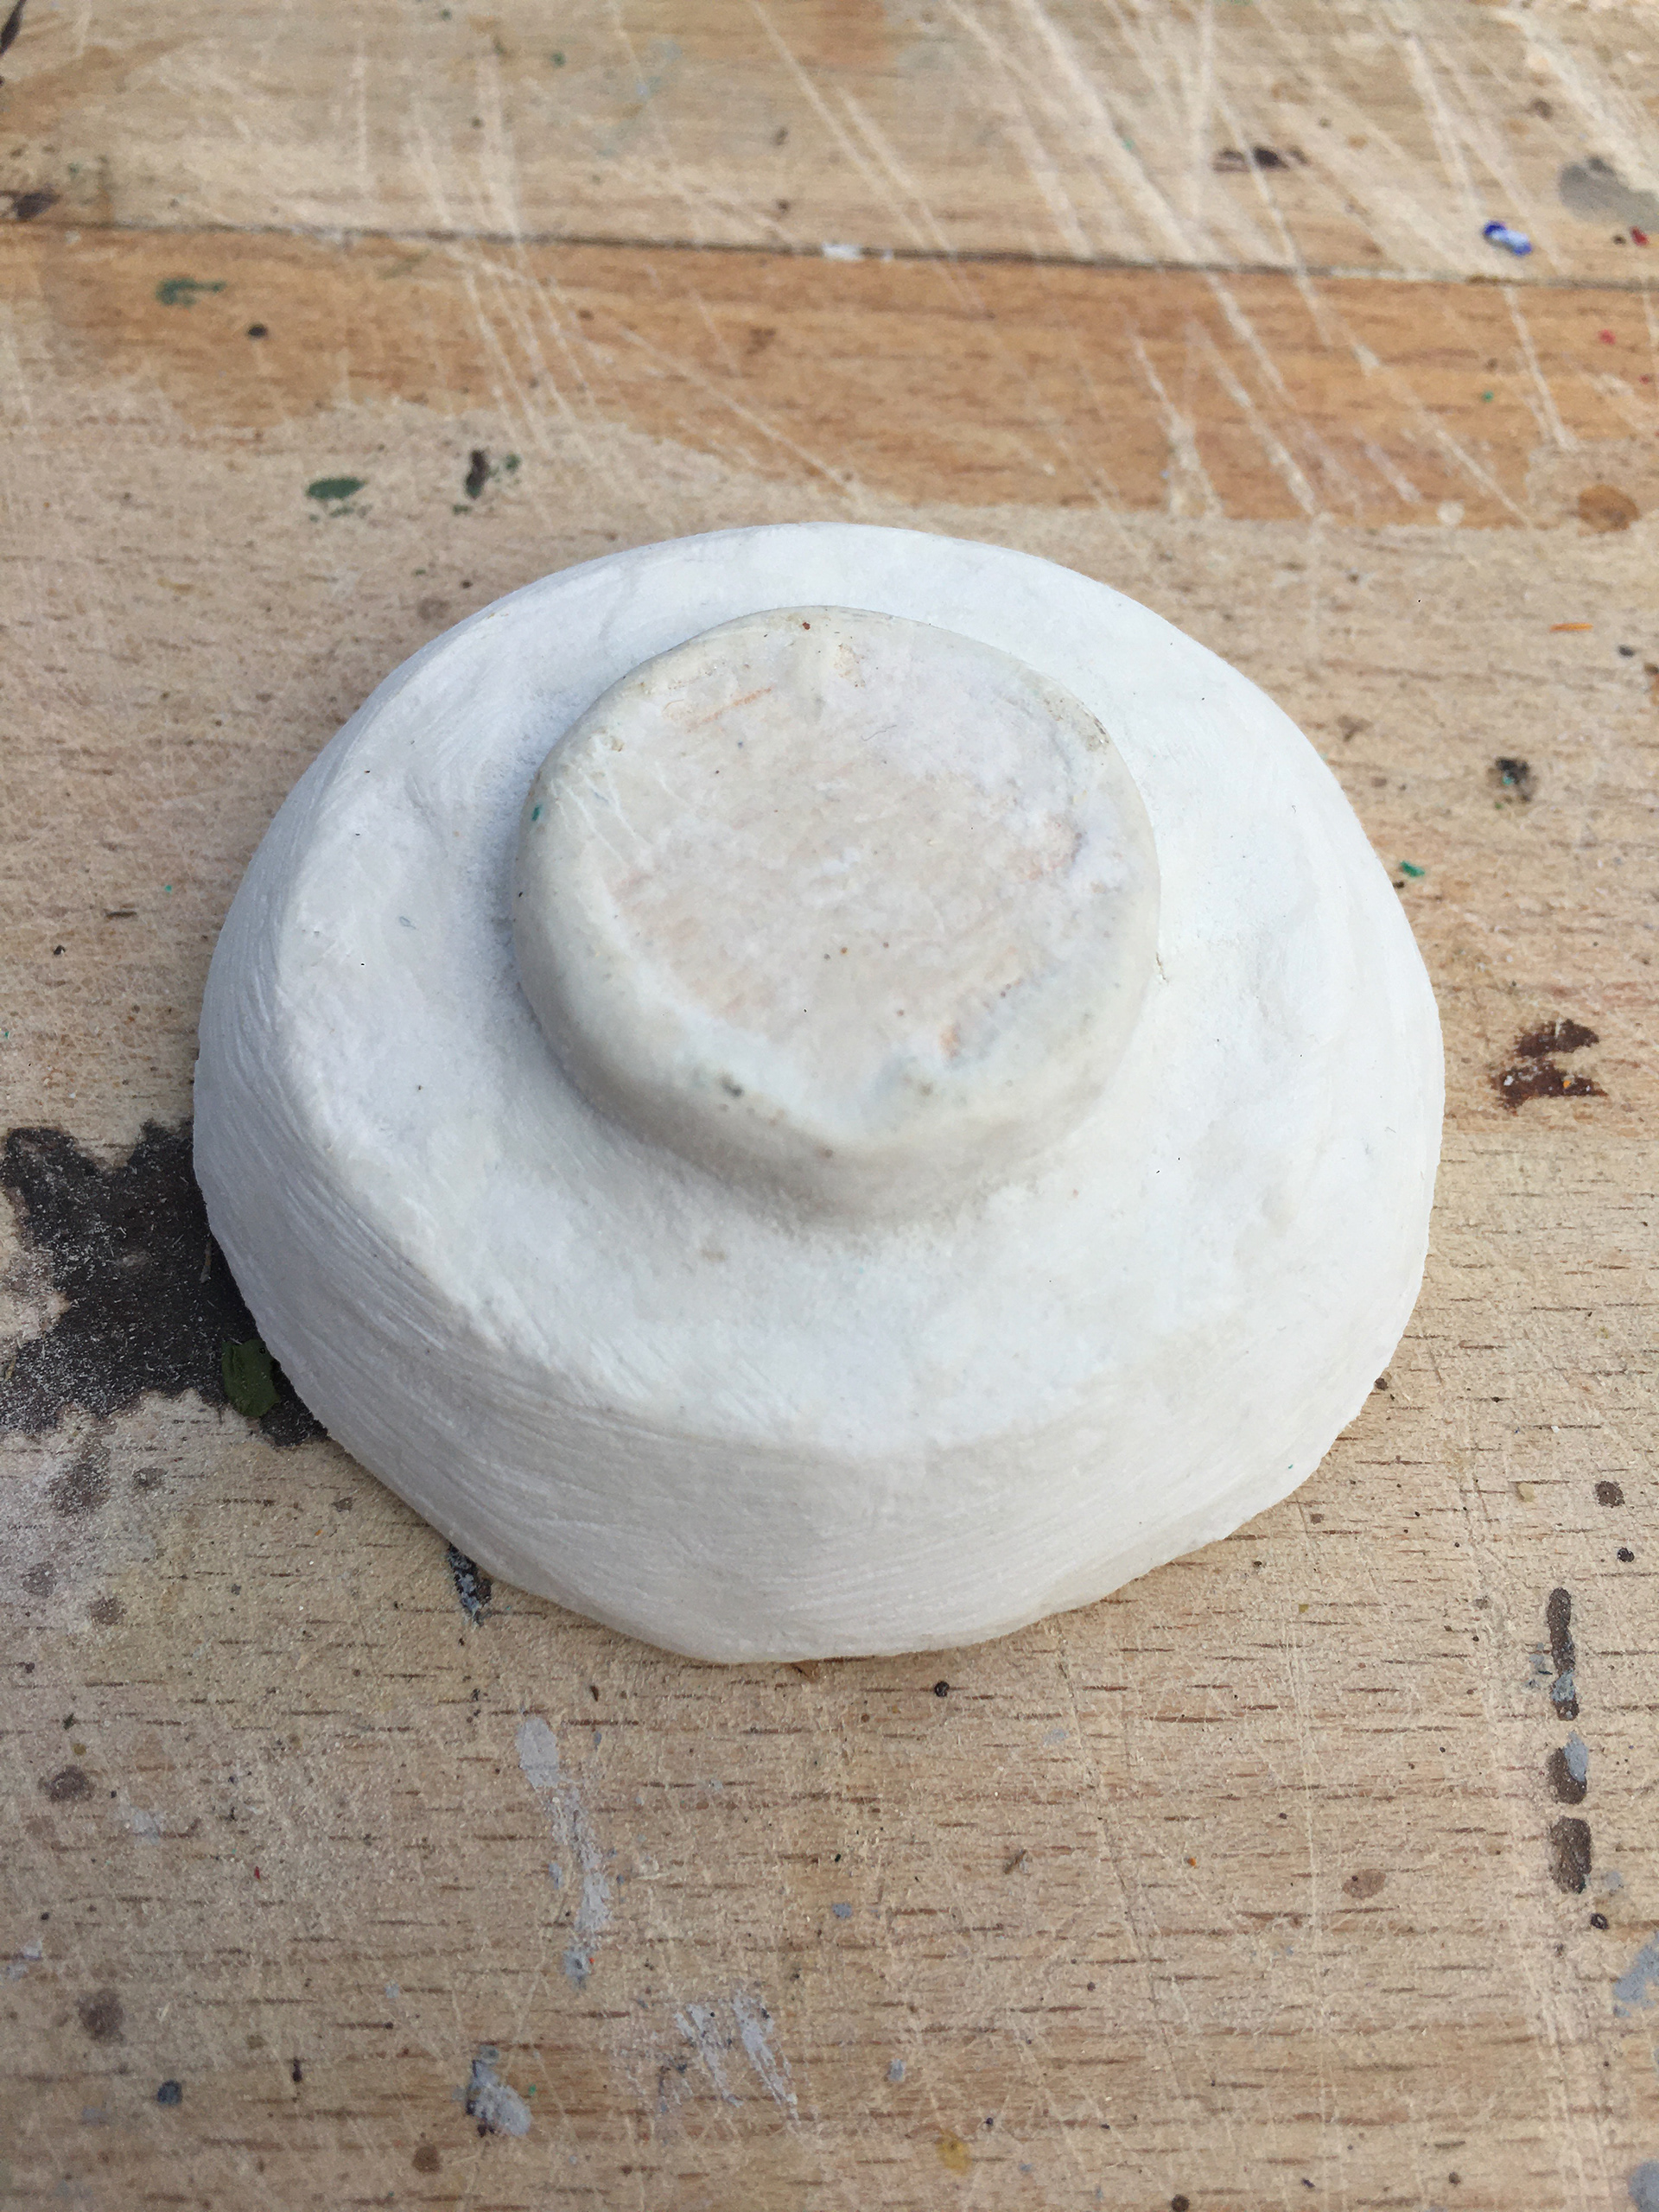
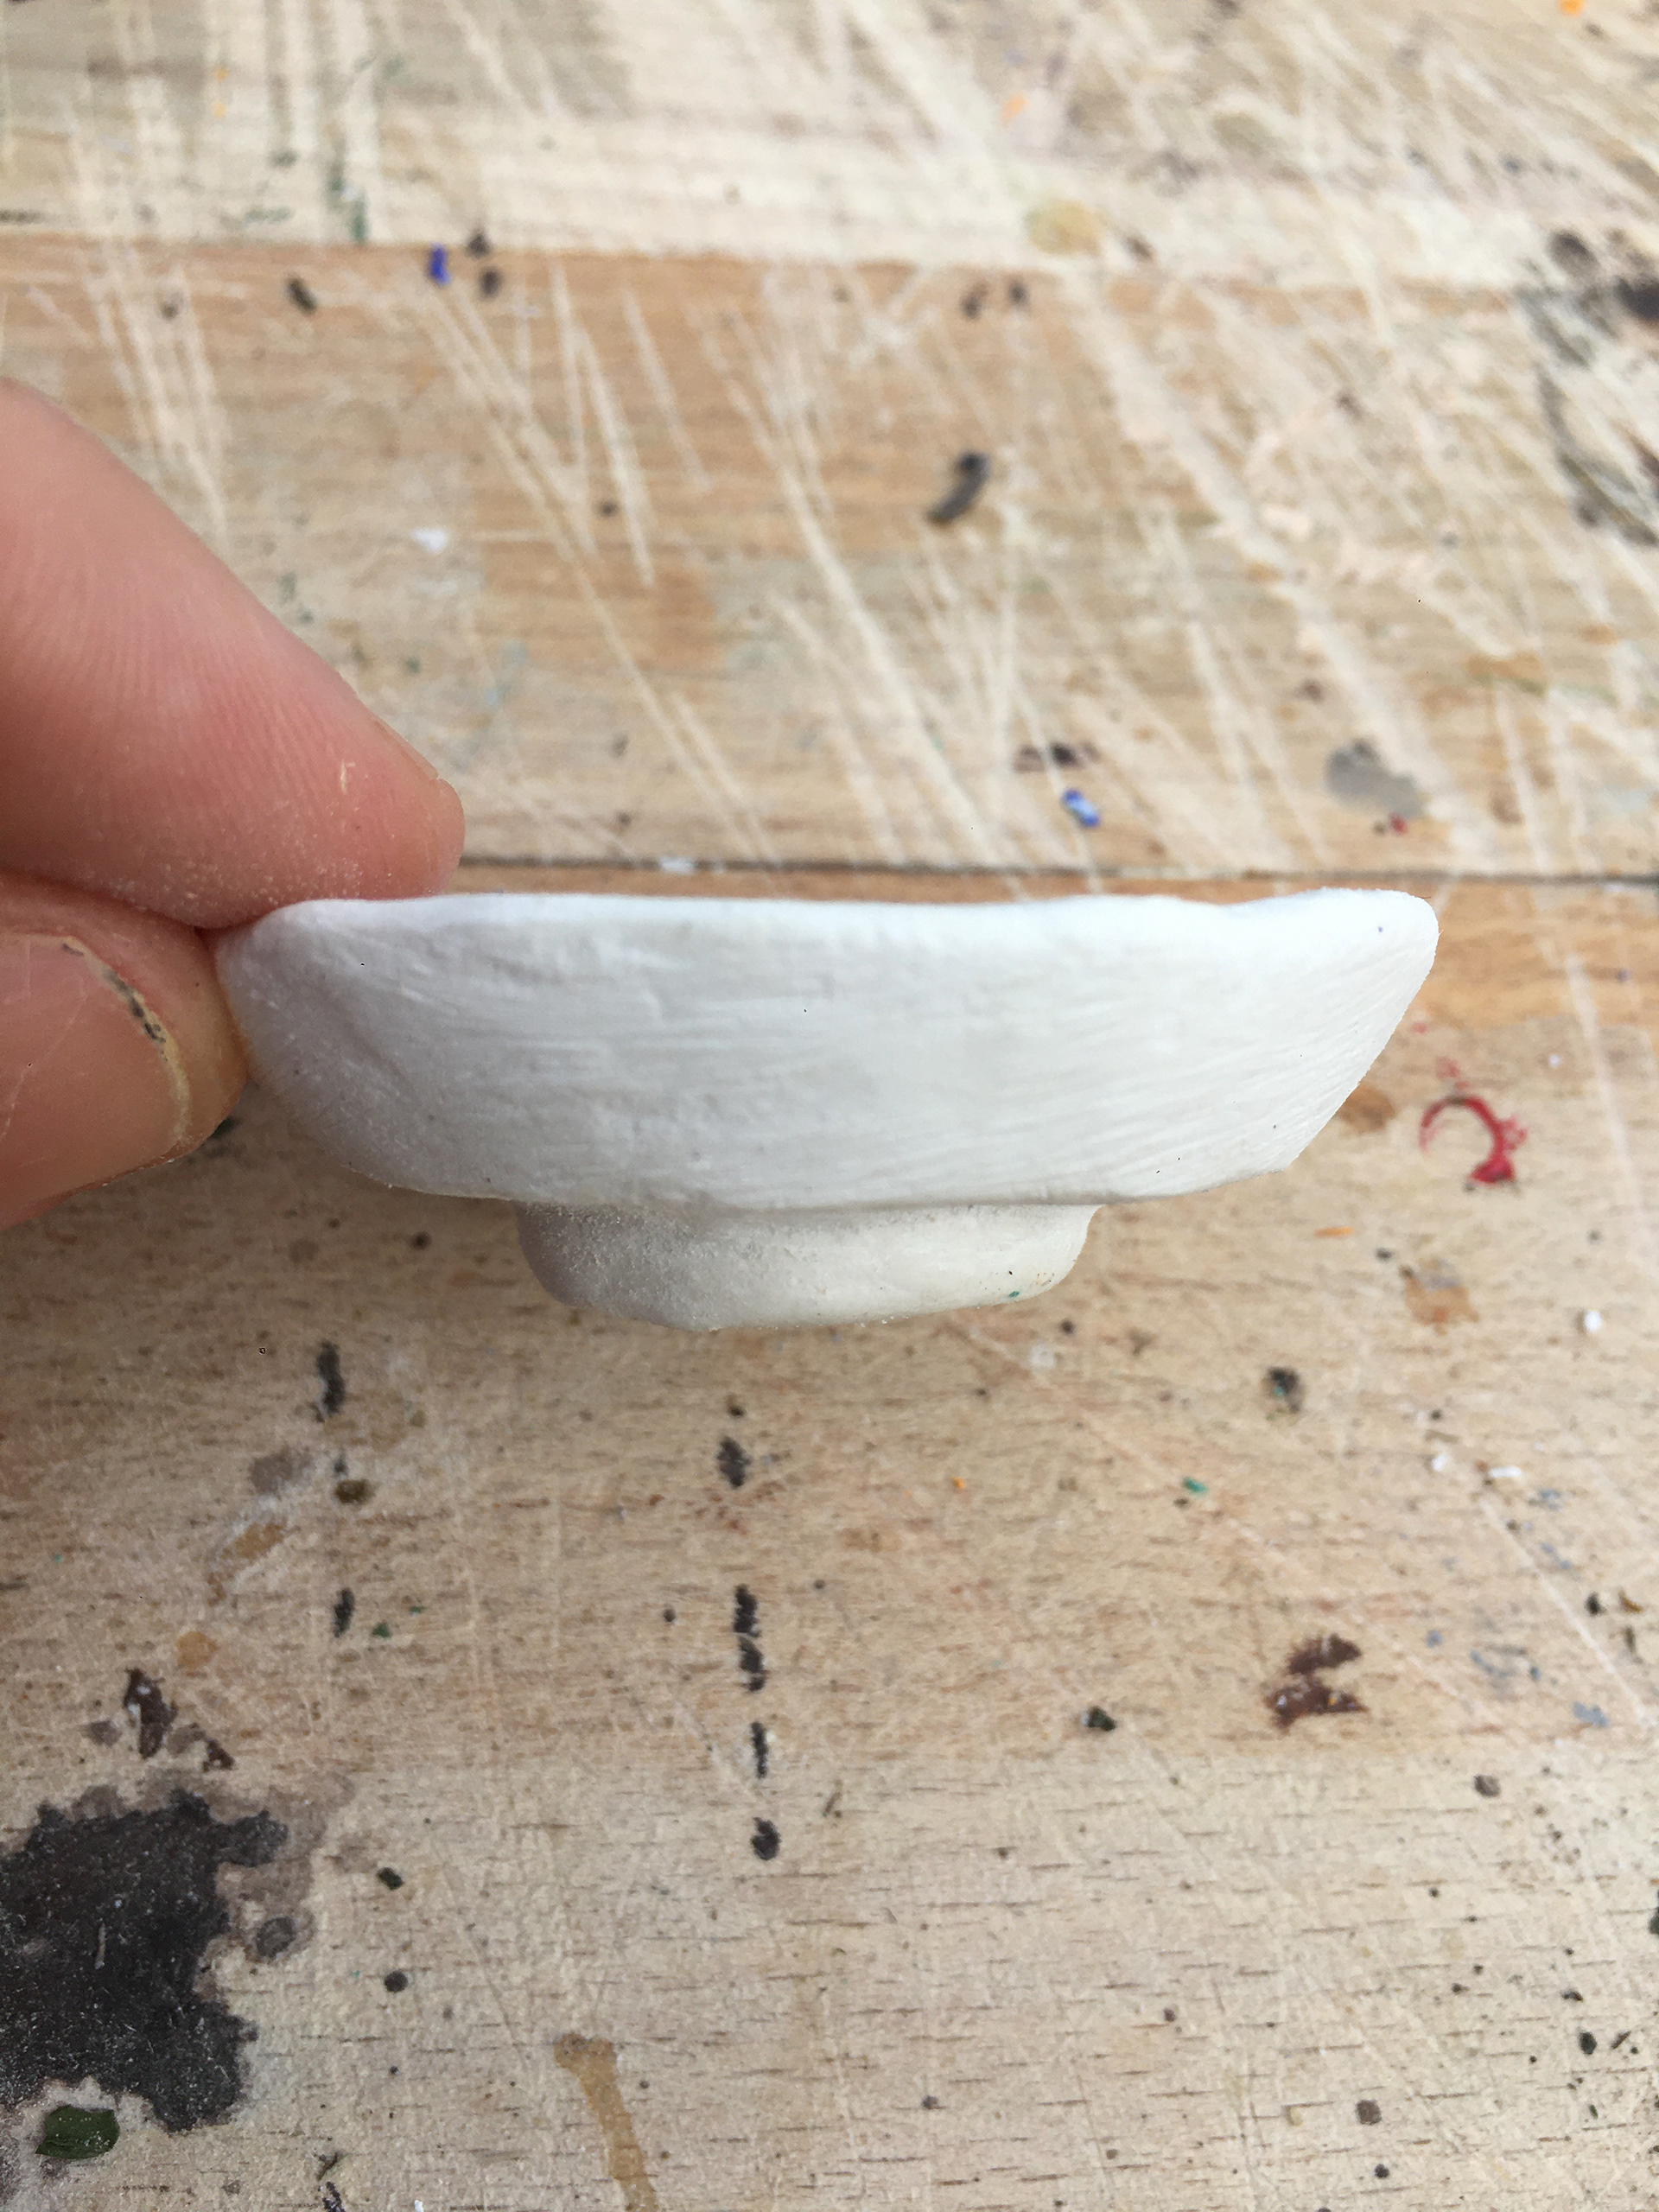

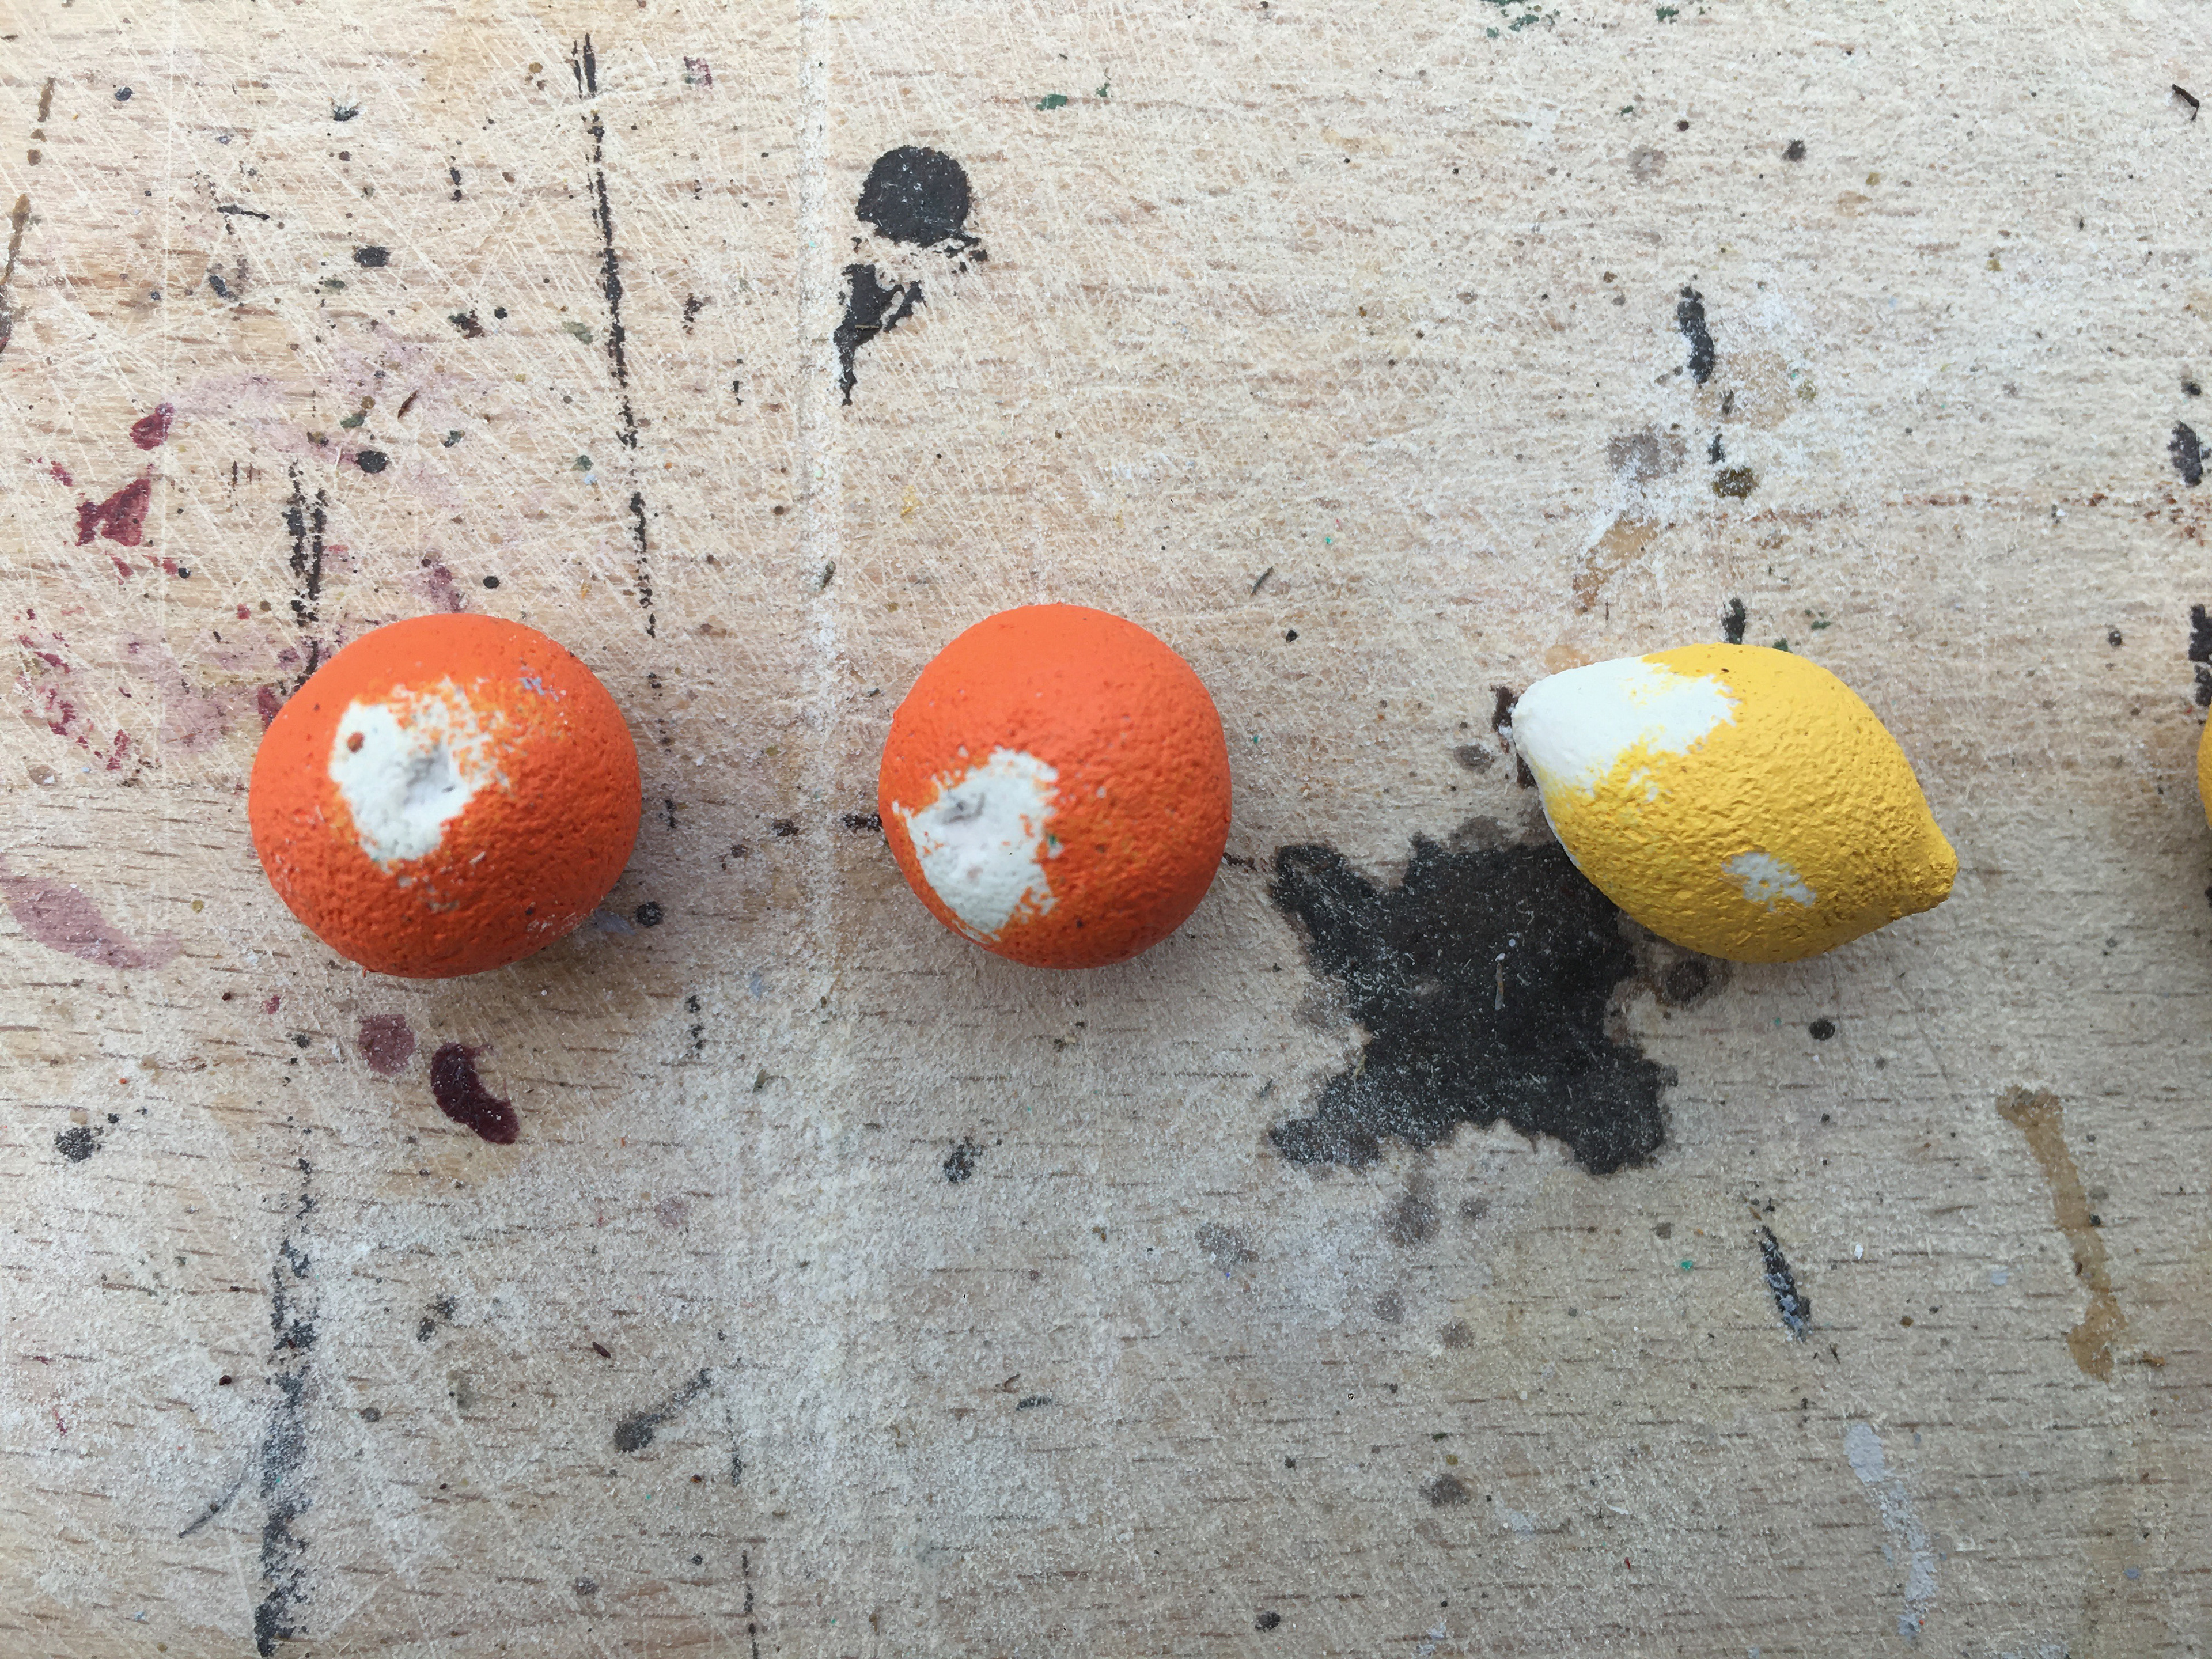
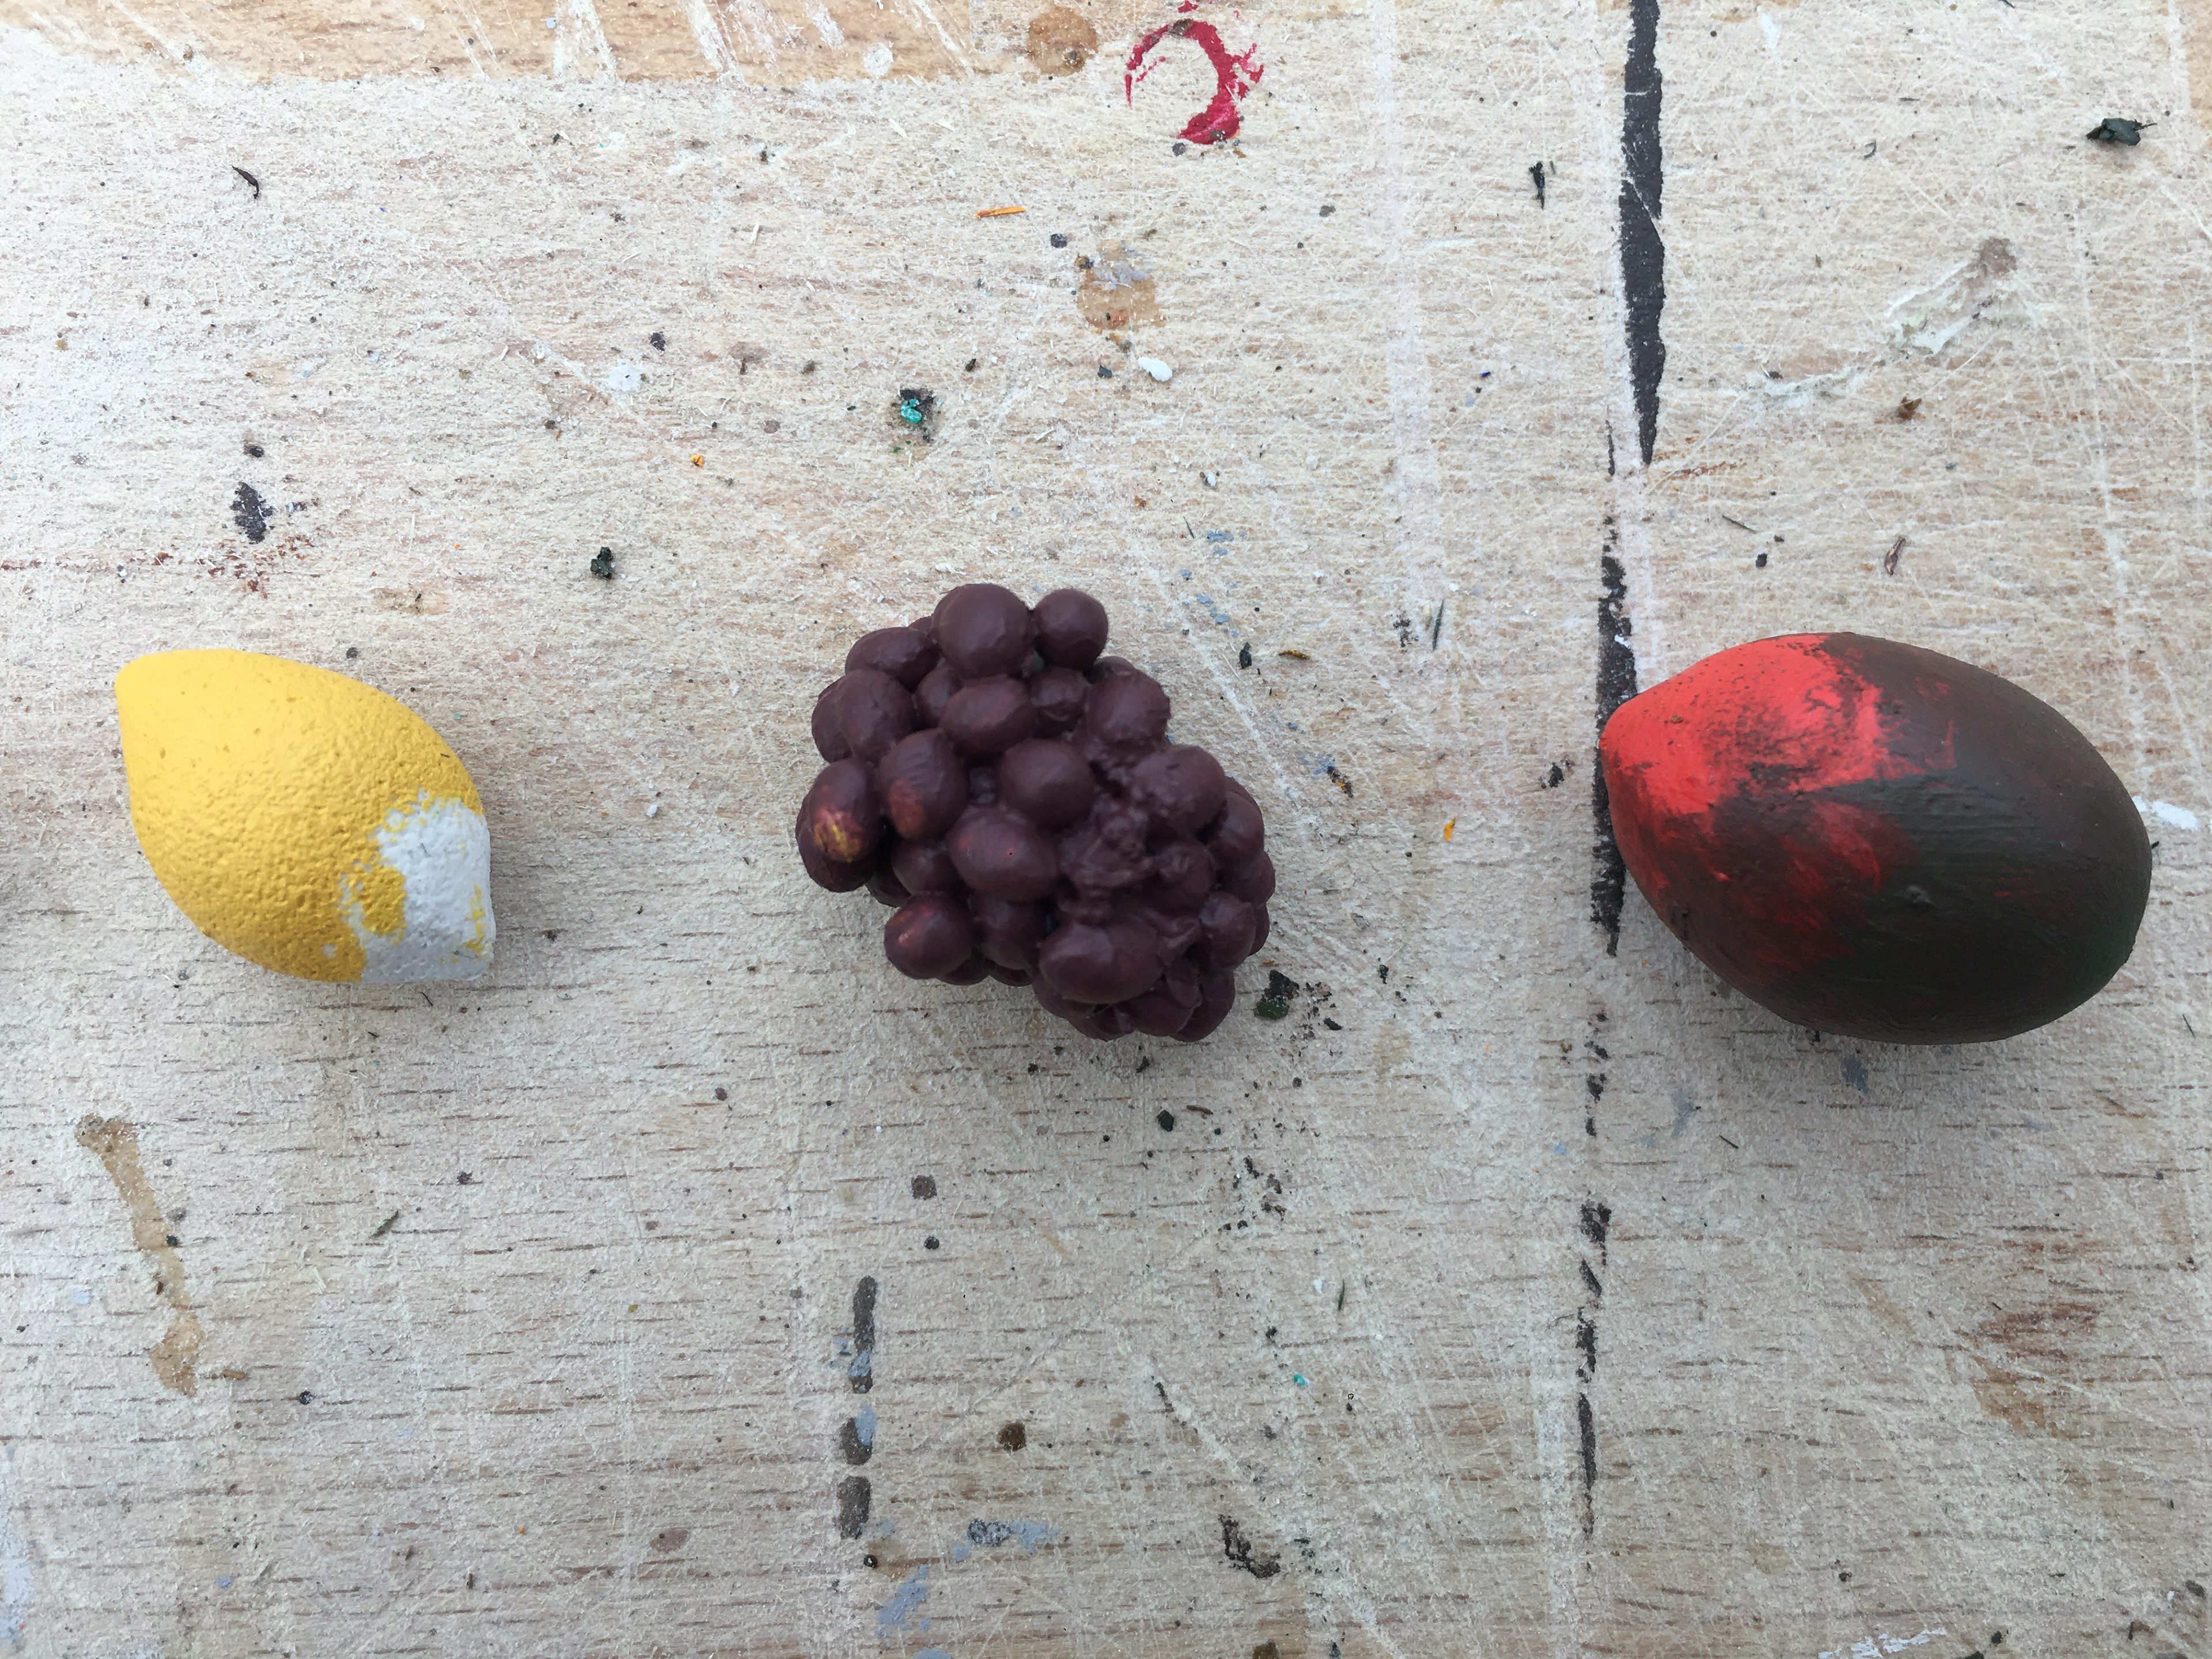


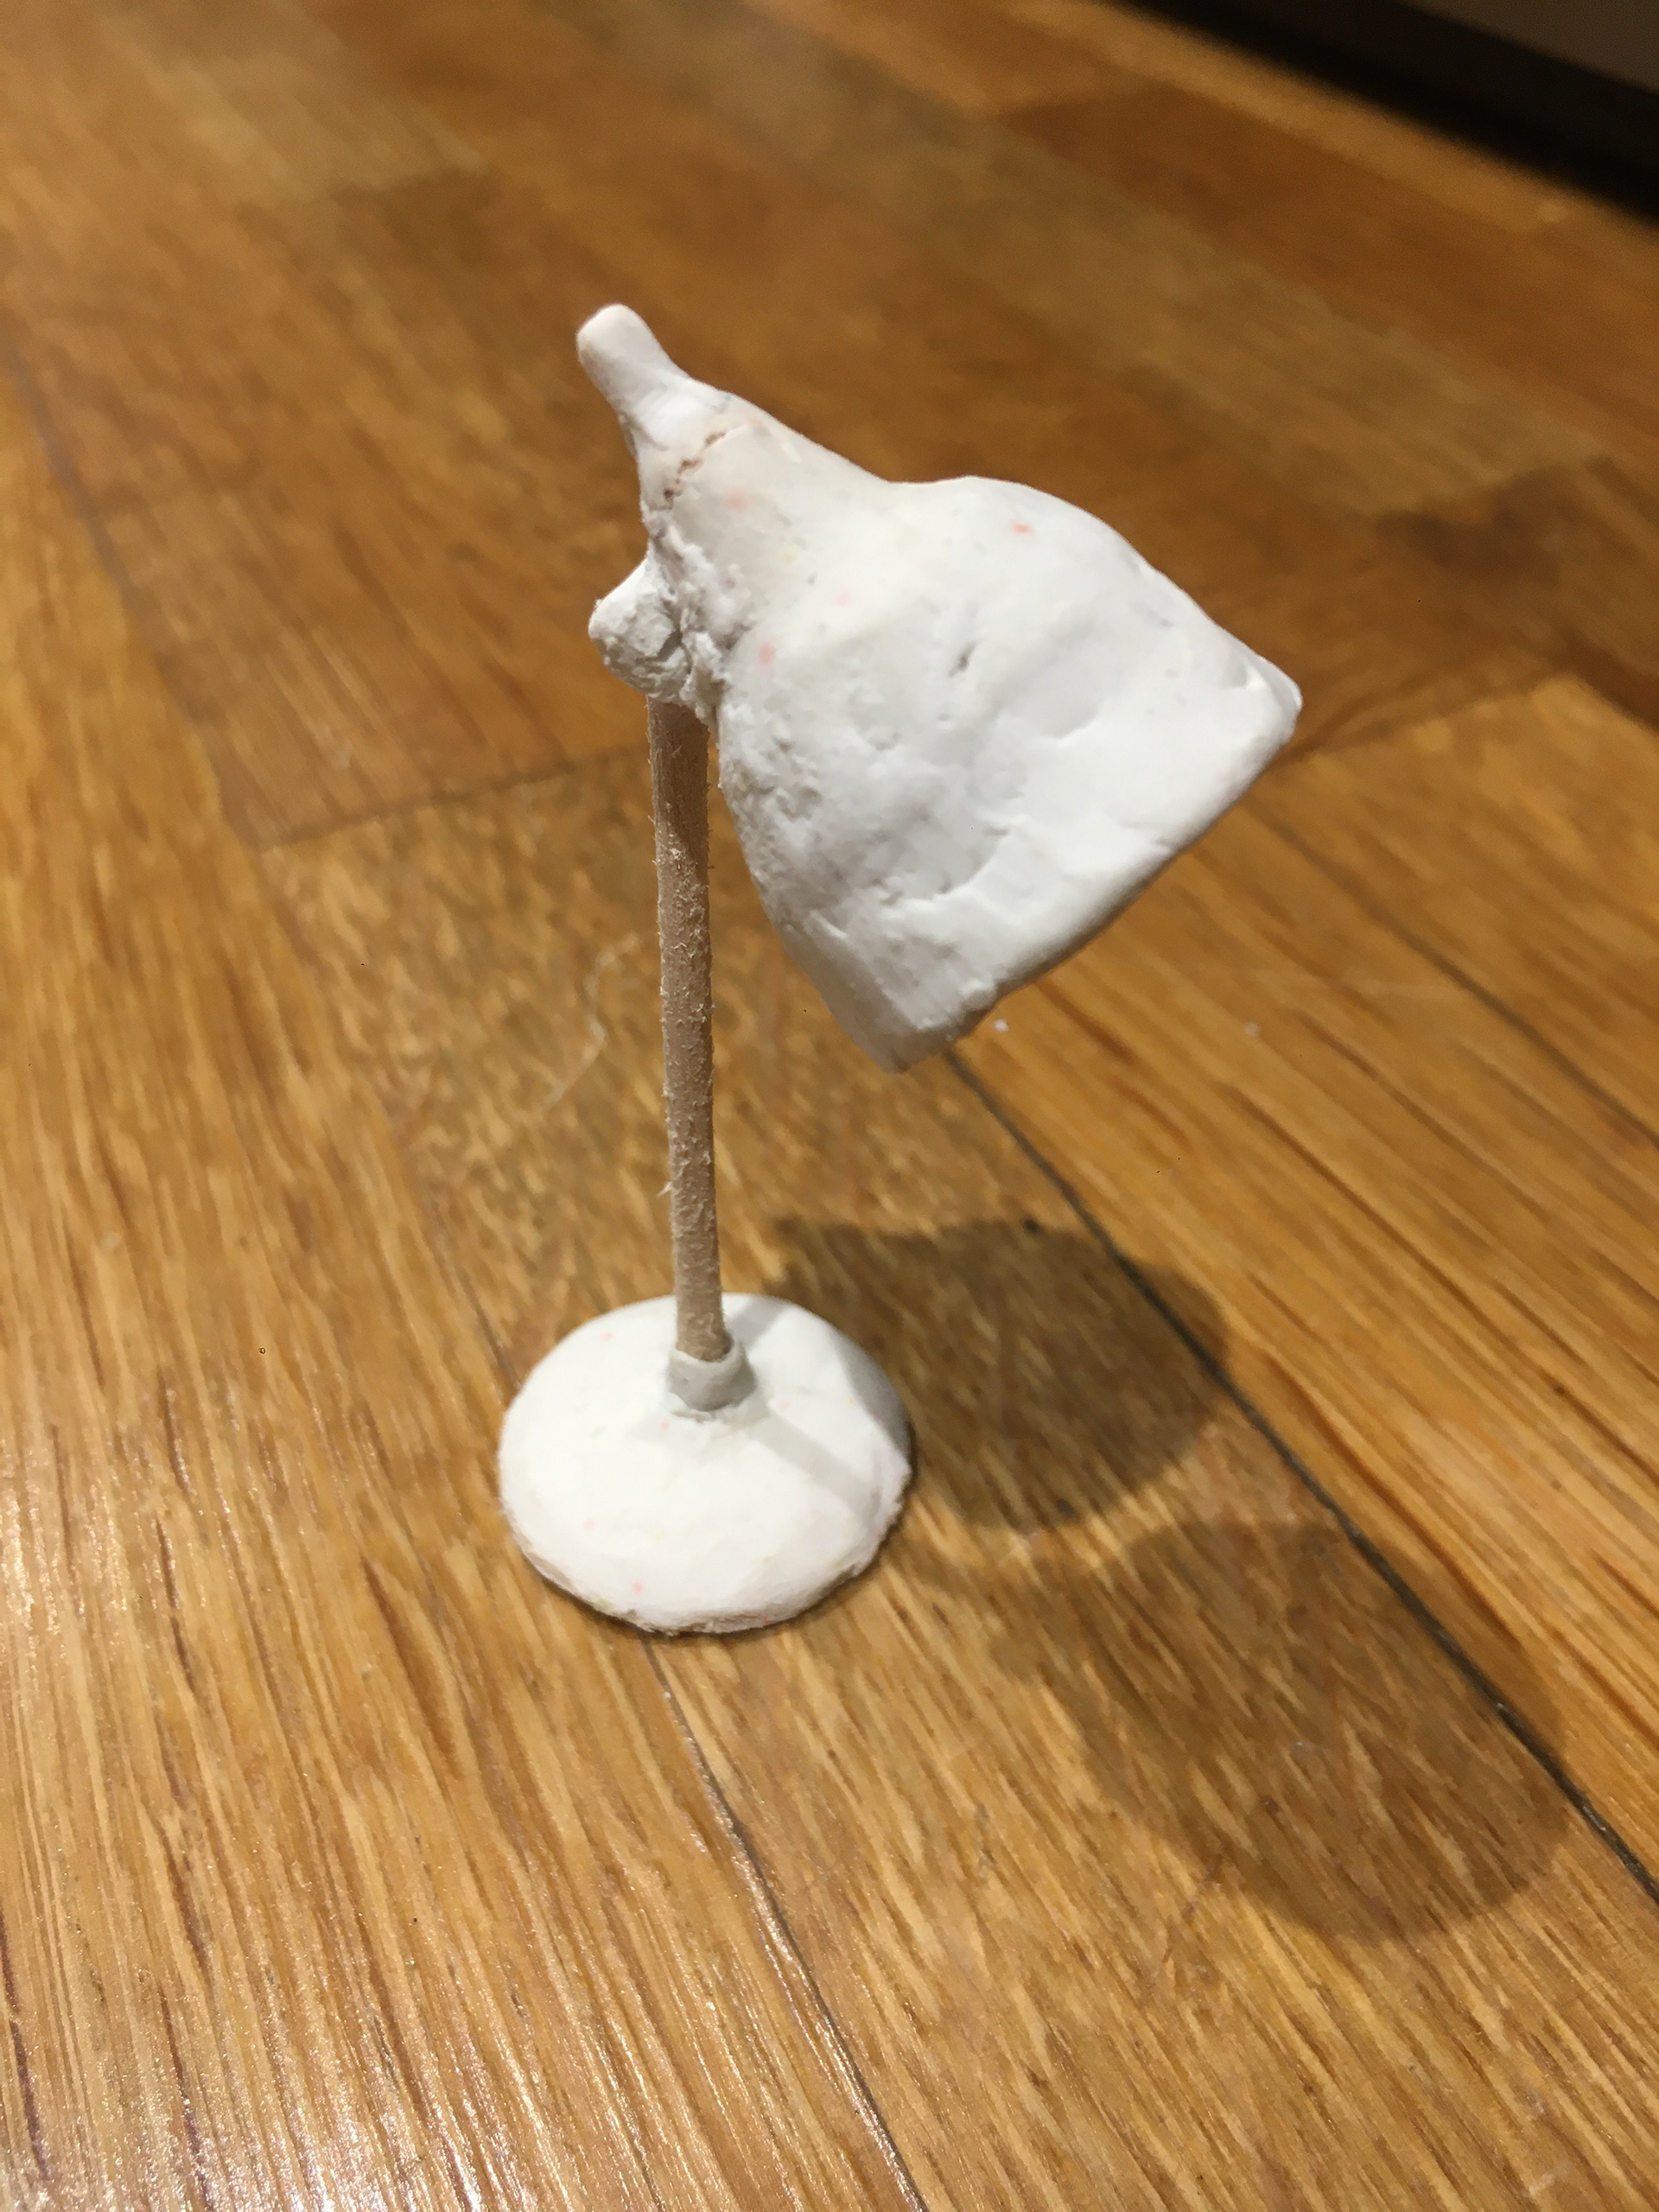
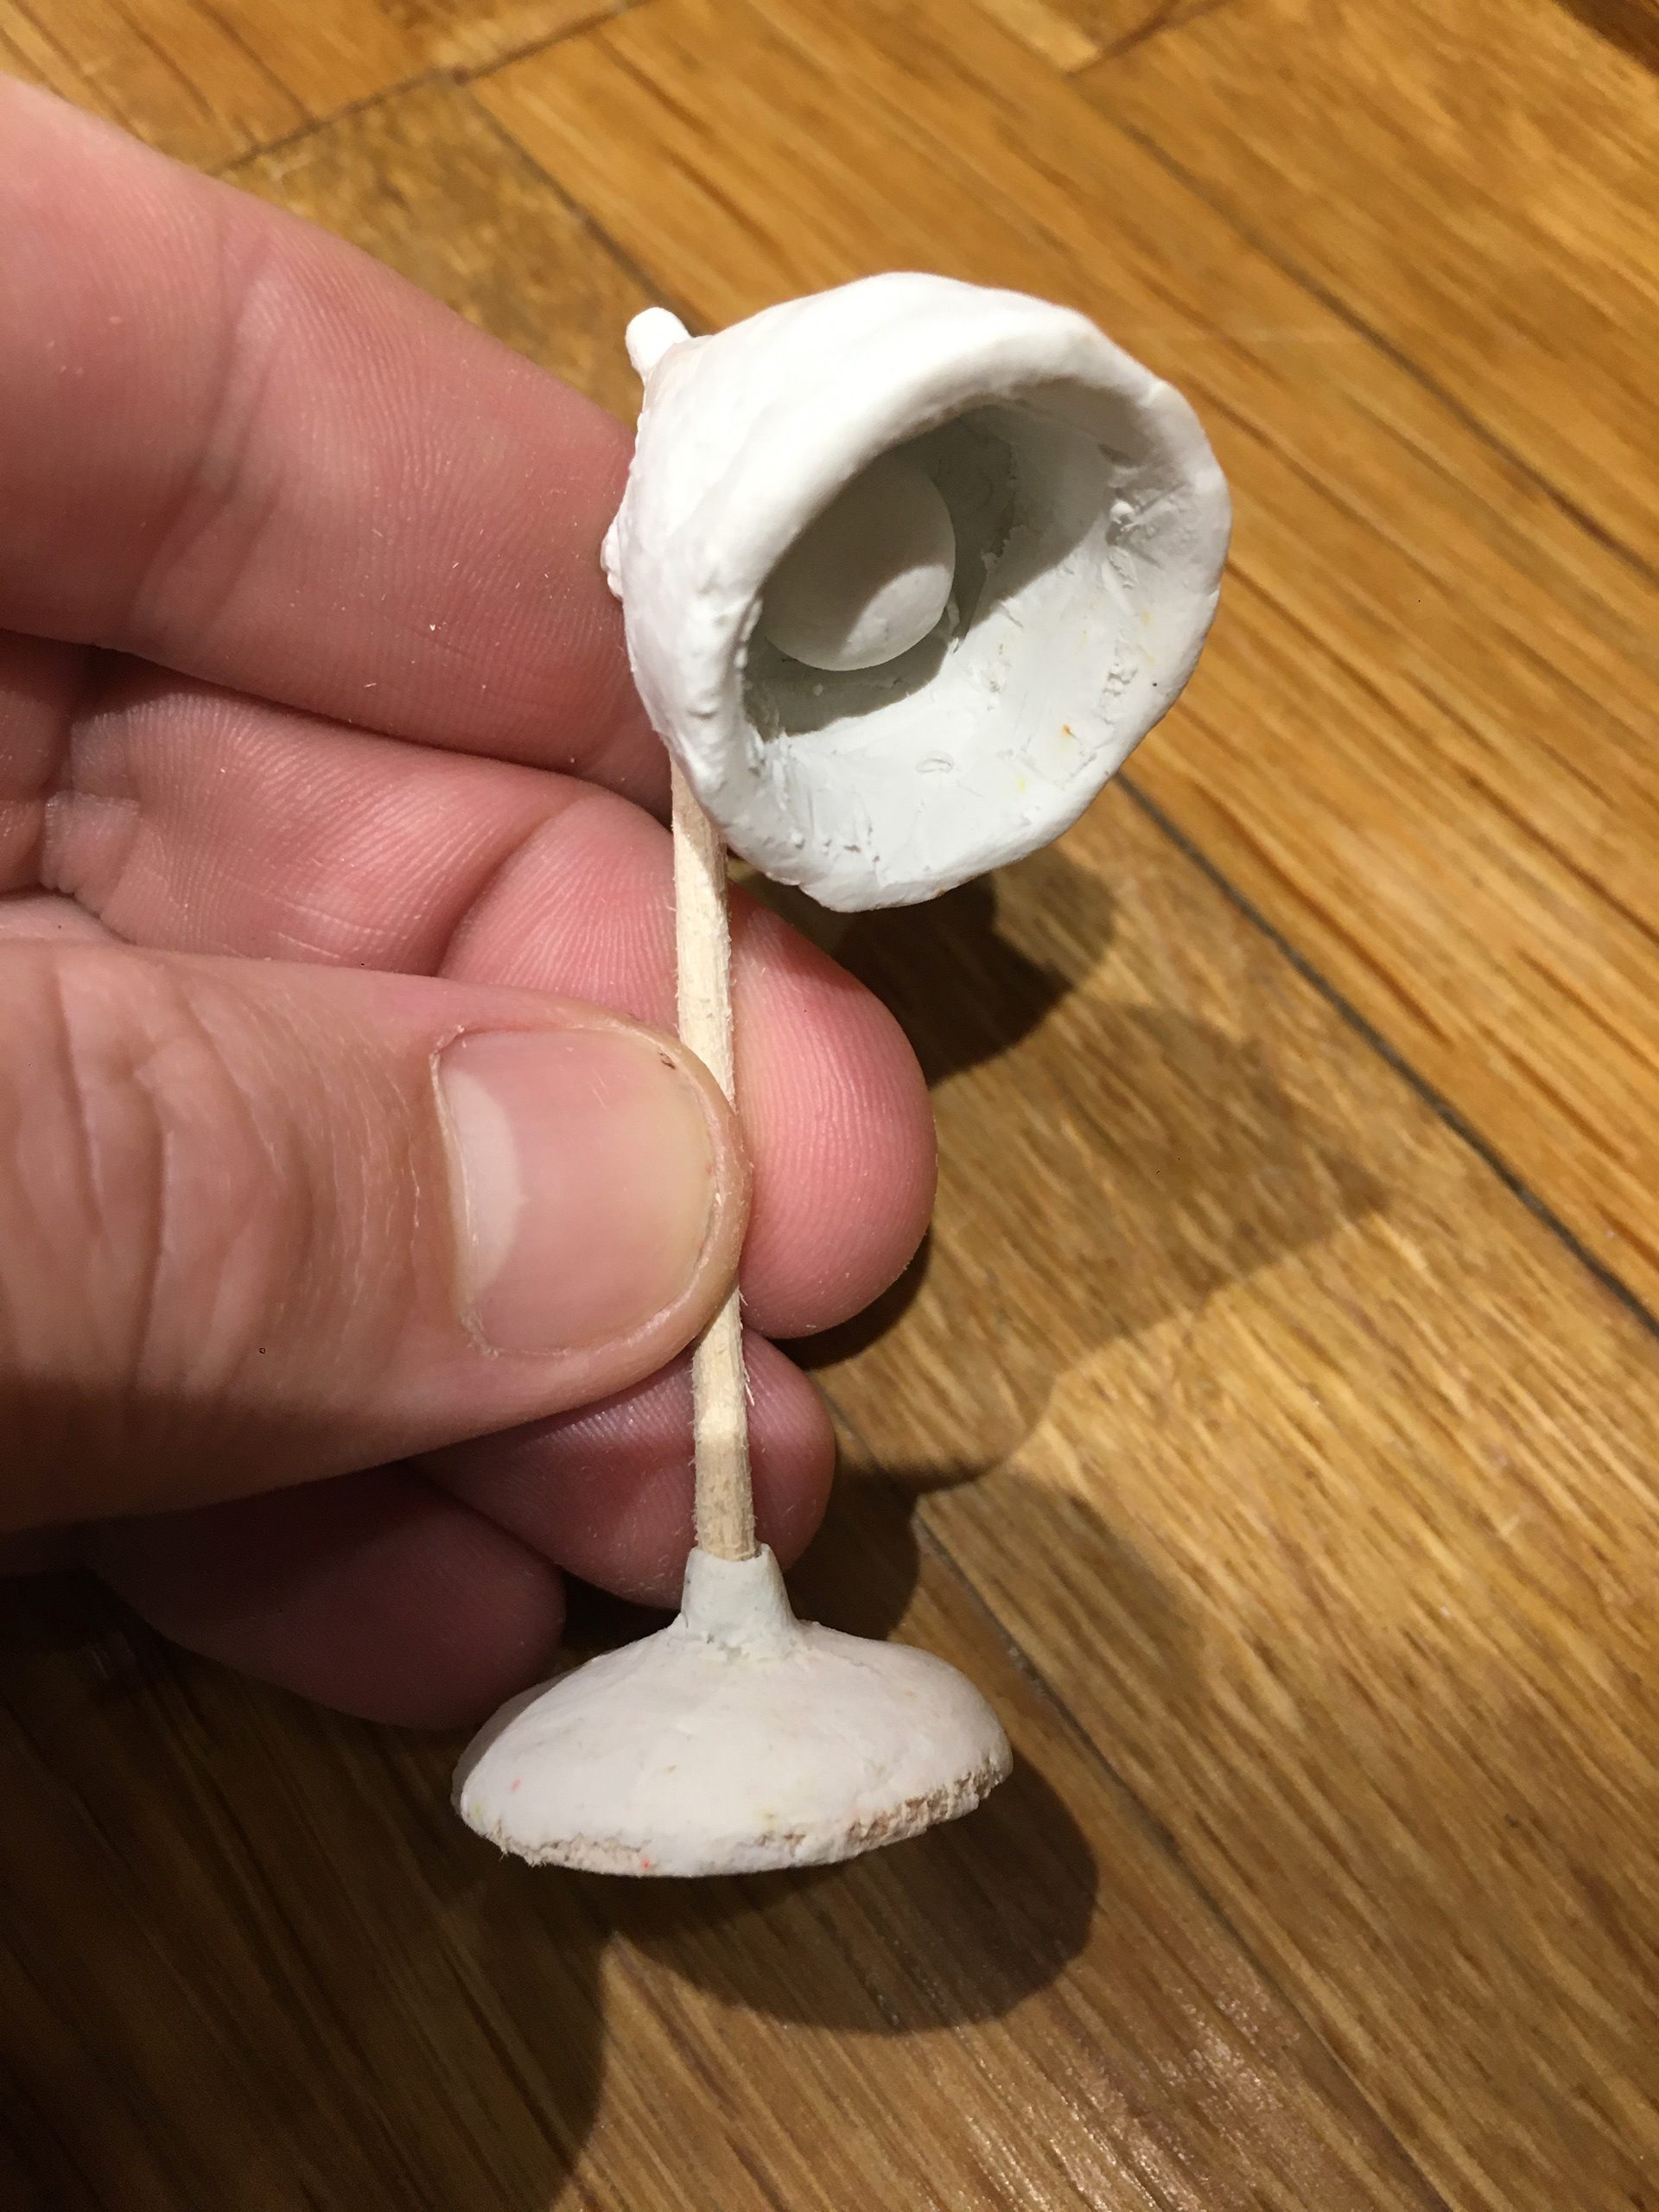
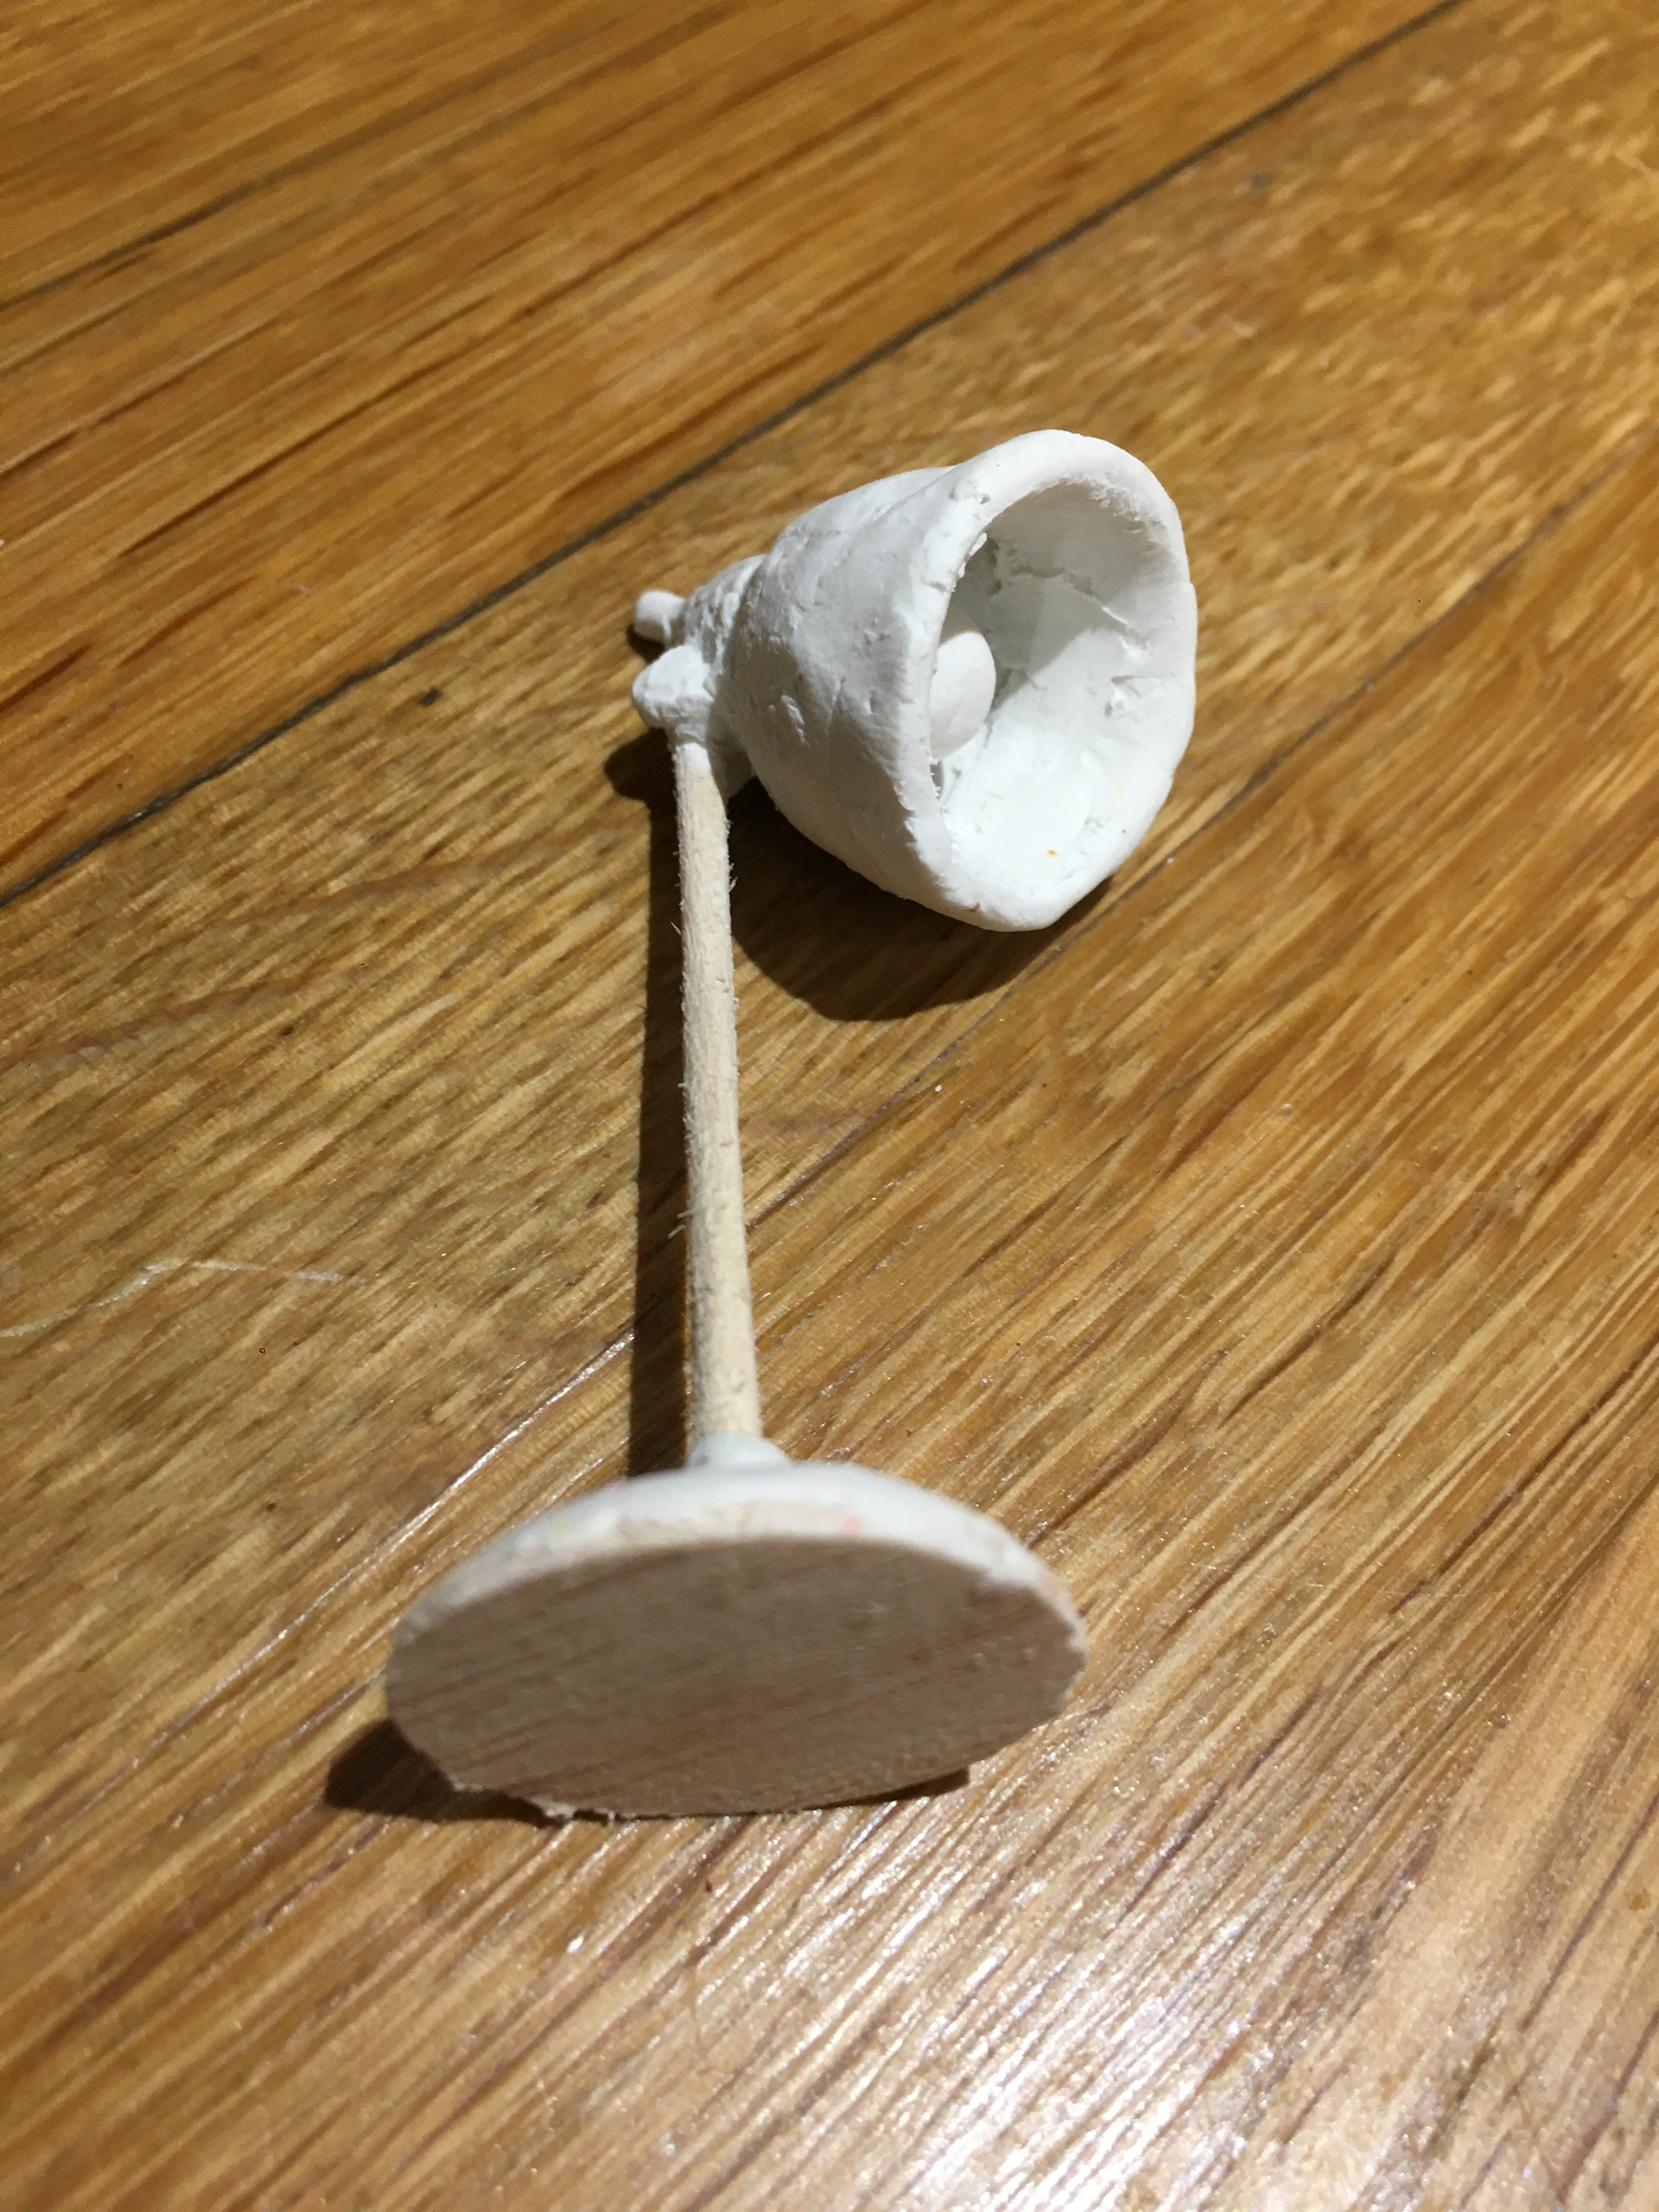
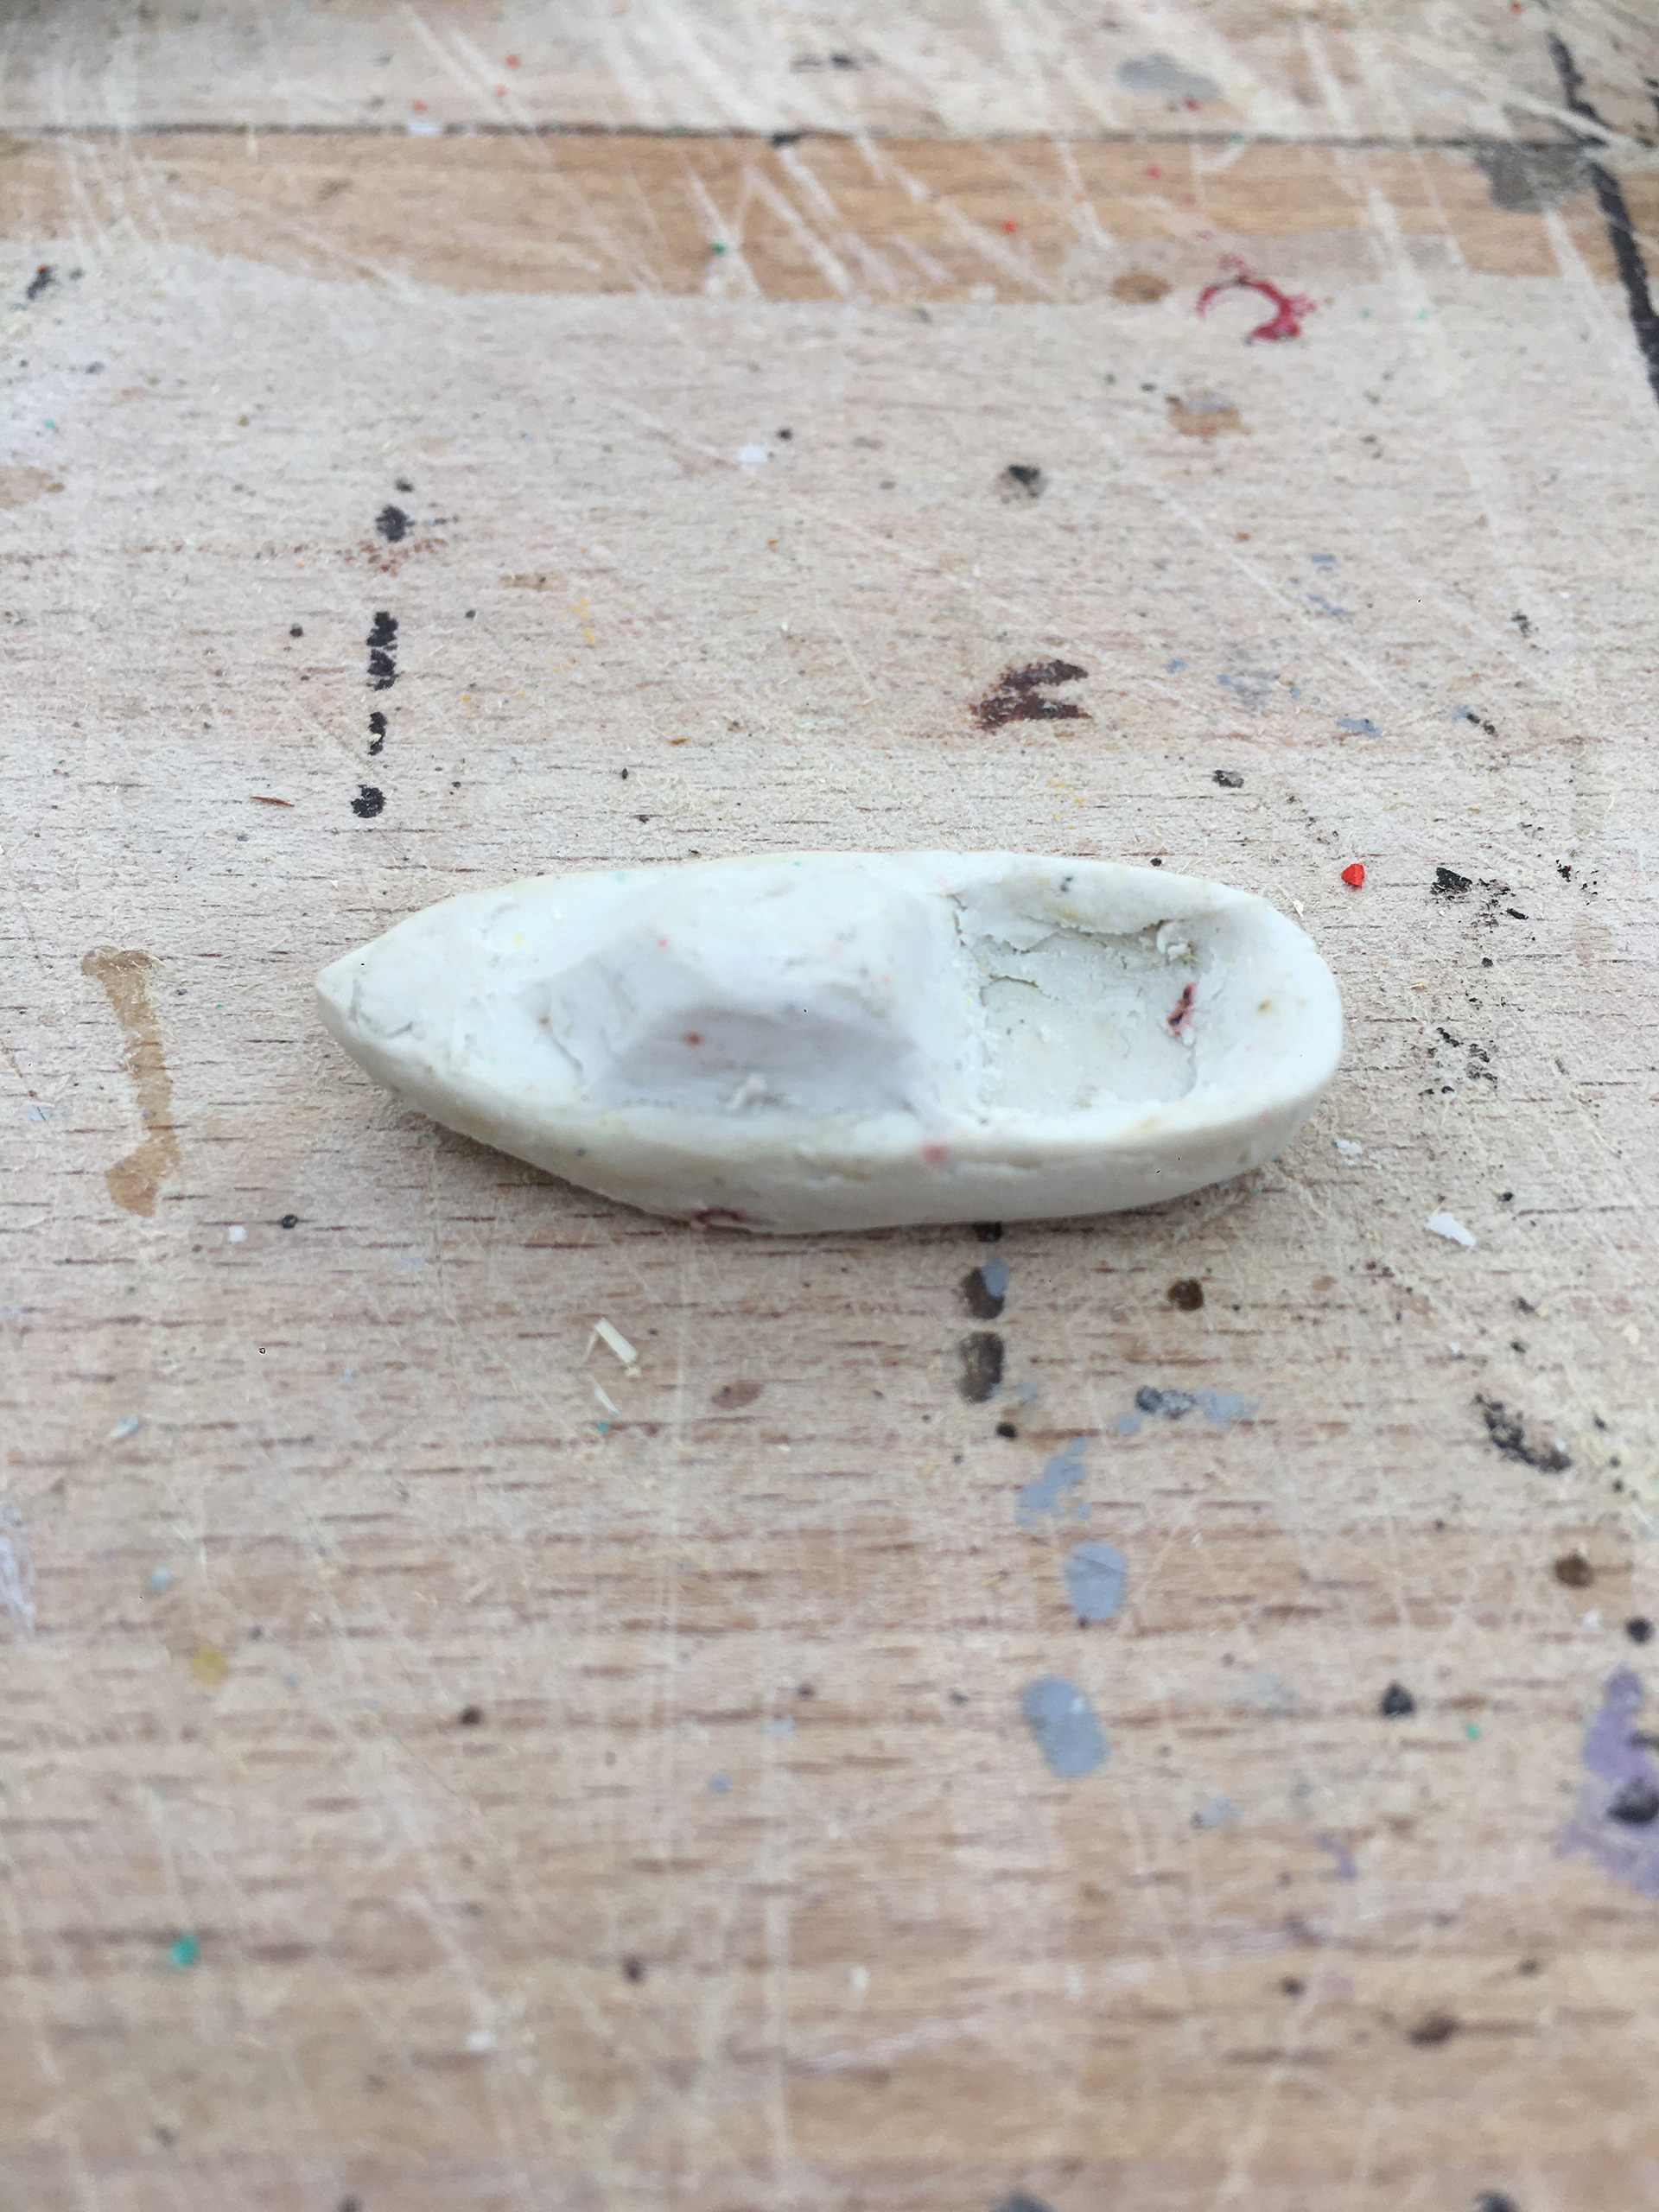
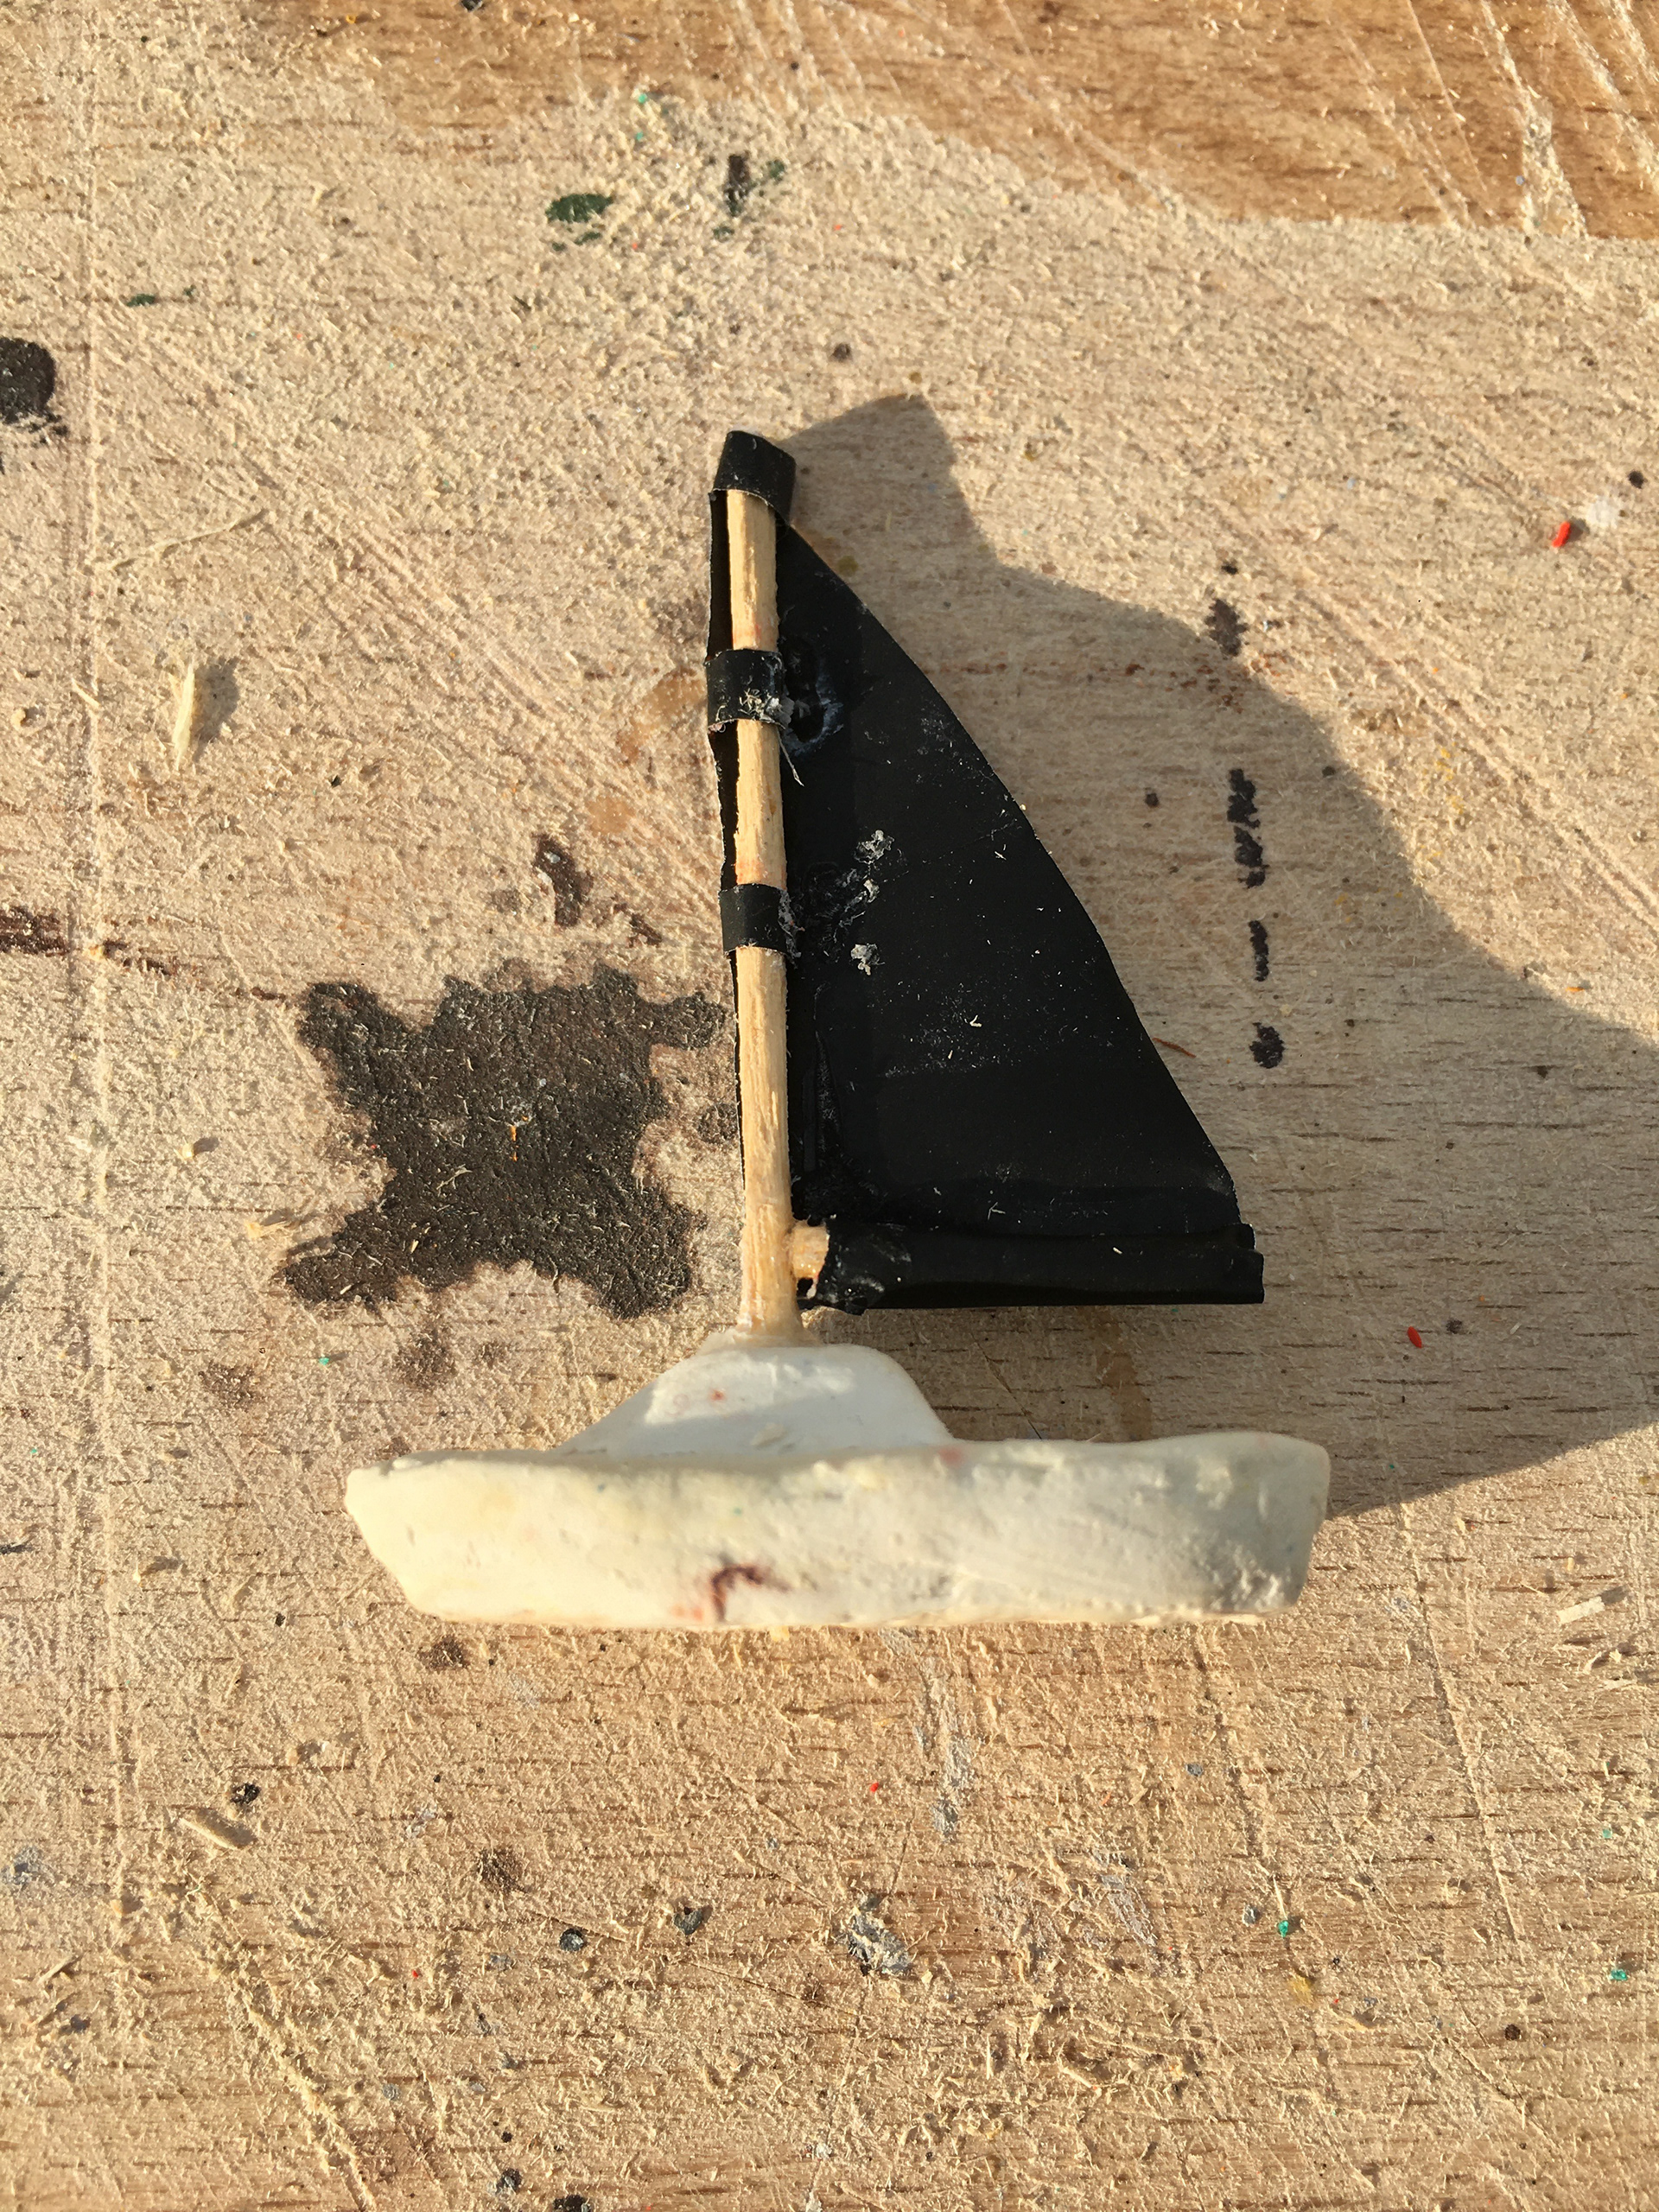
The mug, the plate and the biscuits were modelled using sculpey oven clay. The same process was used for the kettle and the tea pot. Afterwards, A gloss varnish was applied to the kettle.
The fruit bowl, the storage pots, the plug socket and the light switch were also created using sculpey oven clay.
The tool box was created using a mix of obeche wood and multi- purpose filler. A rotary tool was used to smooth out the edges and carve the tool box's handle.
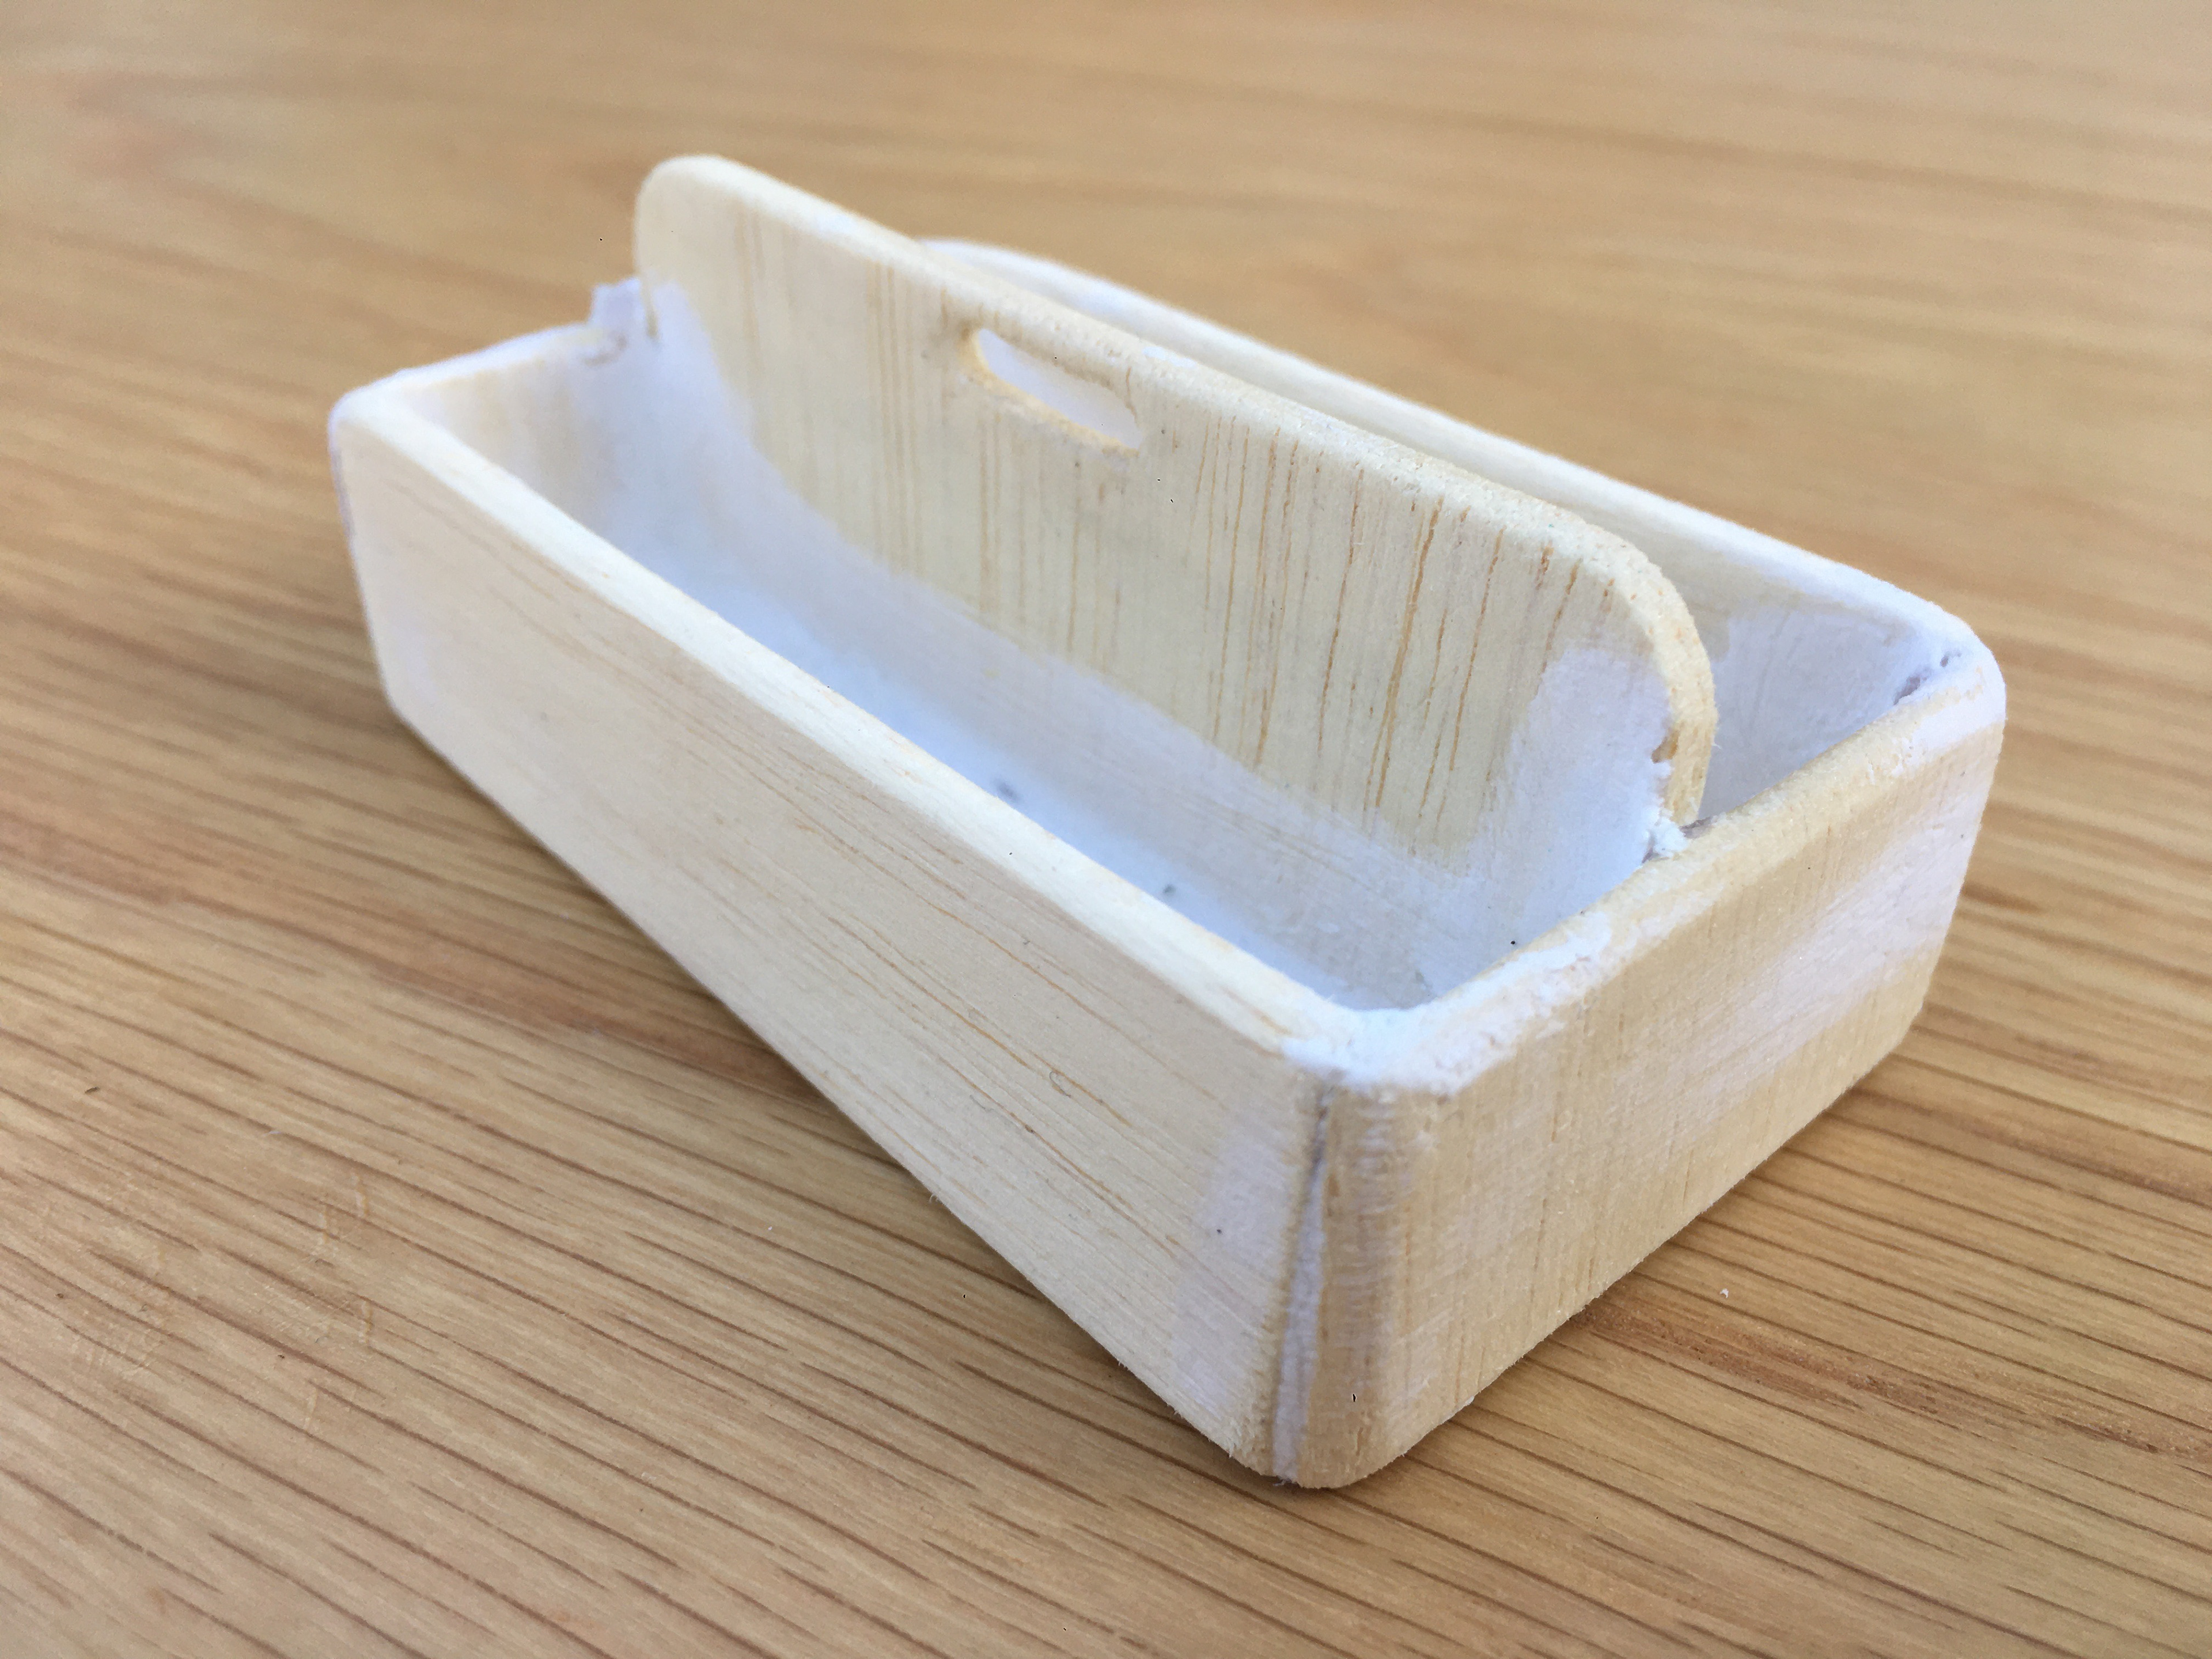
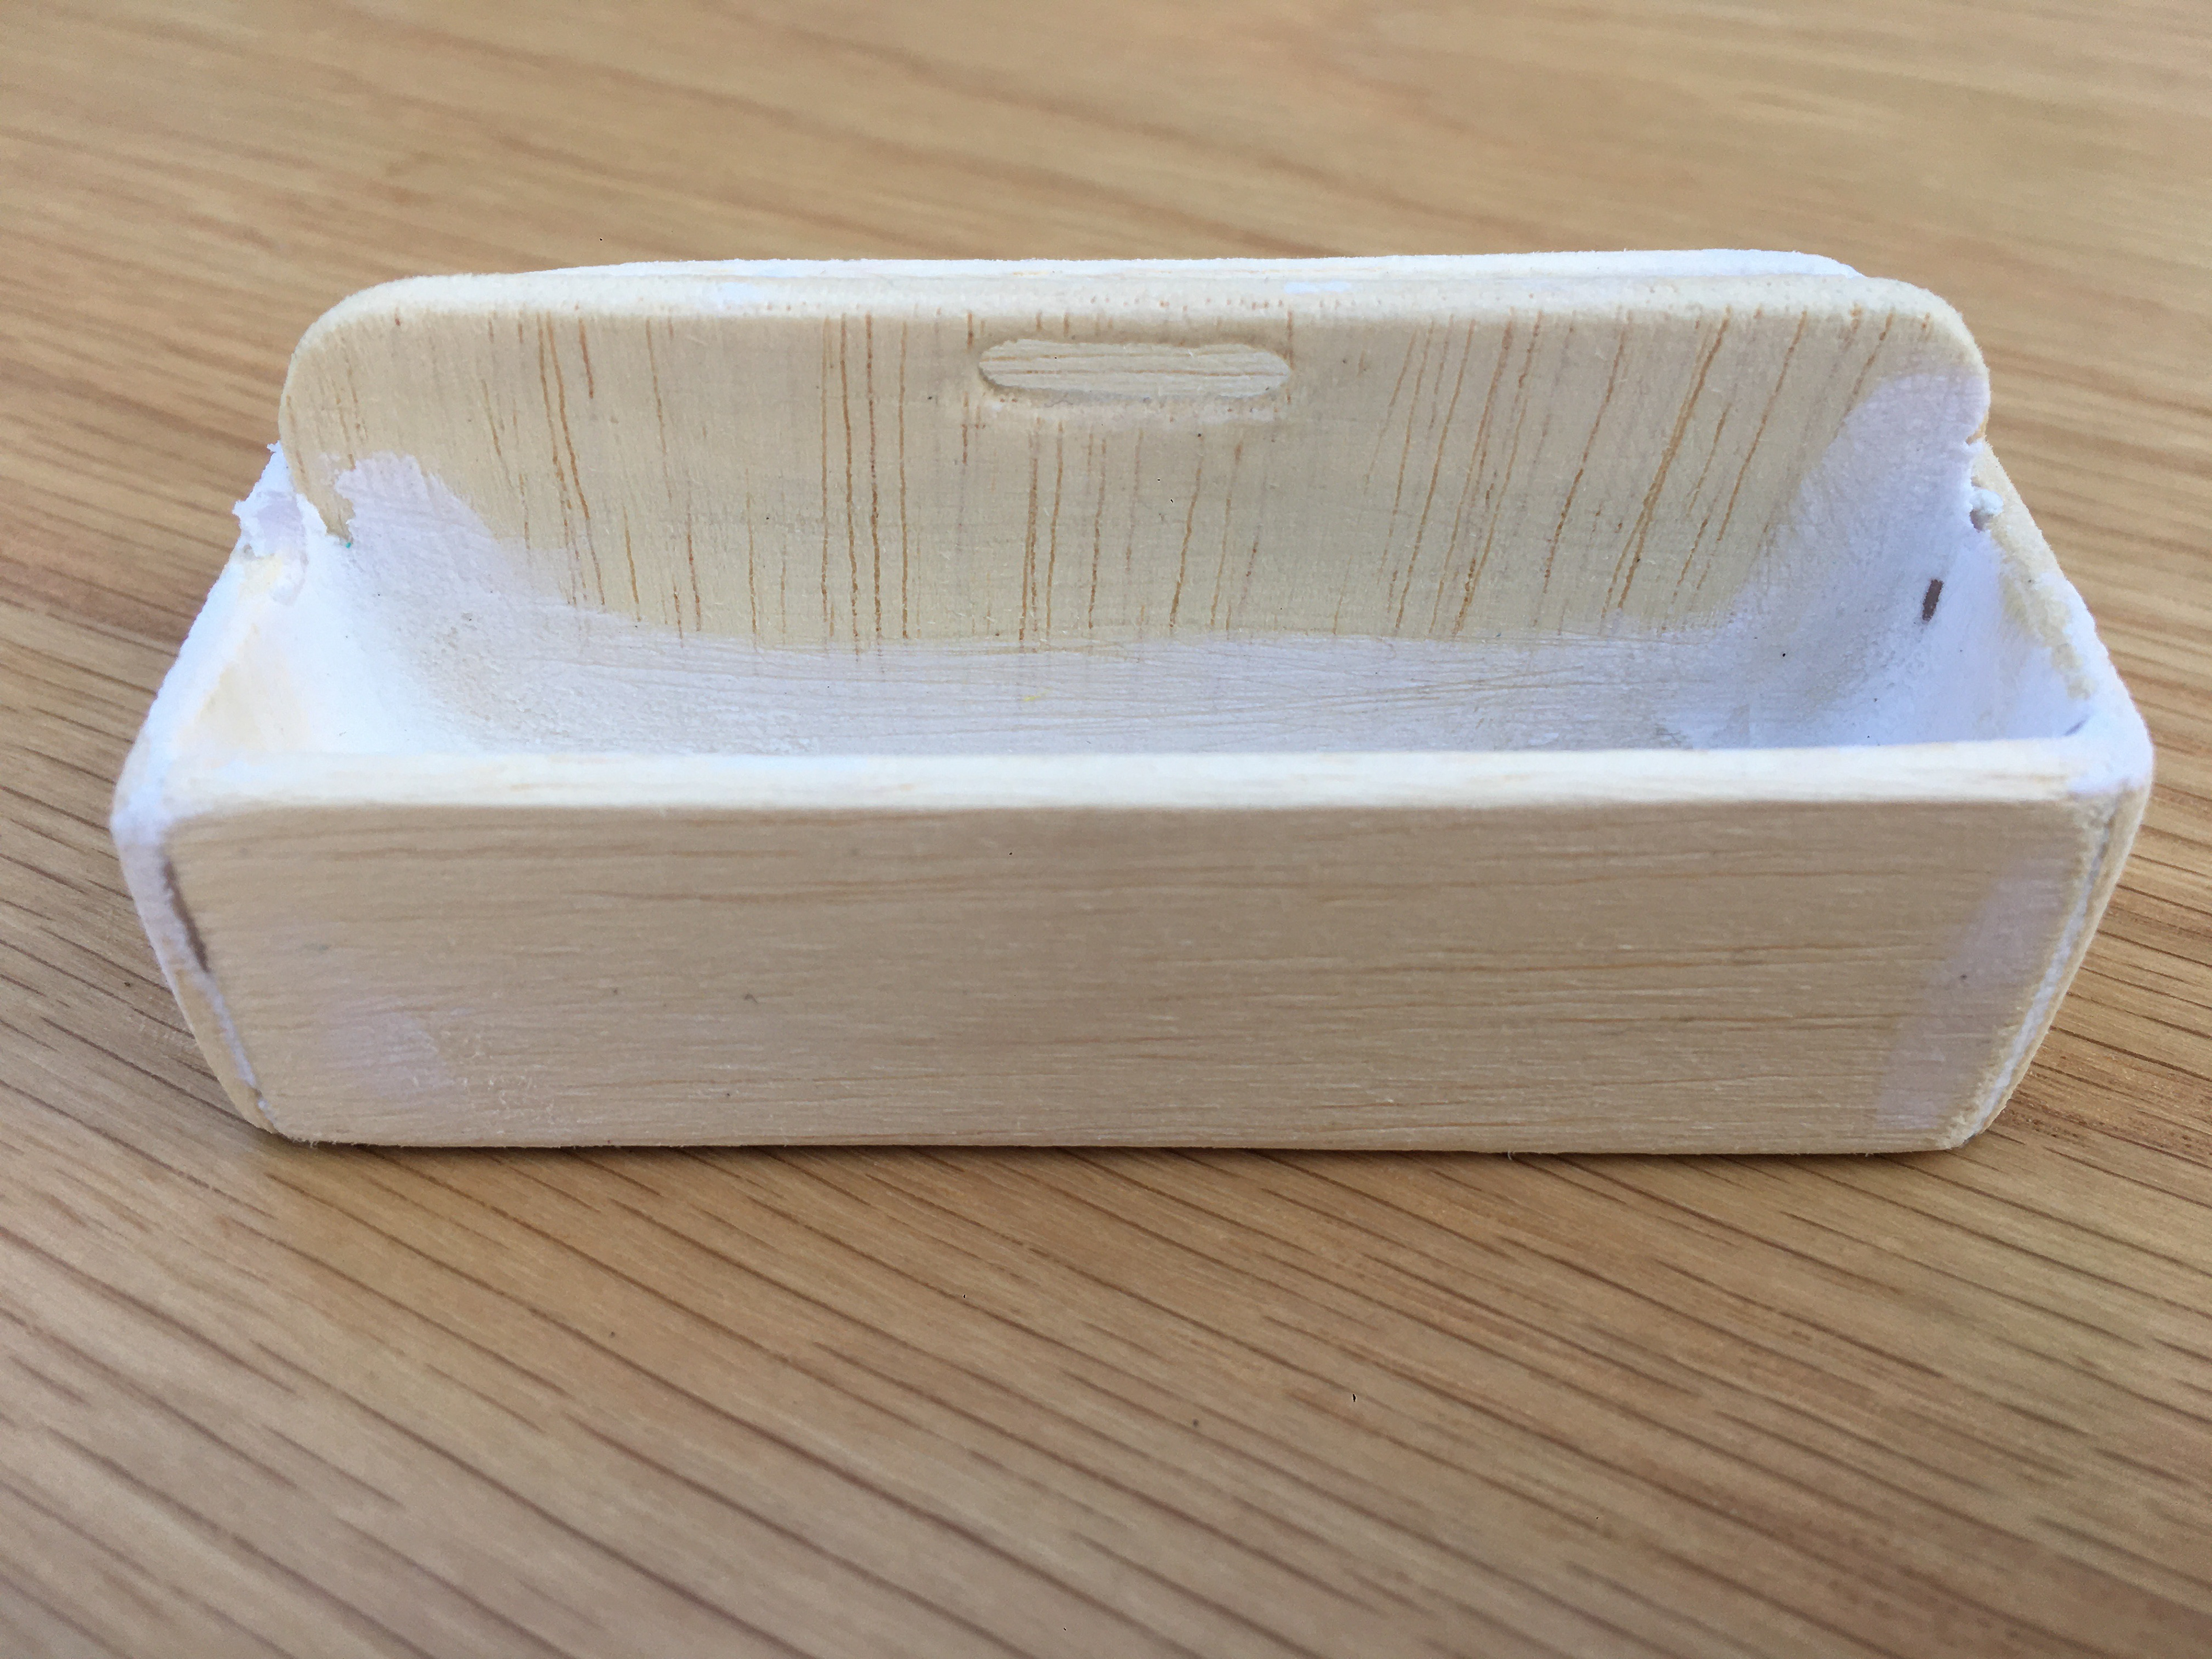
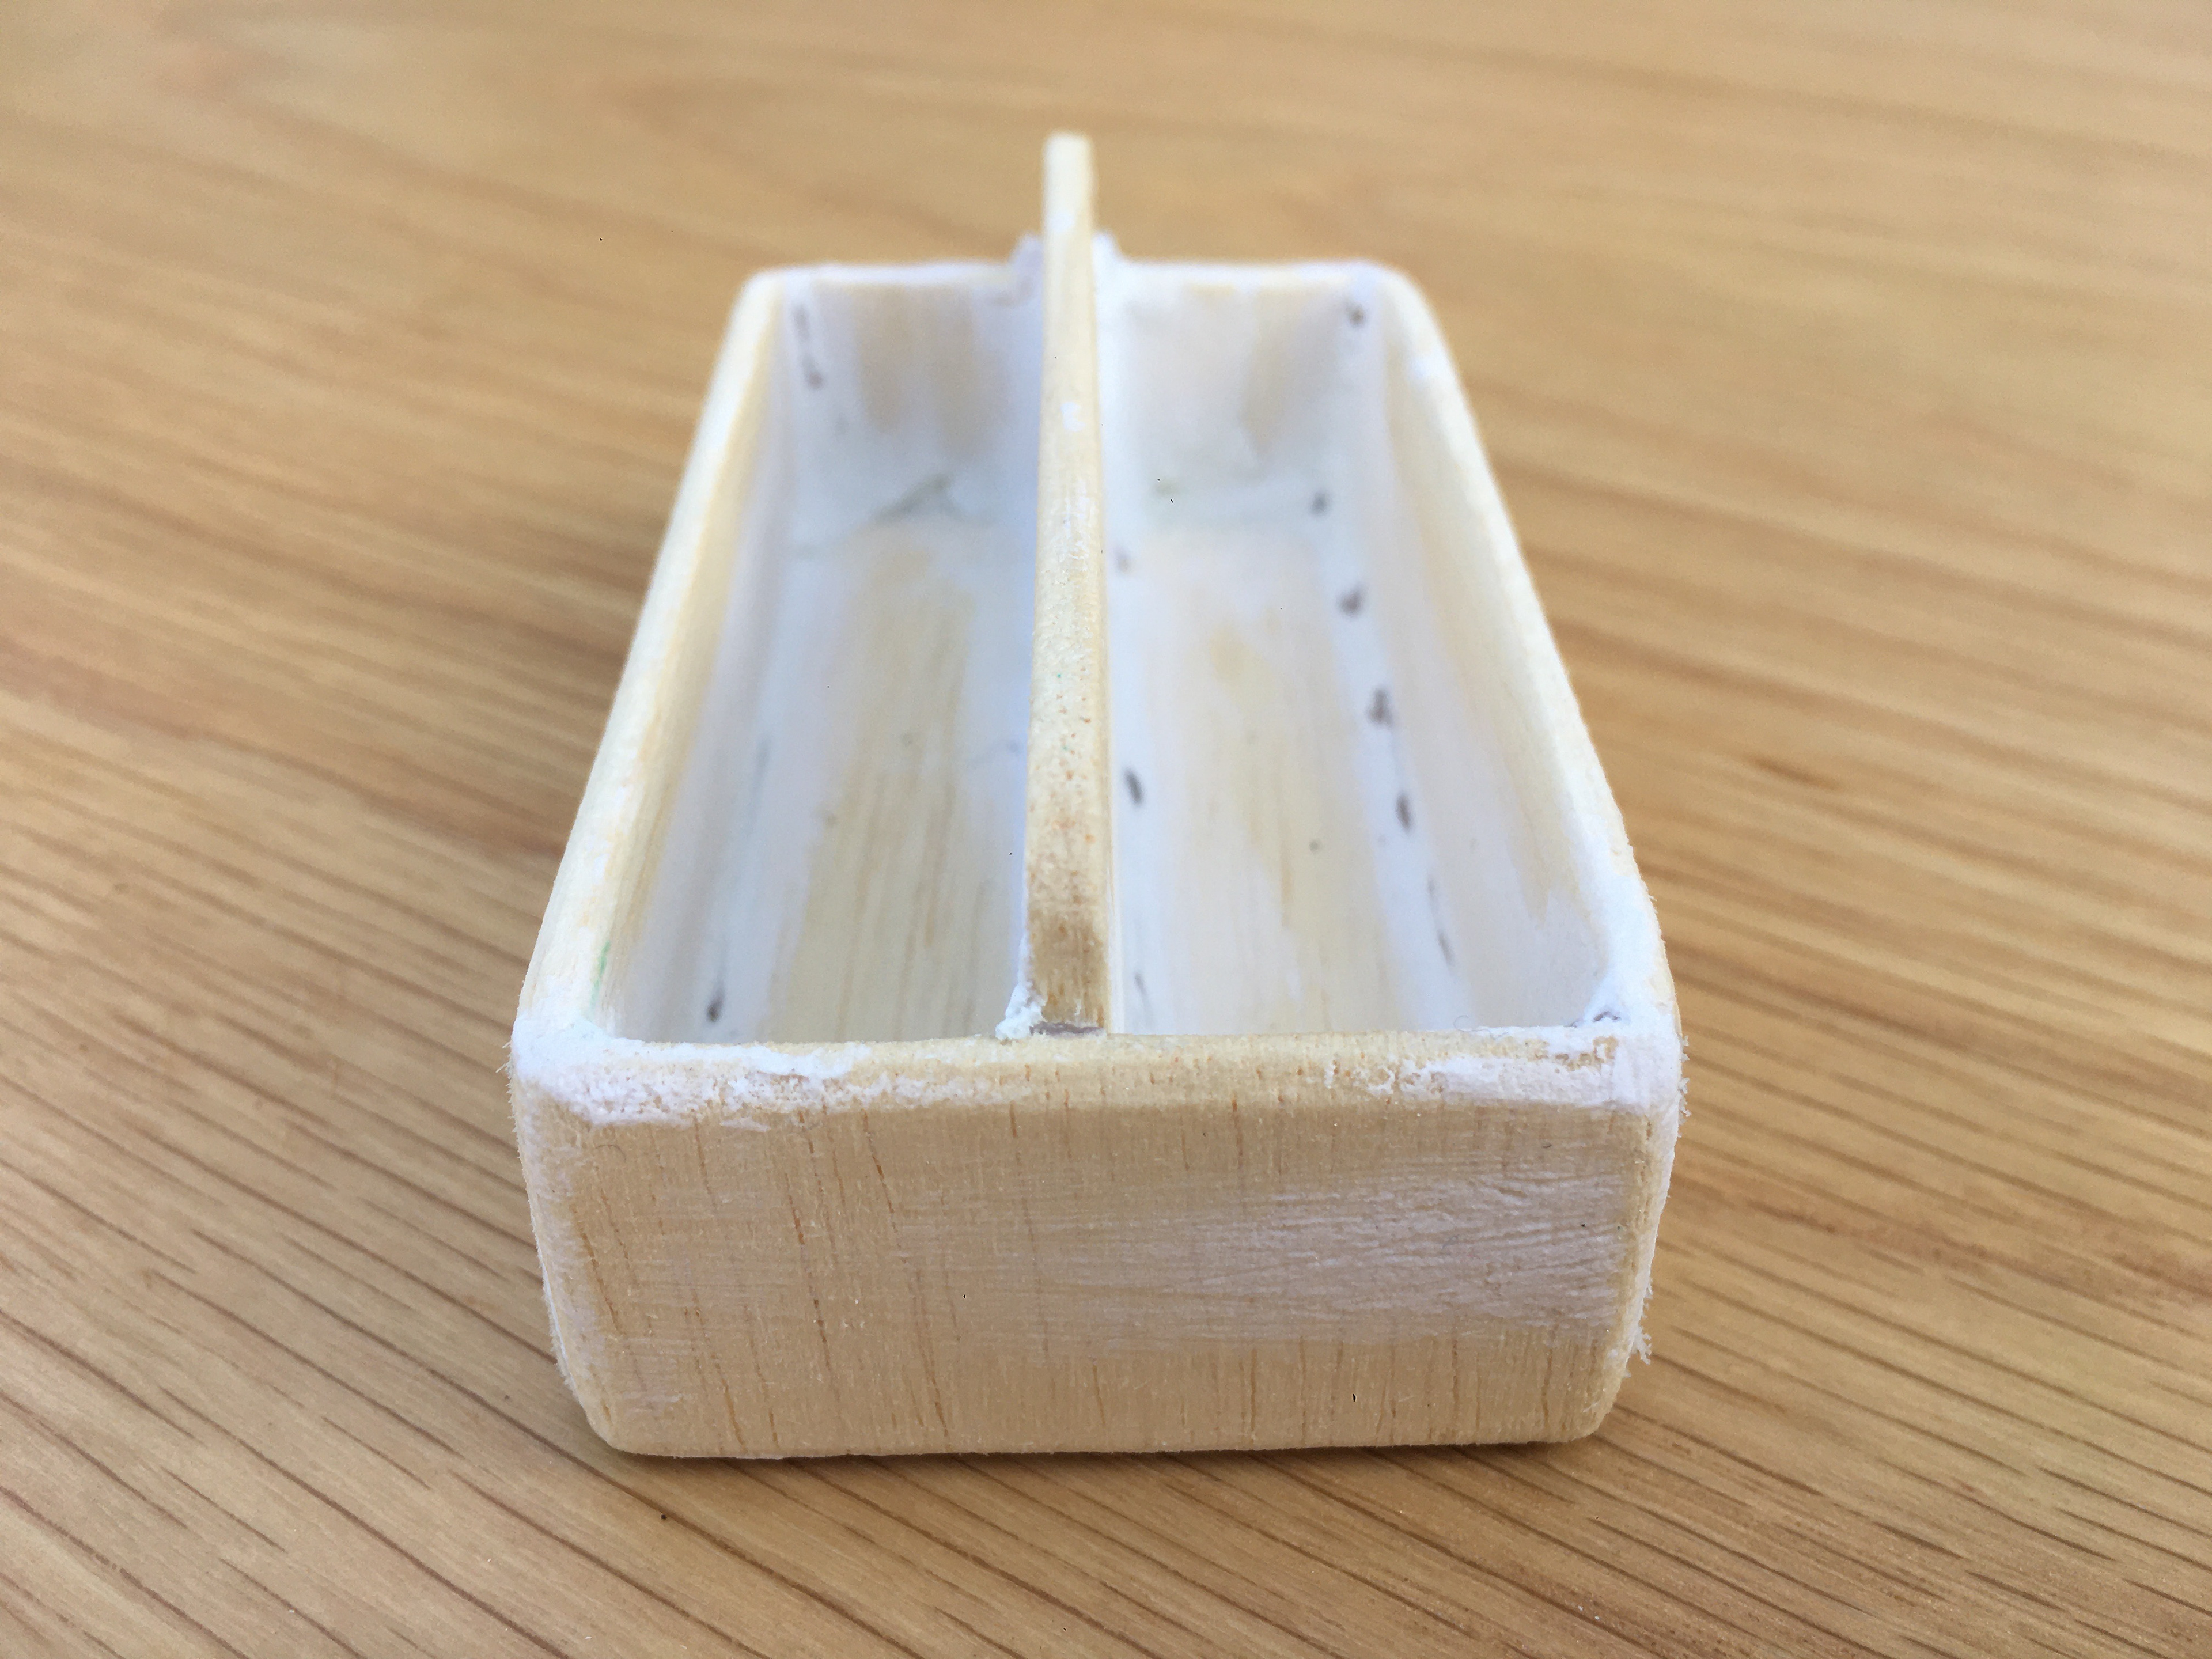
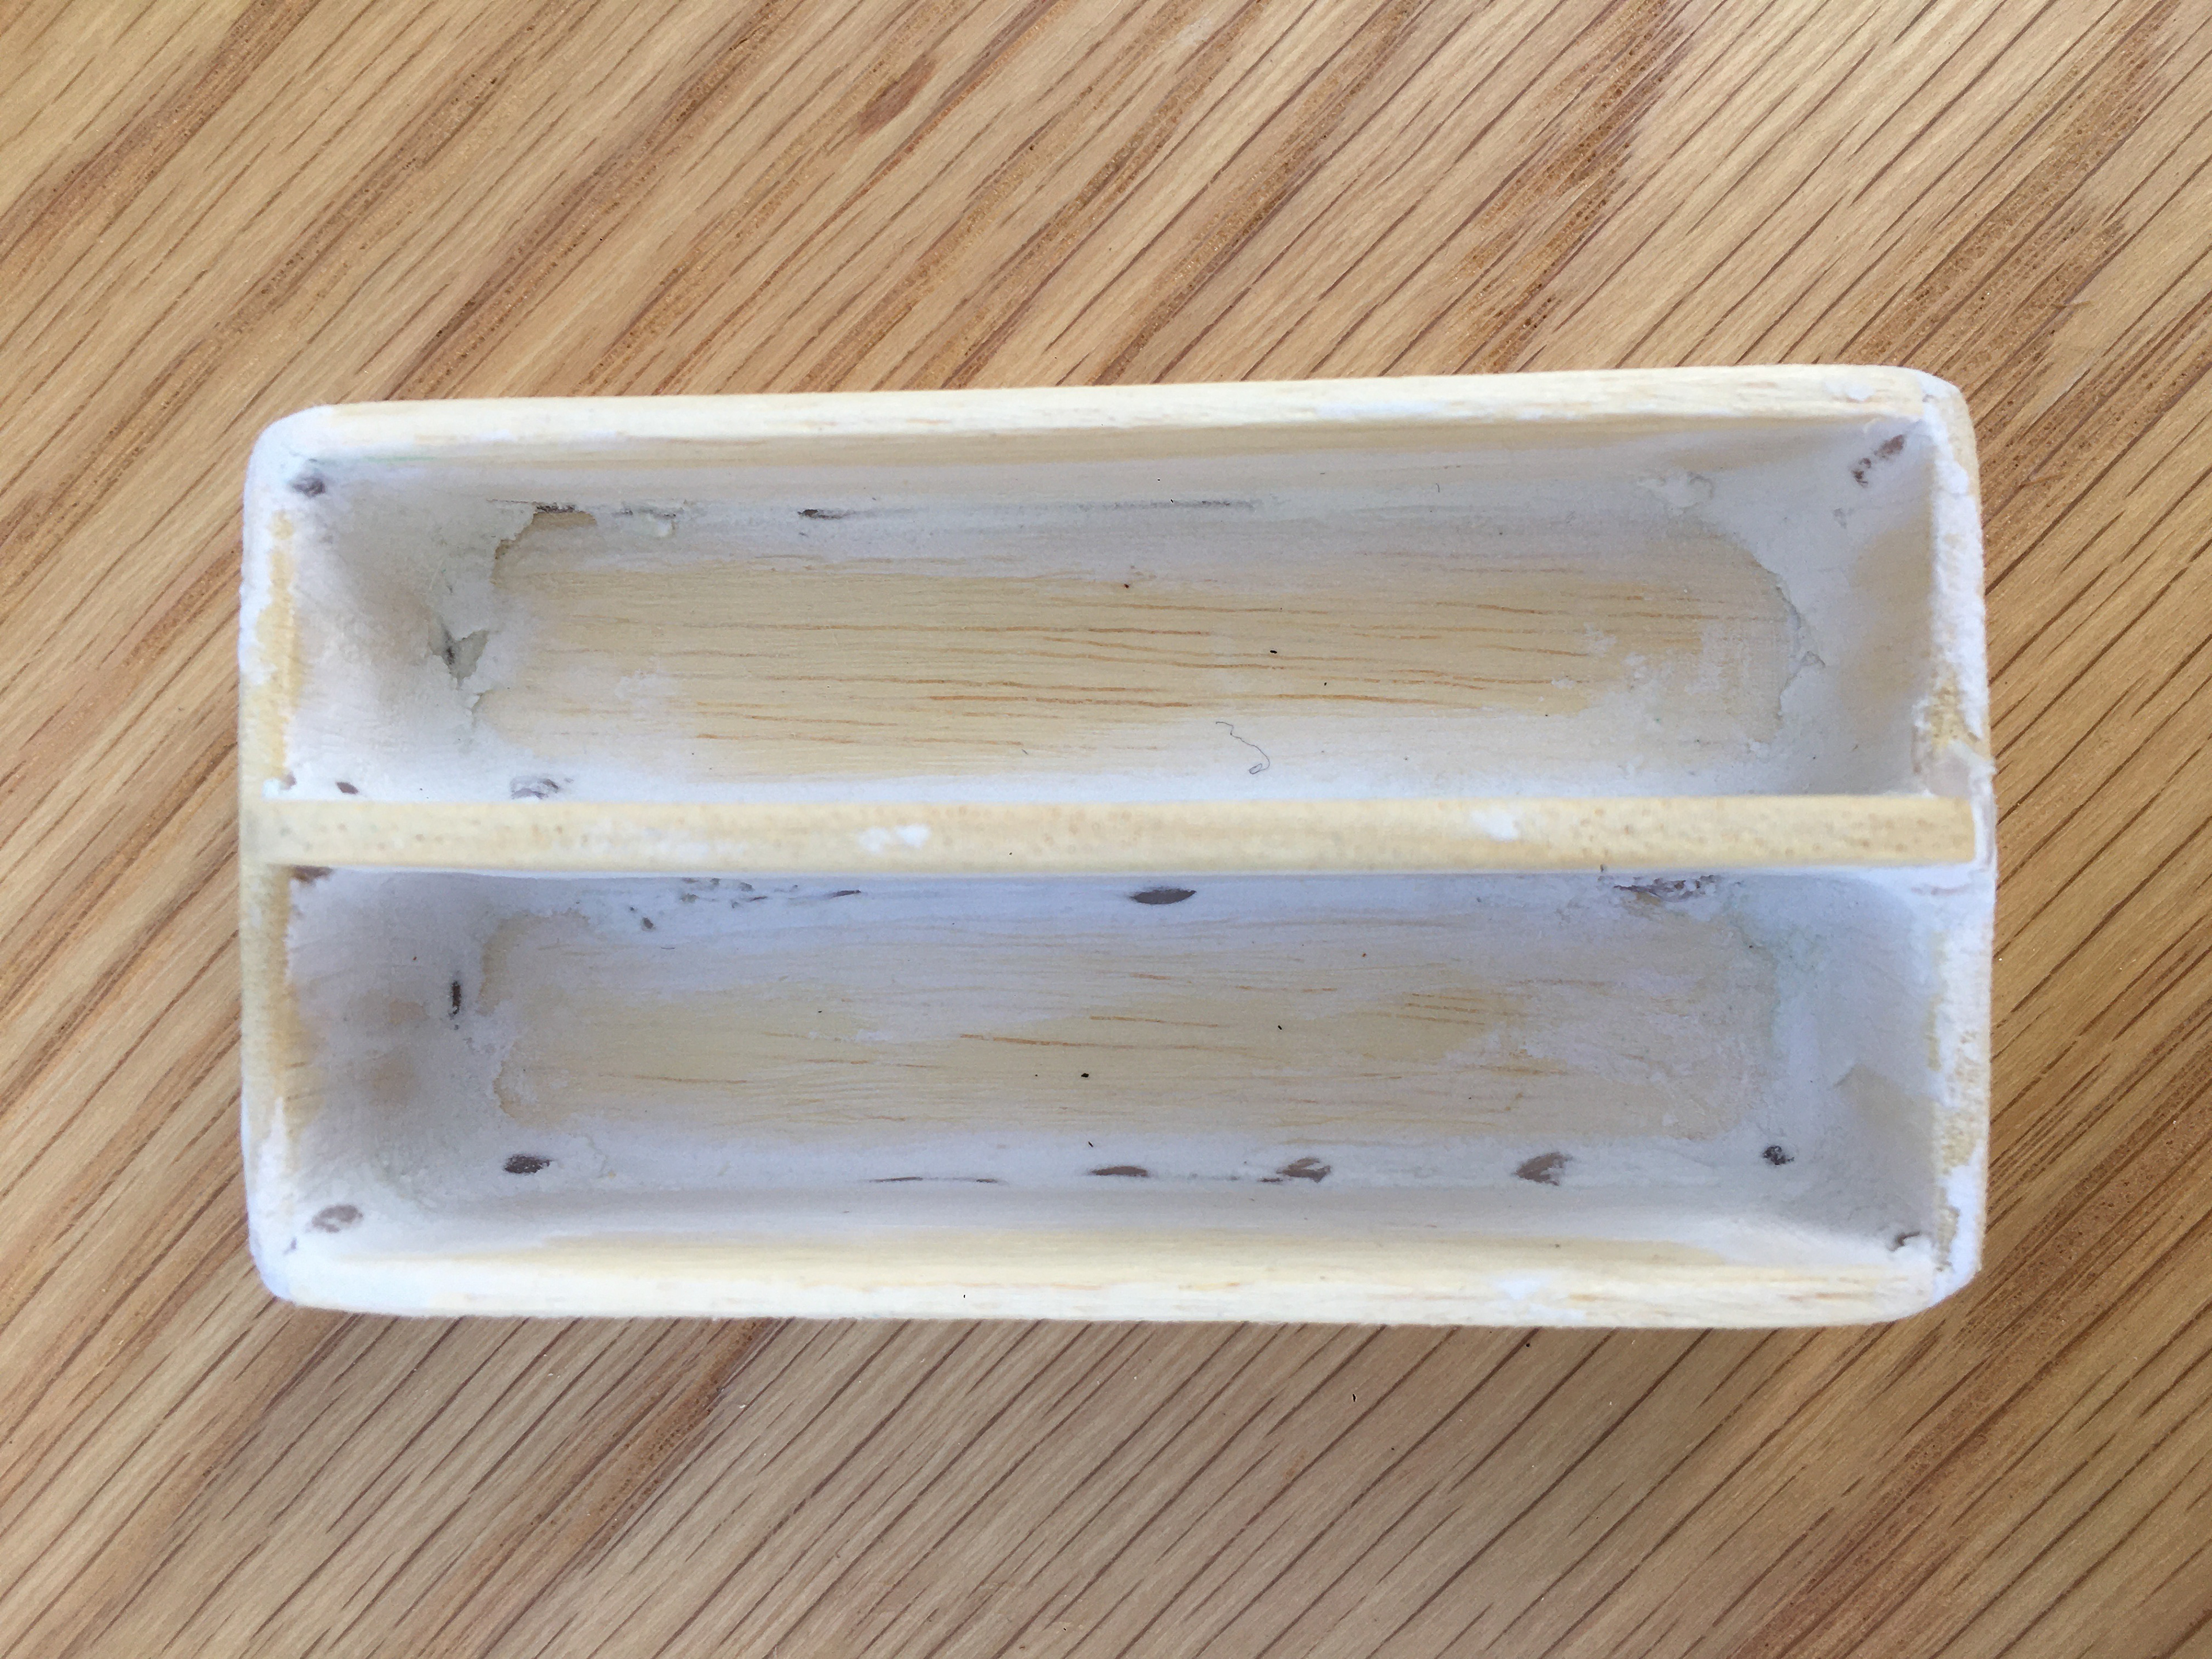
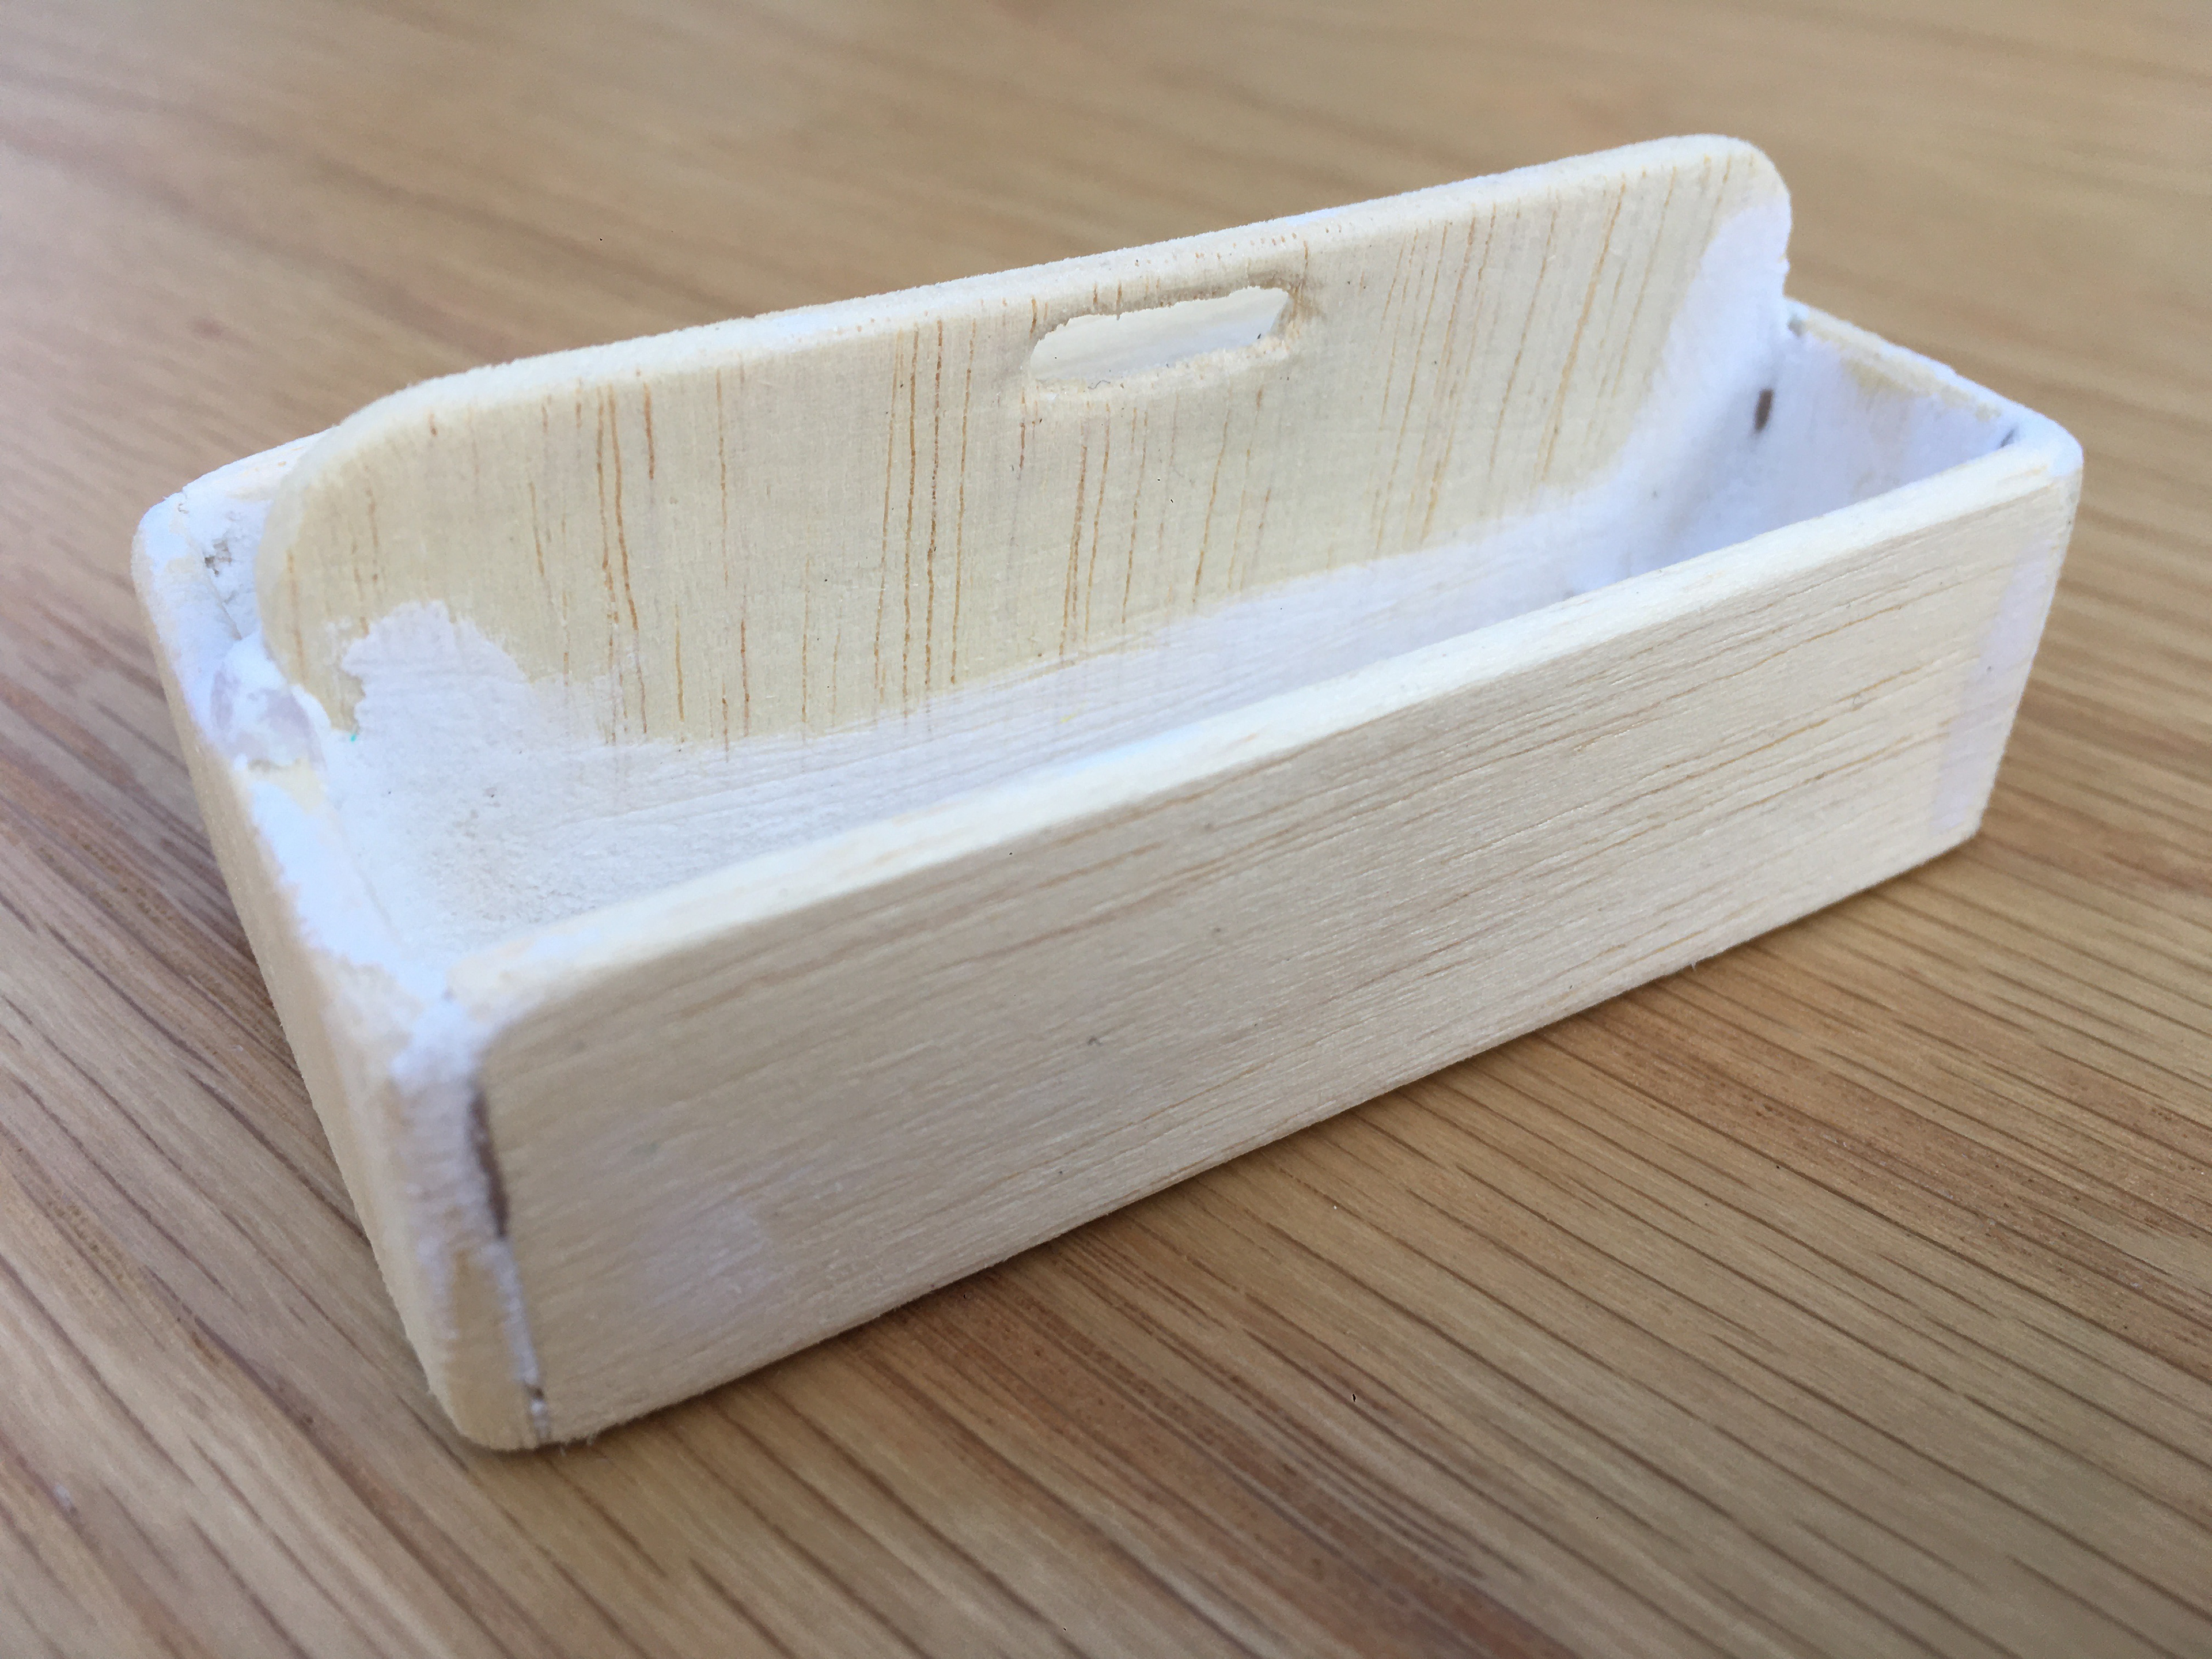
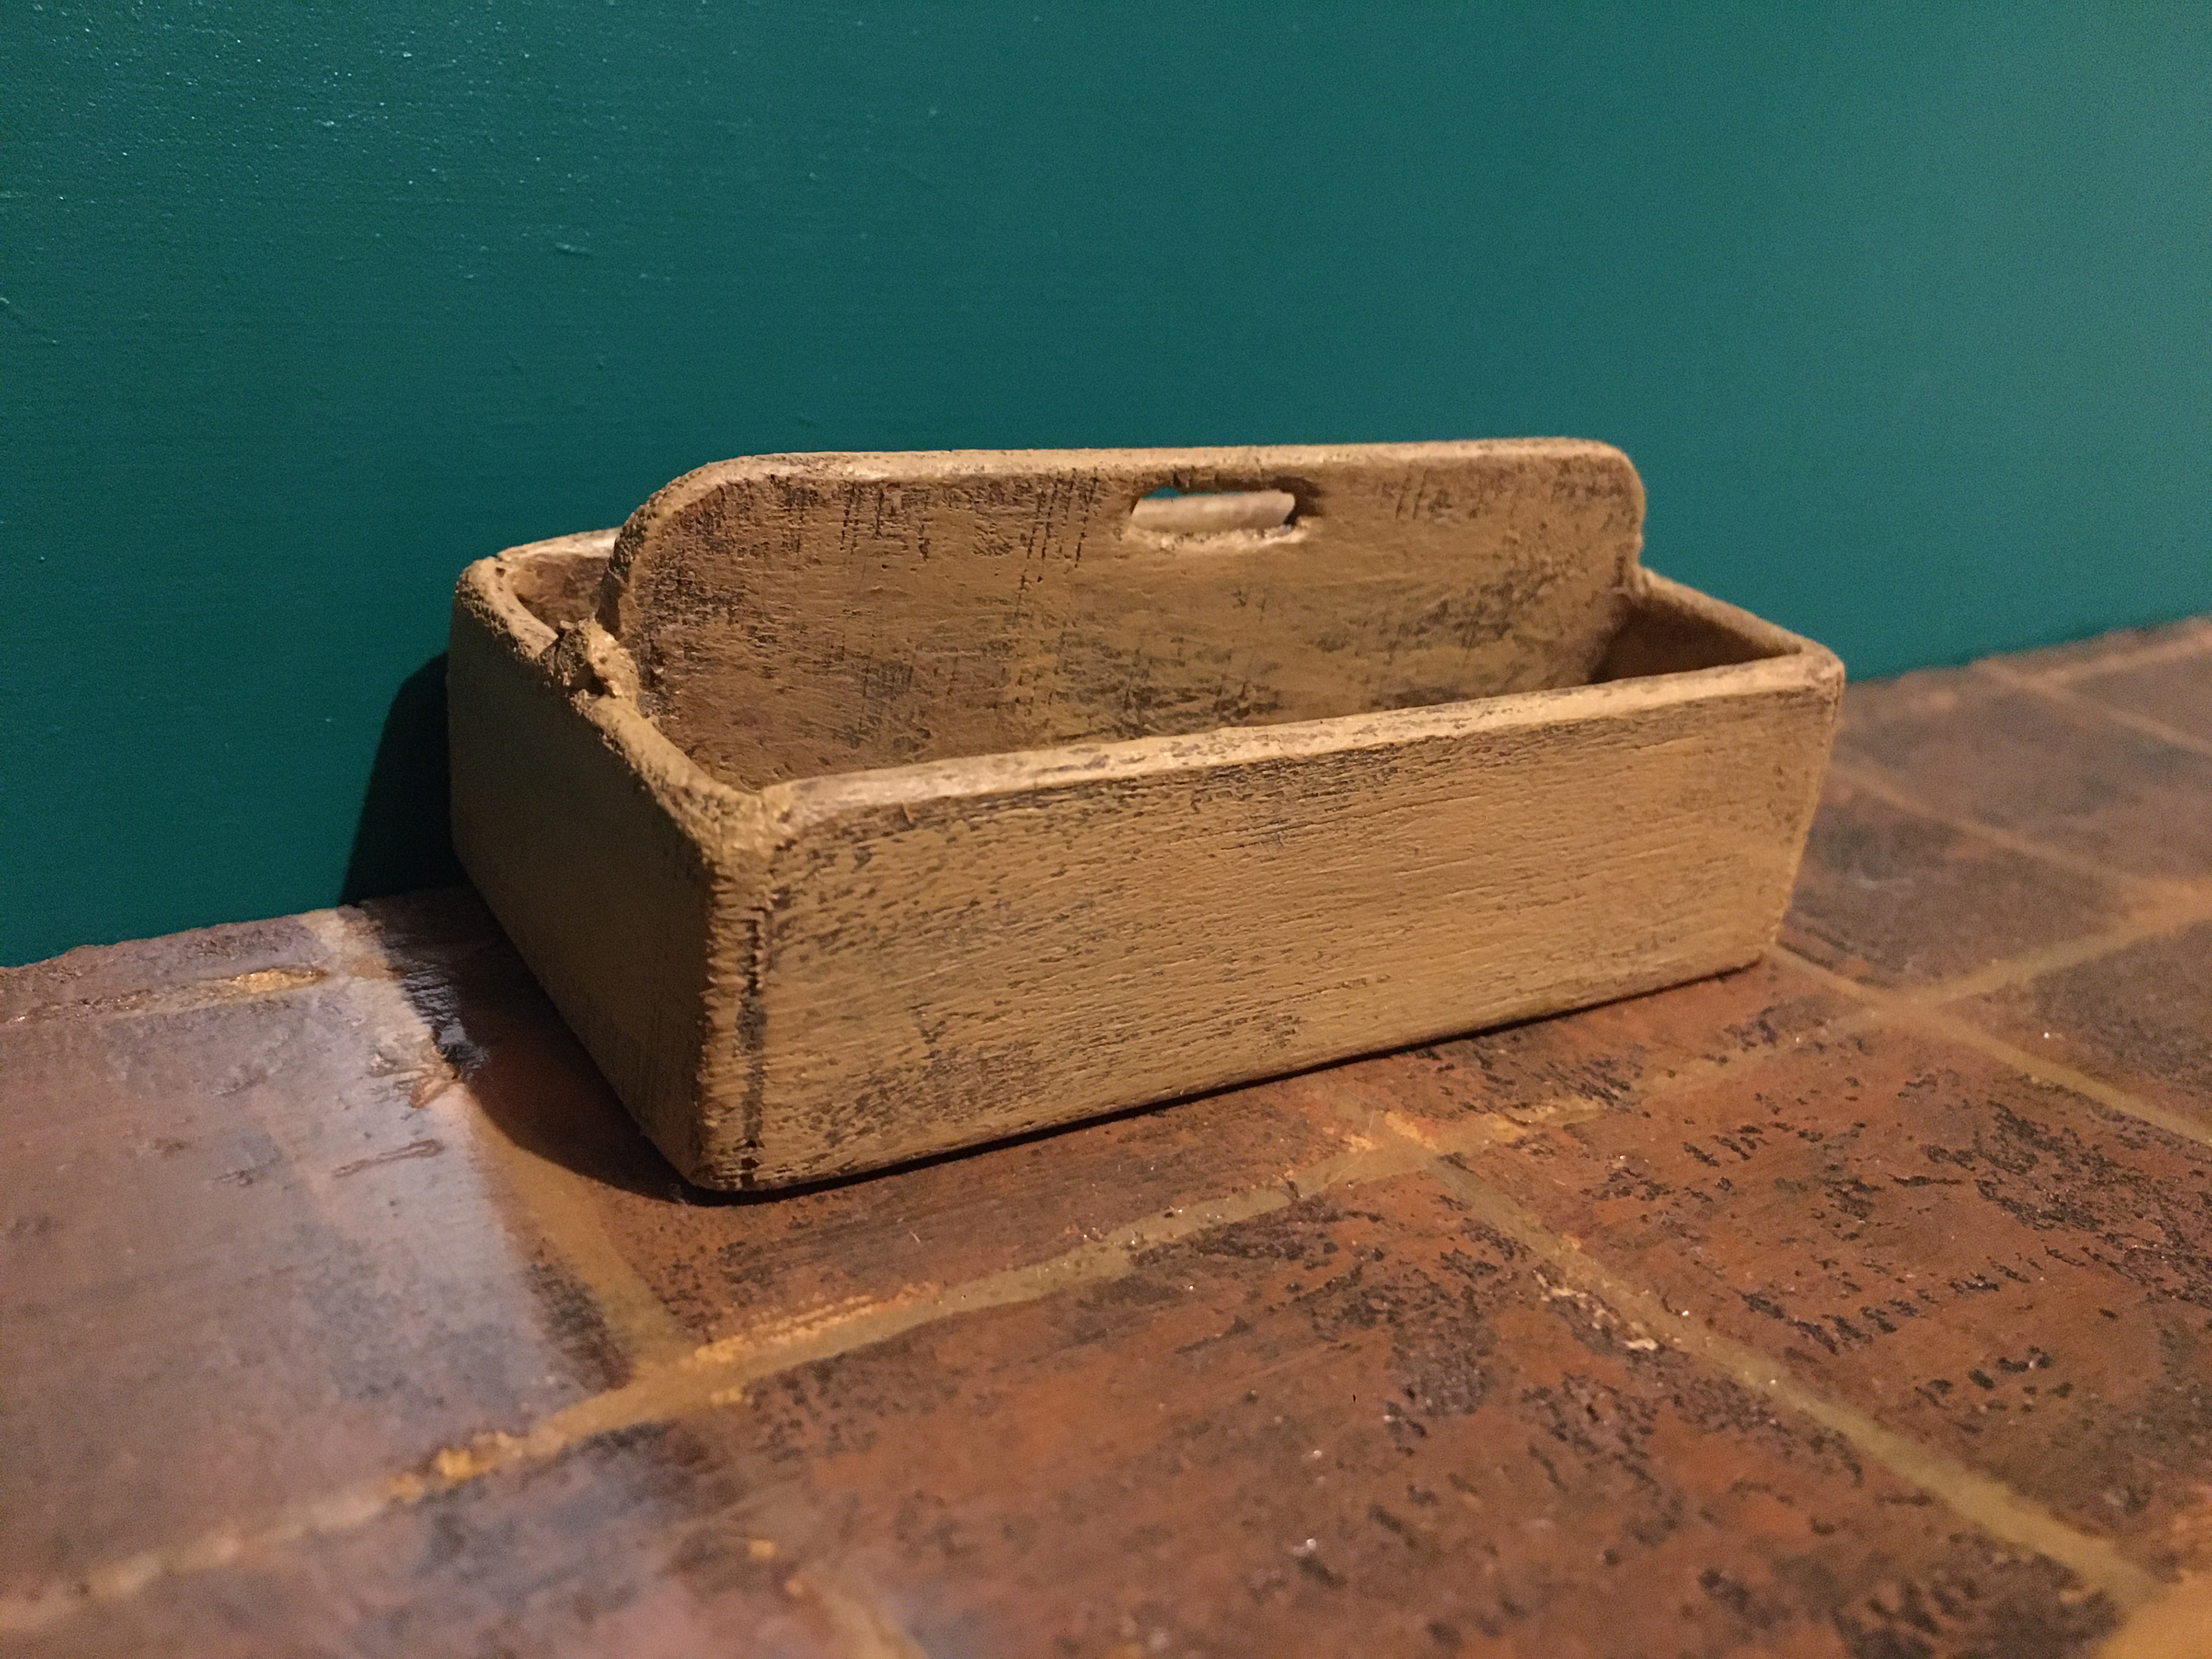
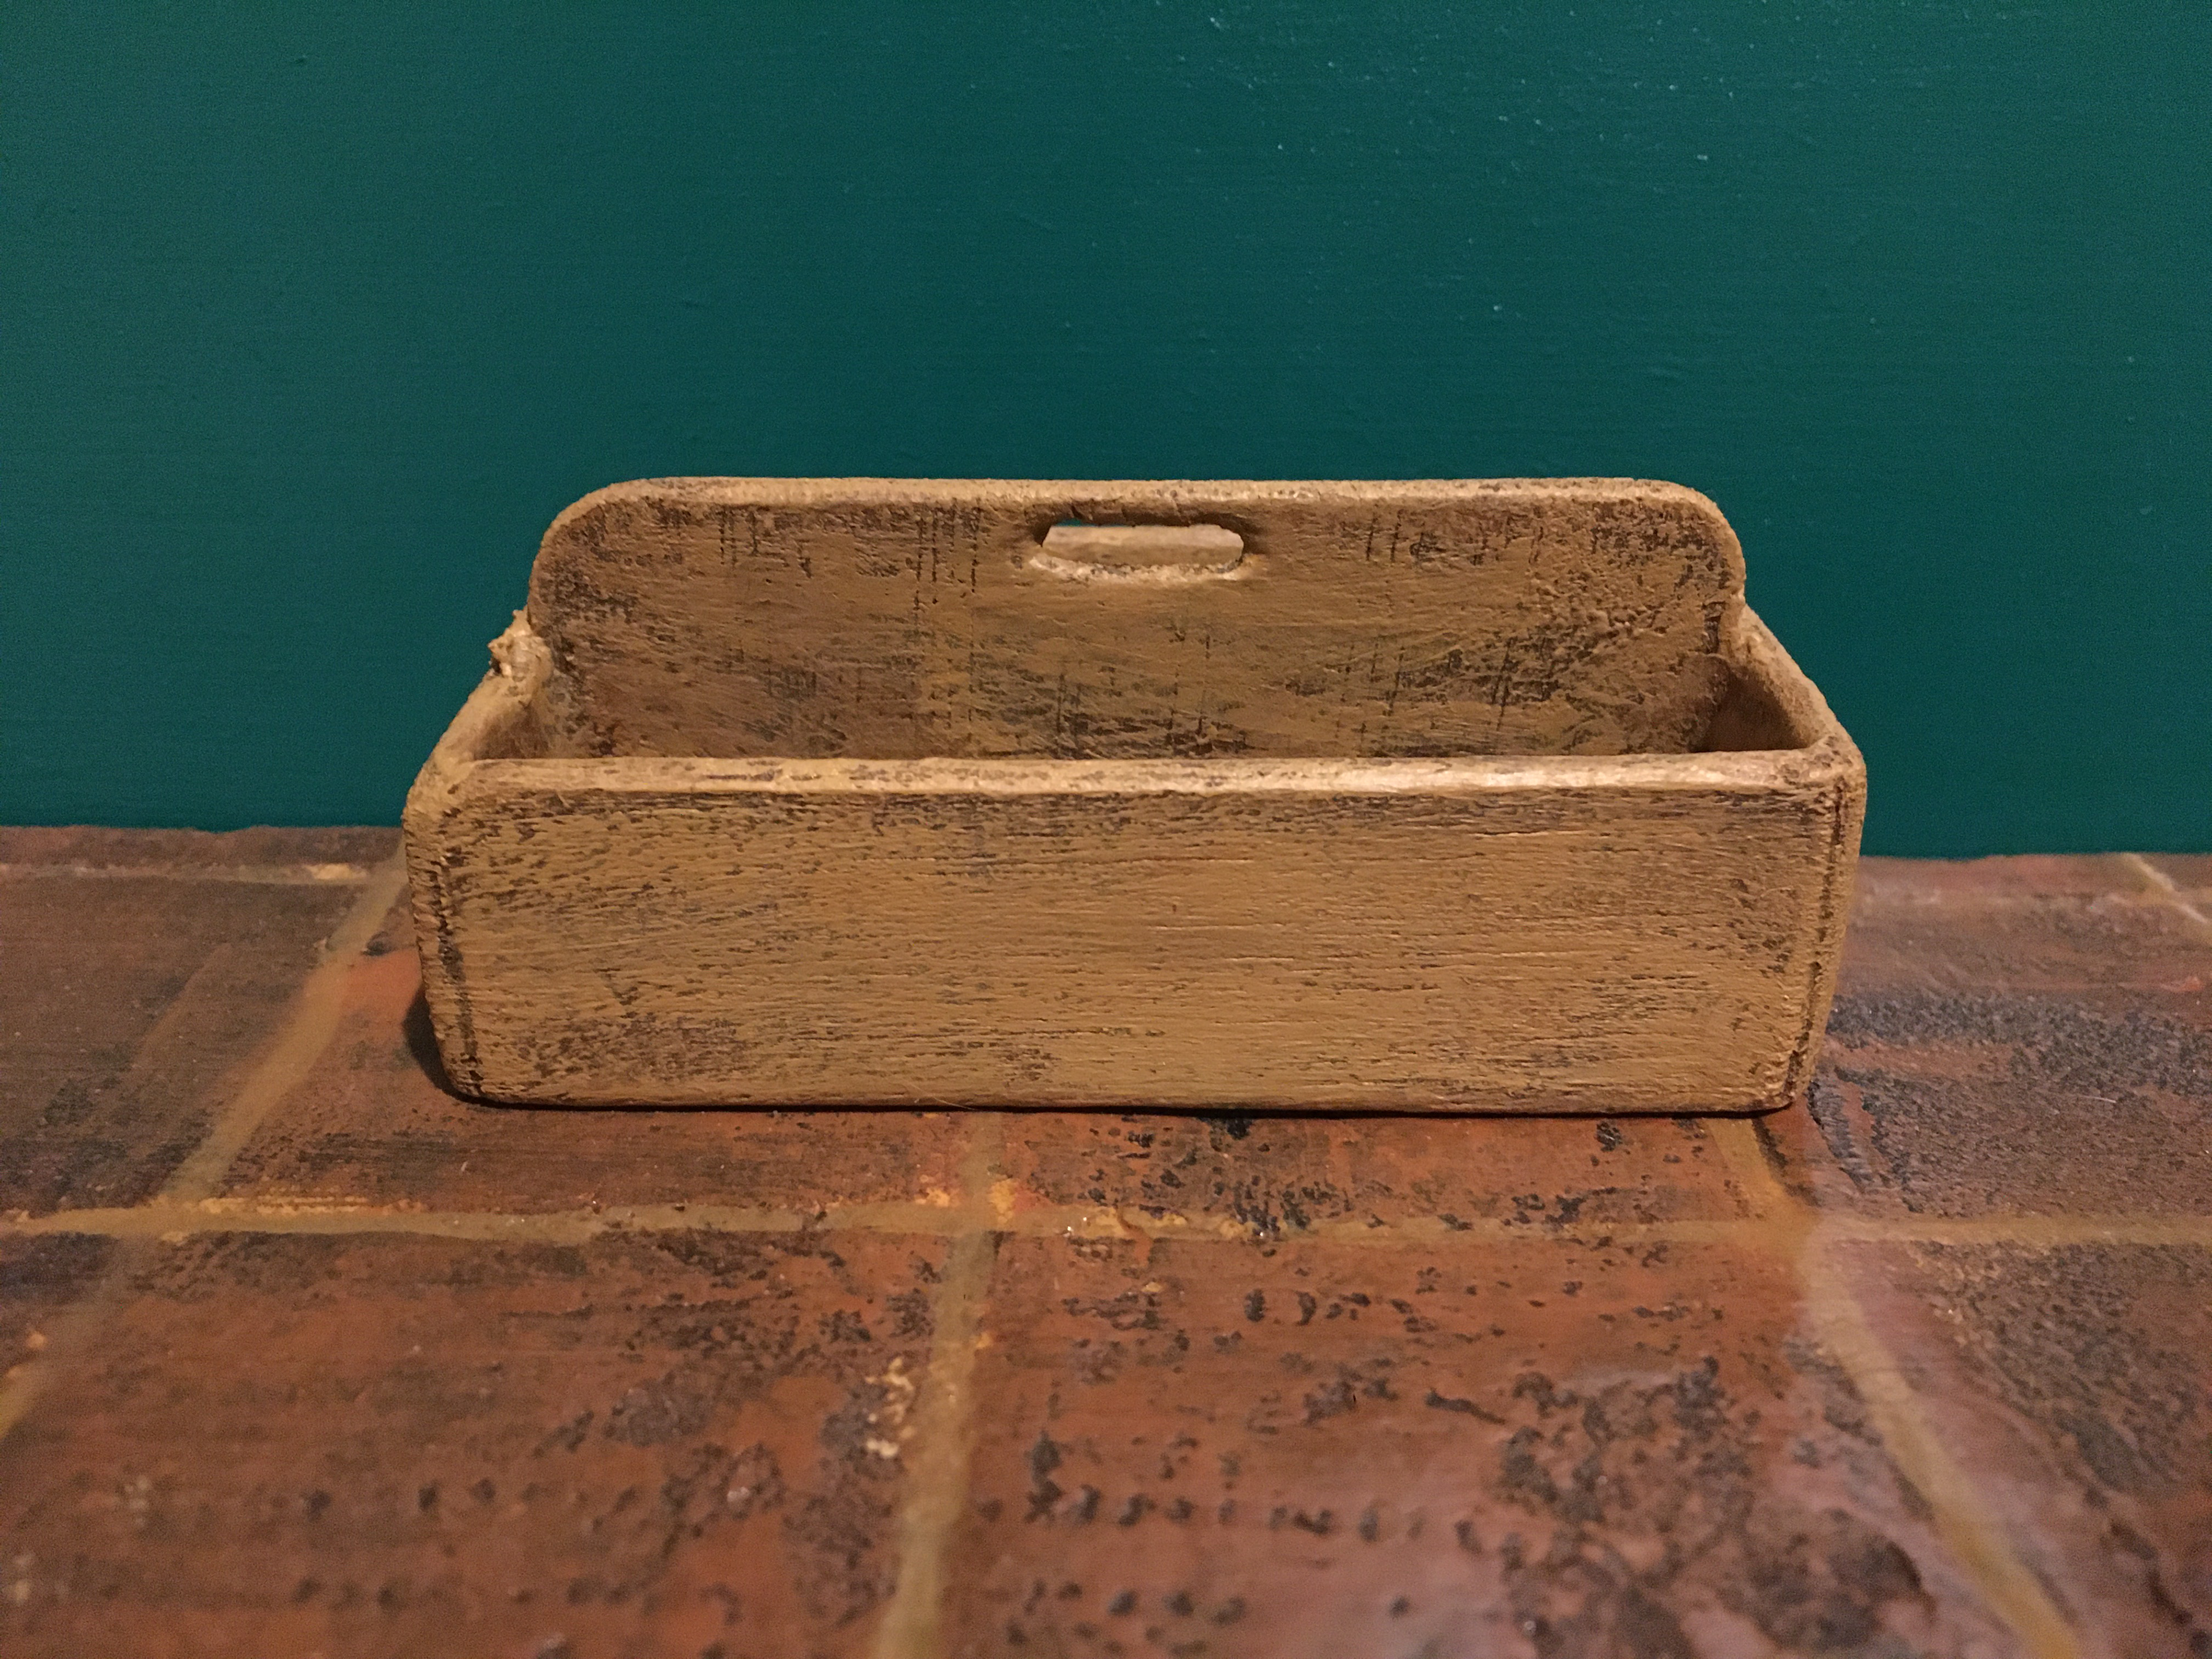
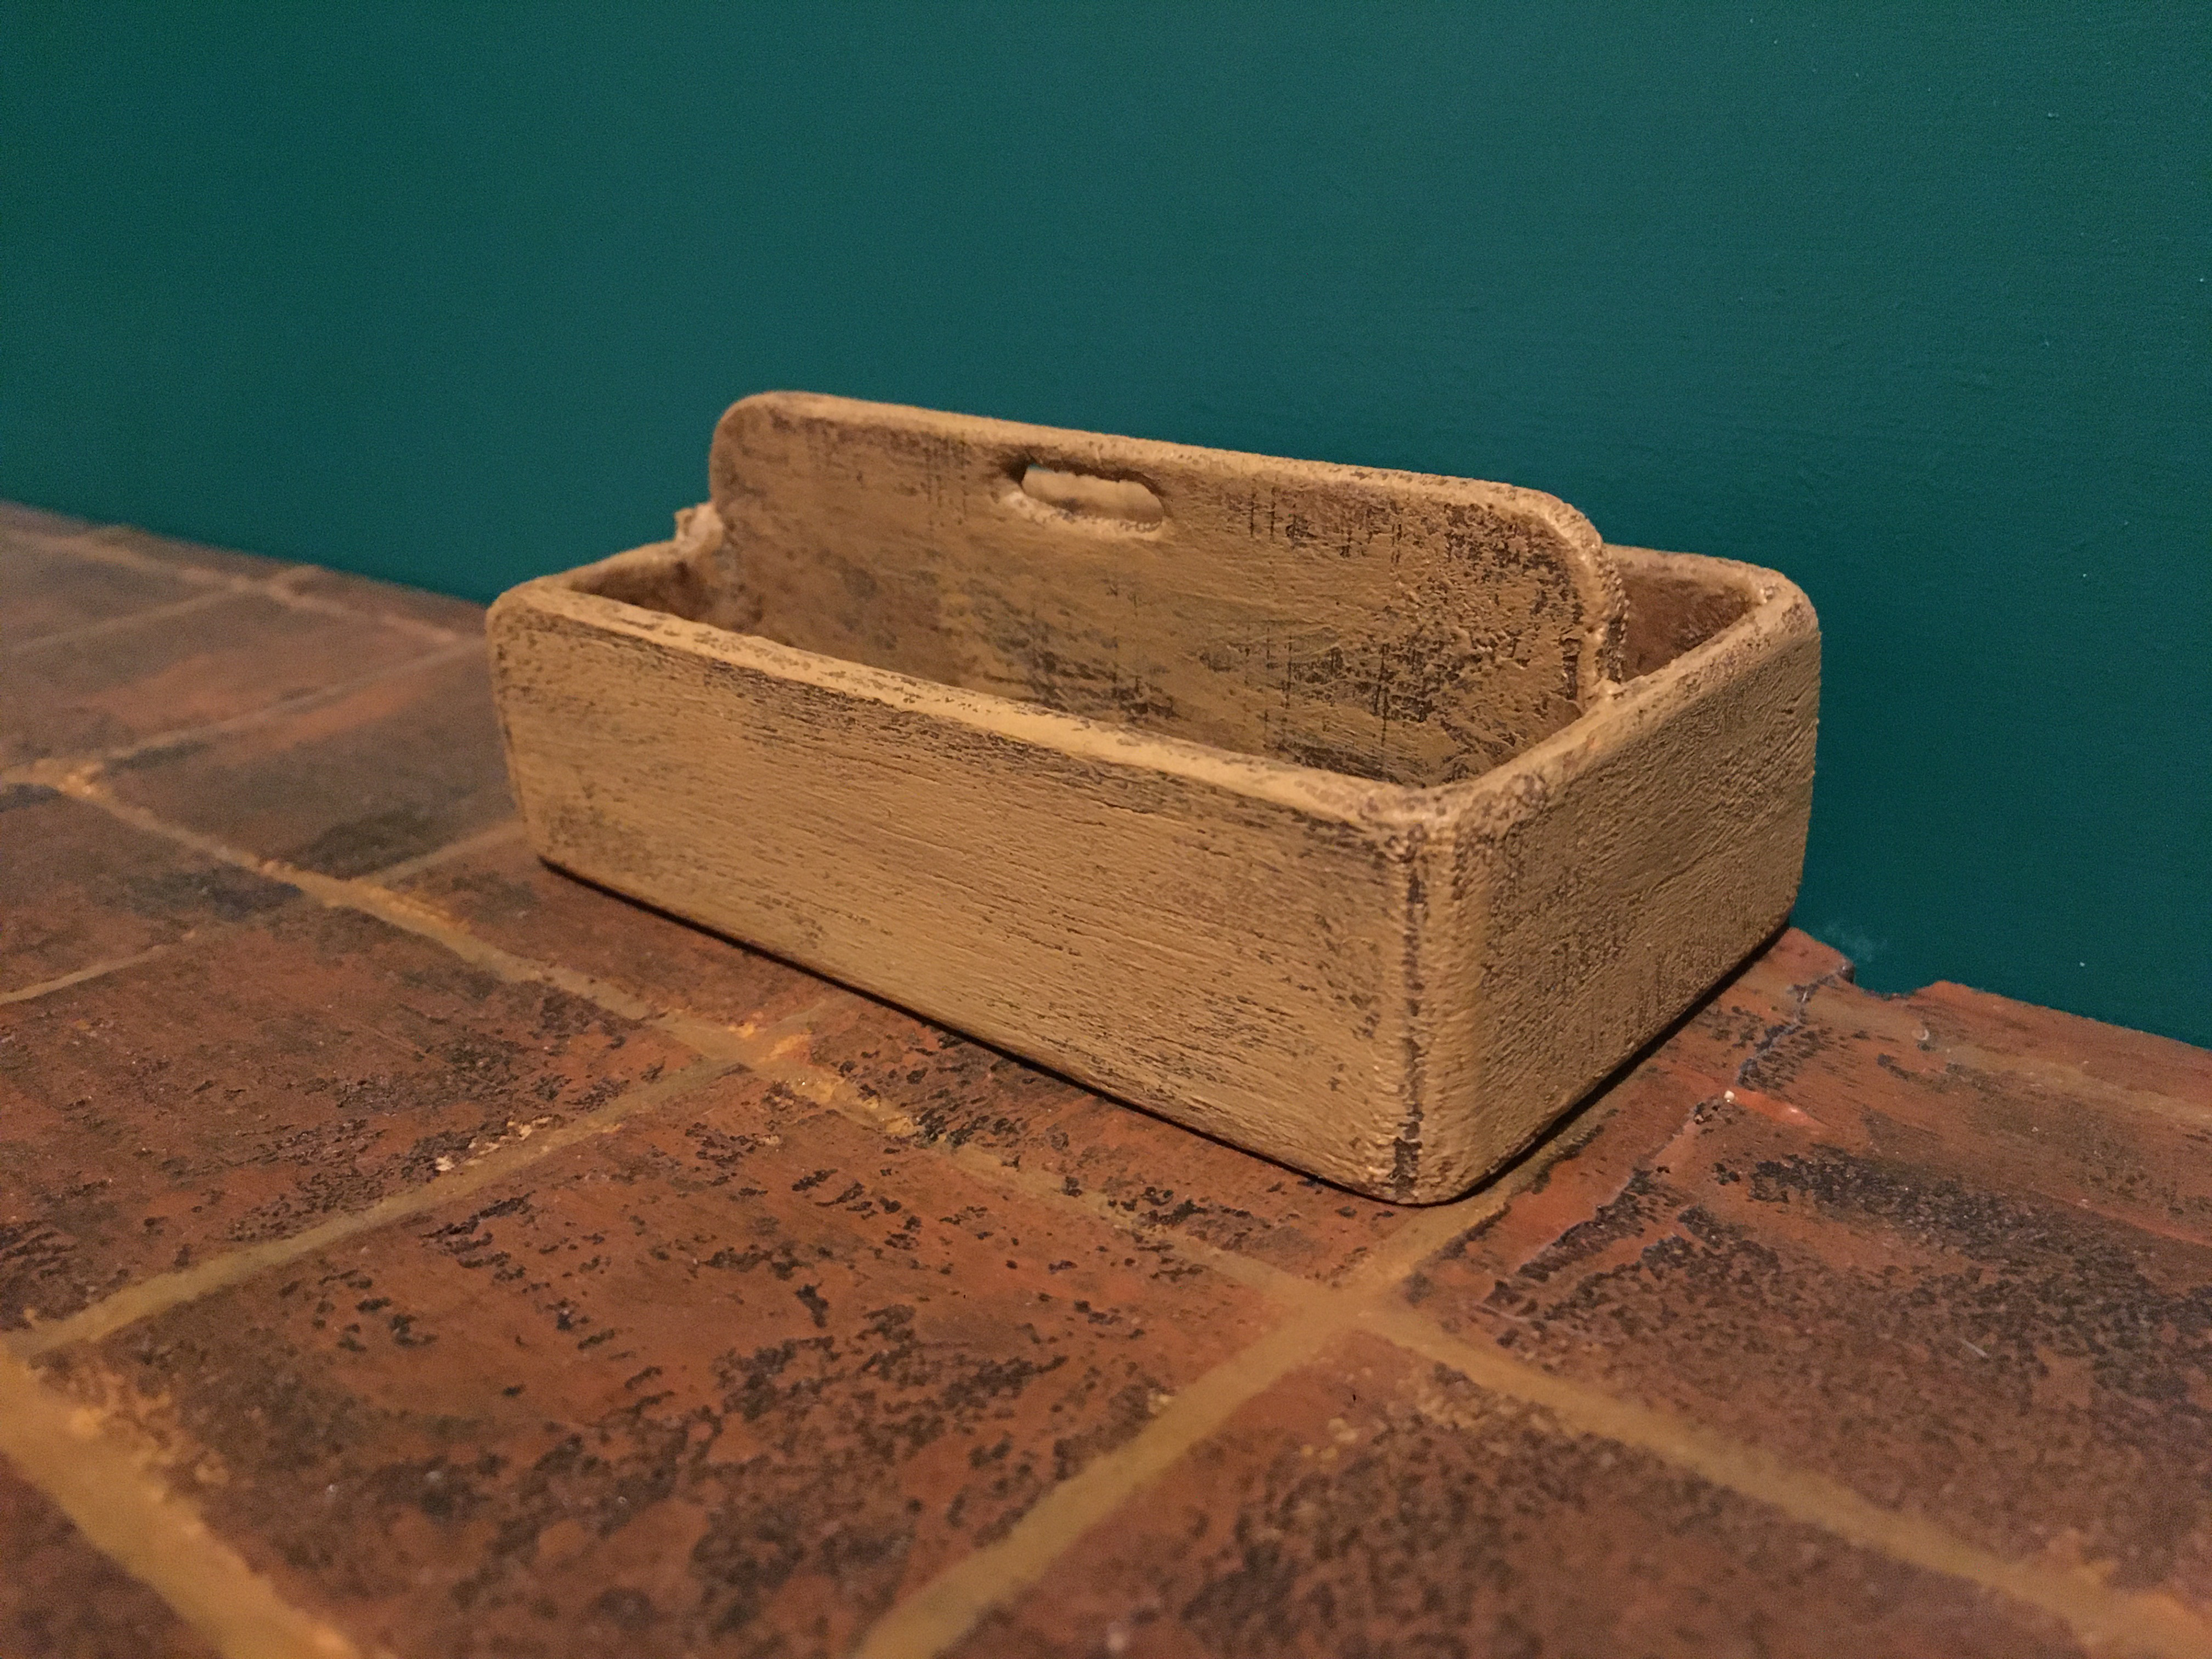
Sealer was used before the tool box was painted with acrylics. a matte varnish was used to enhance and preserve the colour of the tool box.
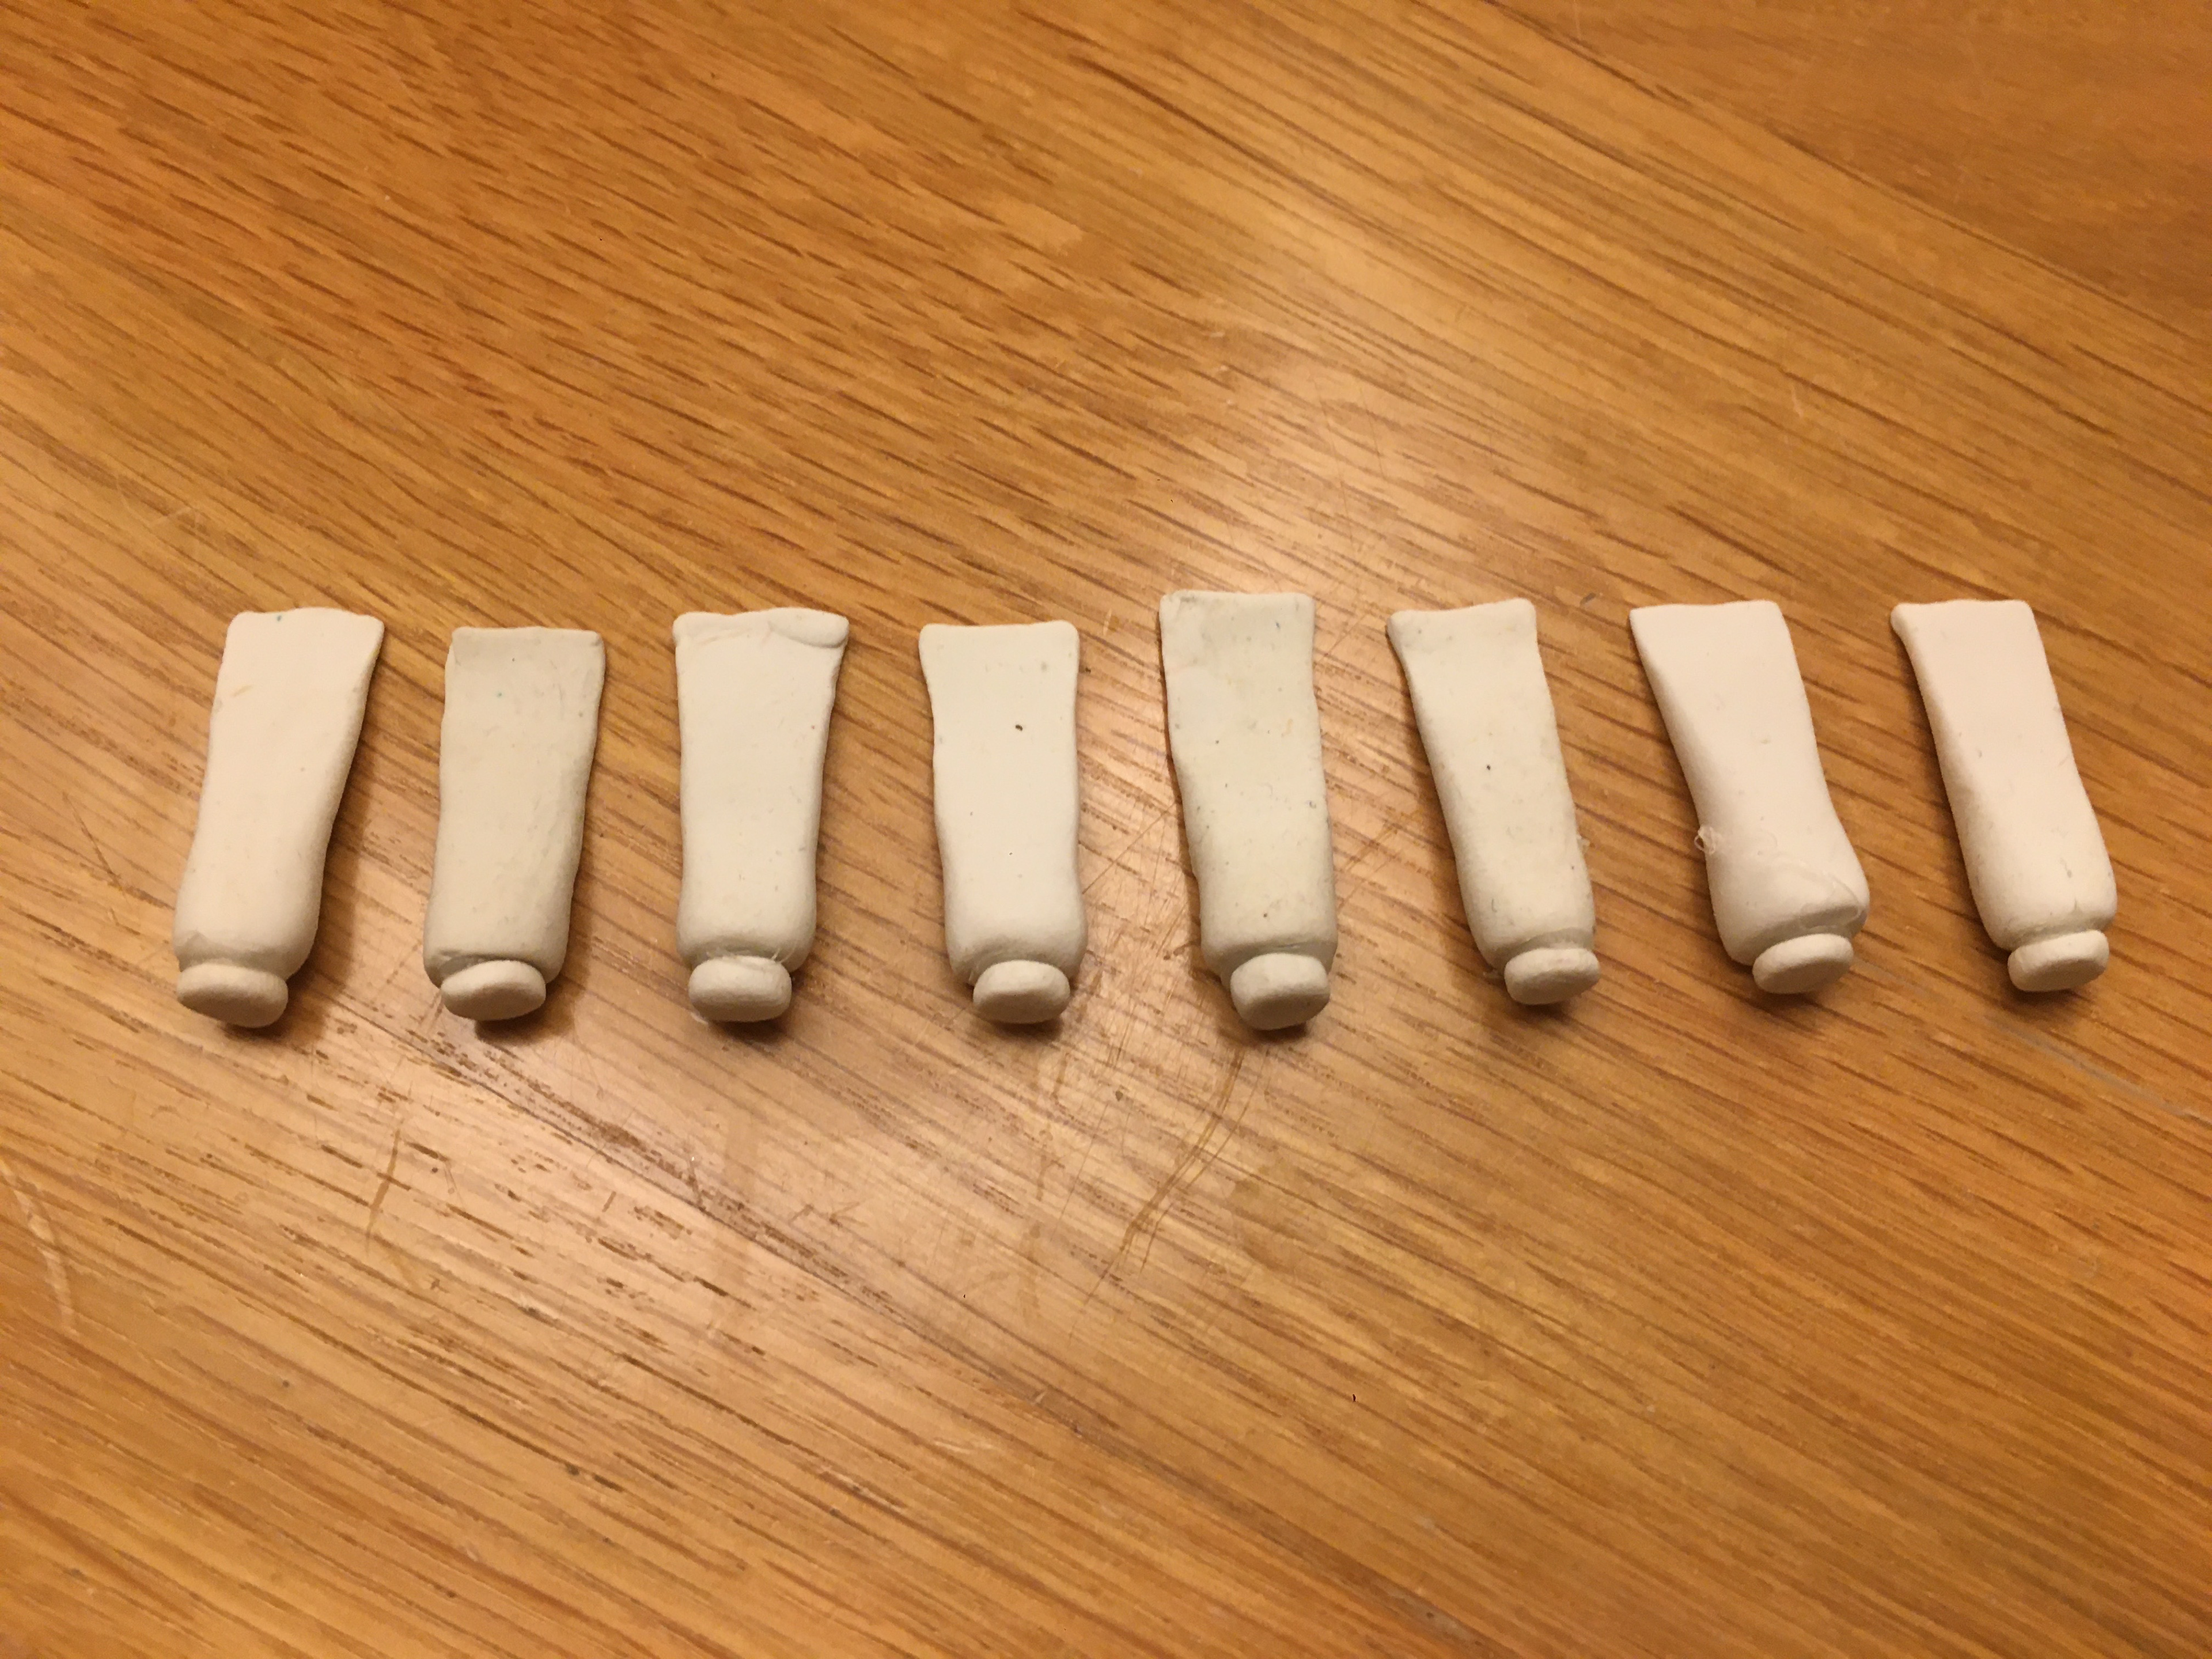
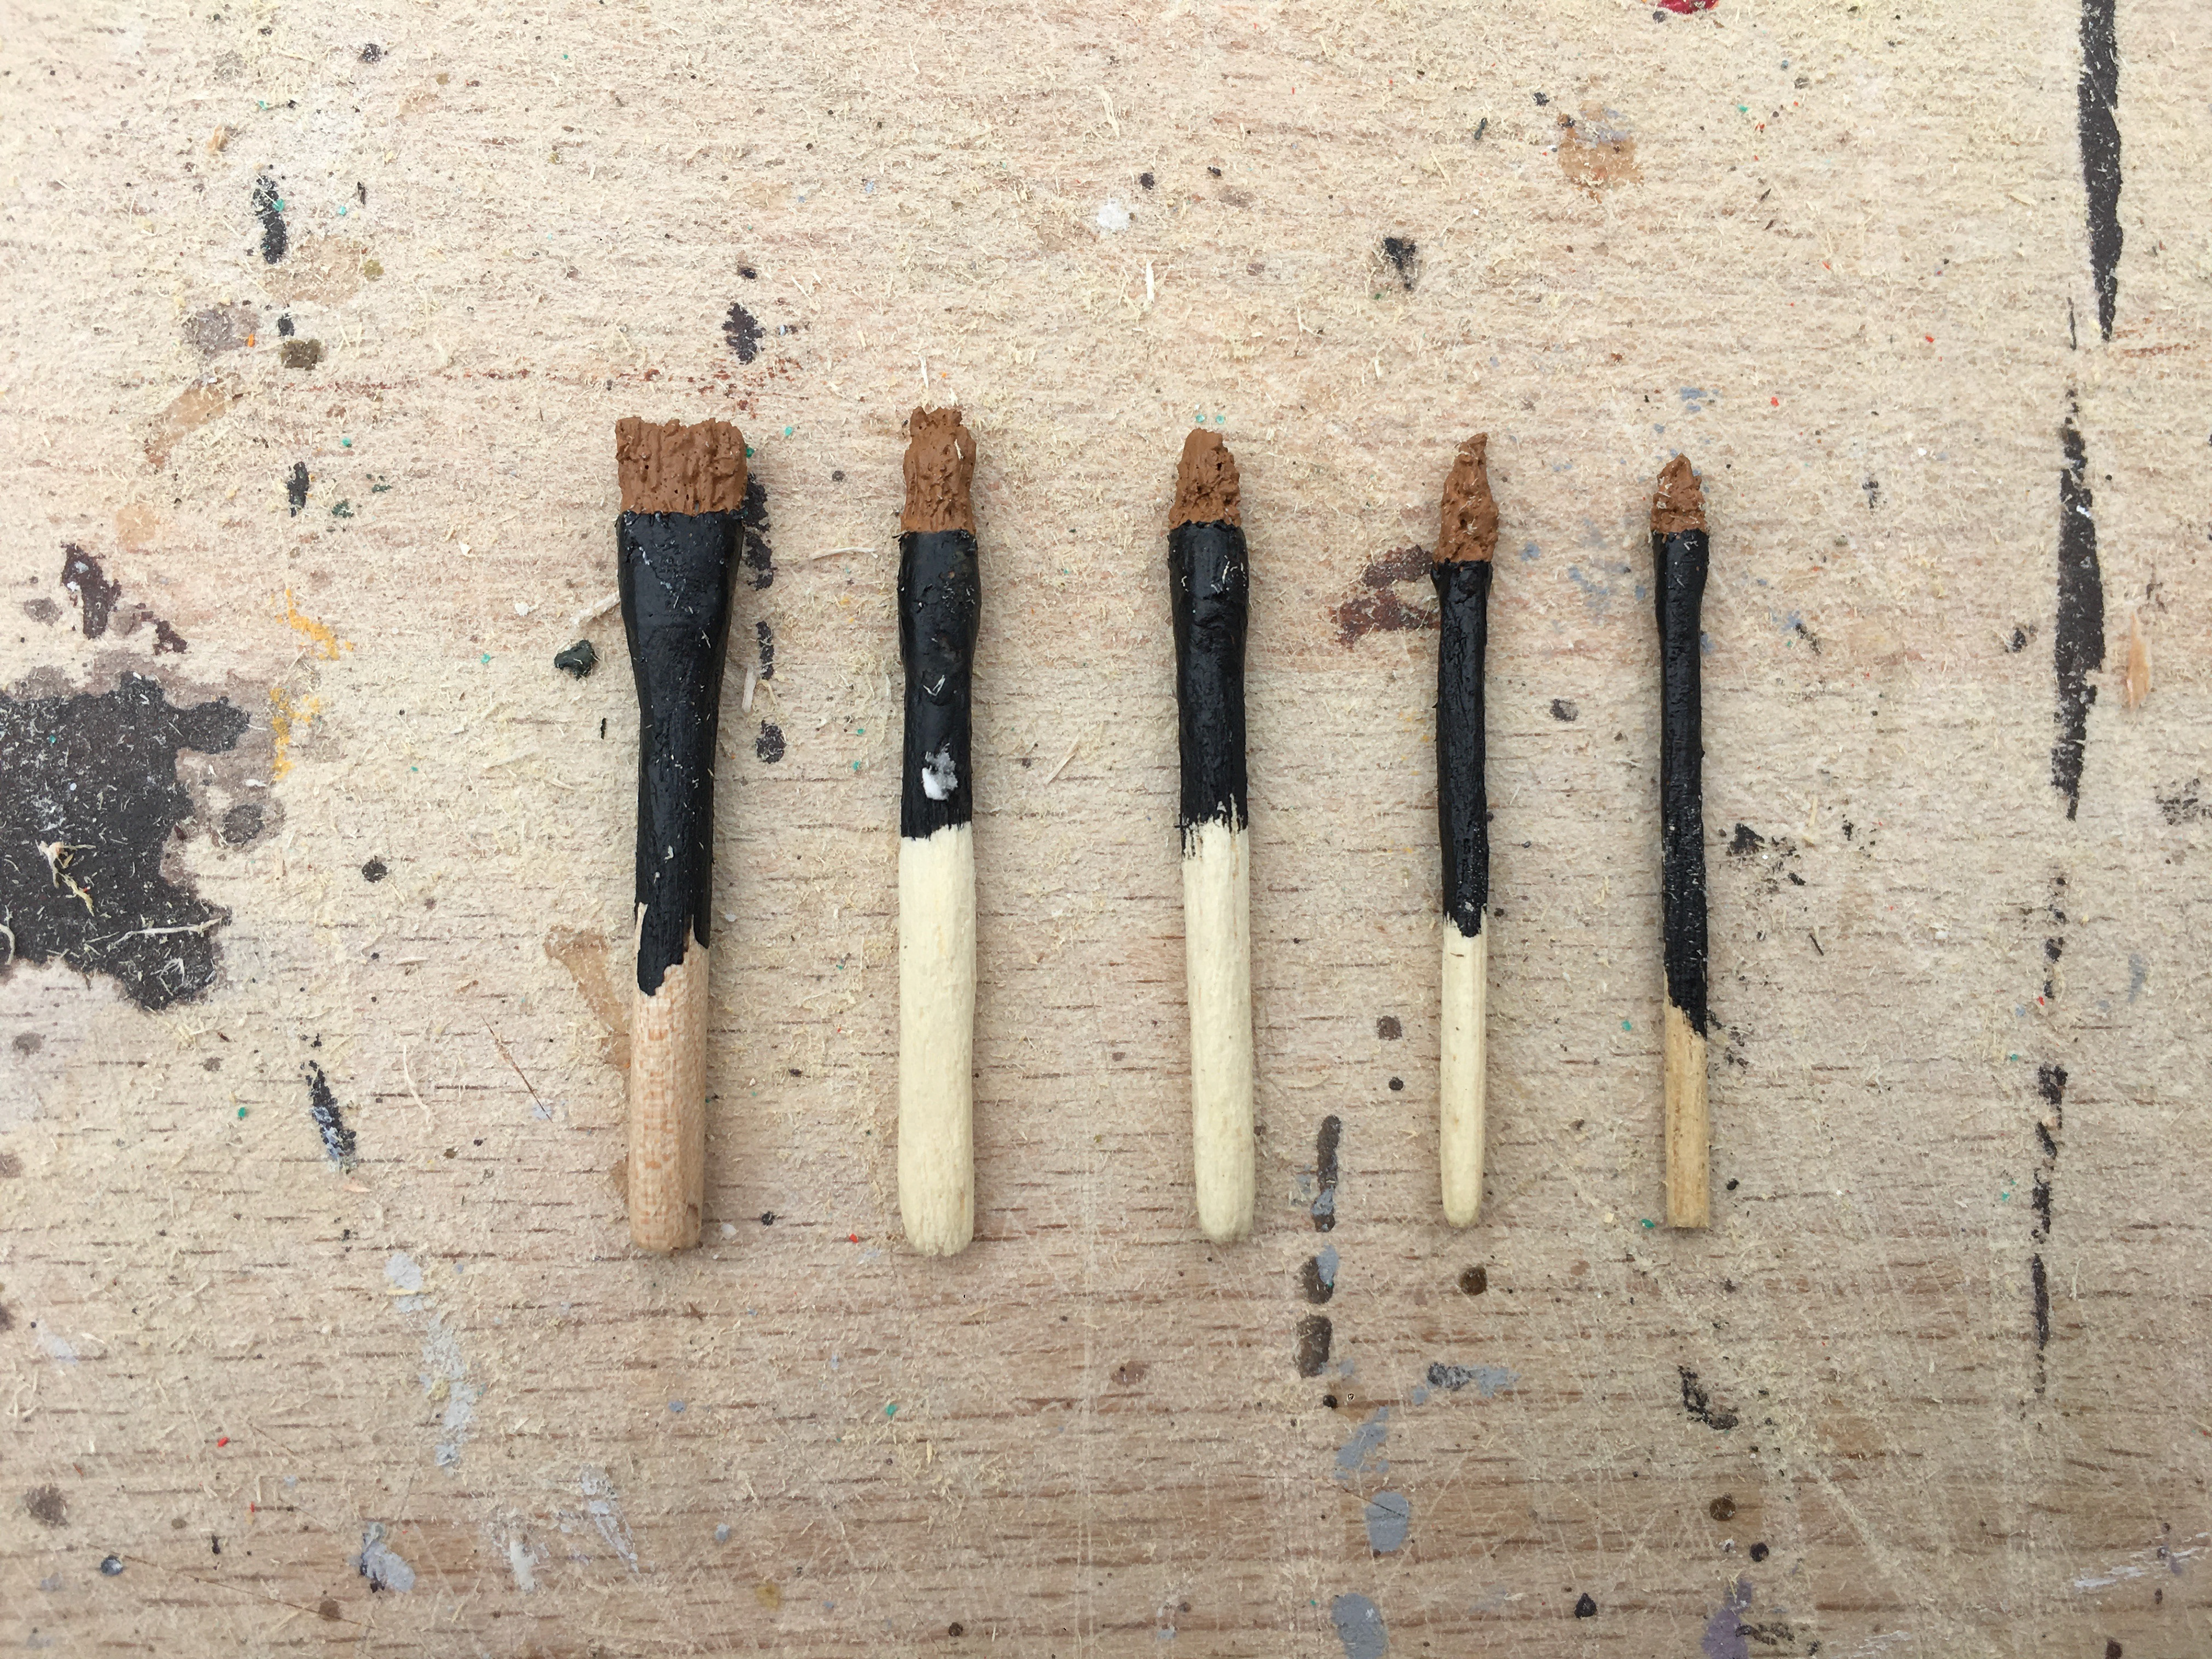
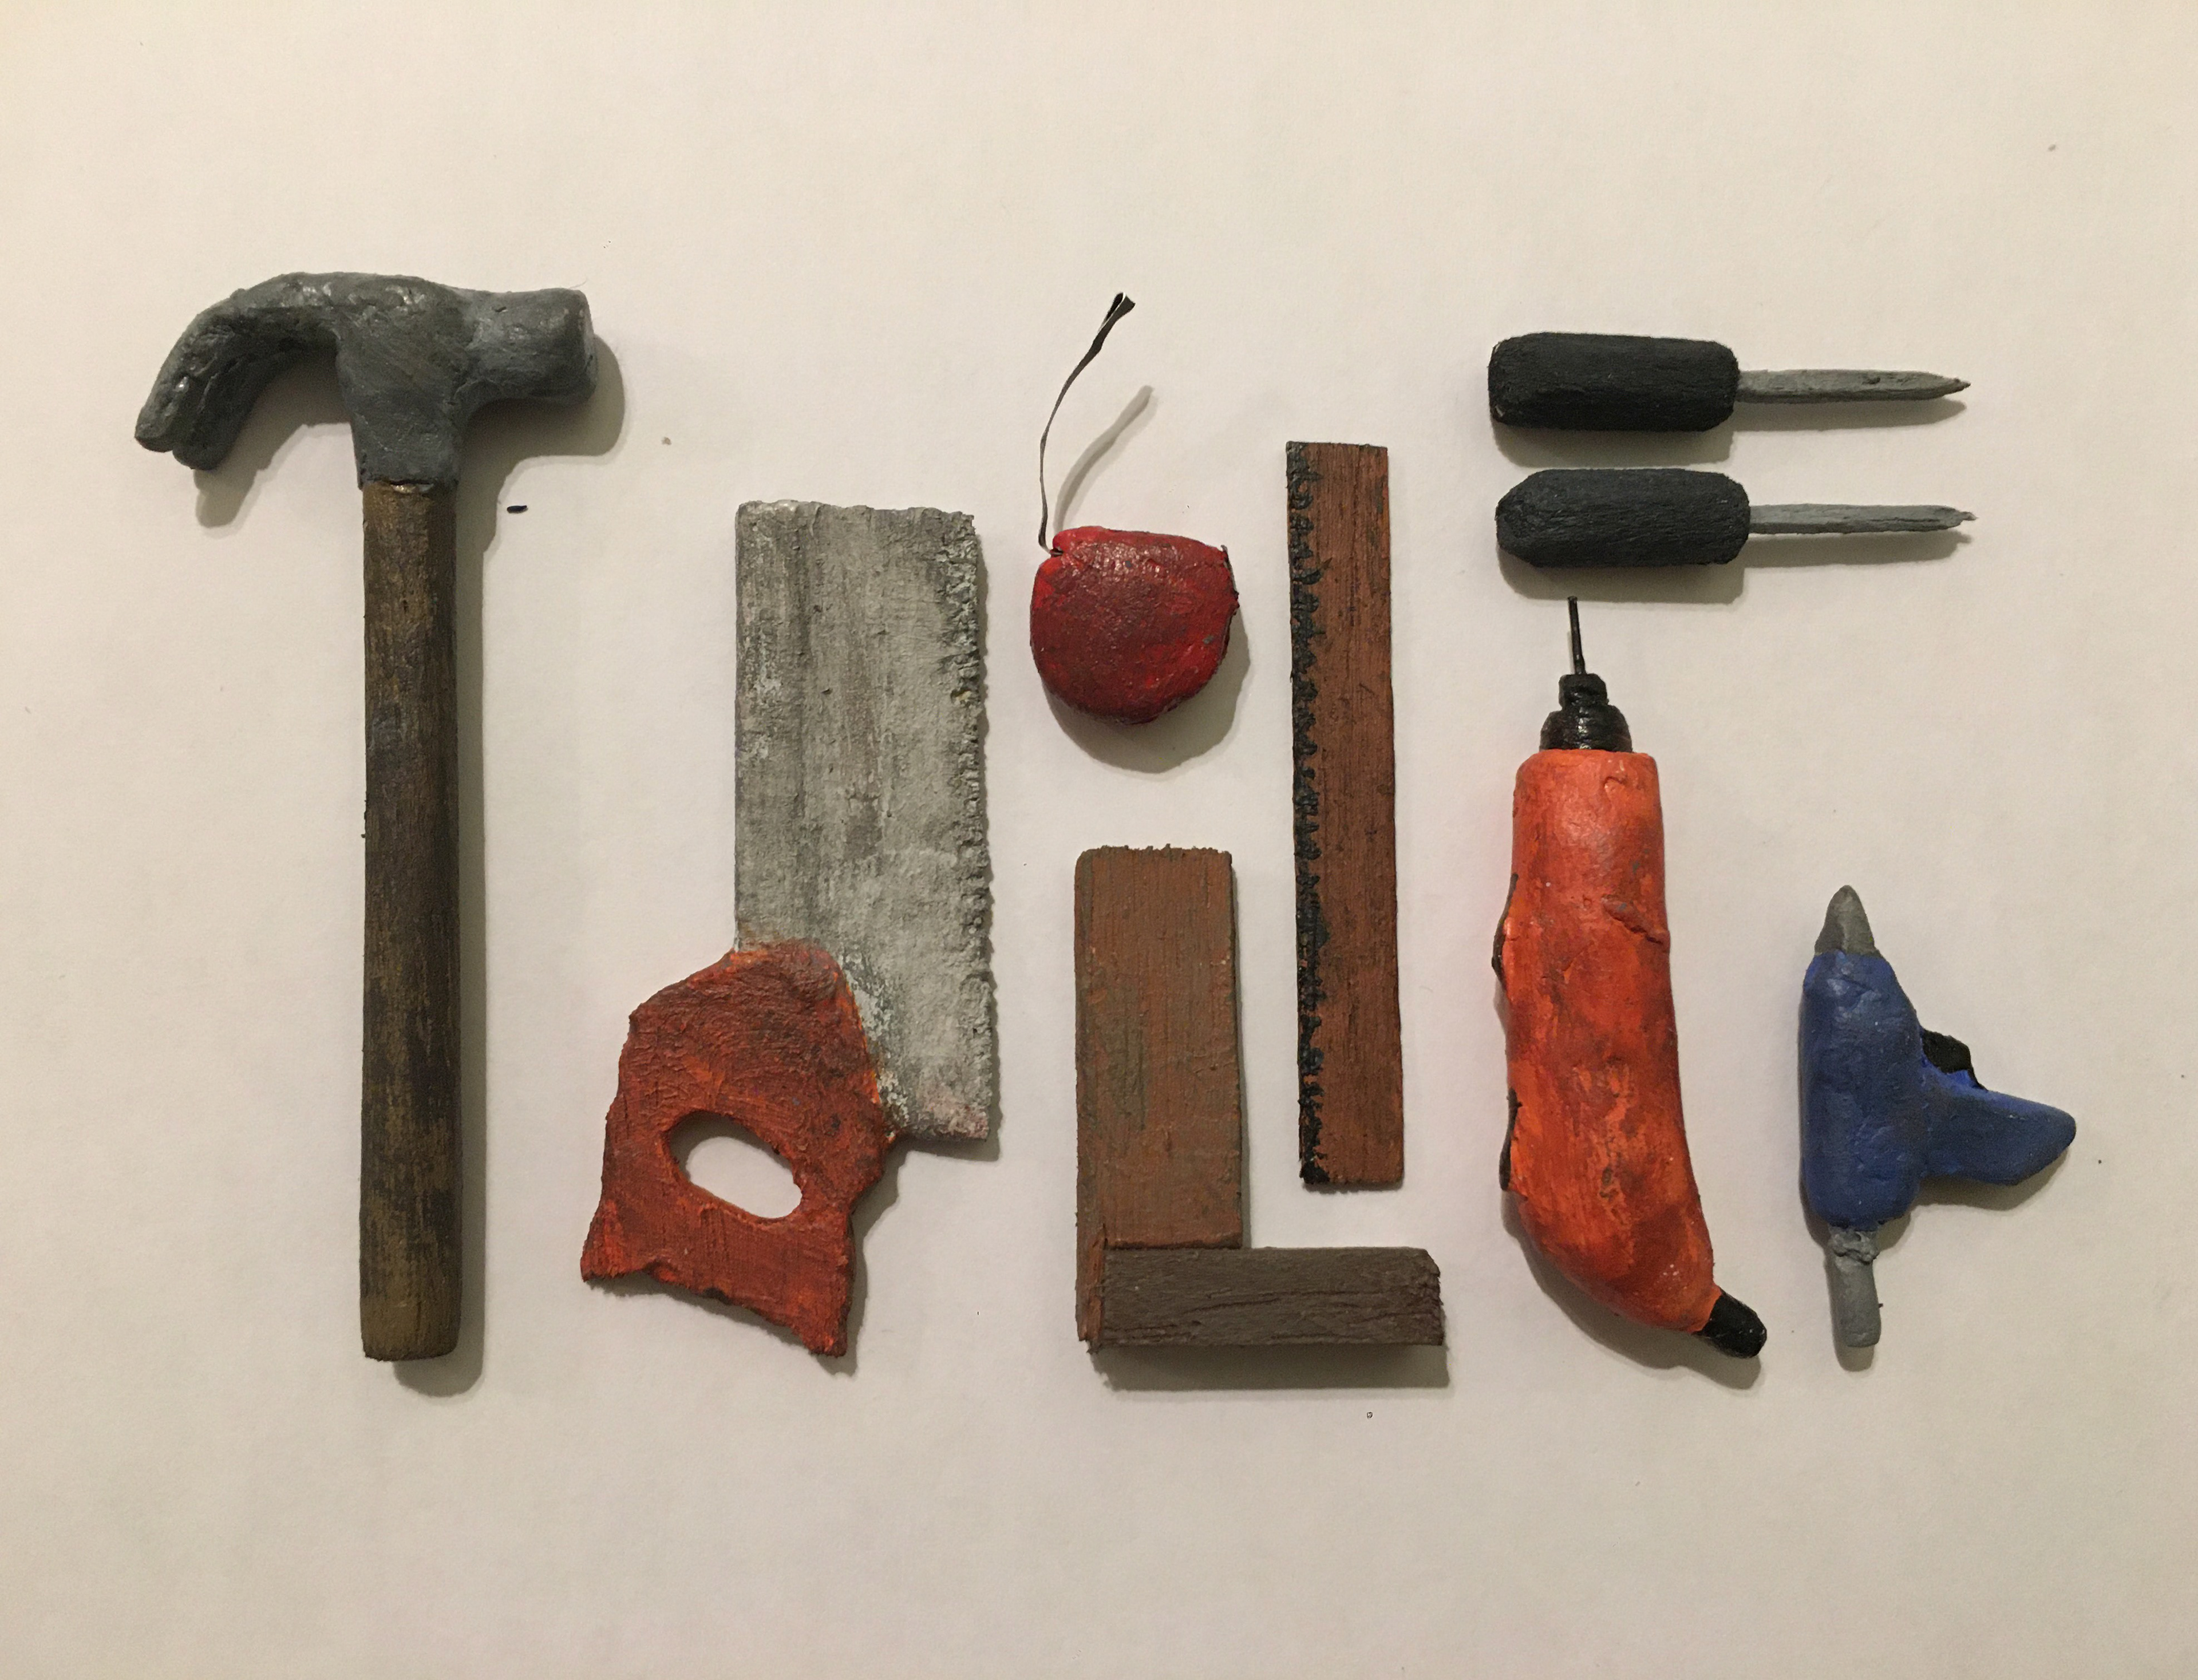
The tool box contains various props. These props were created using a mixture of obeche wood, sculpey oven clay and multi- purpose filler. Acrylics were used for the paintwork and a gloss varnish was applied to some of the props, for example, the saw's blade.
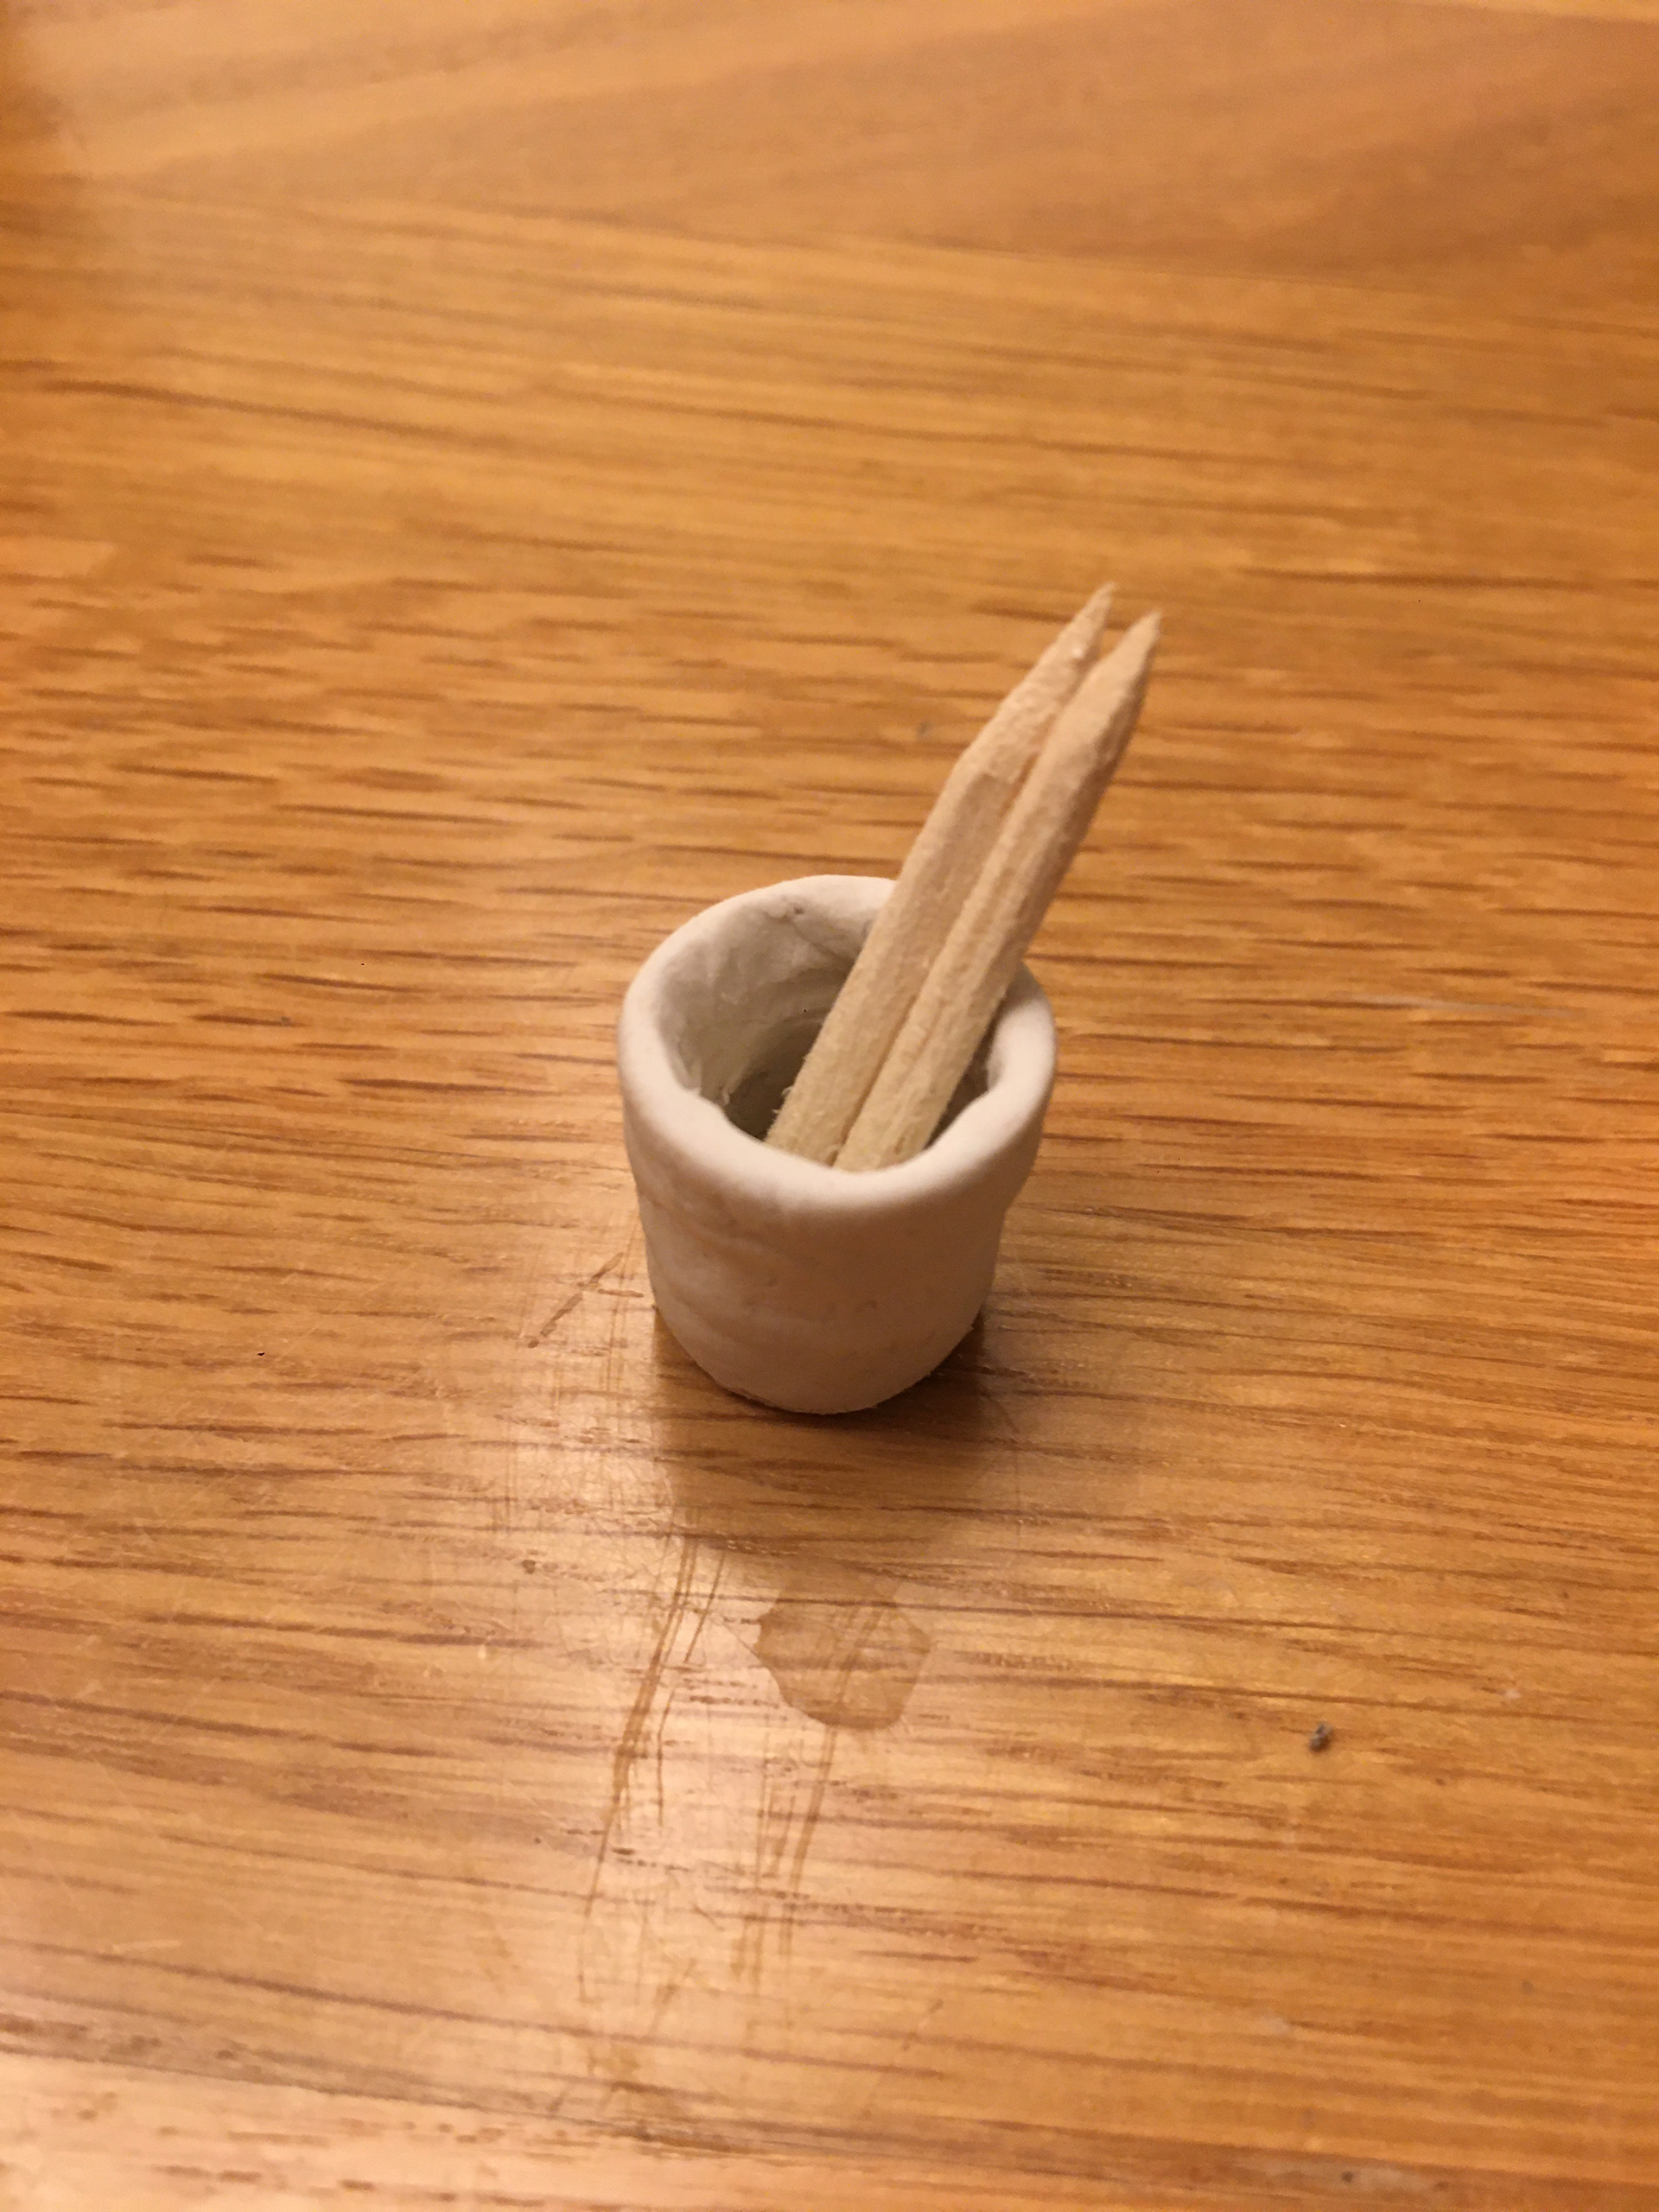
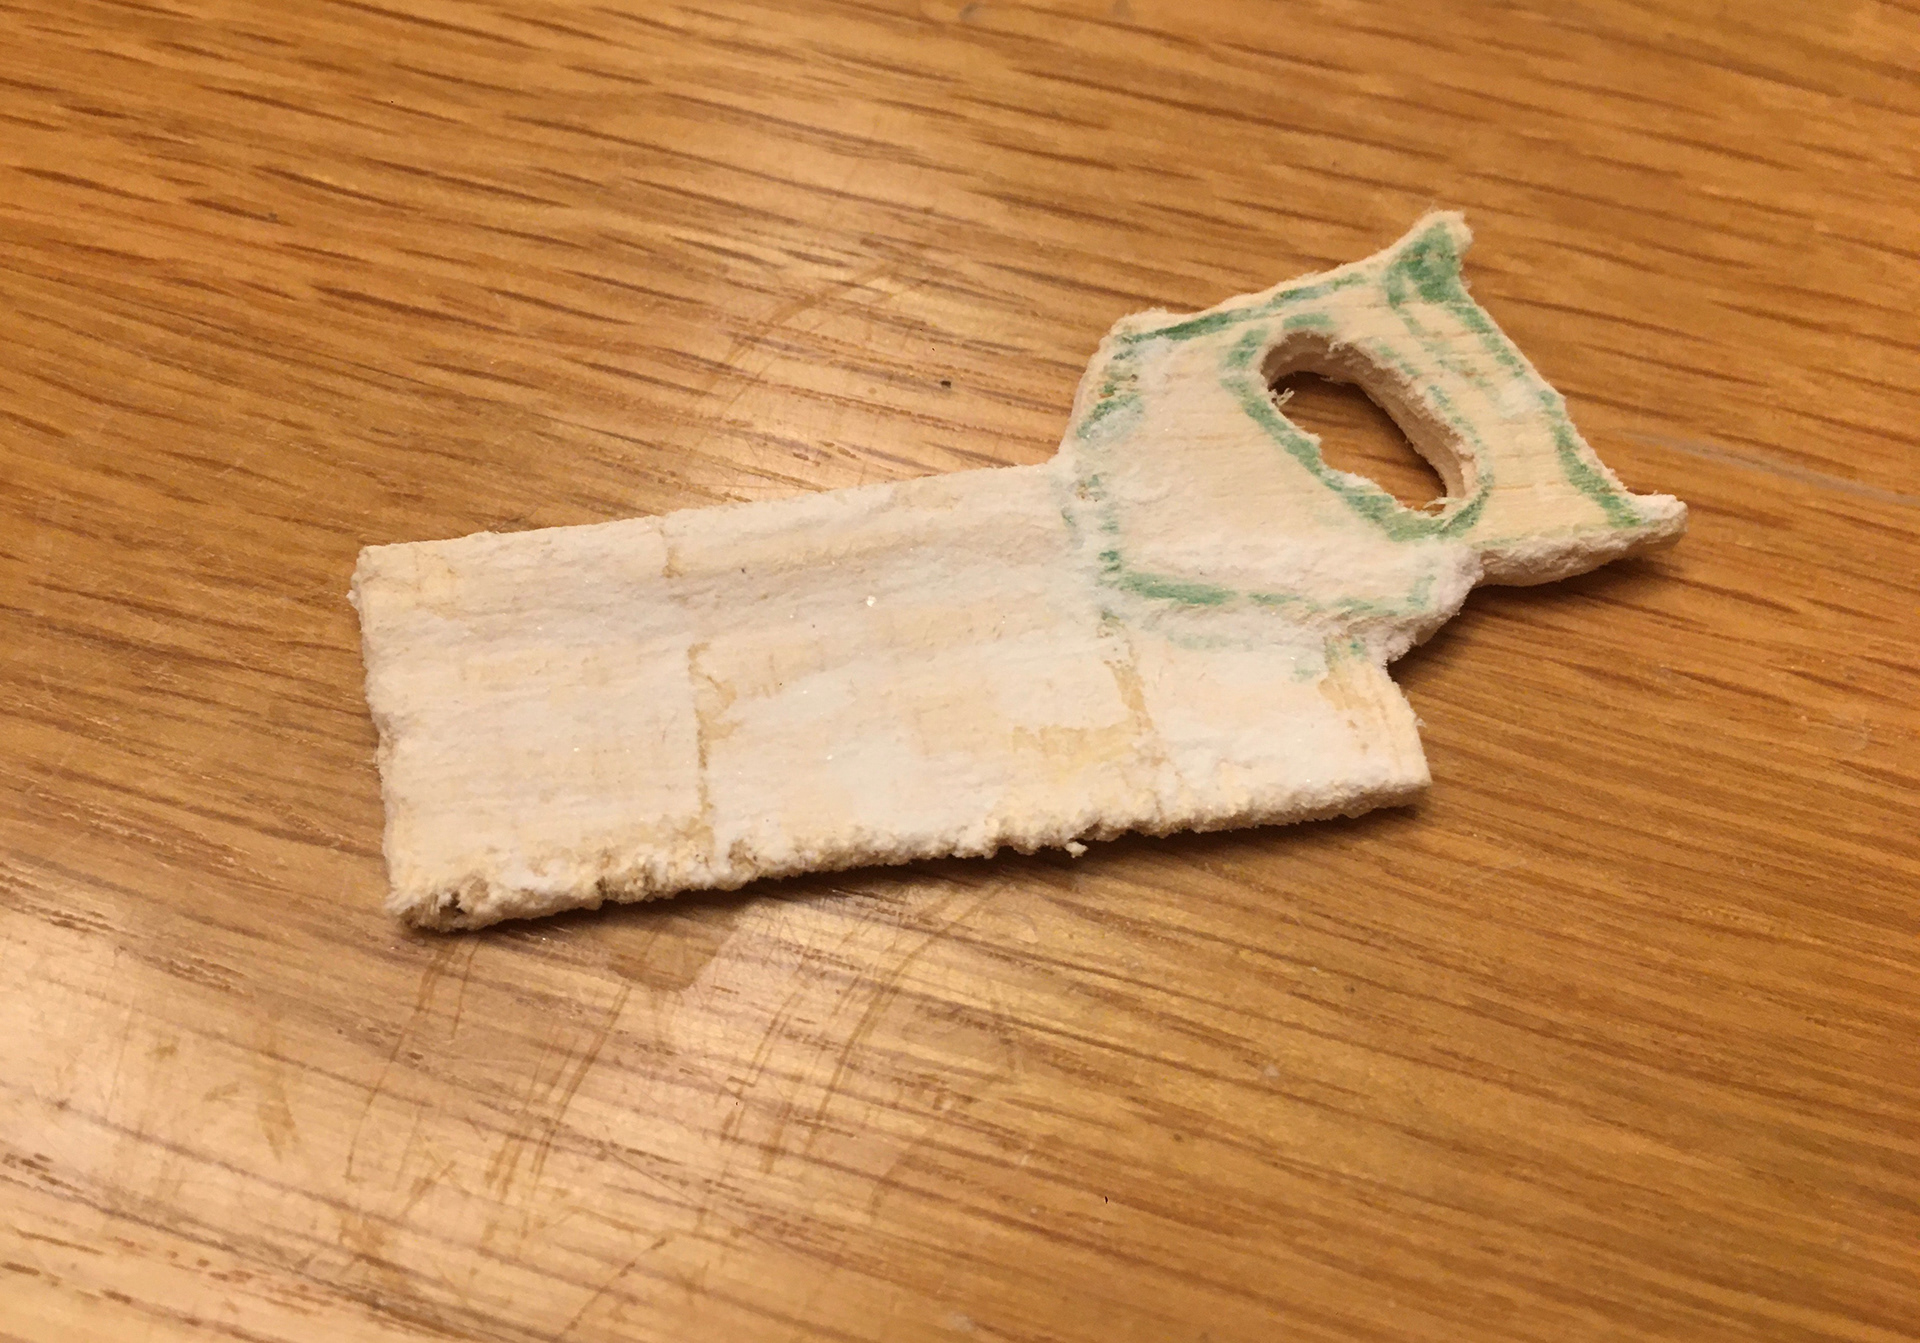
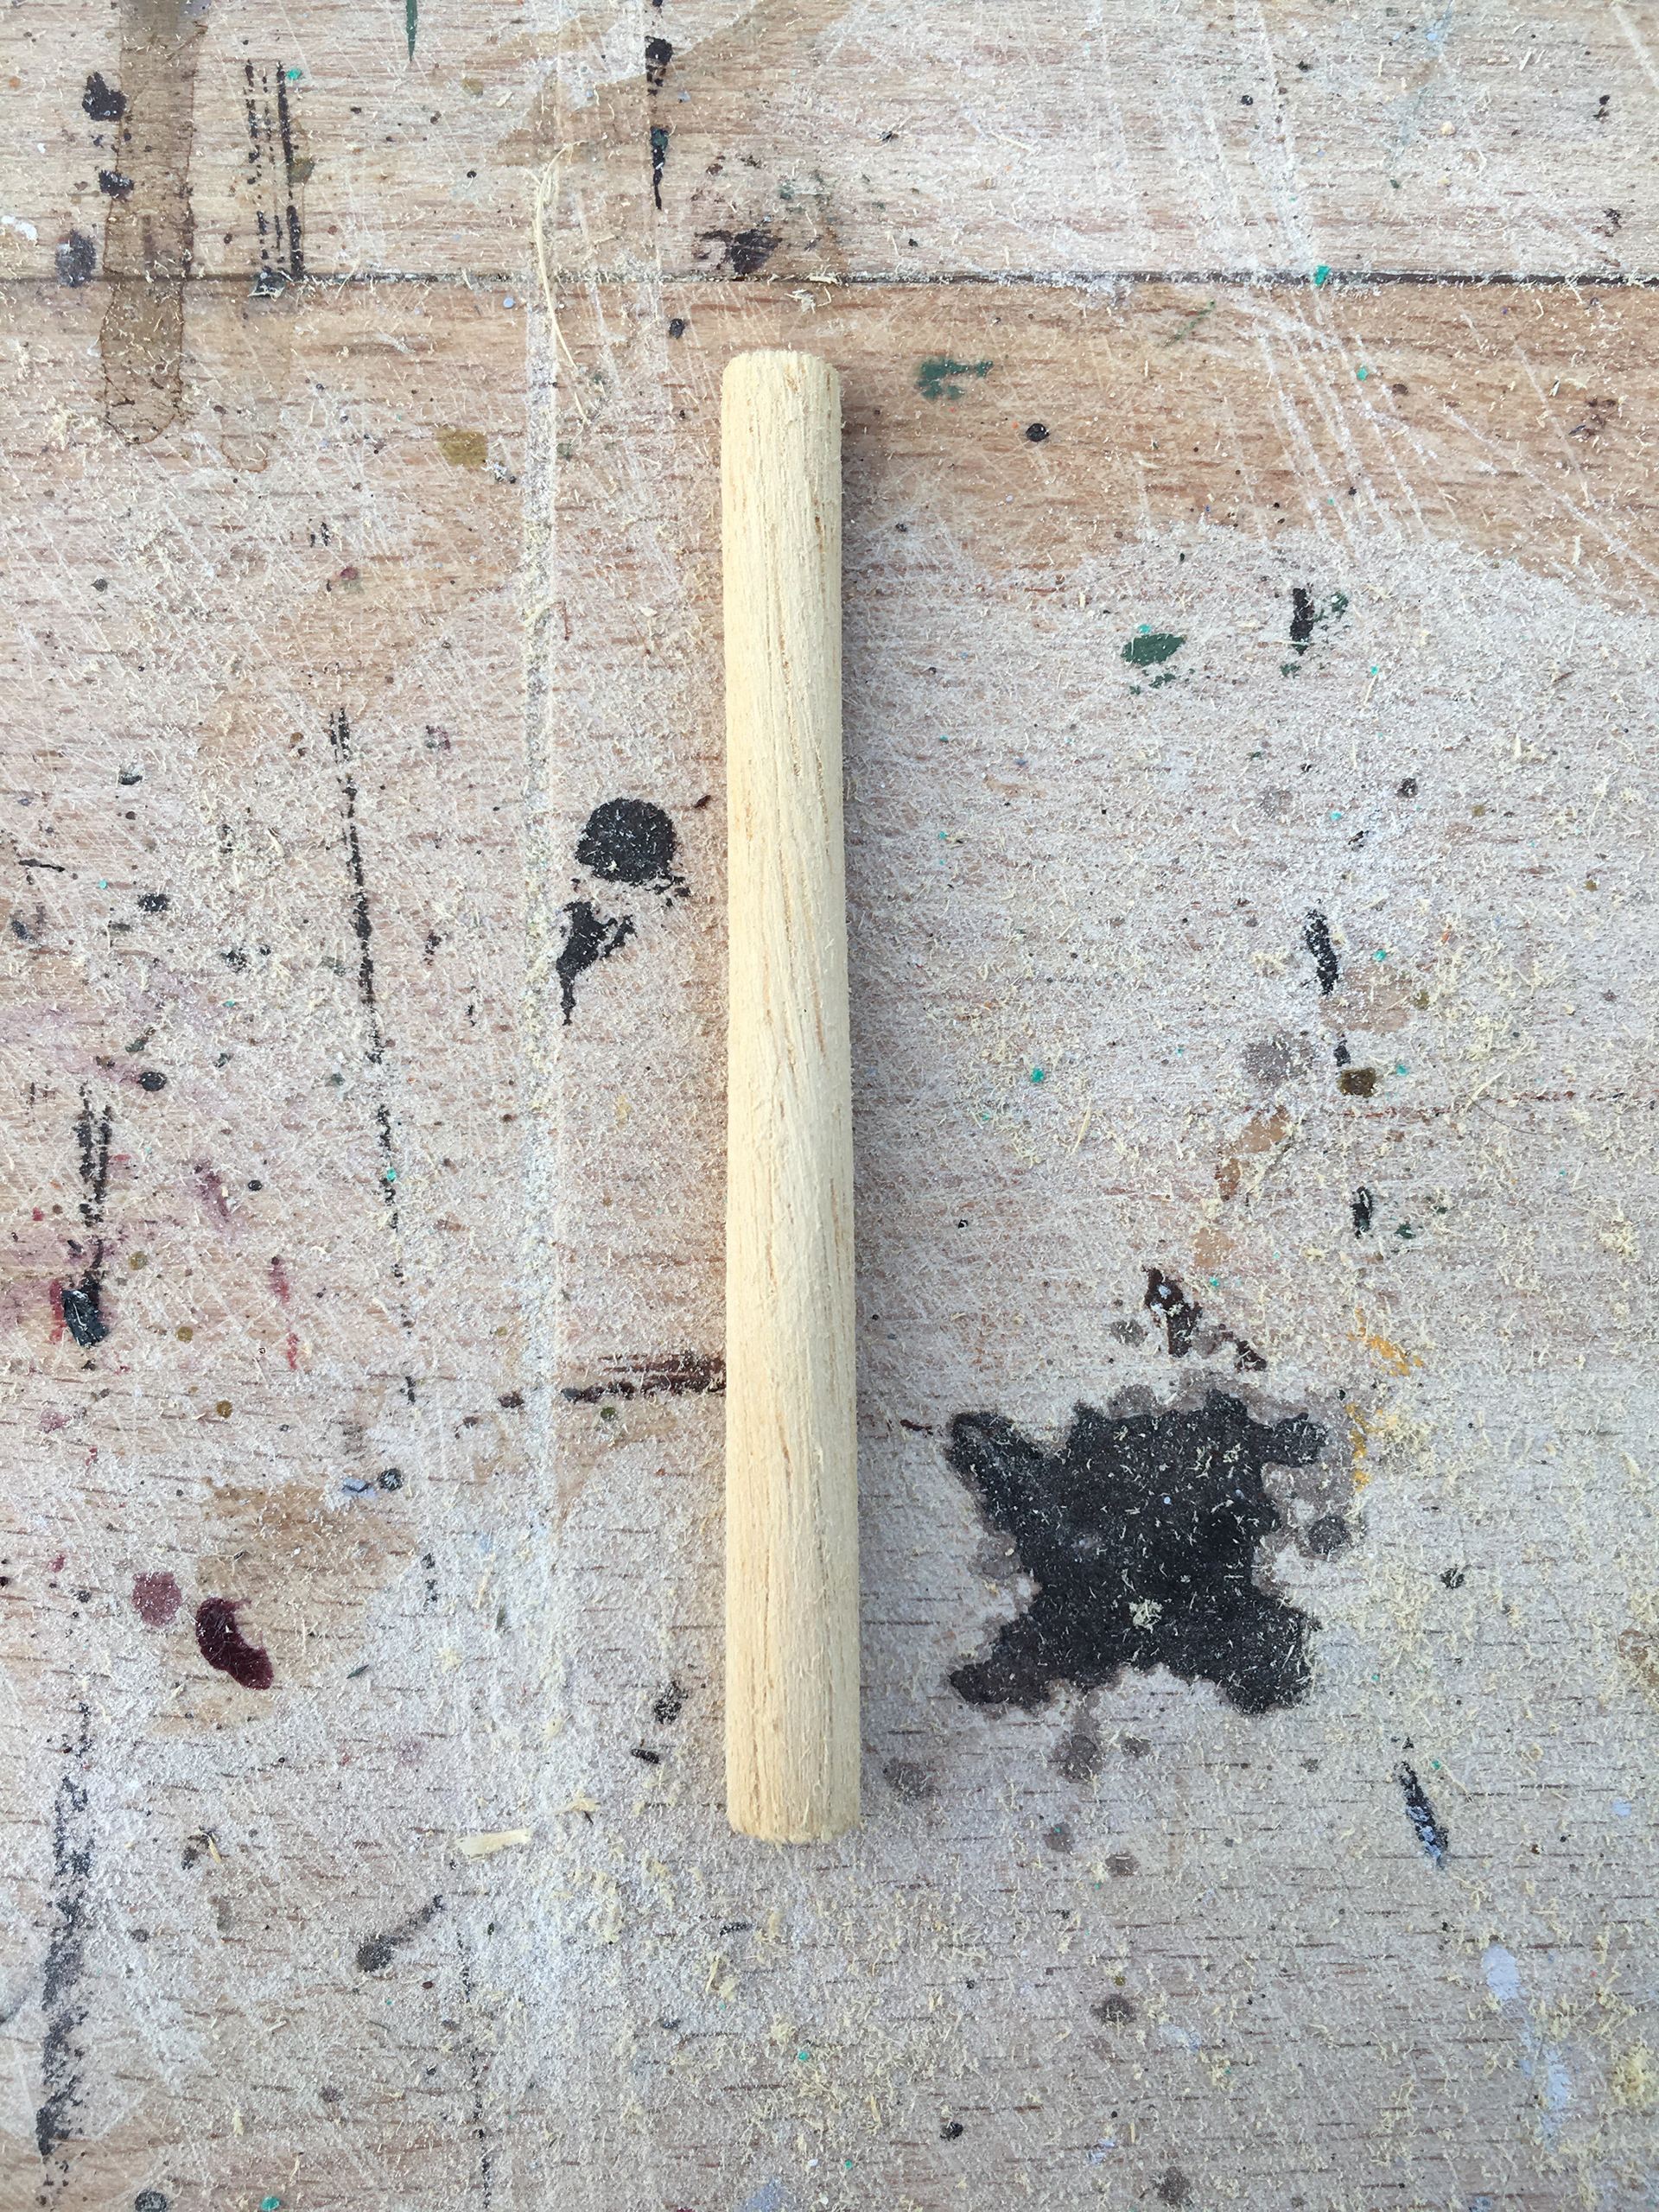
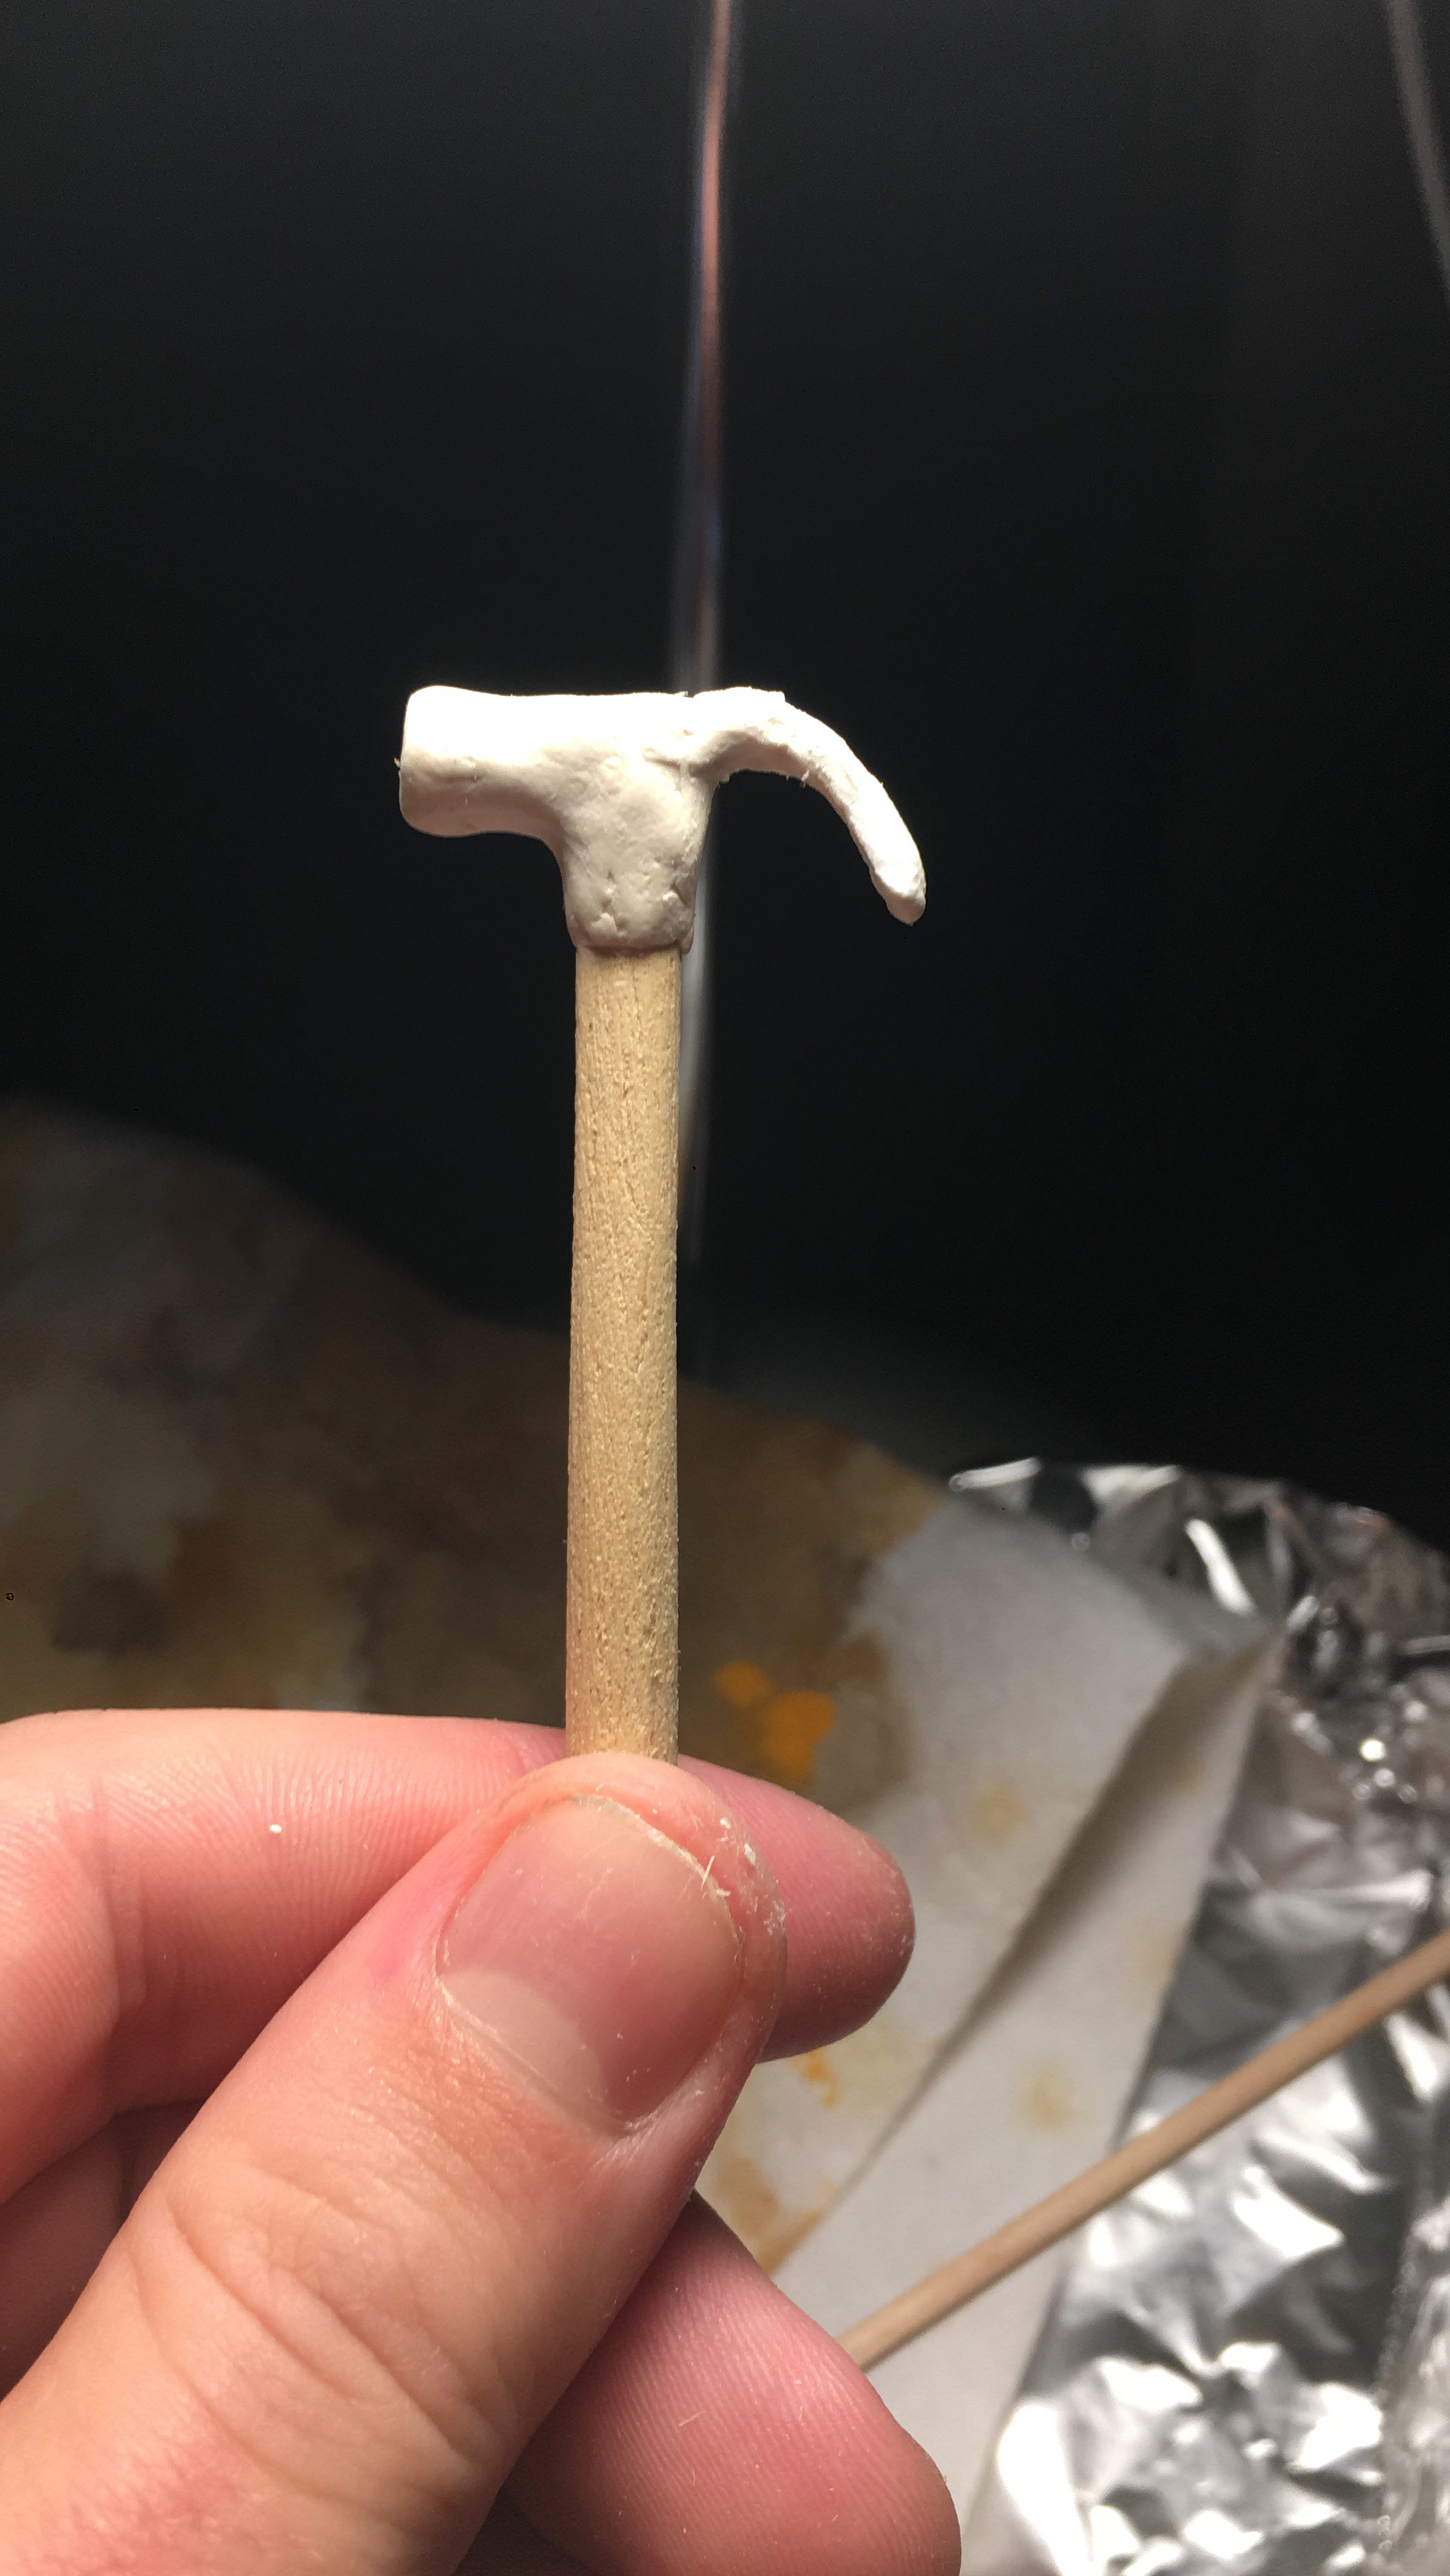
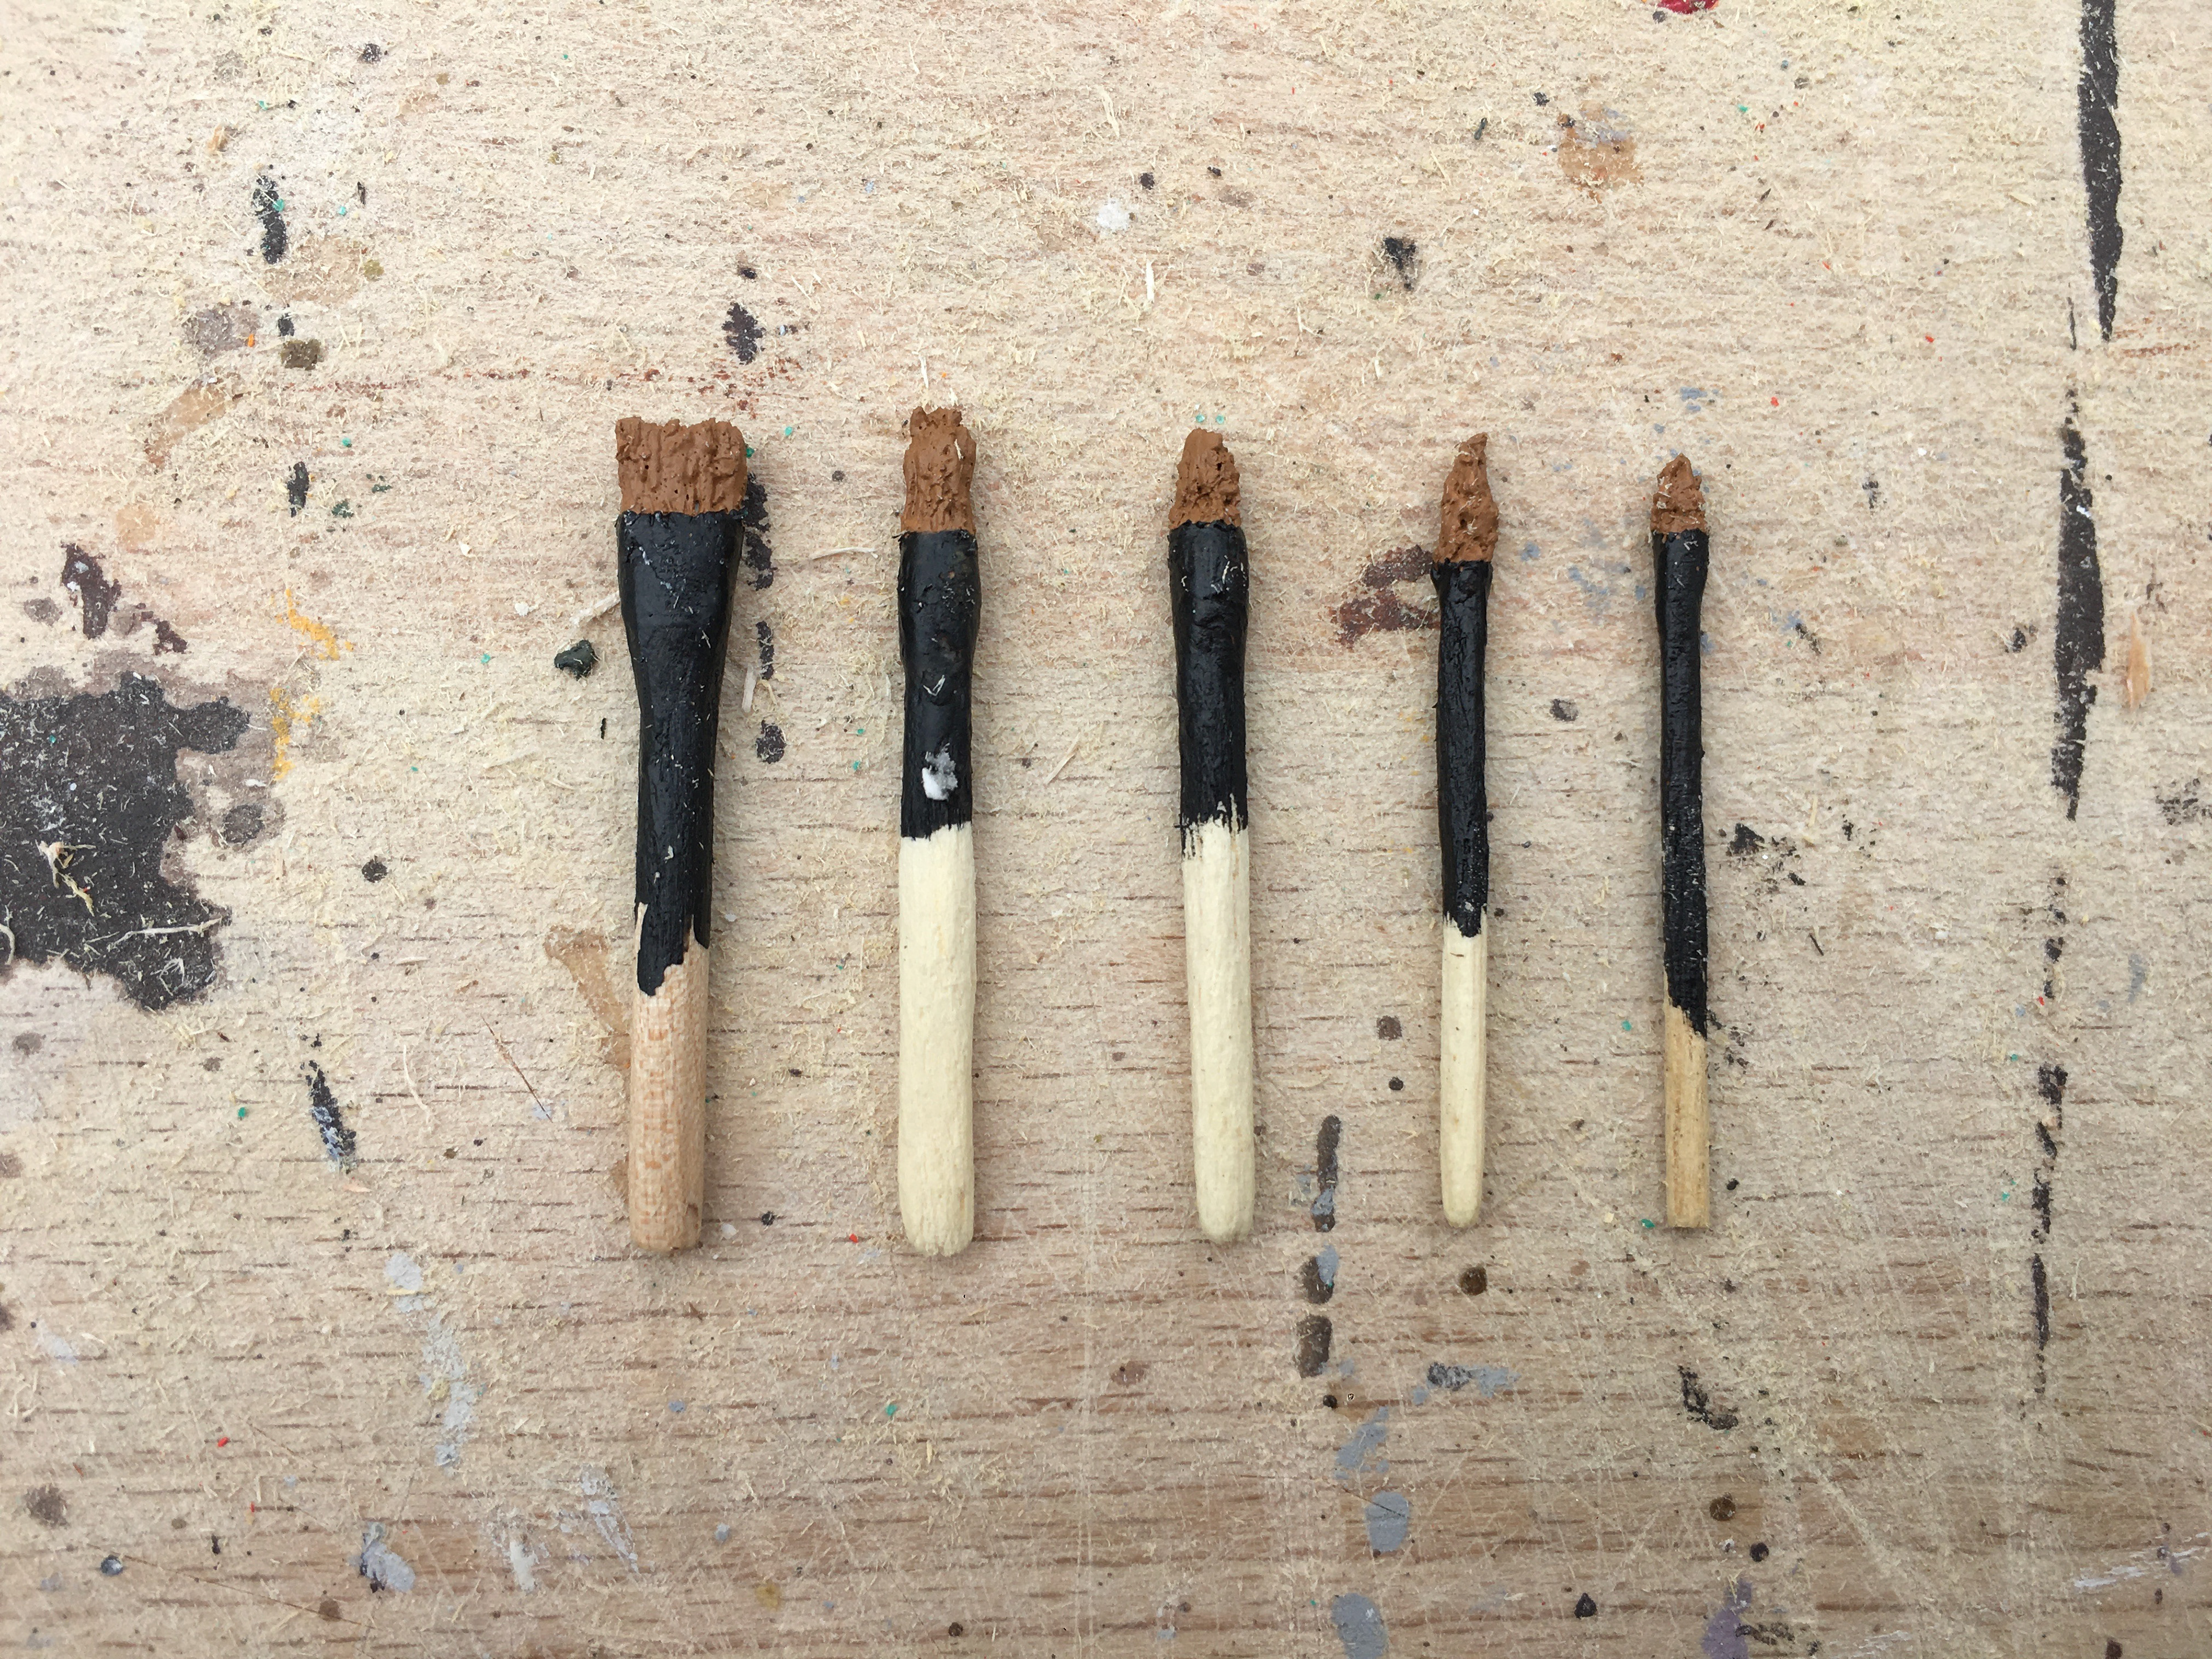
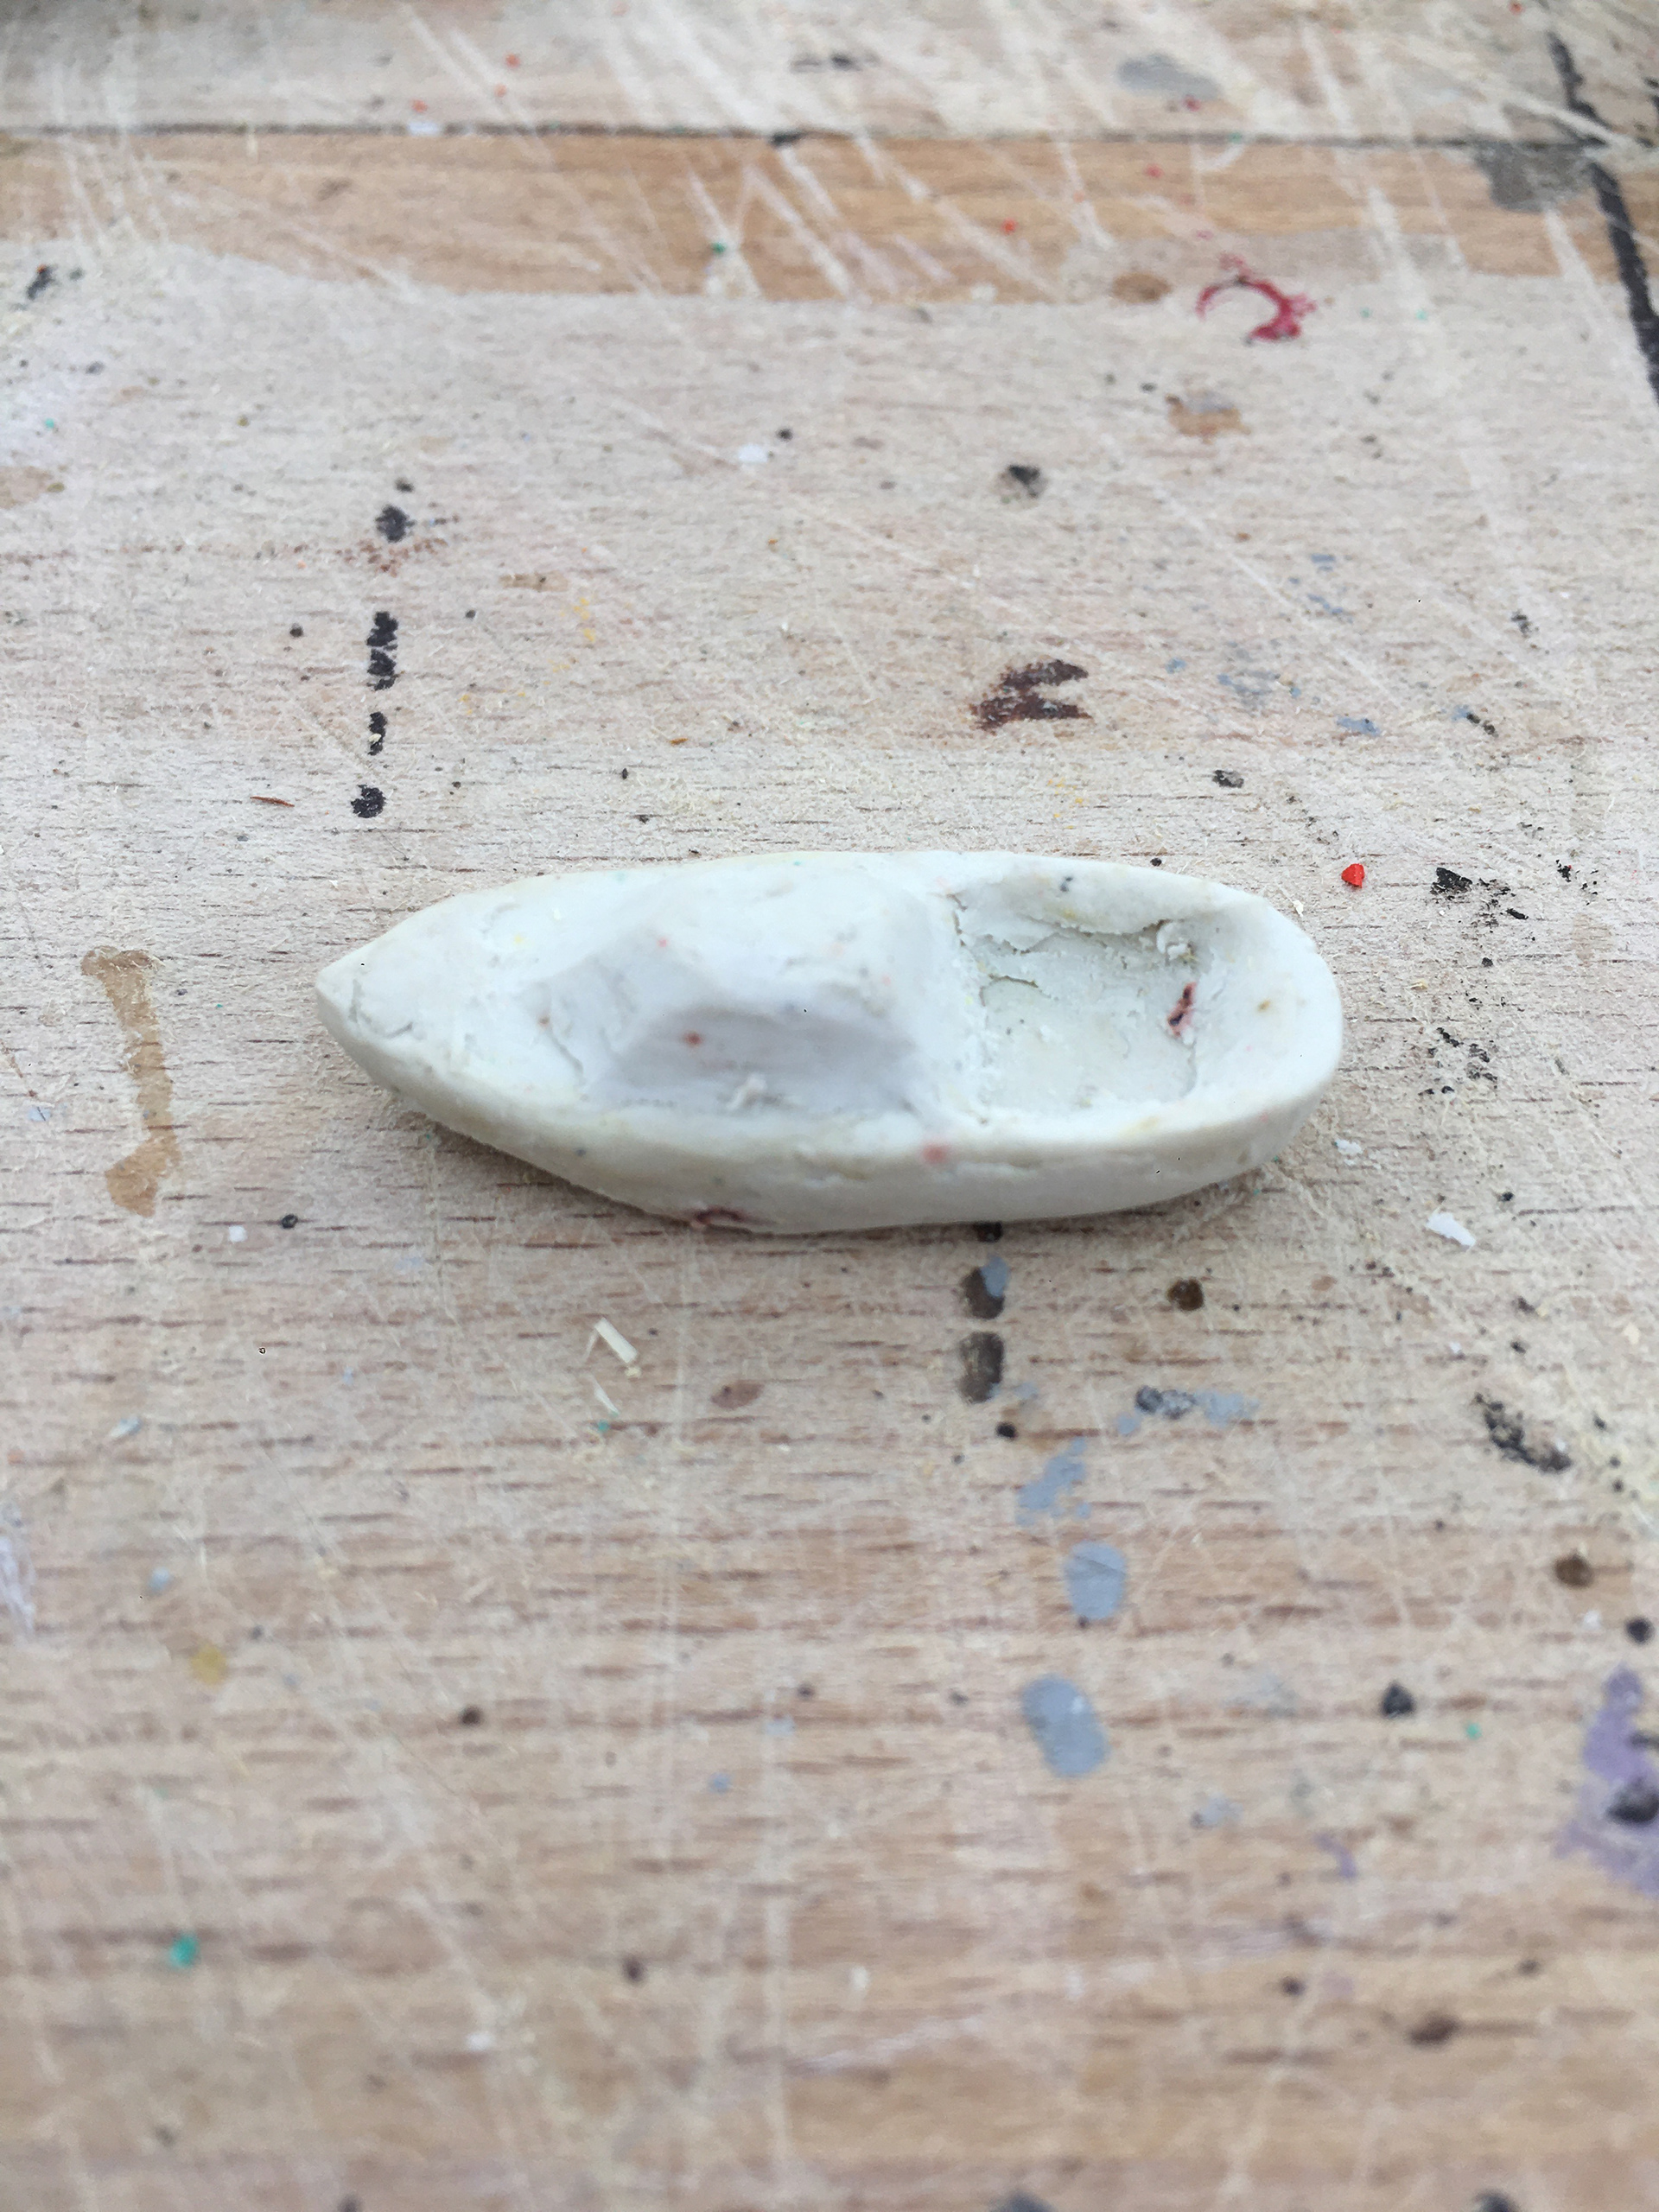
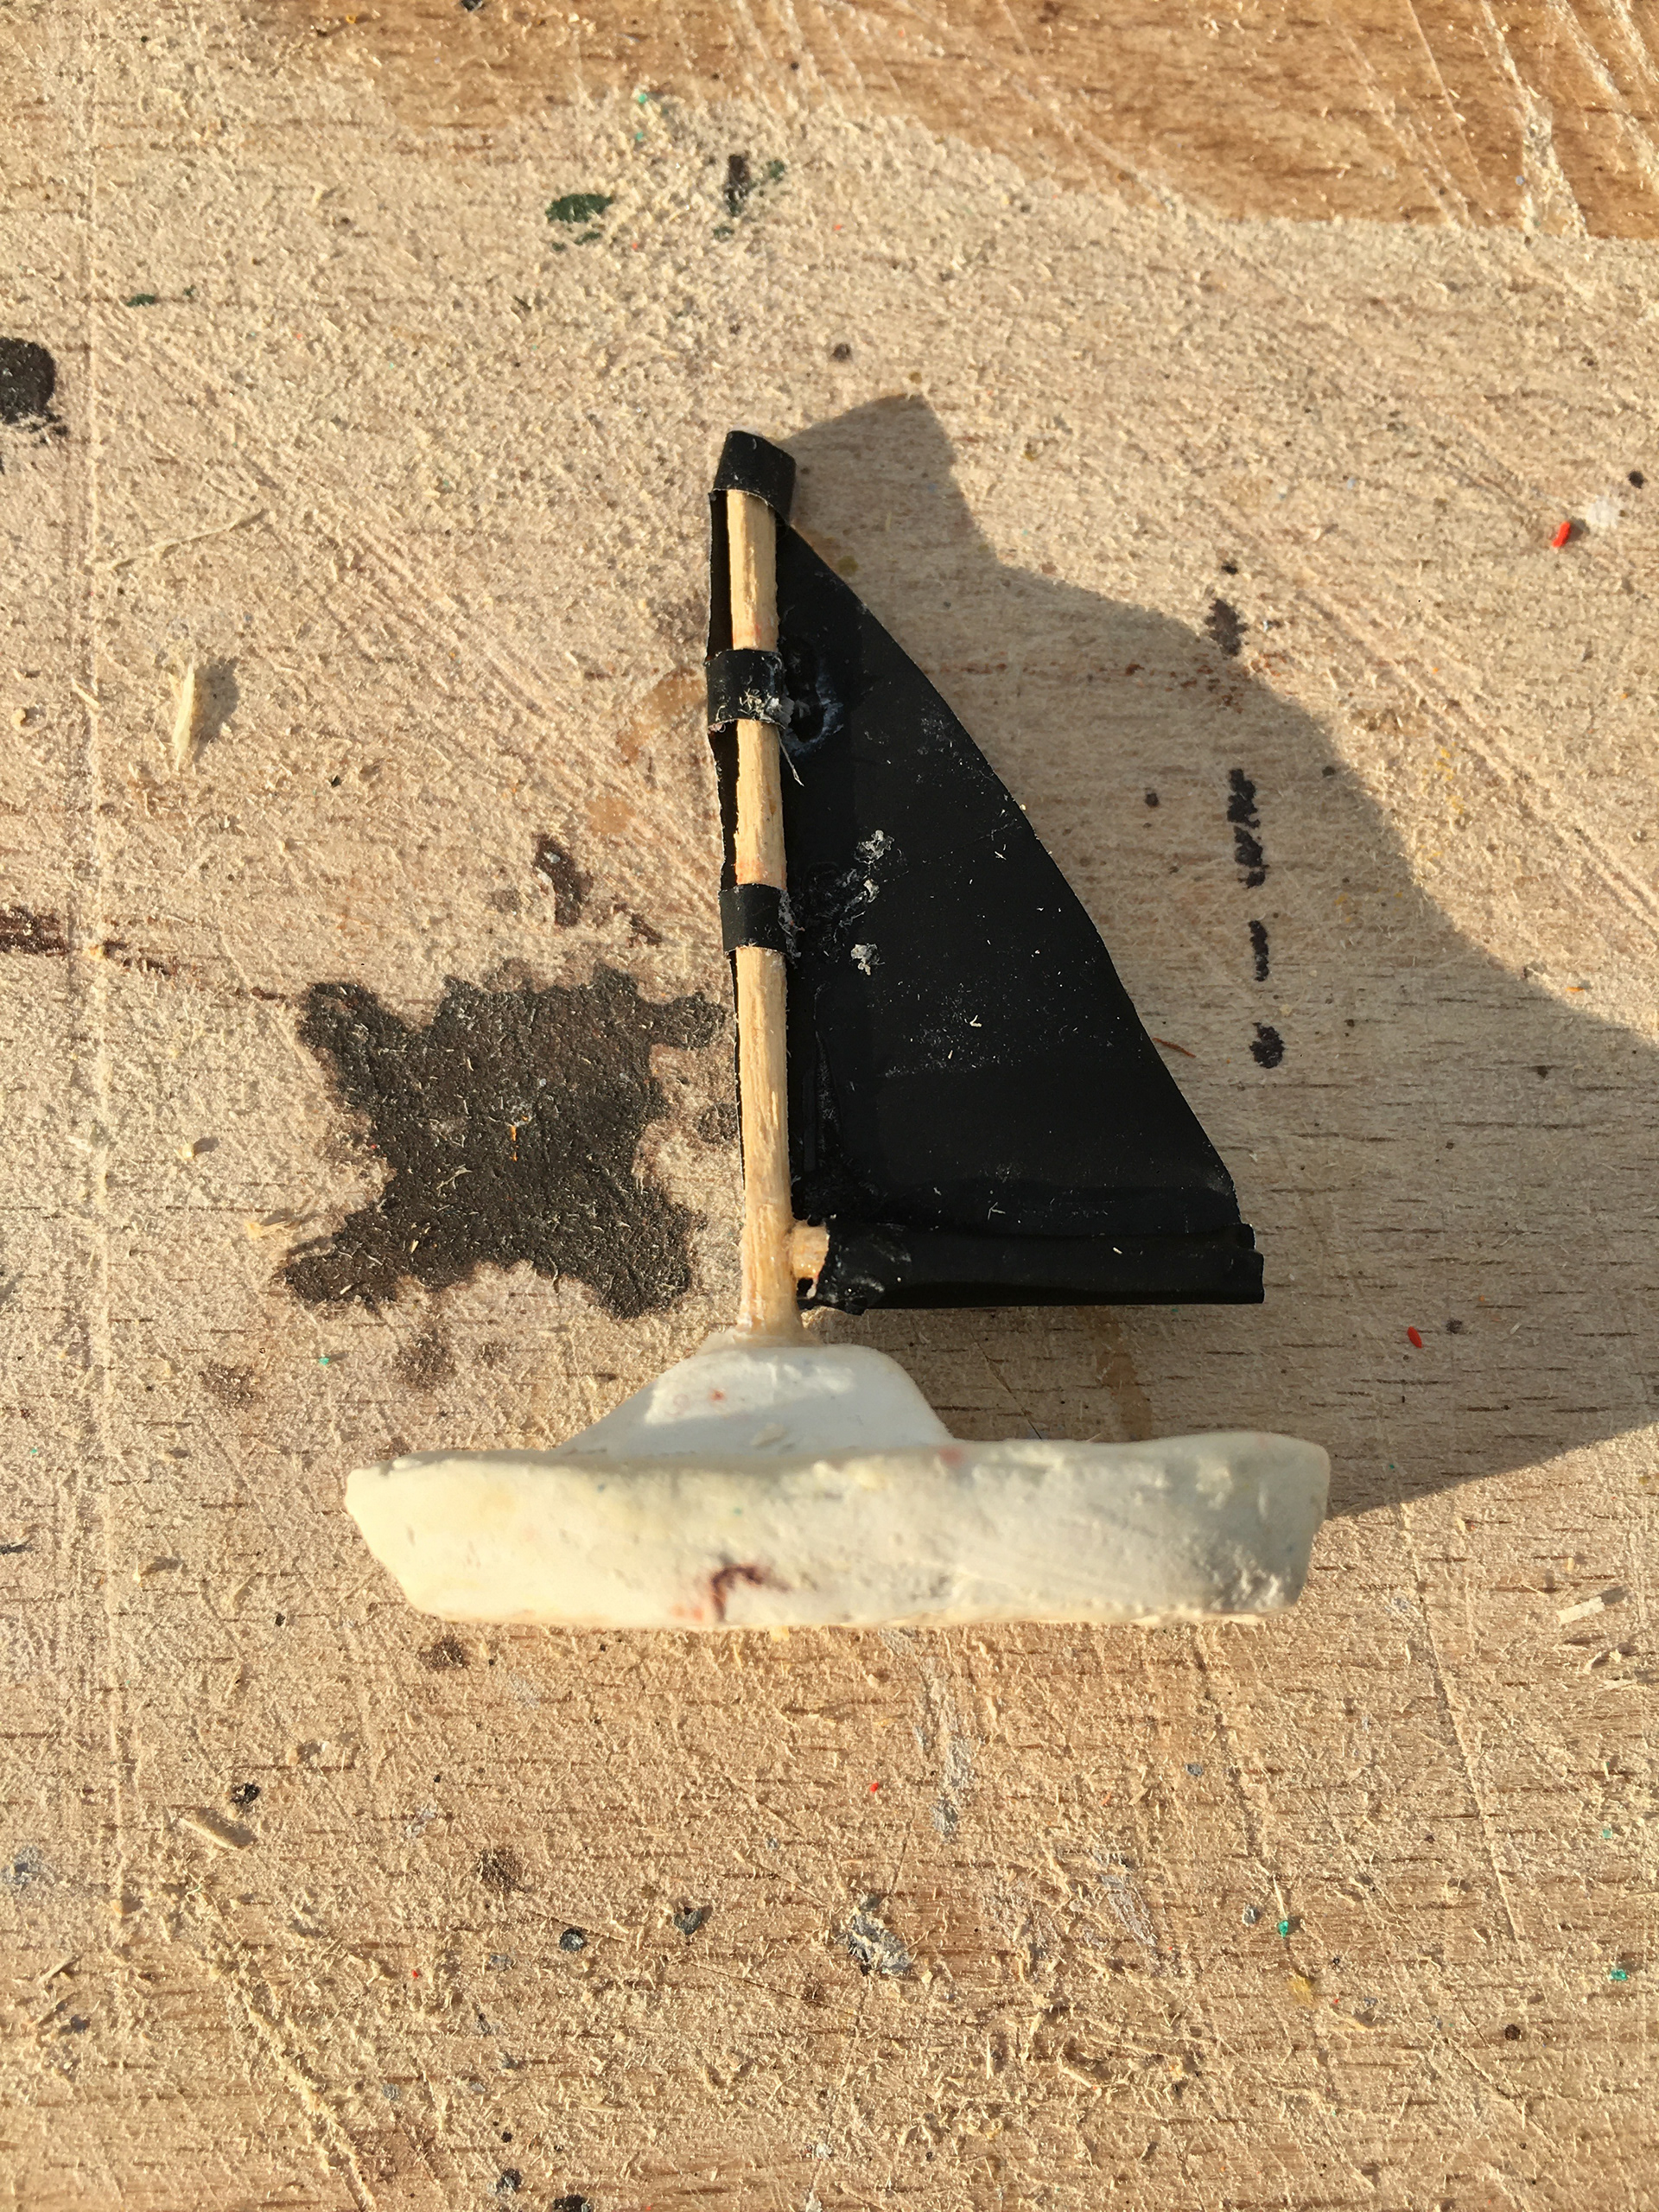
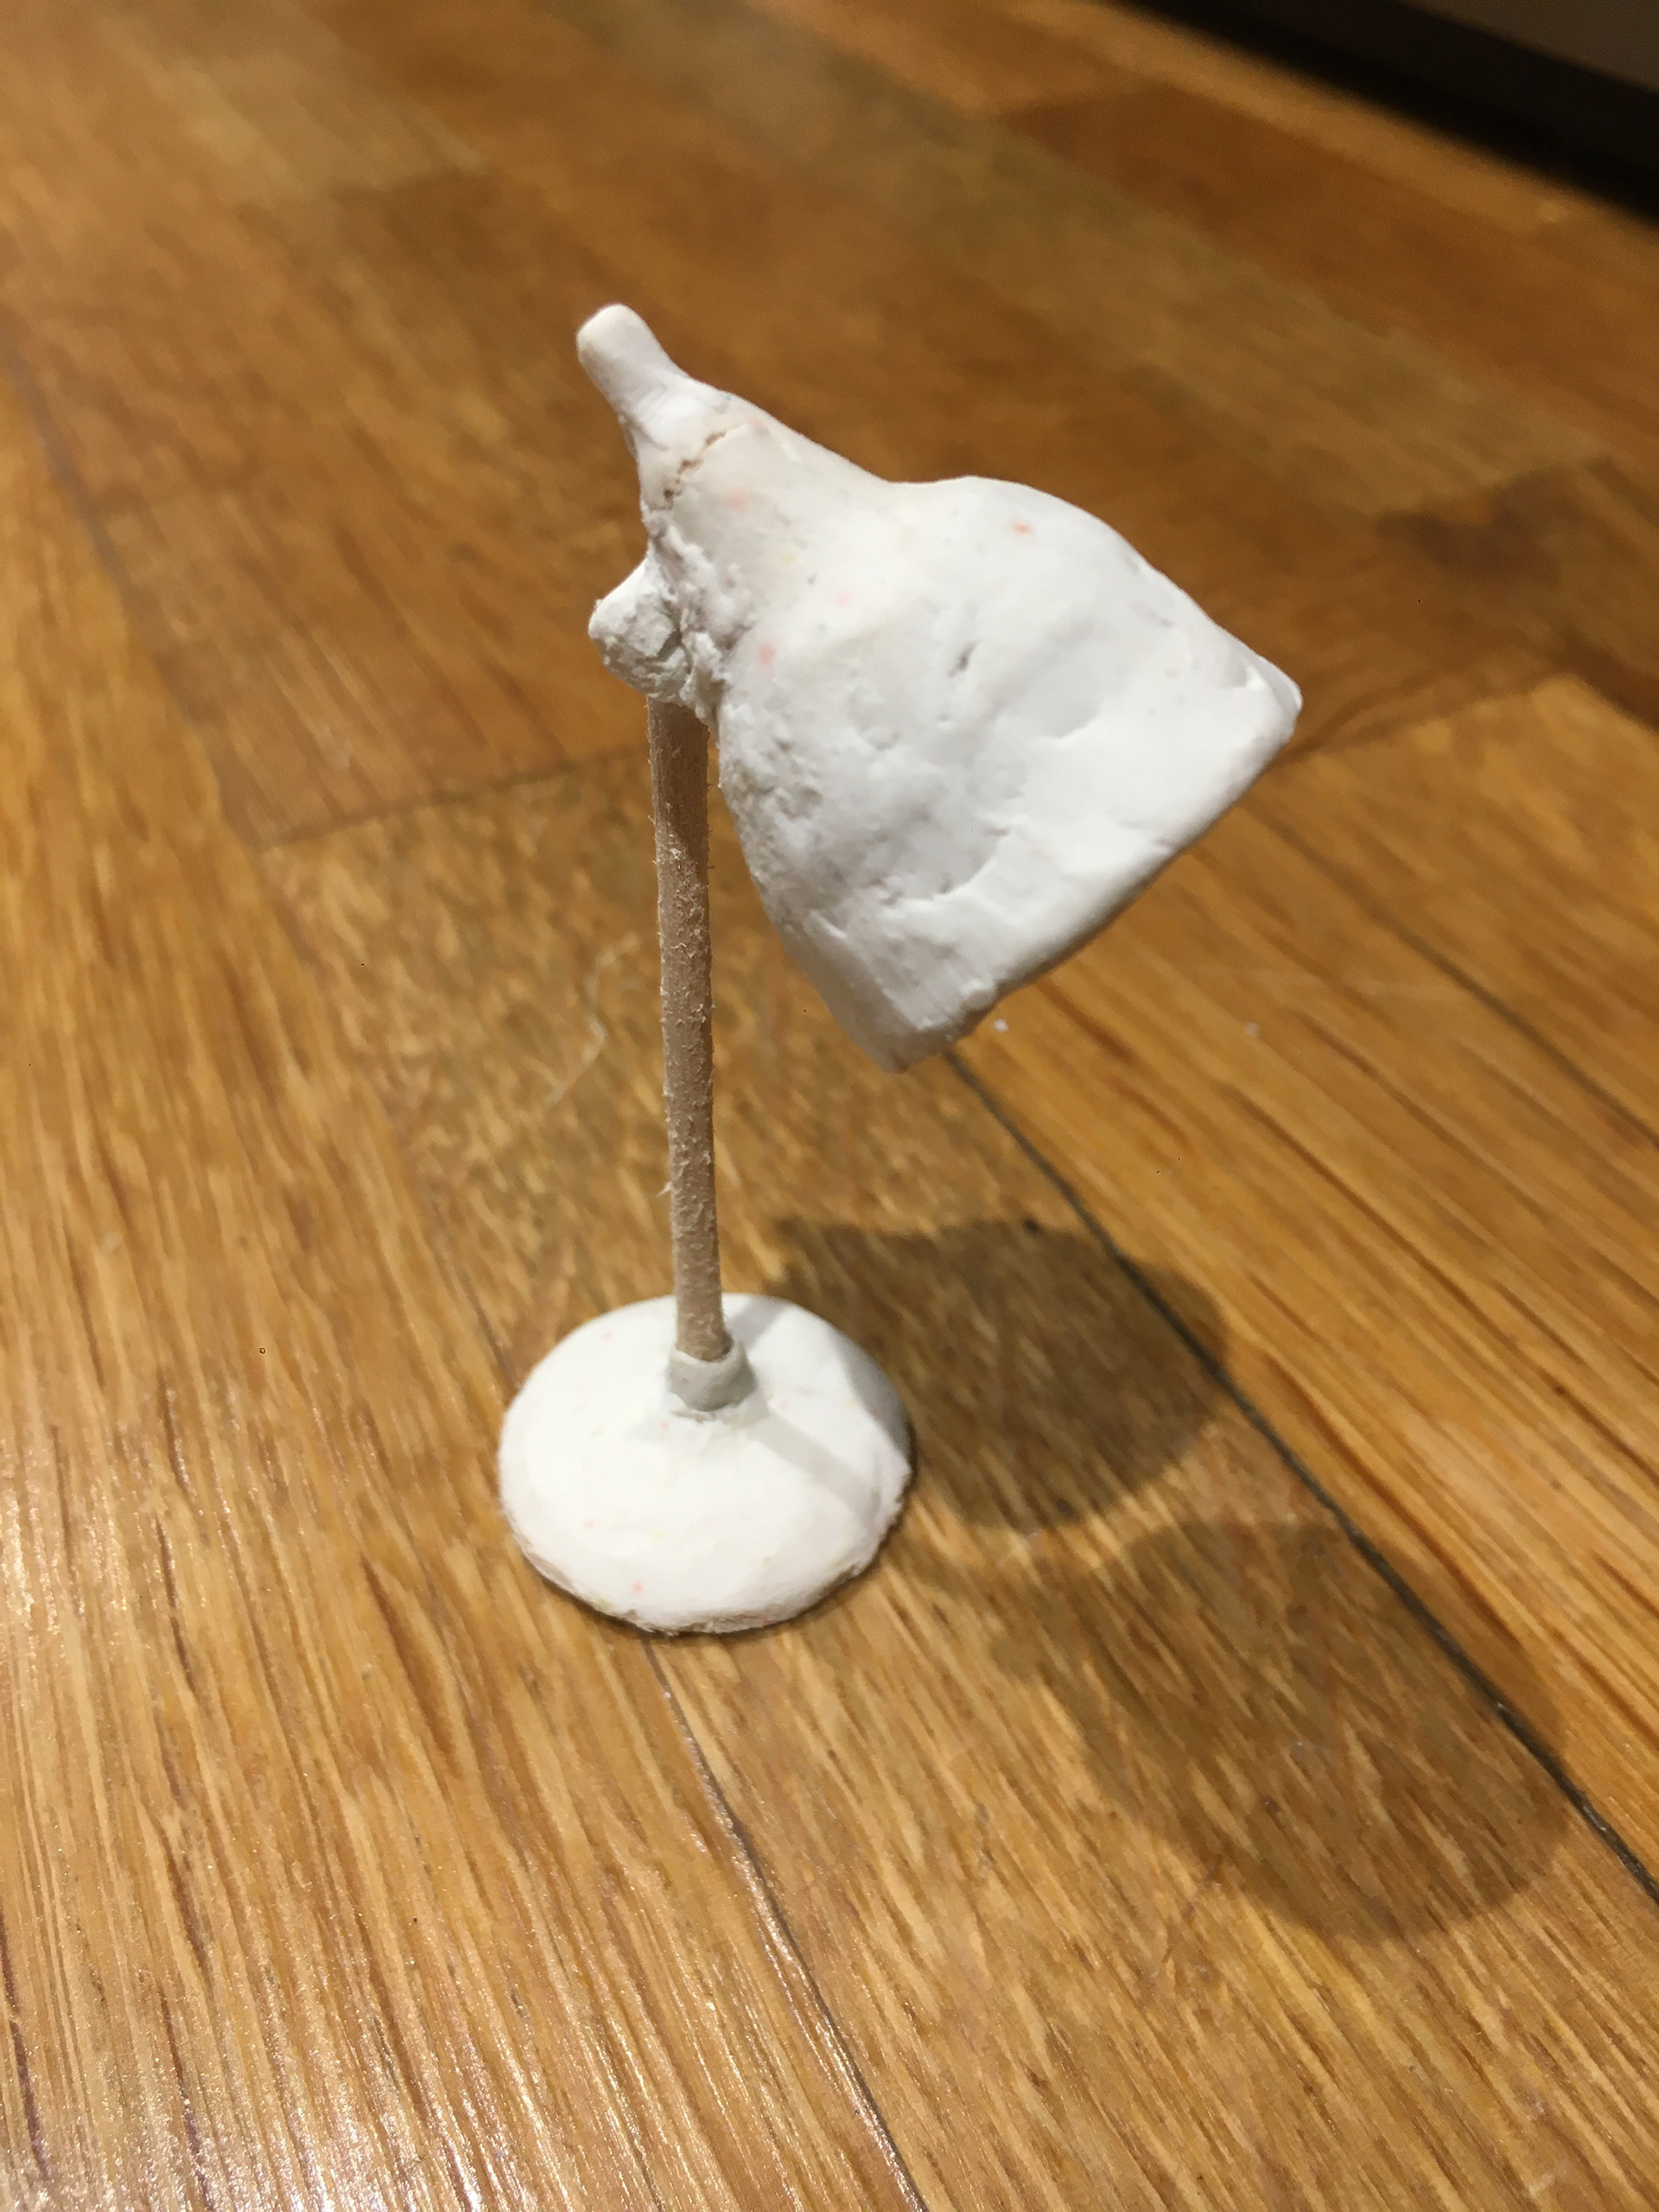
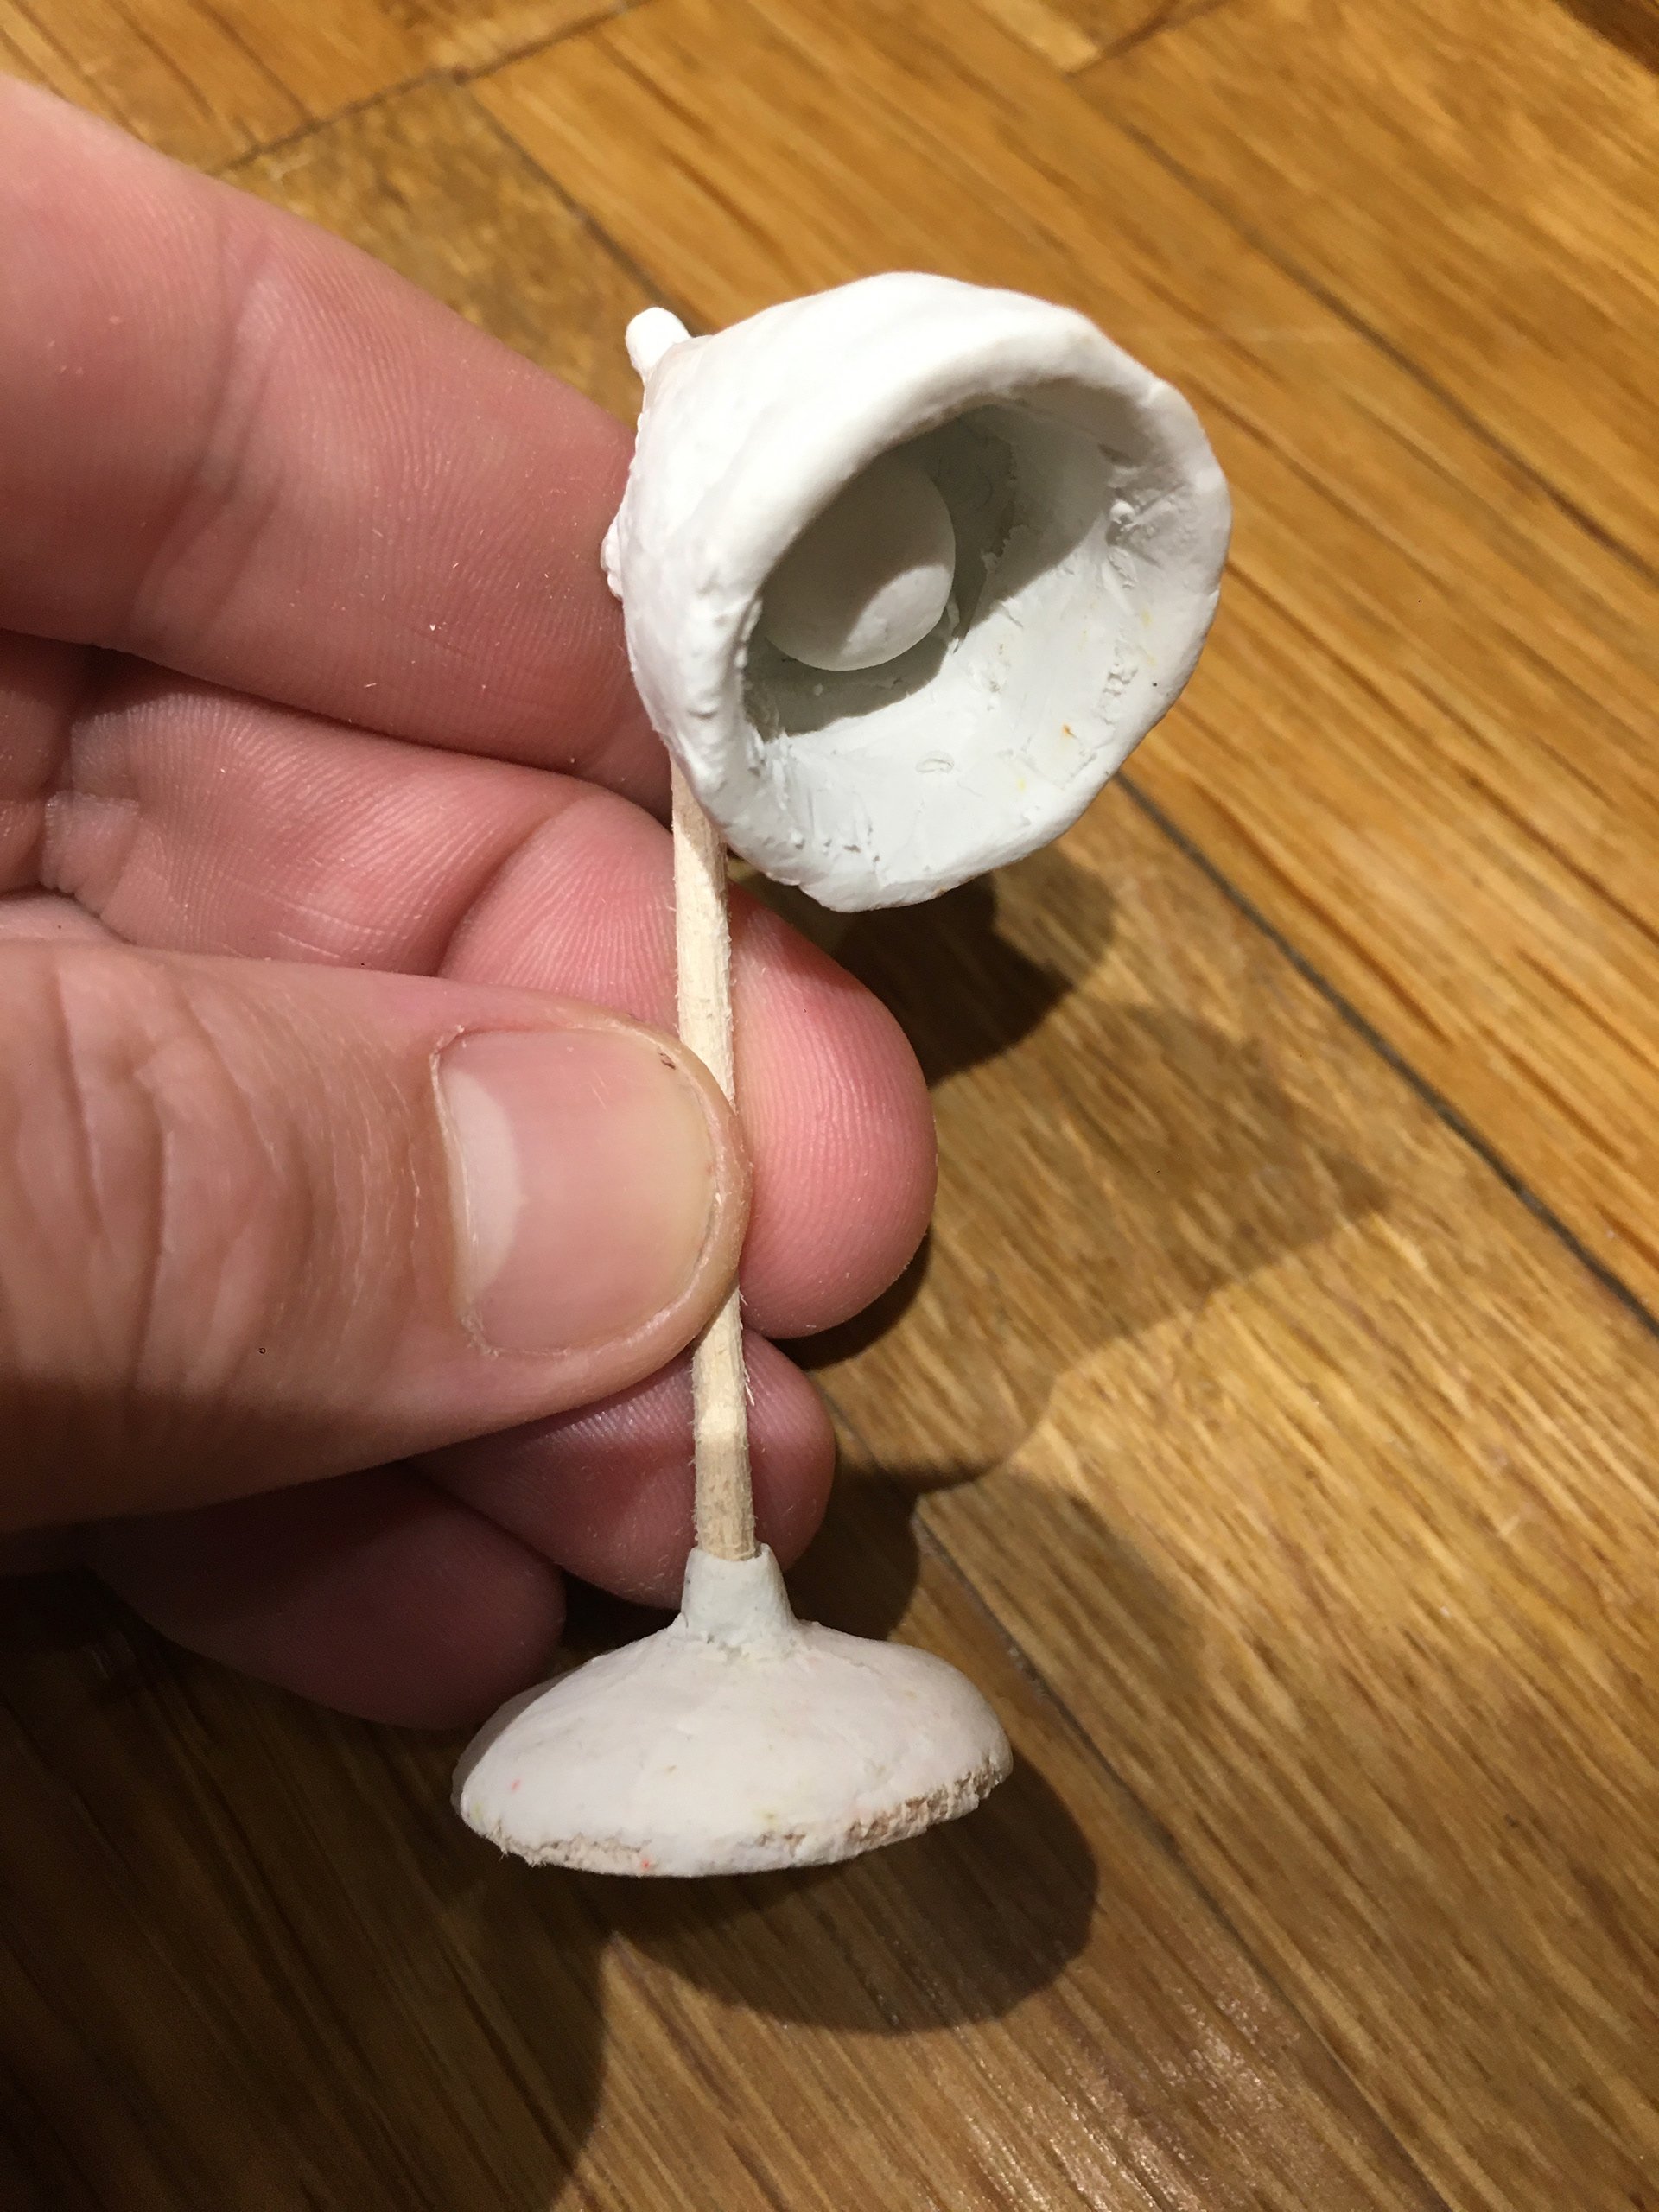
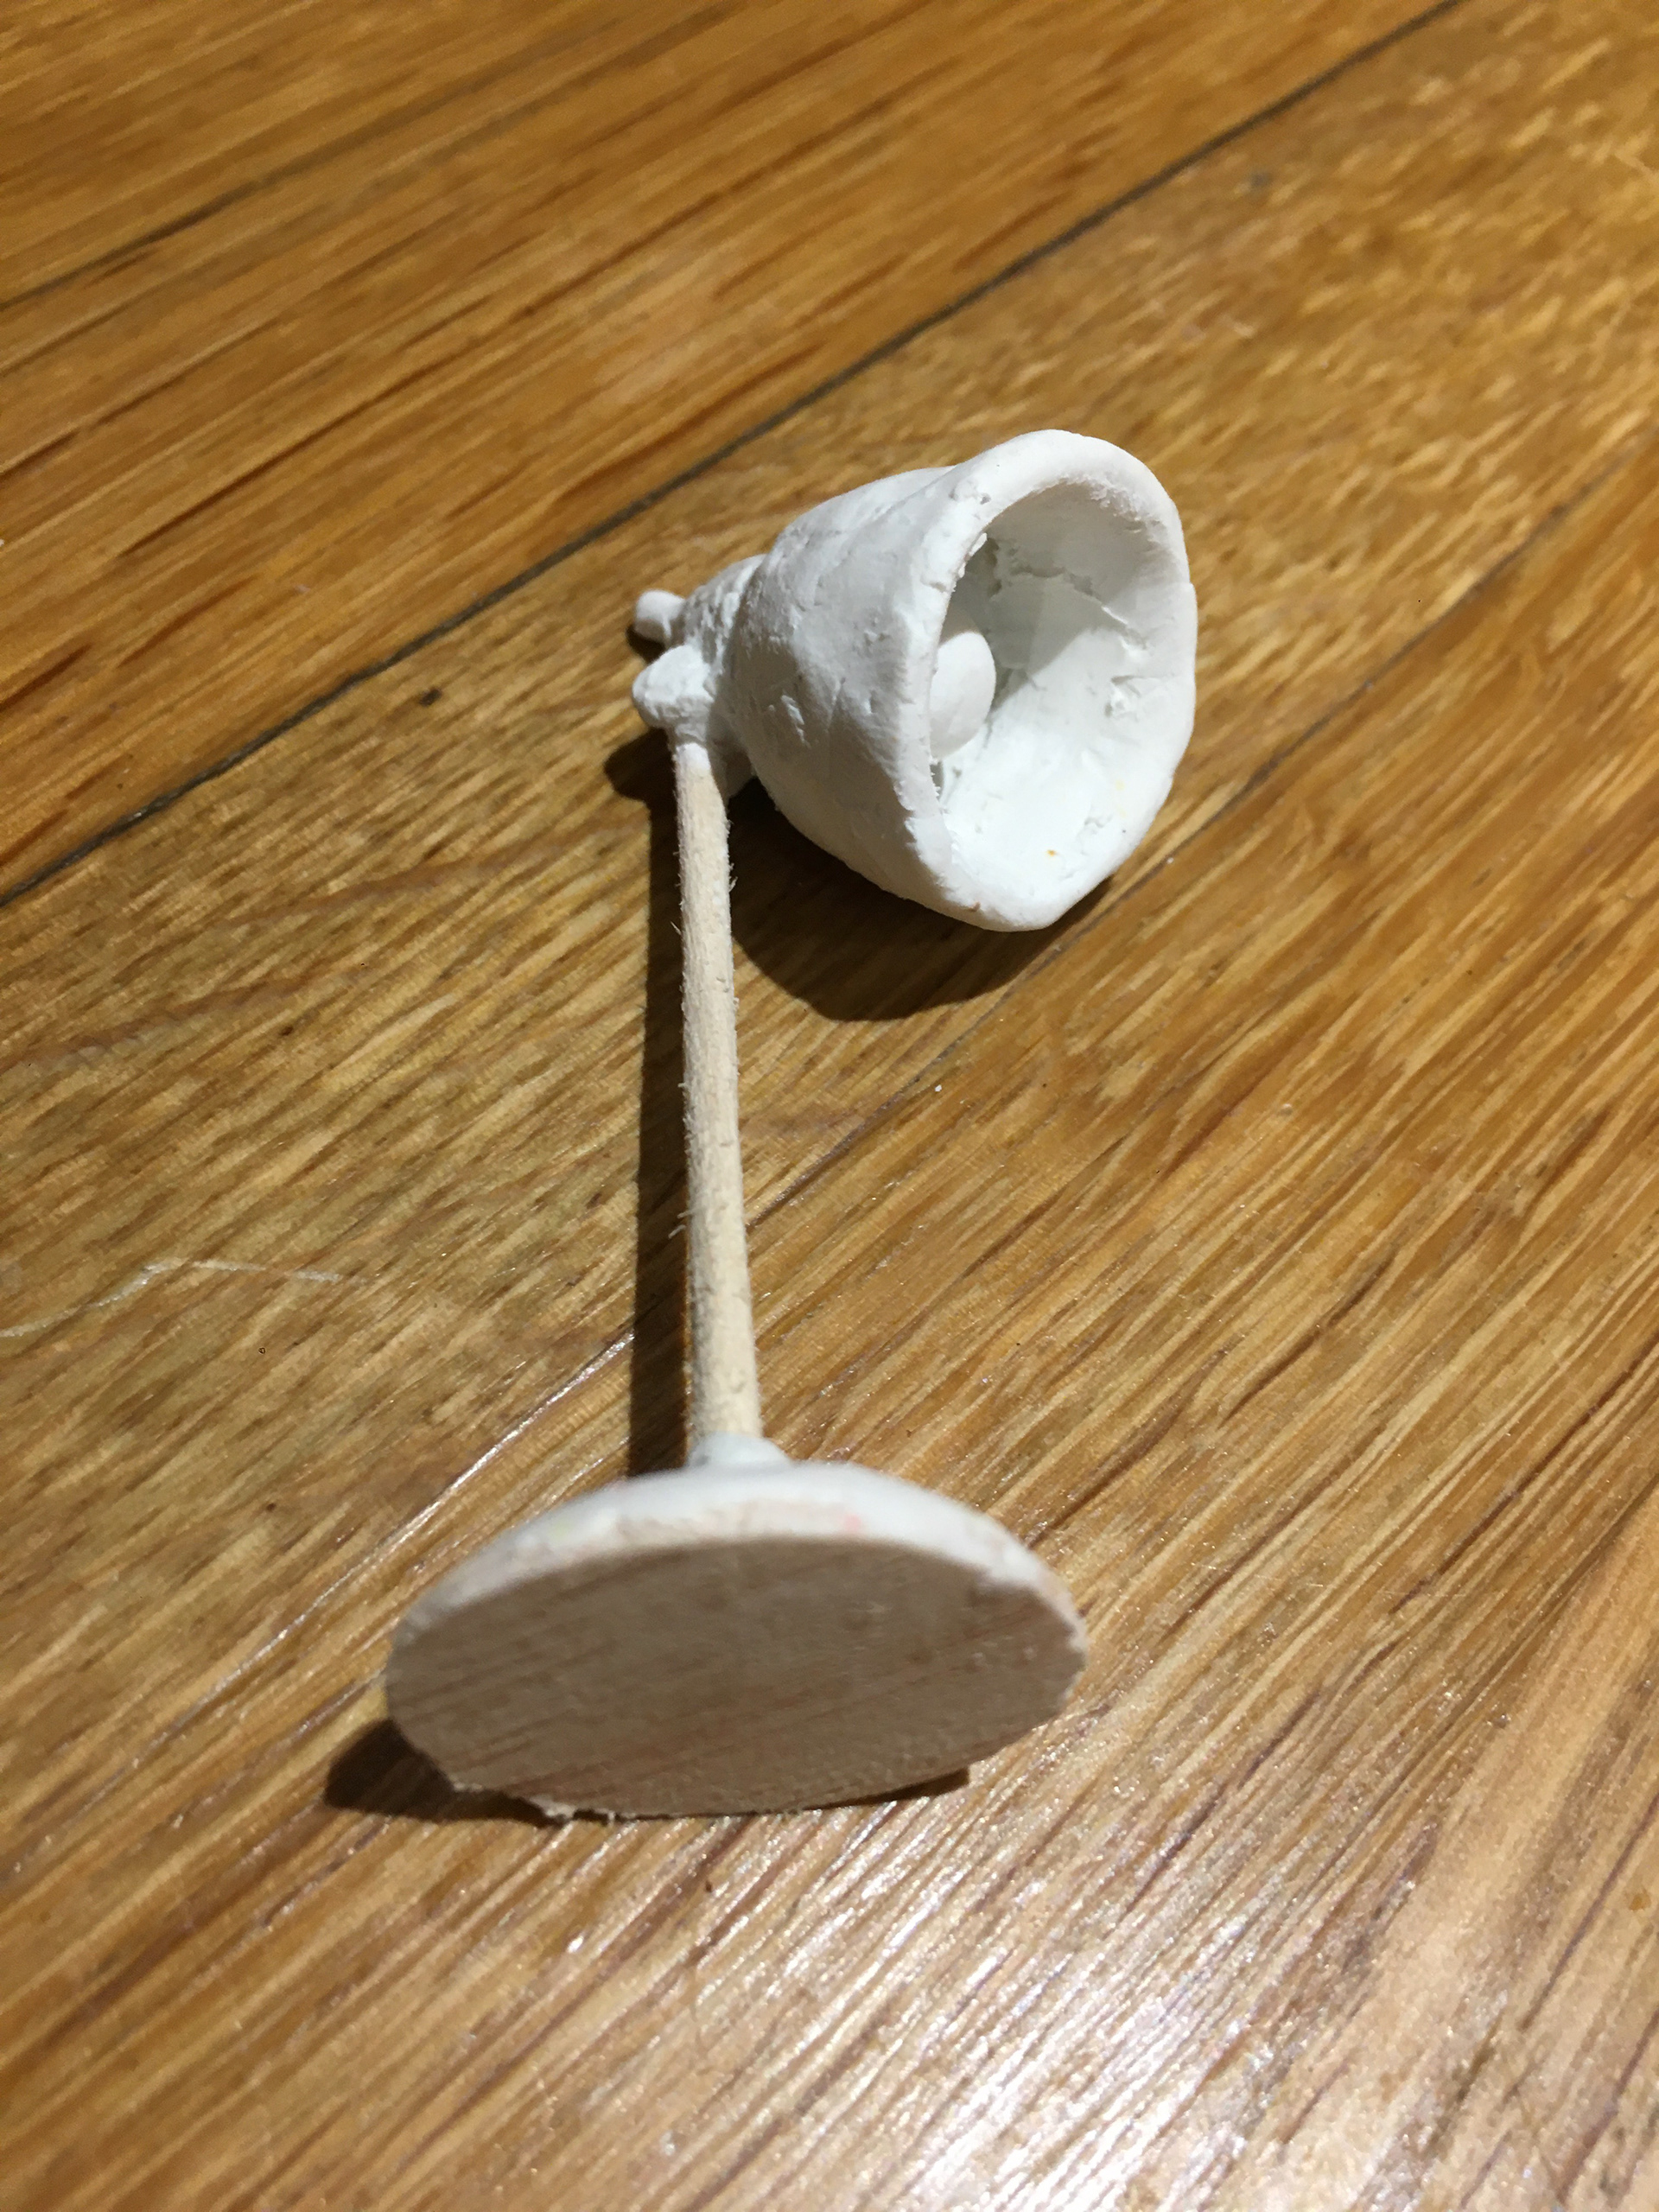
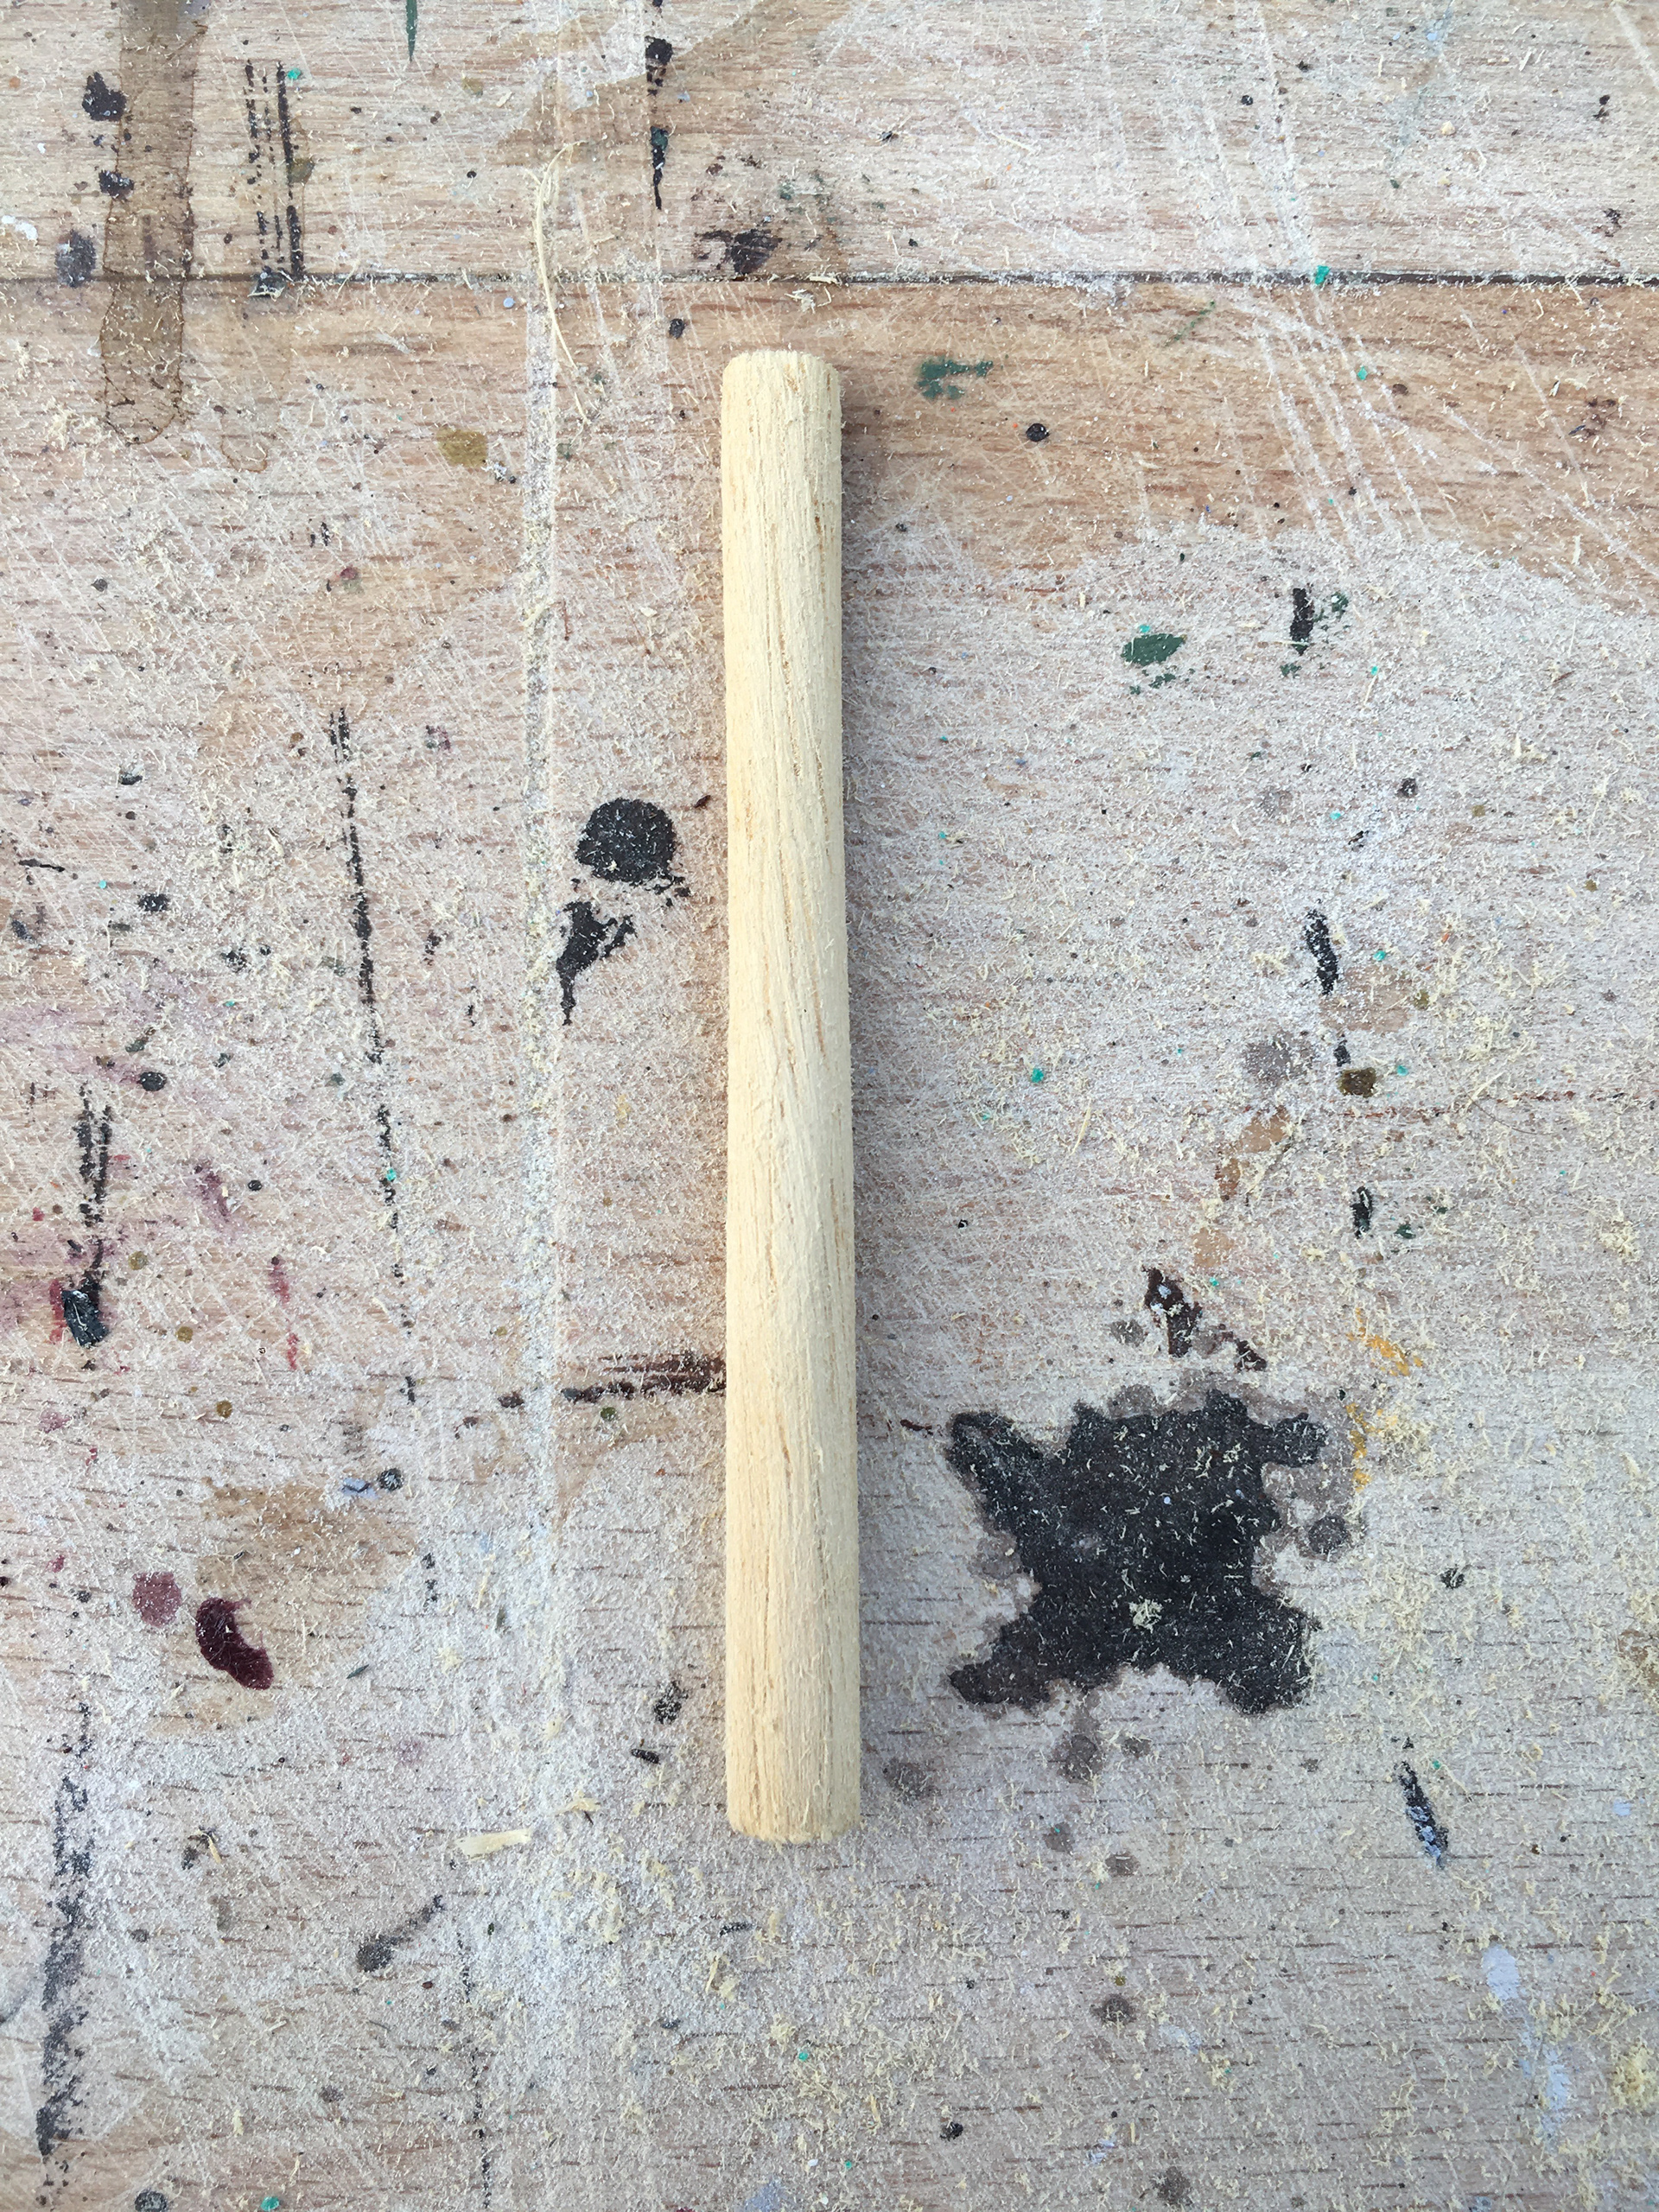
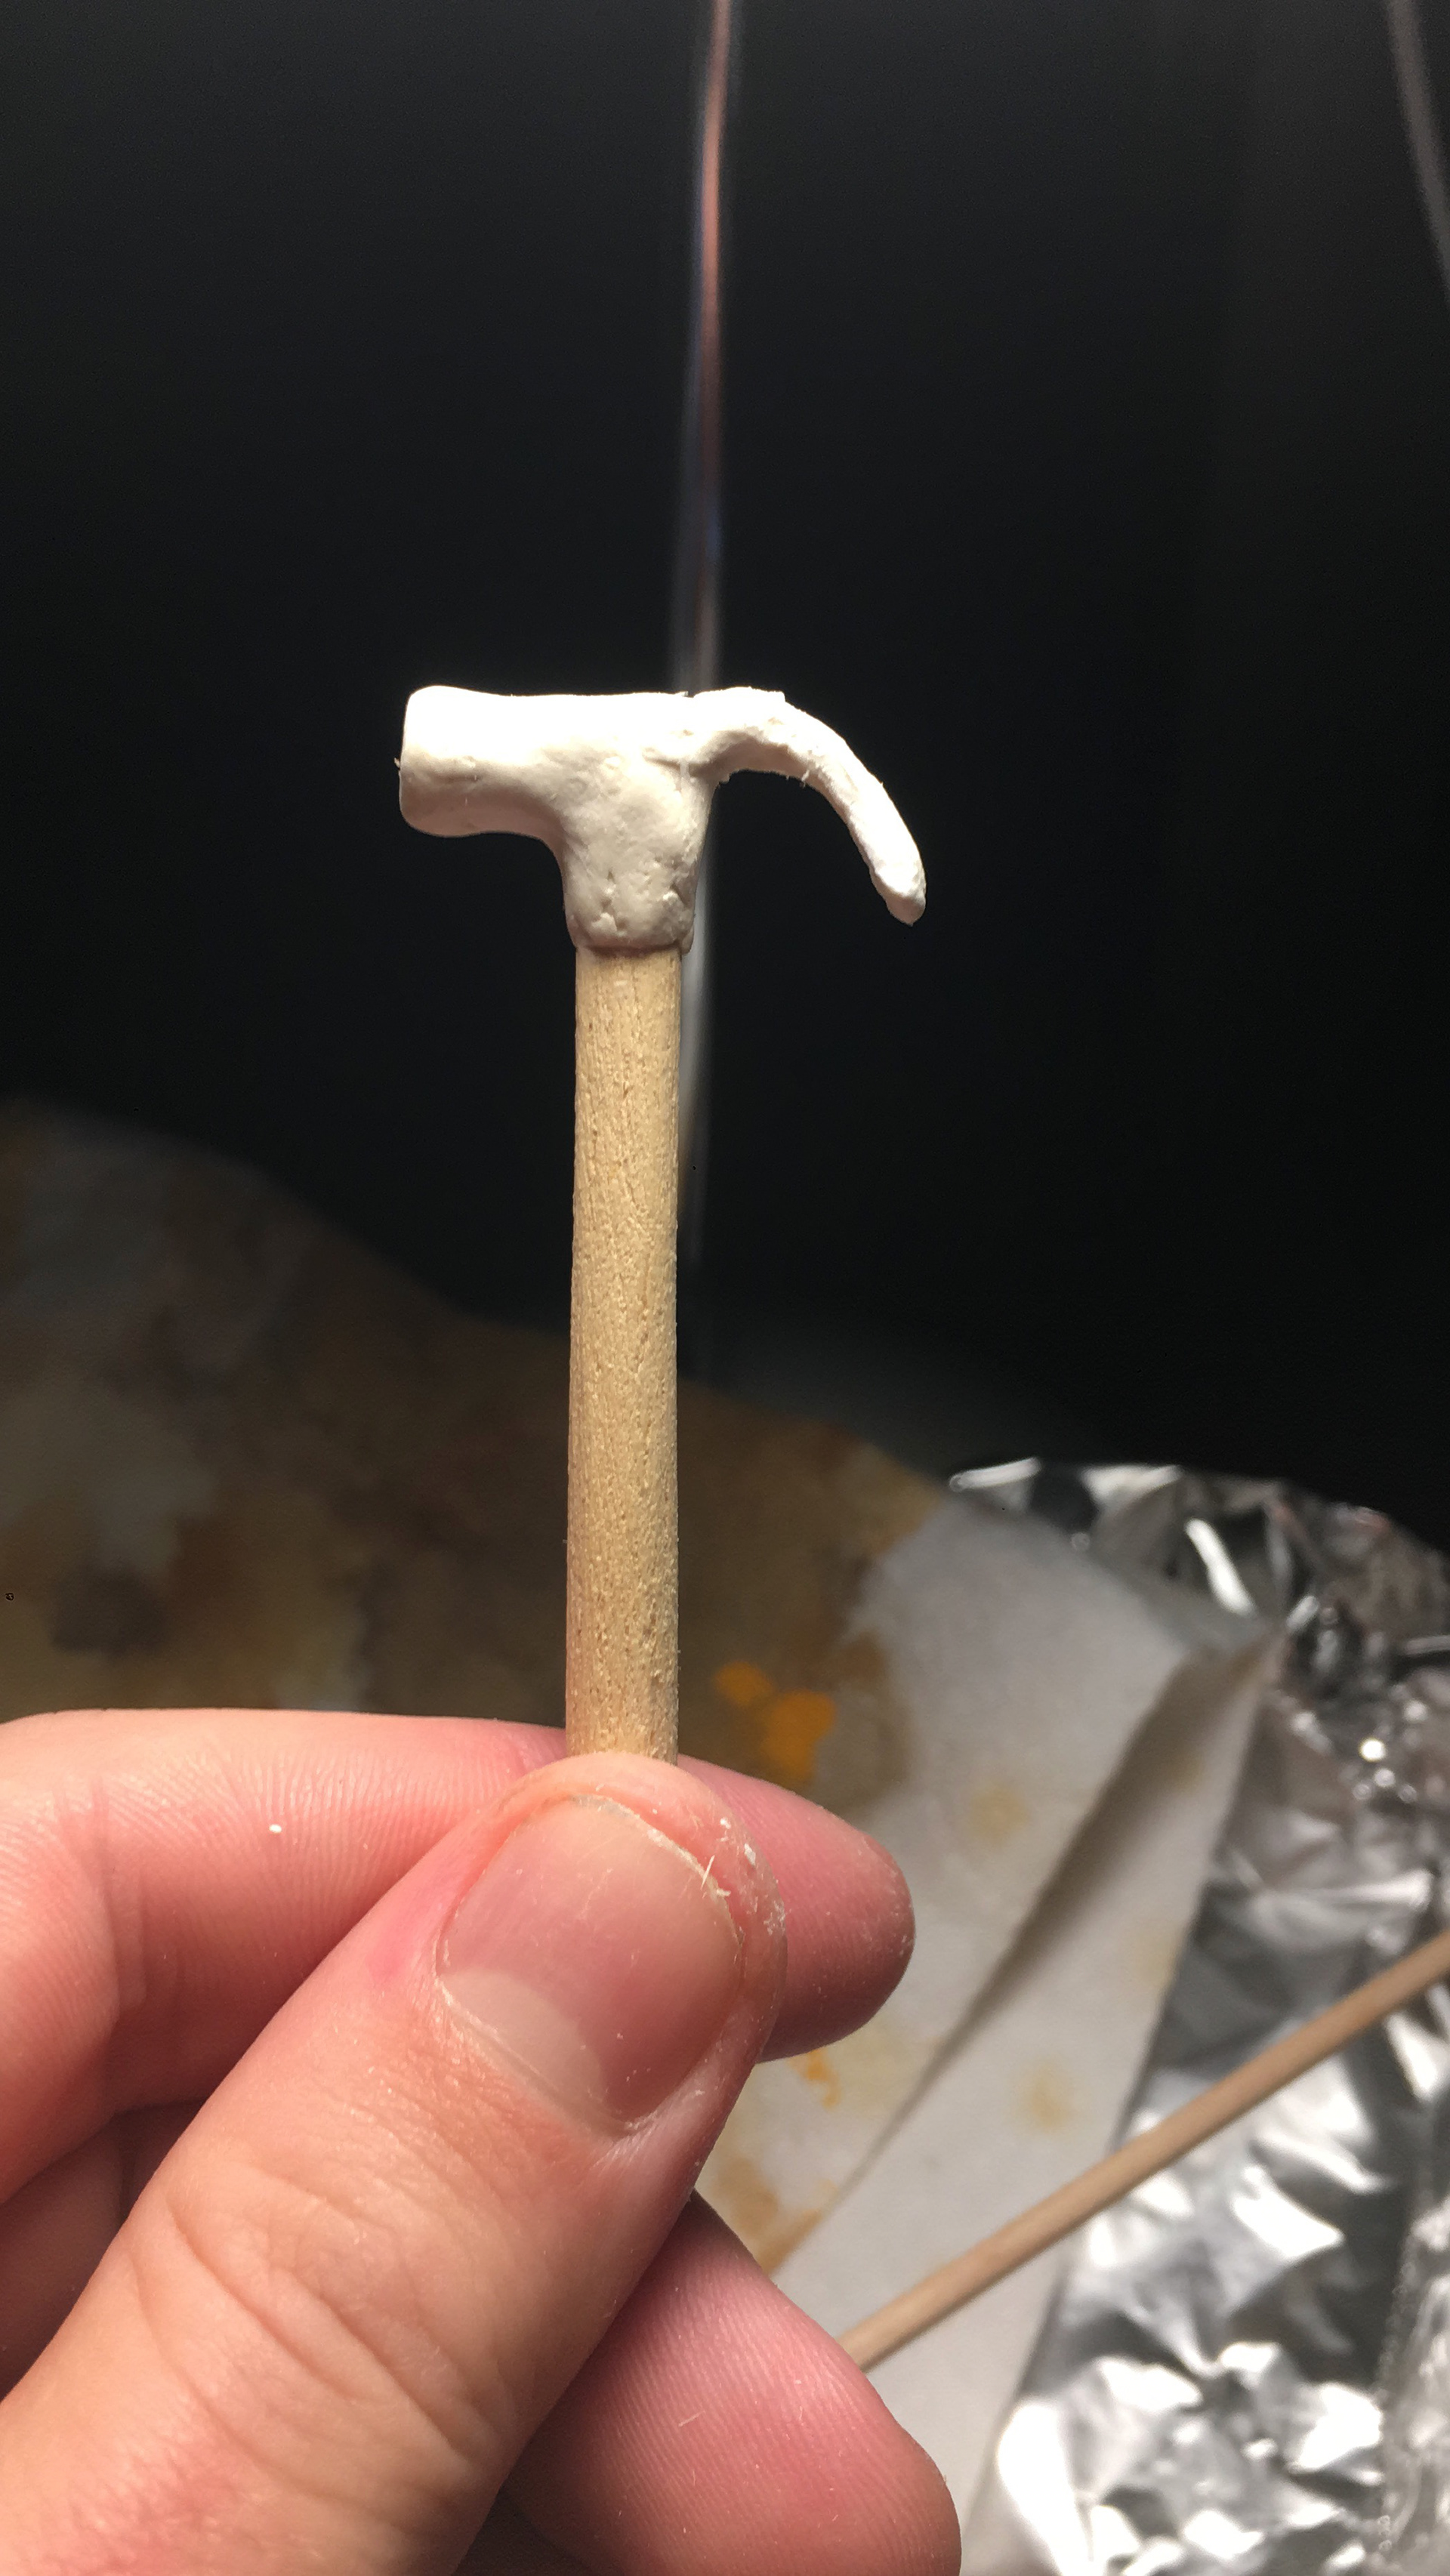
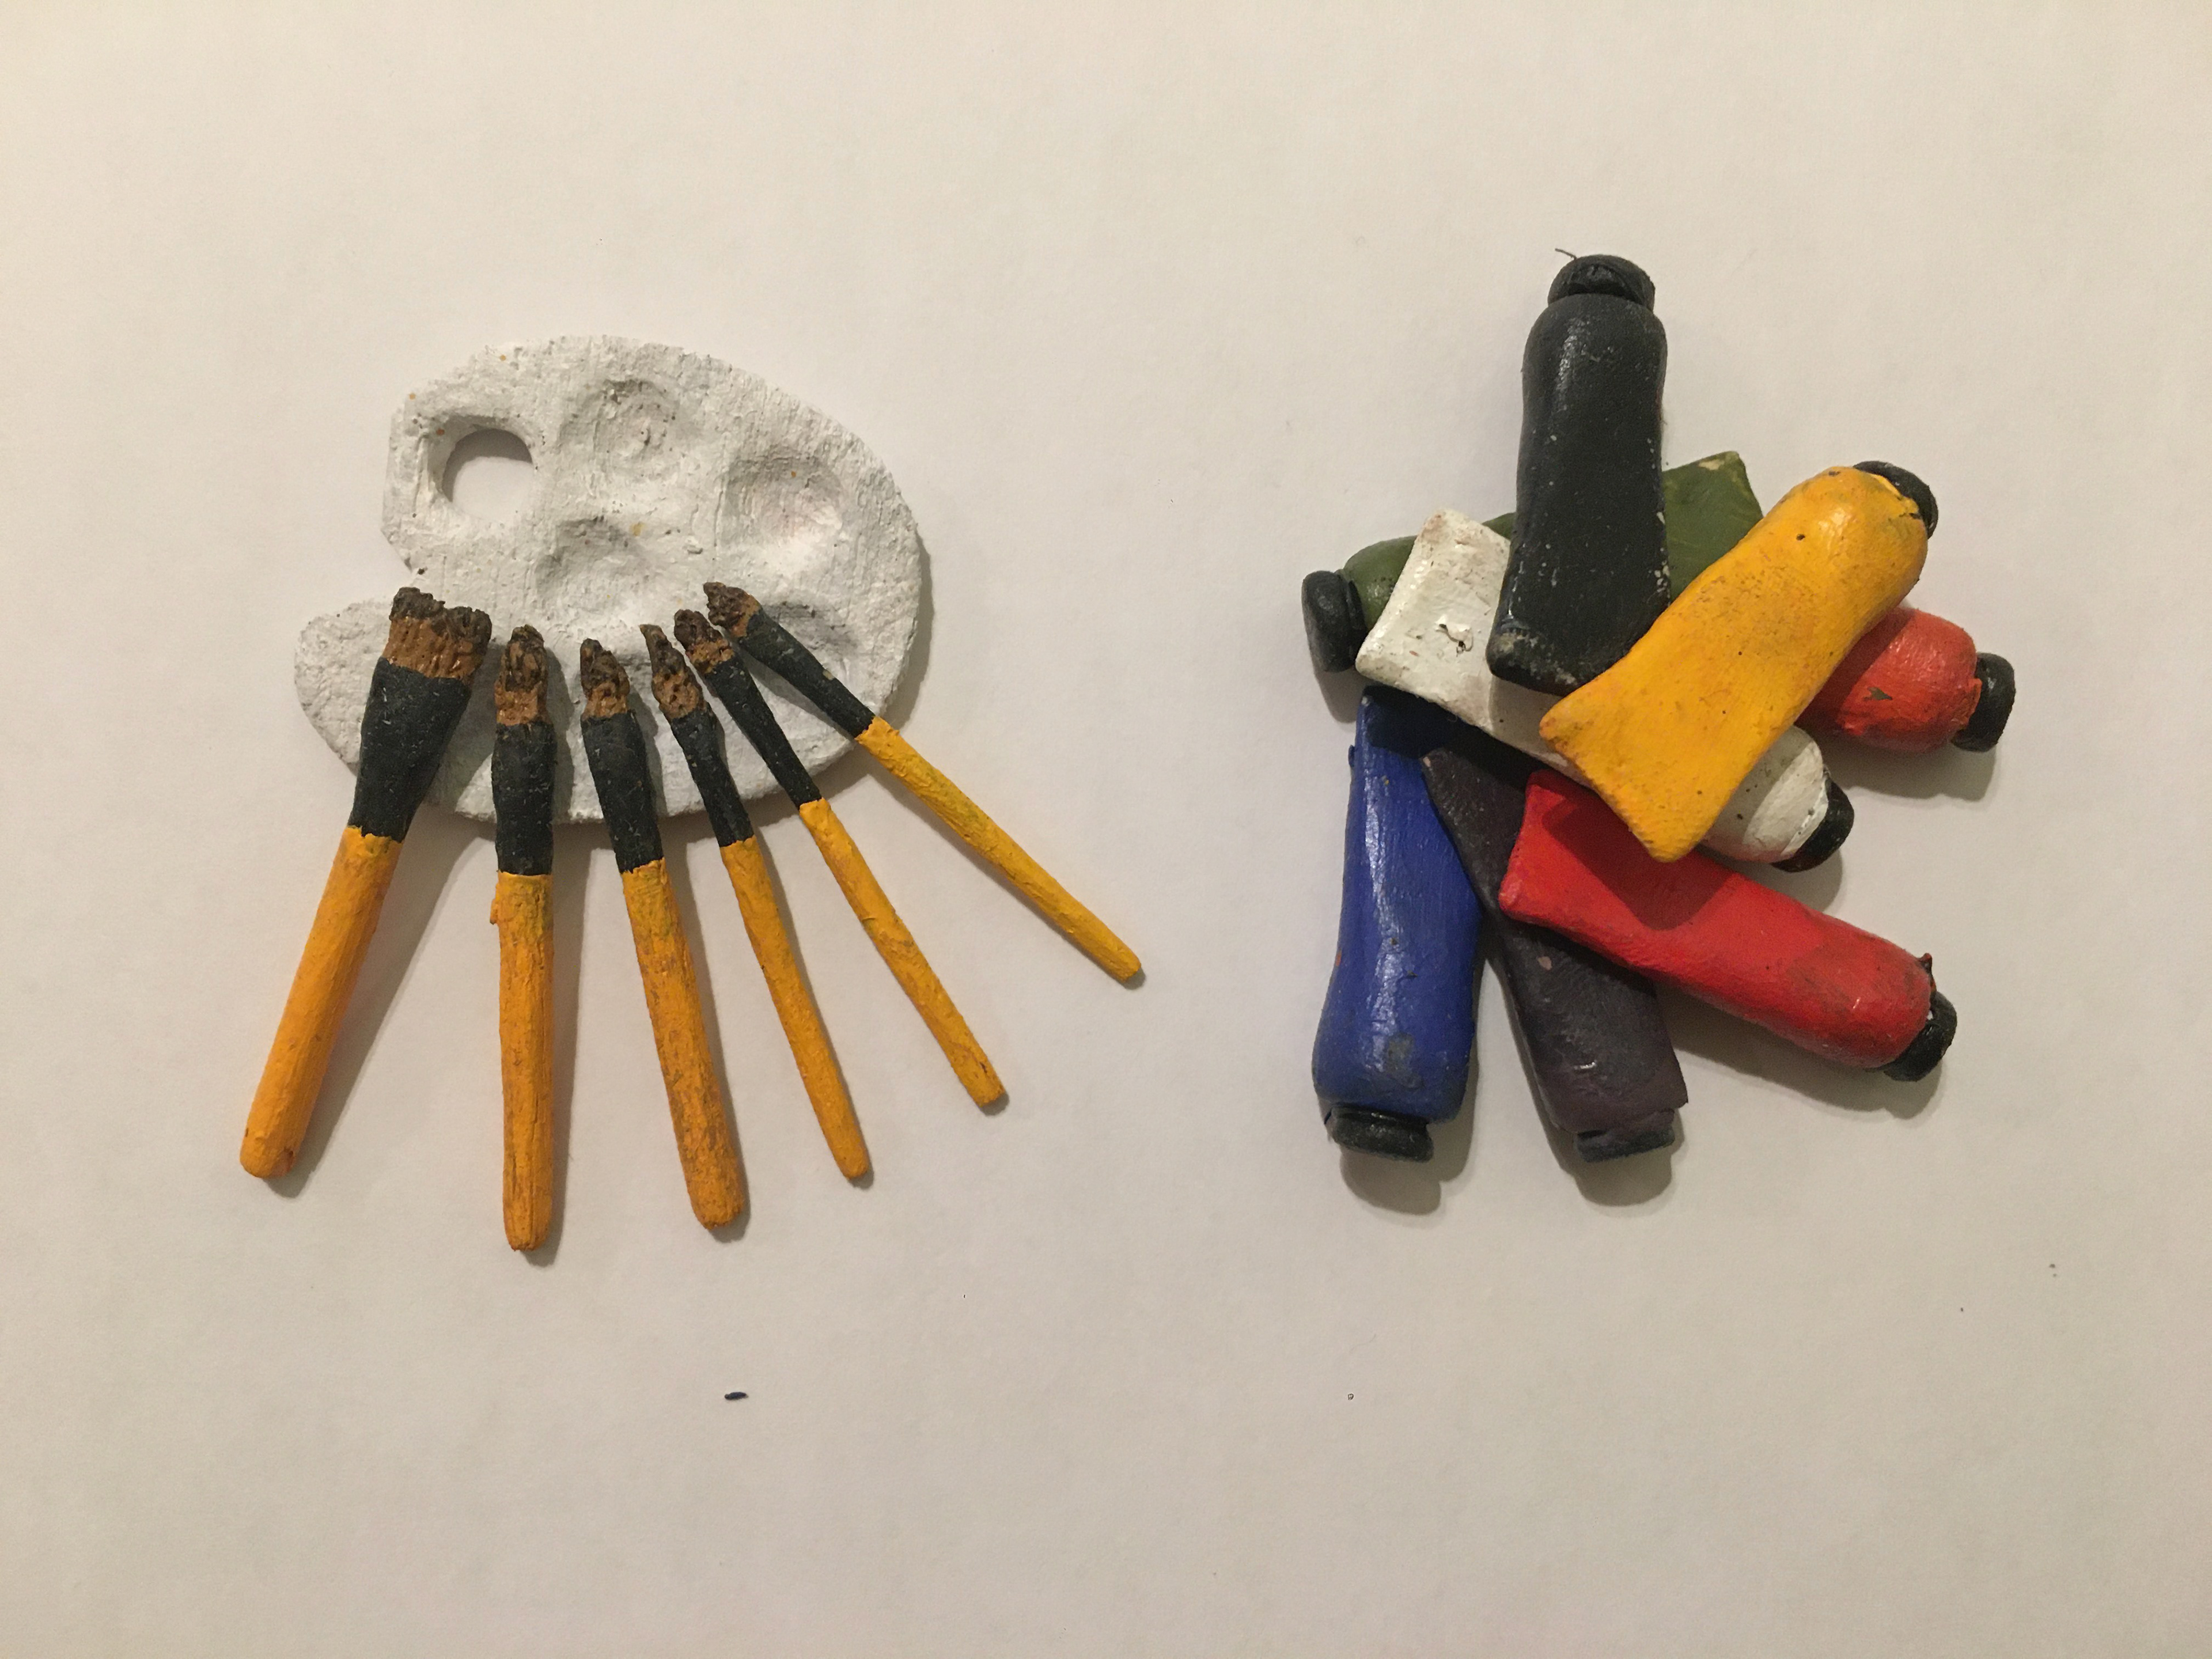
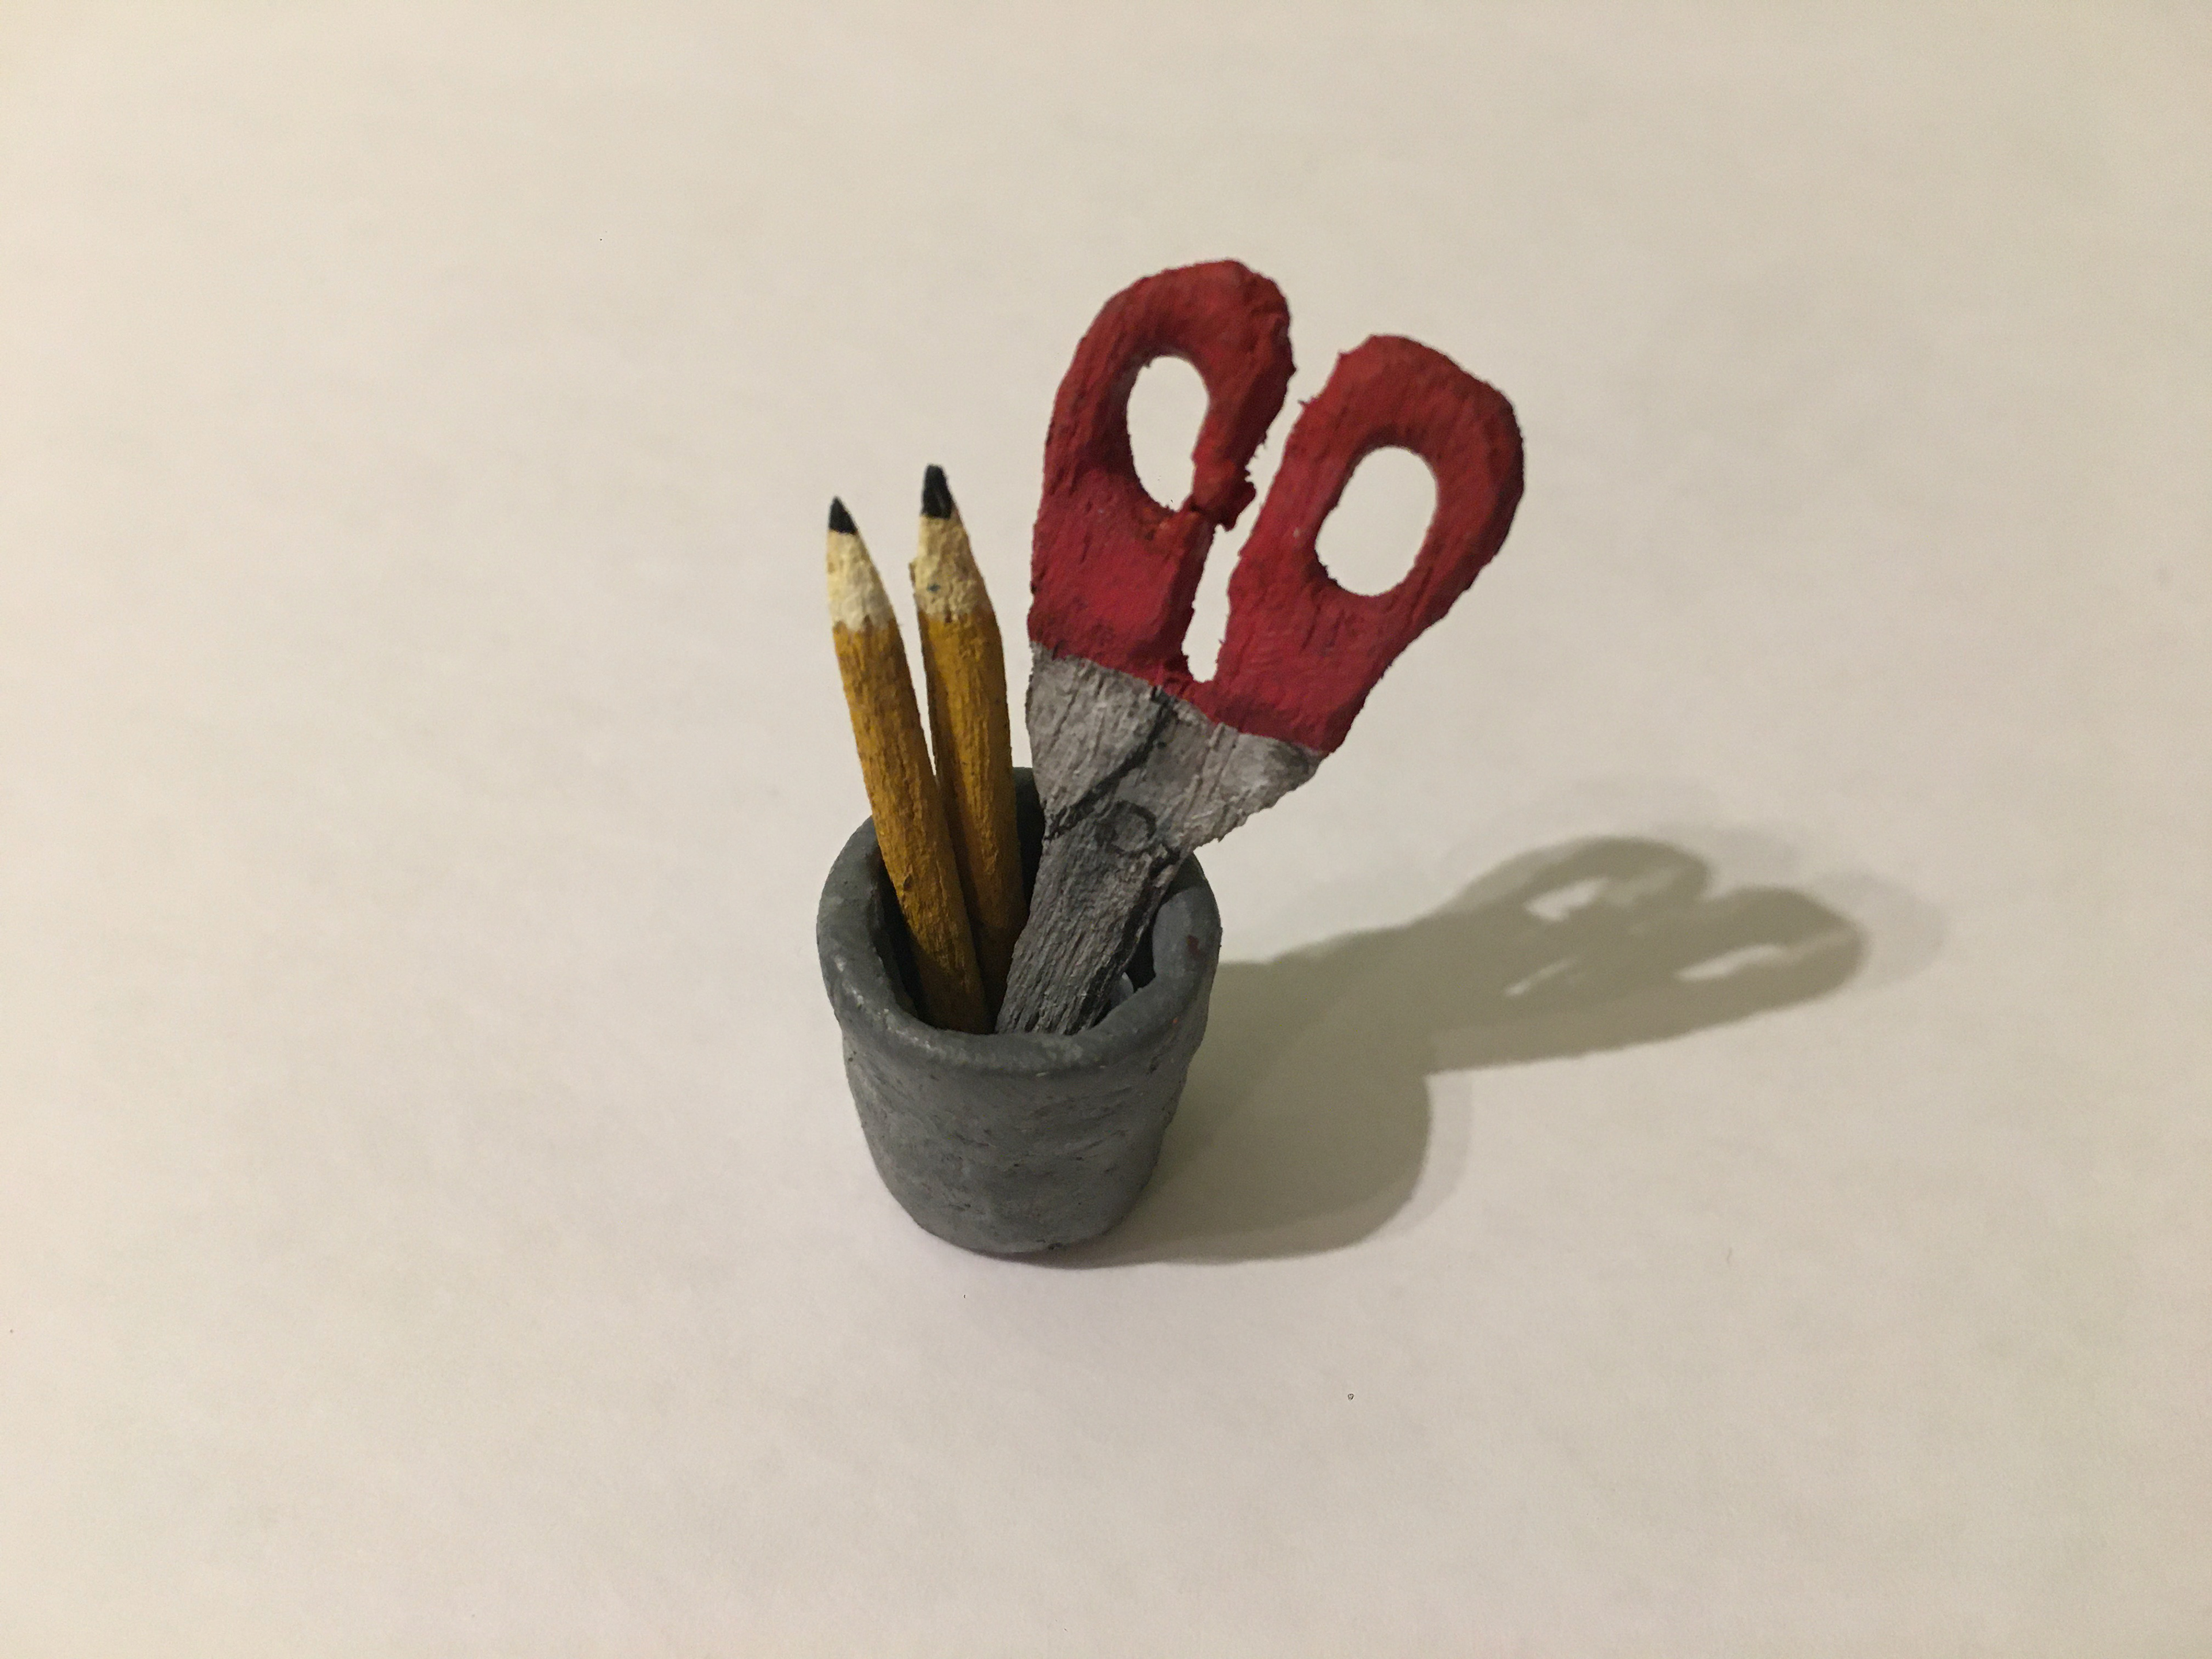
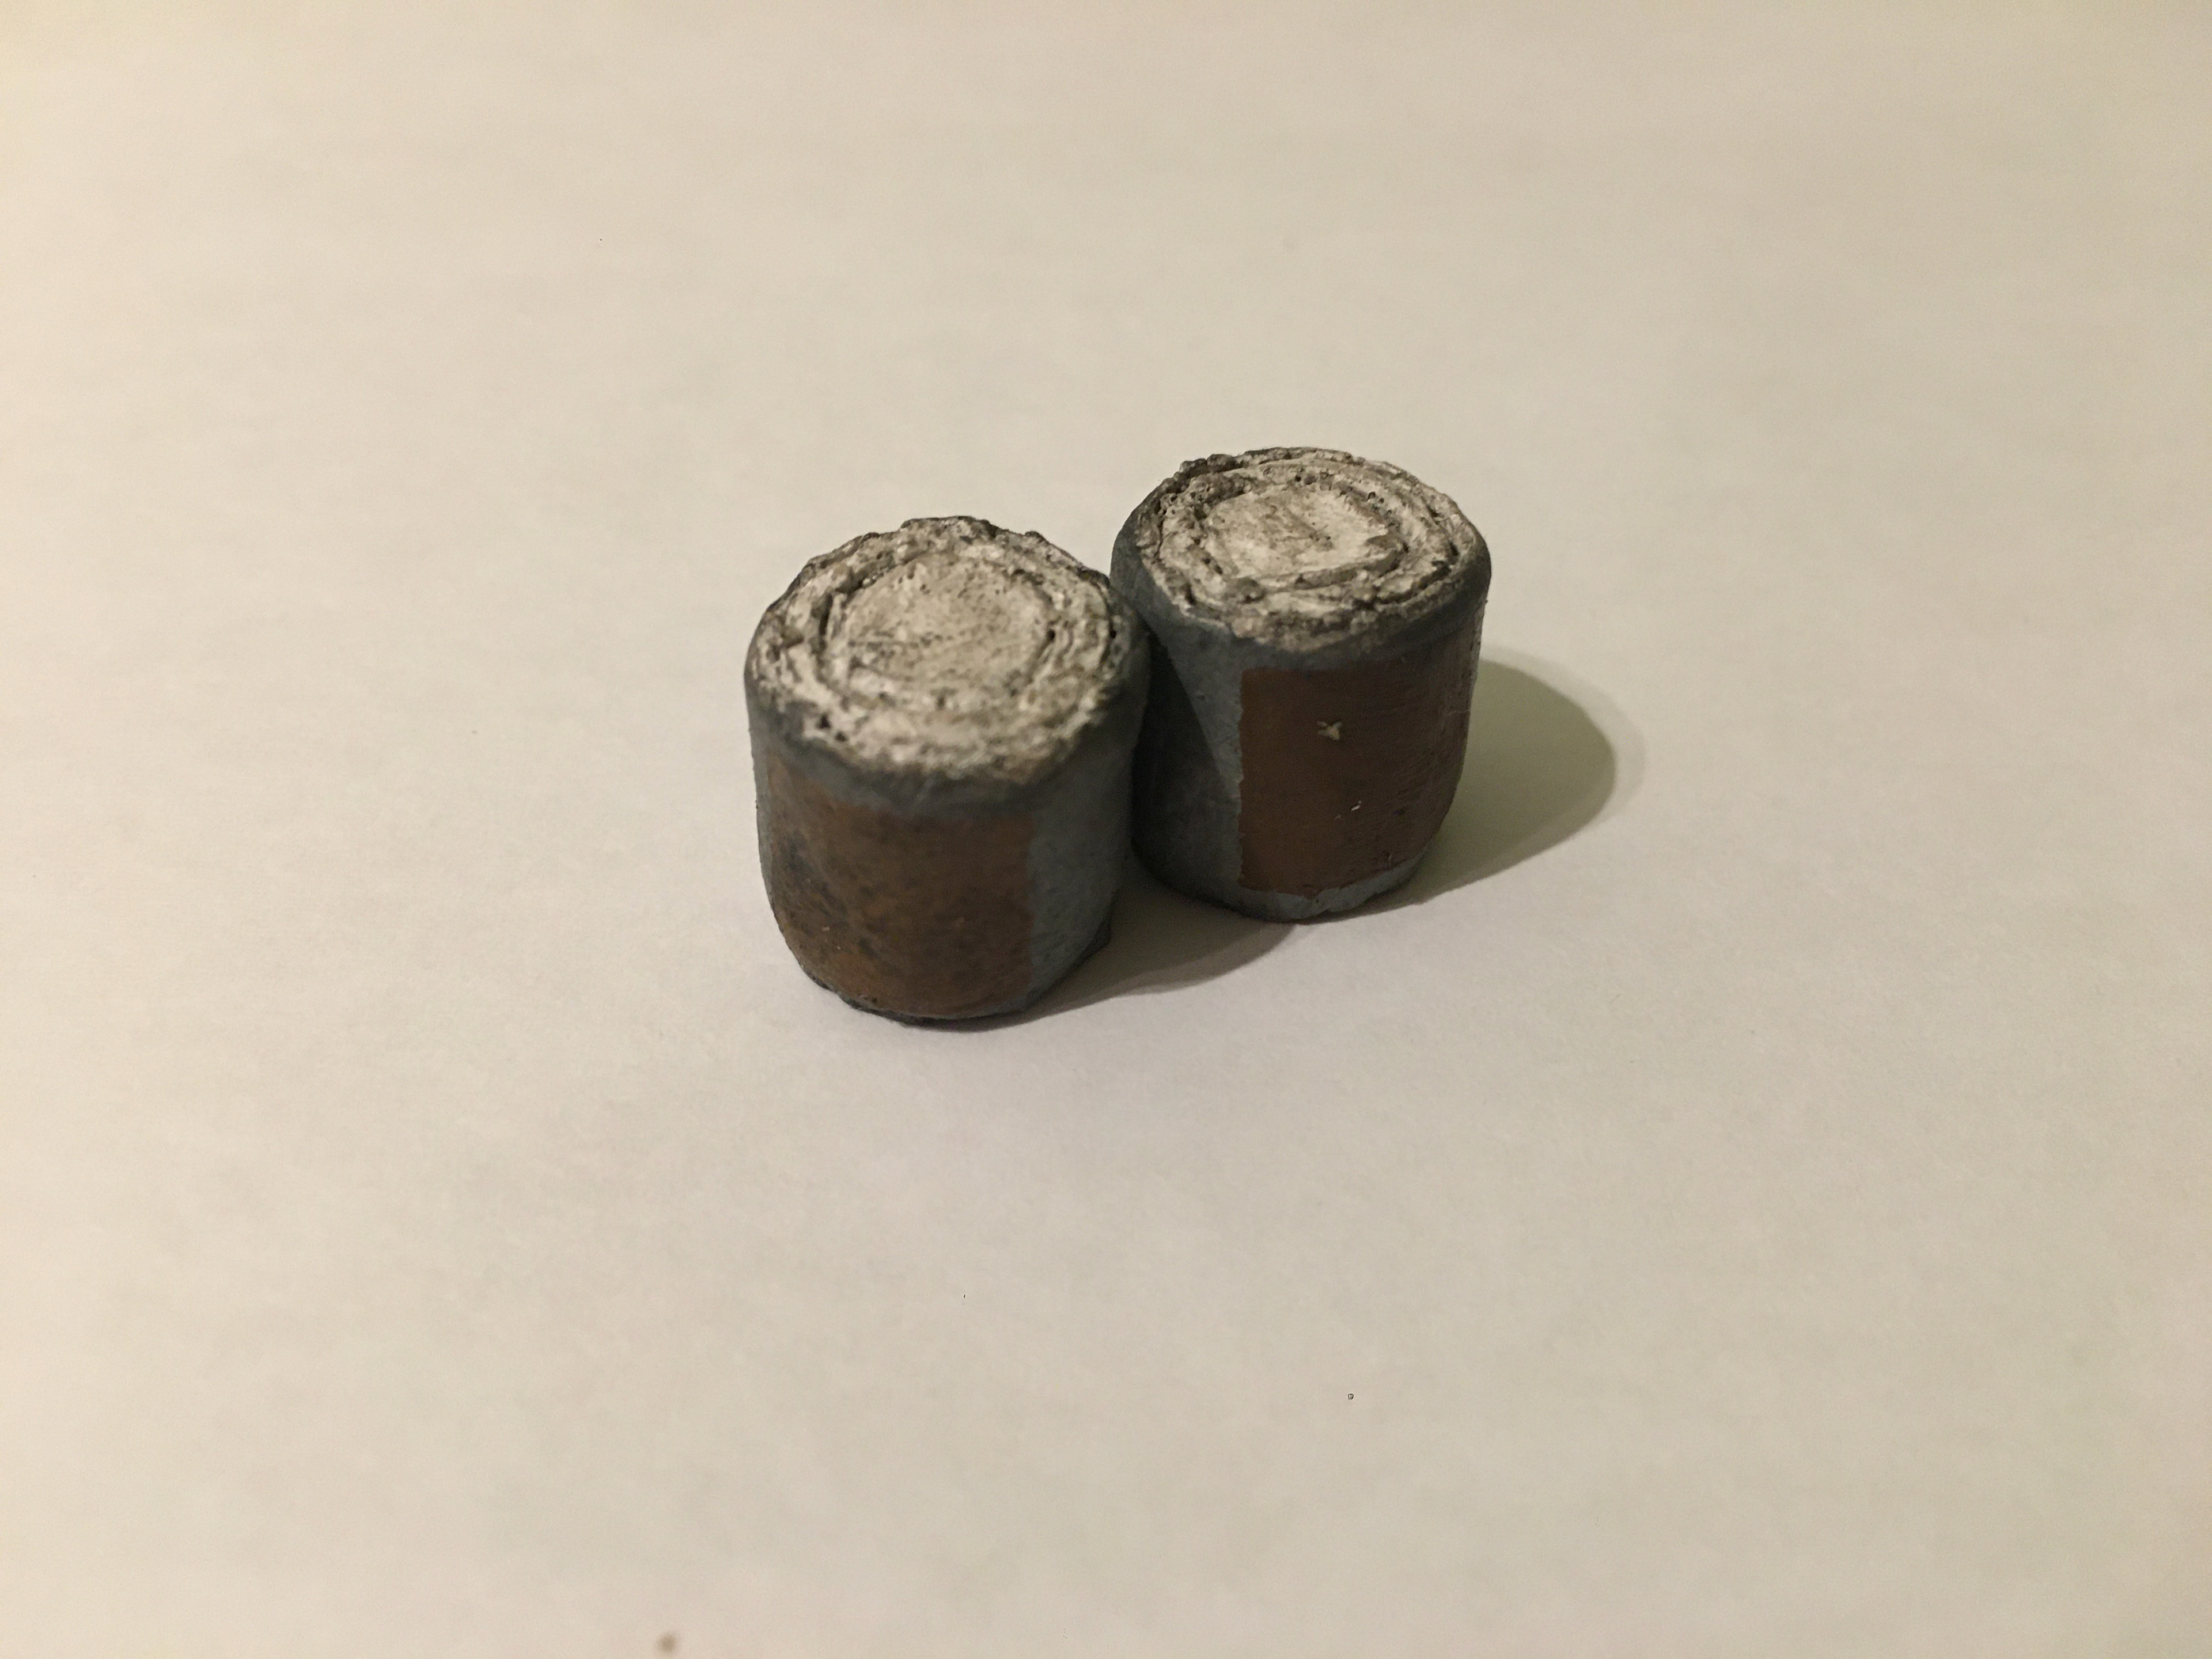
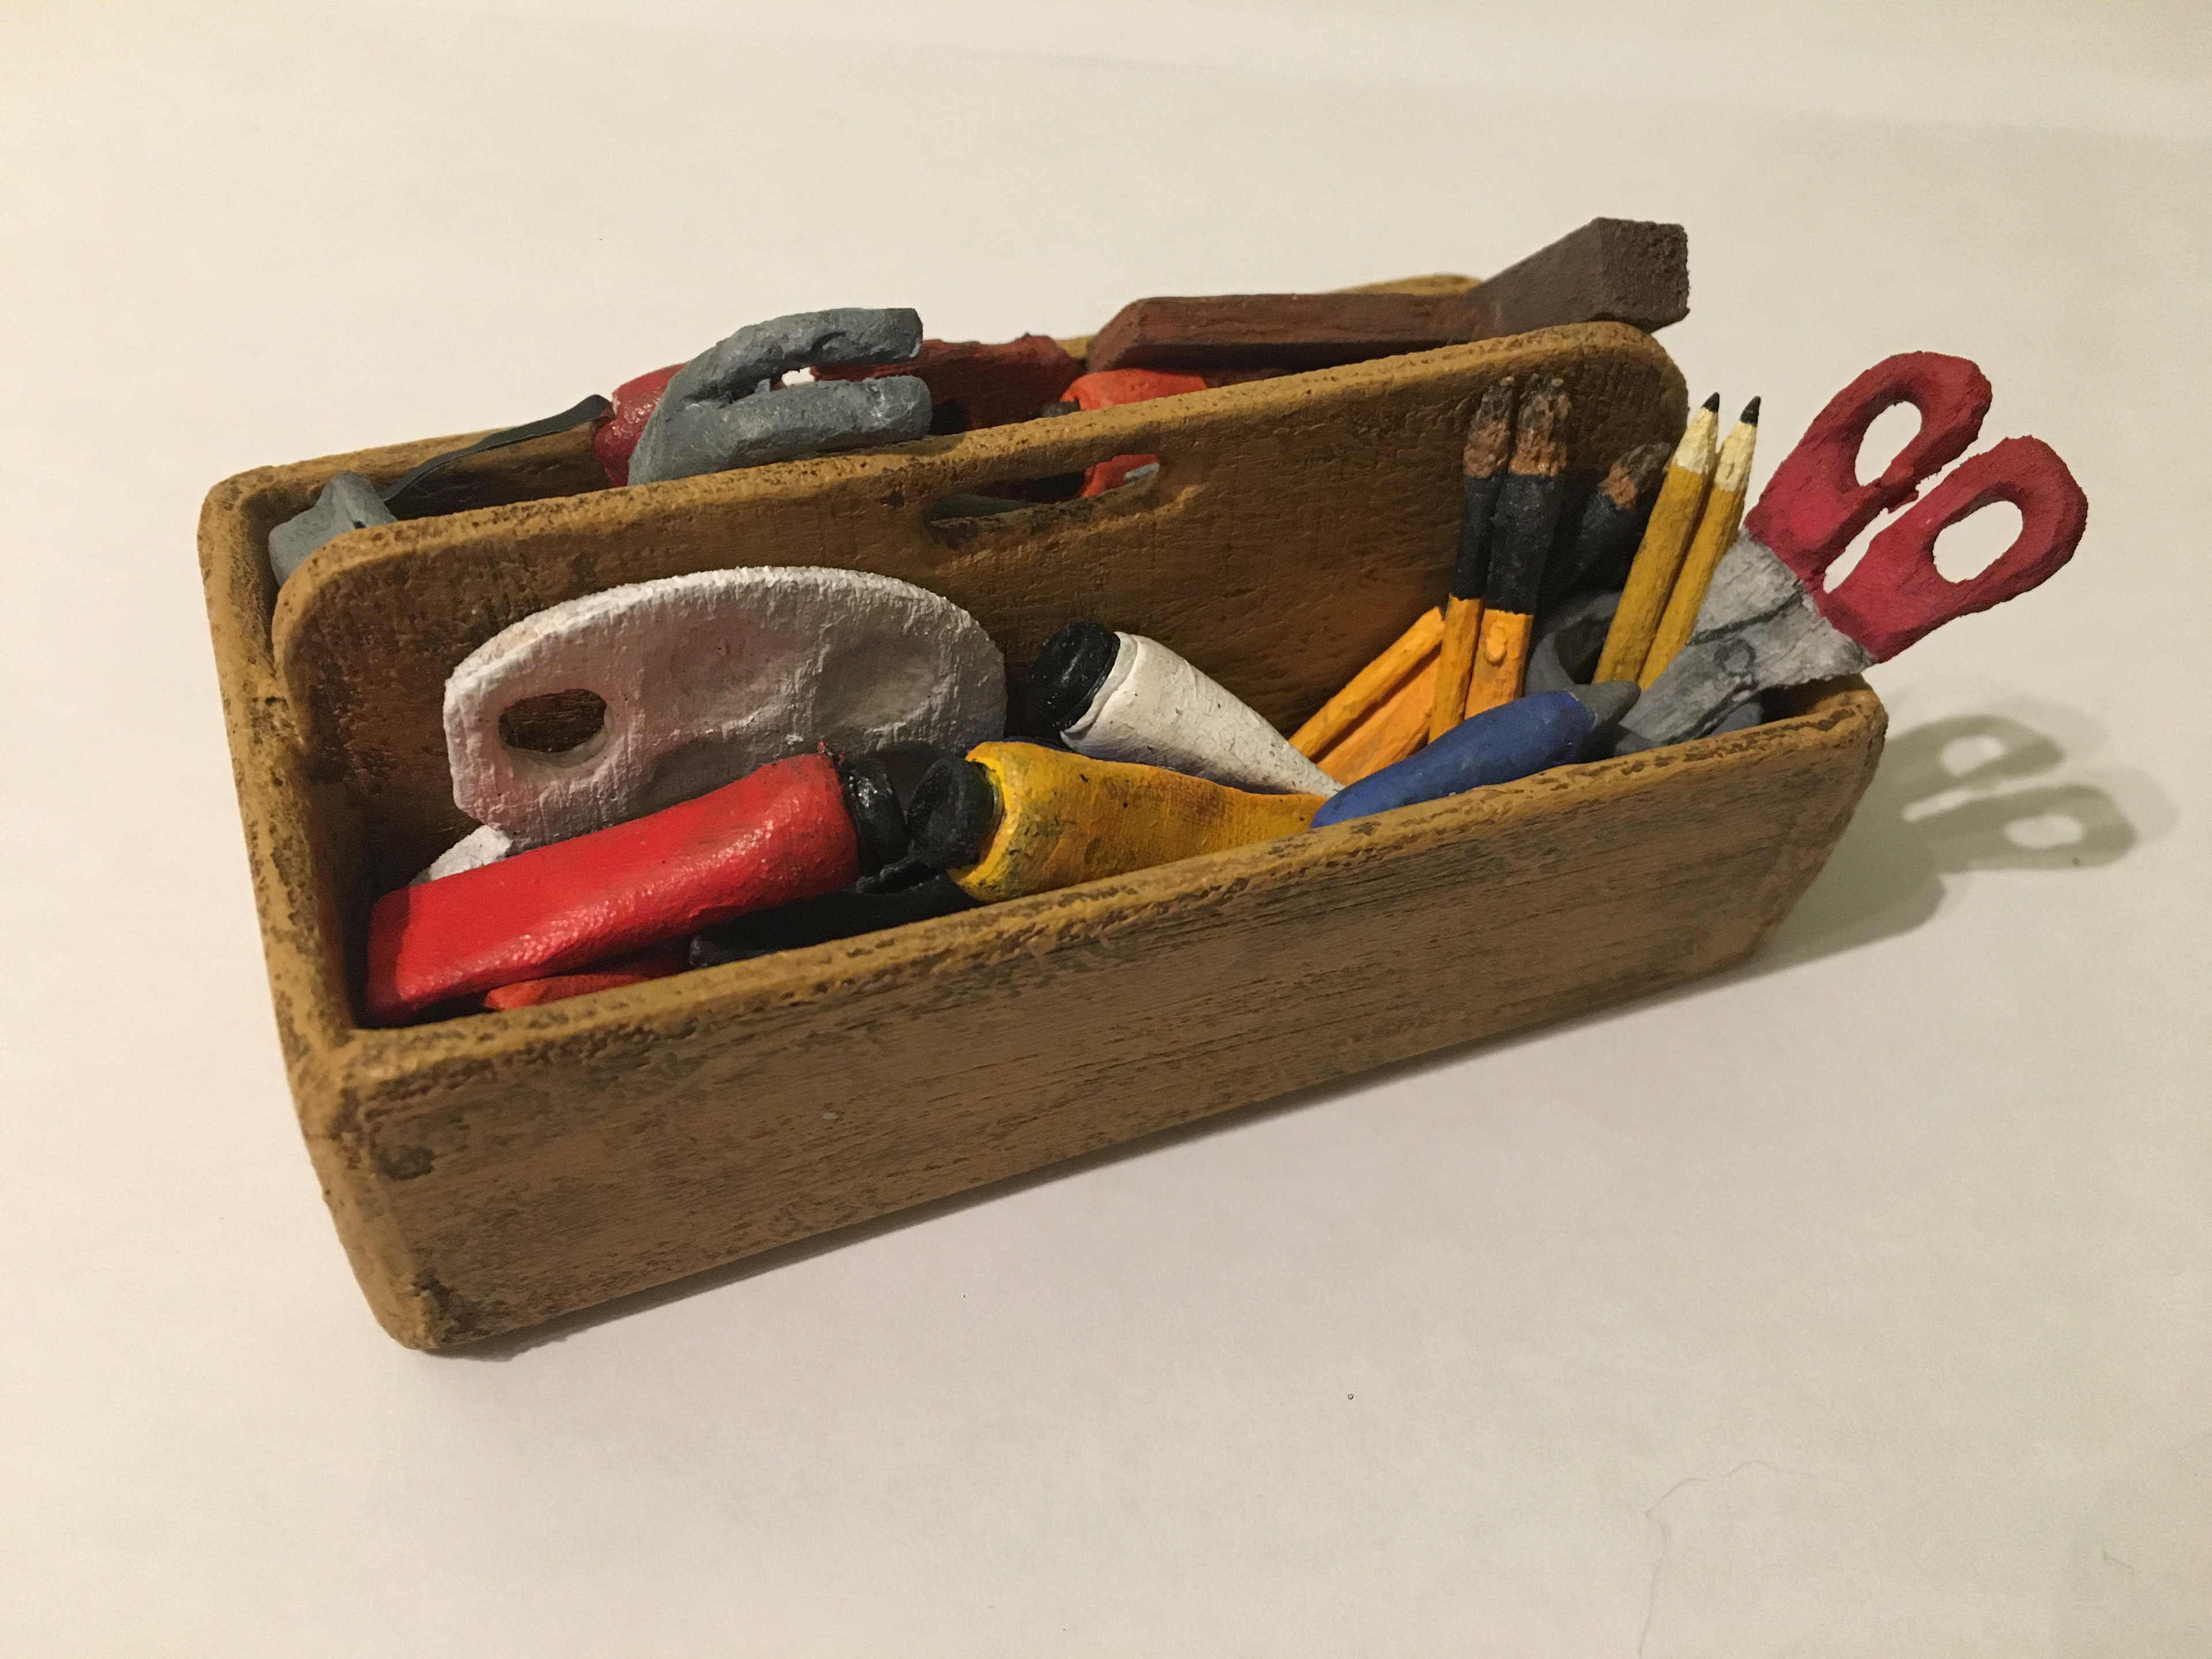
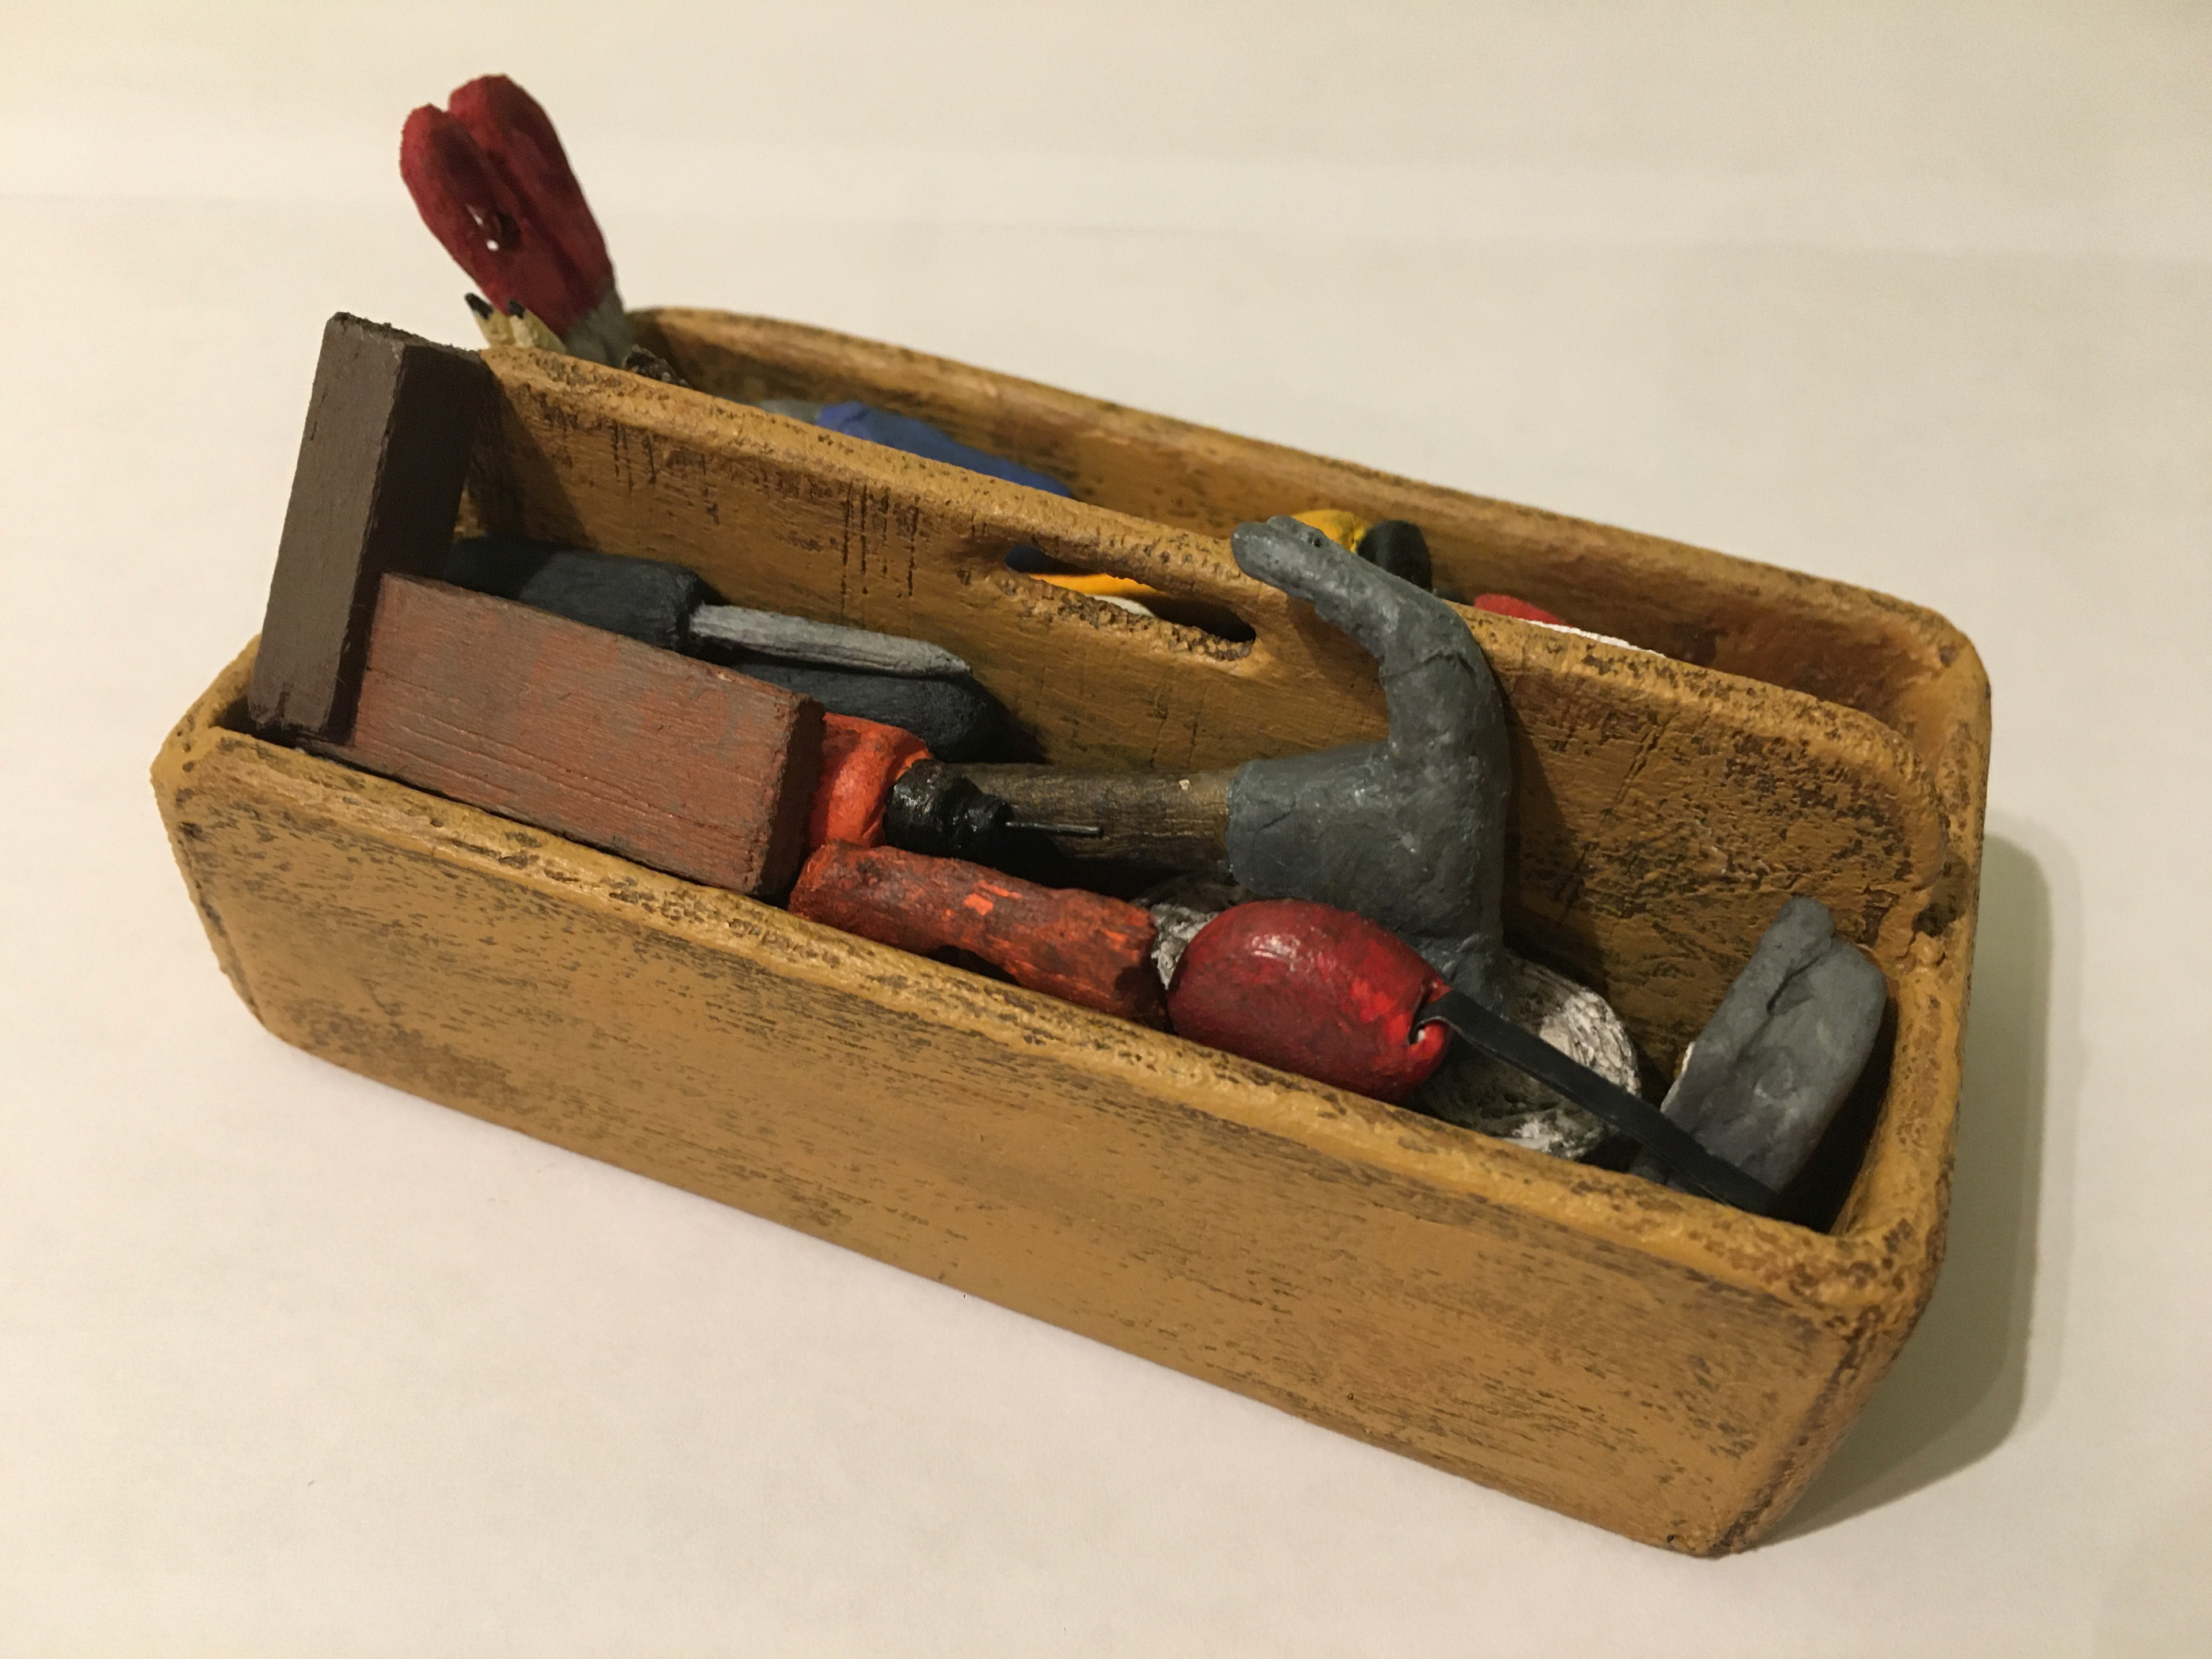
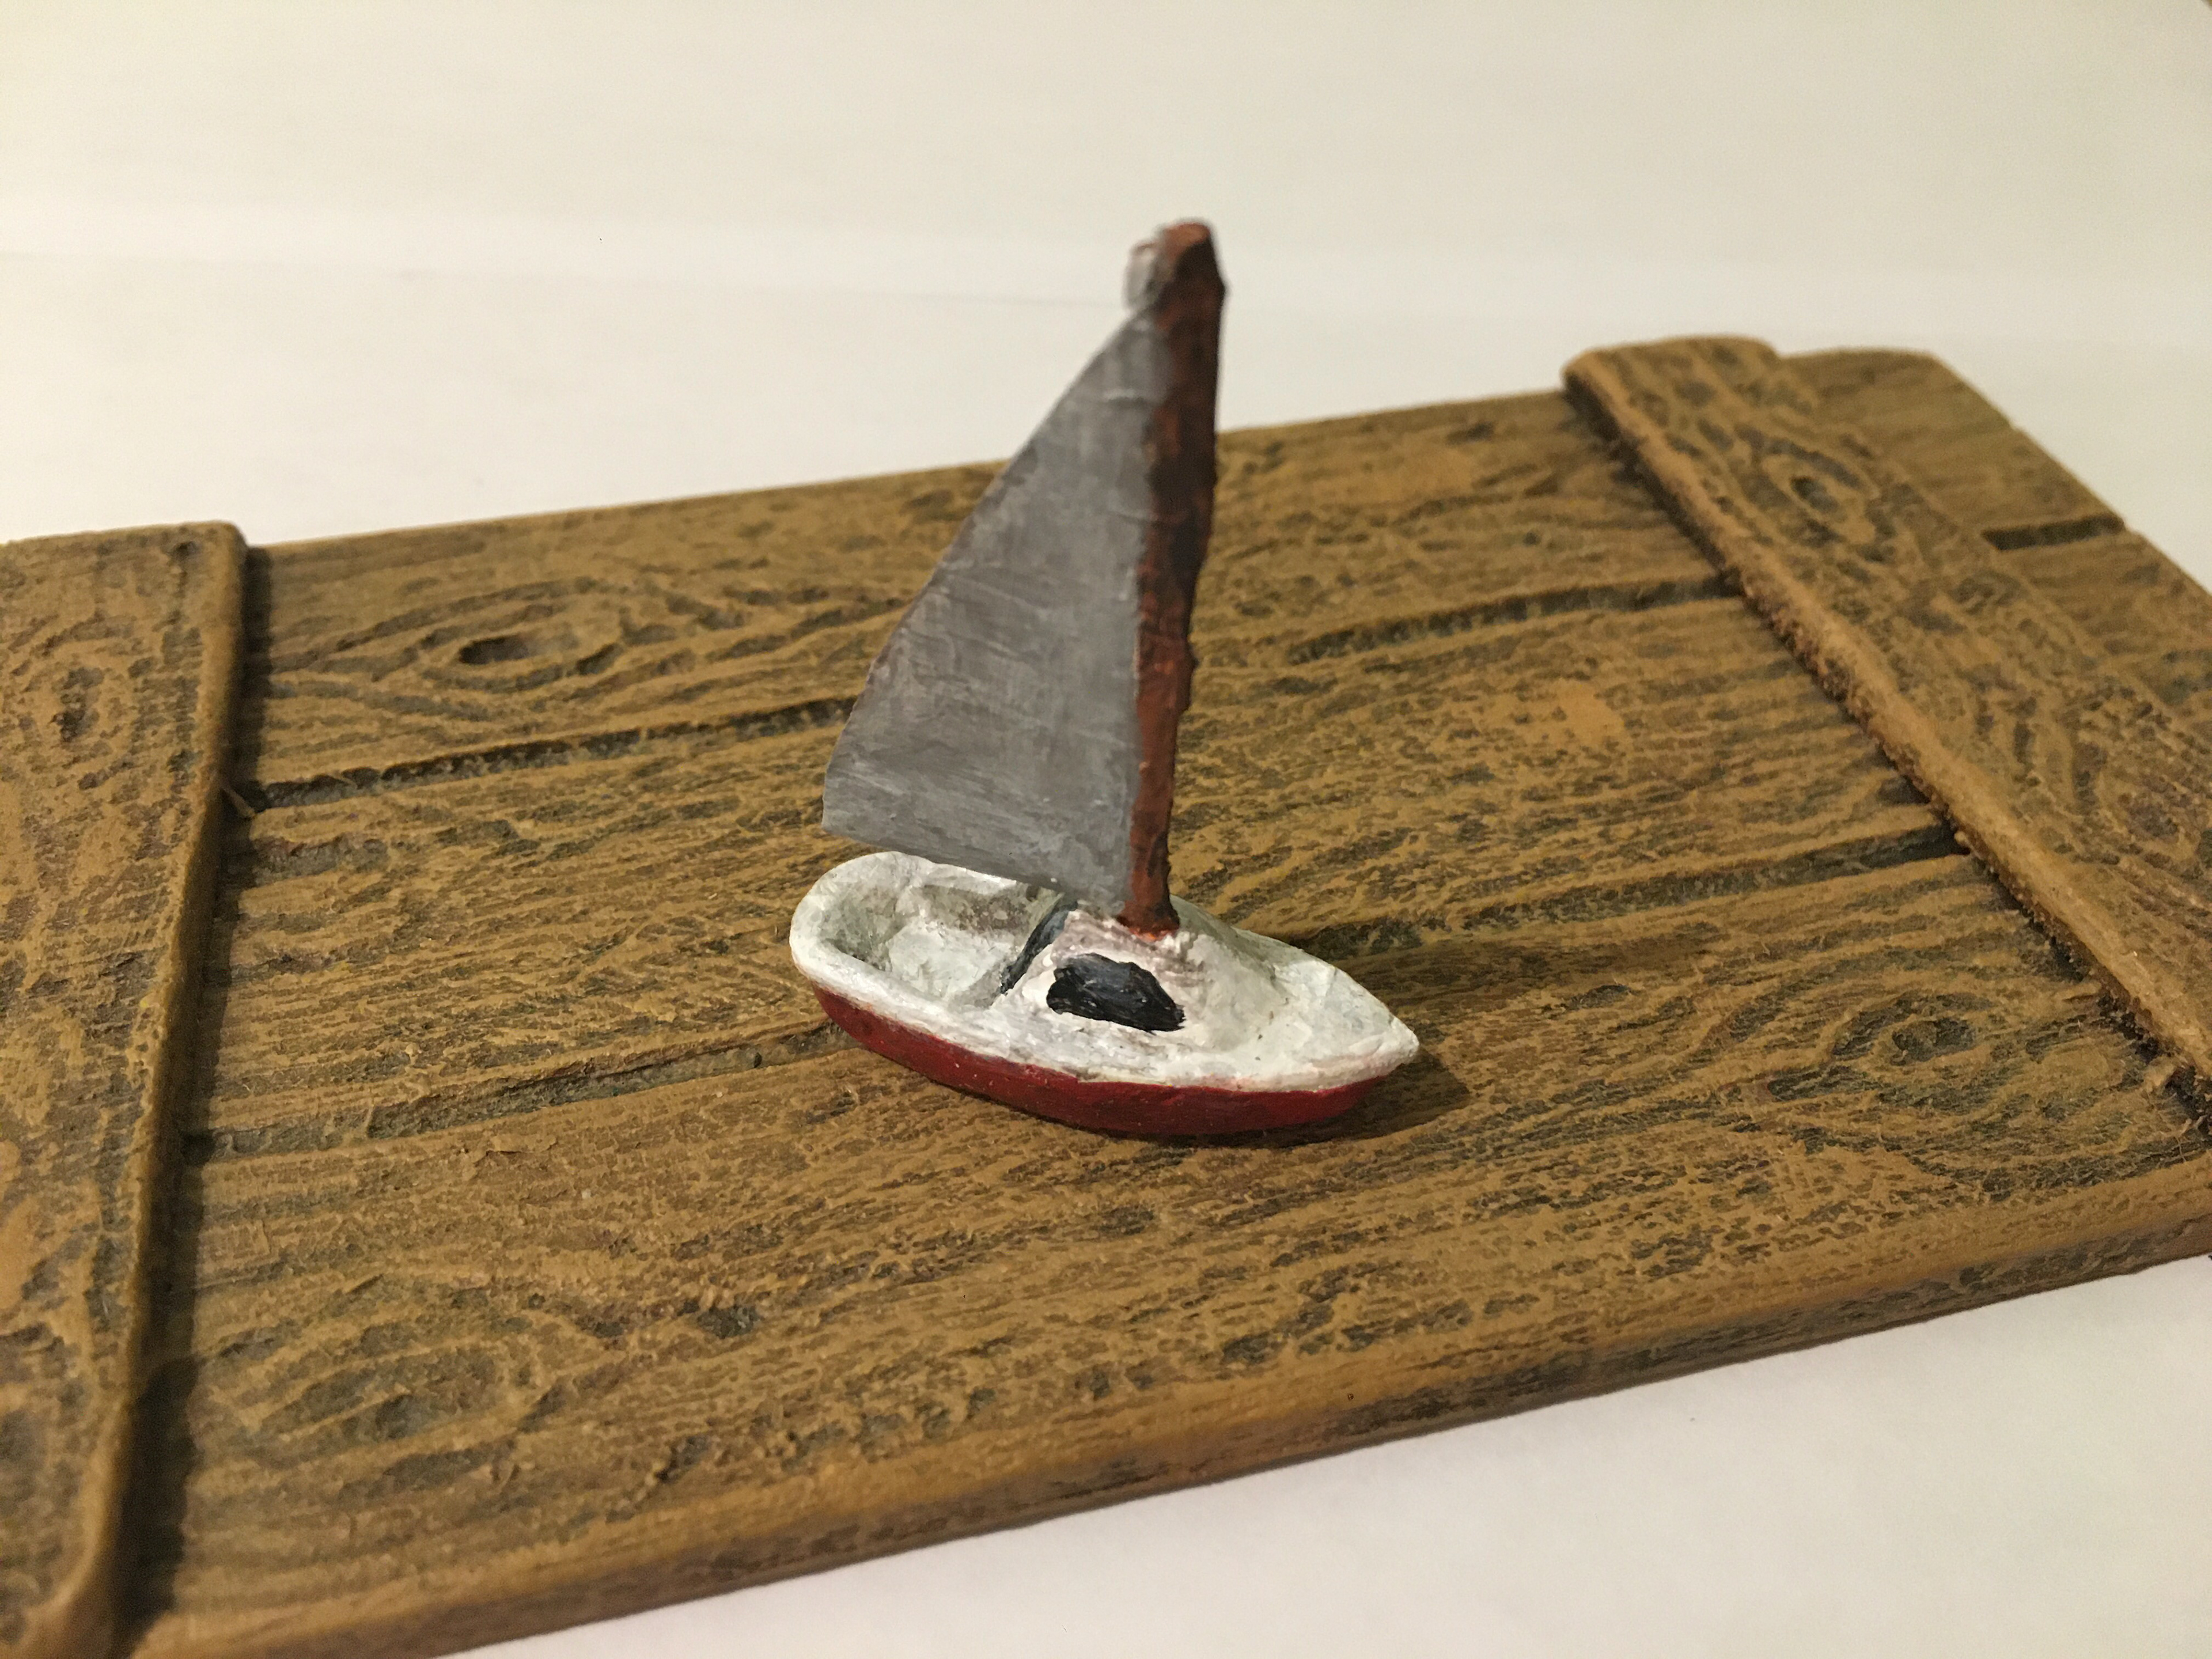
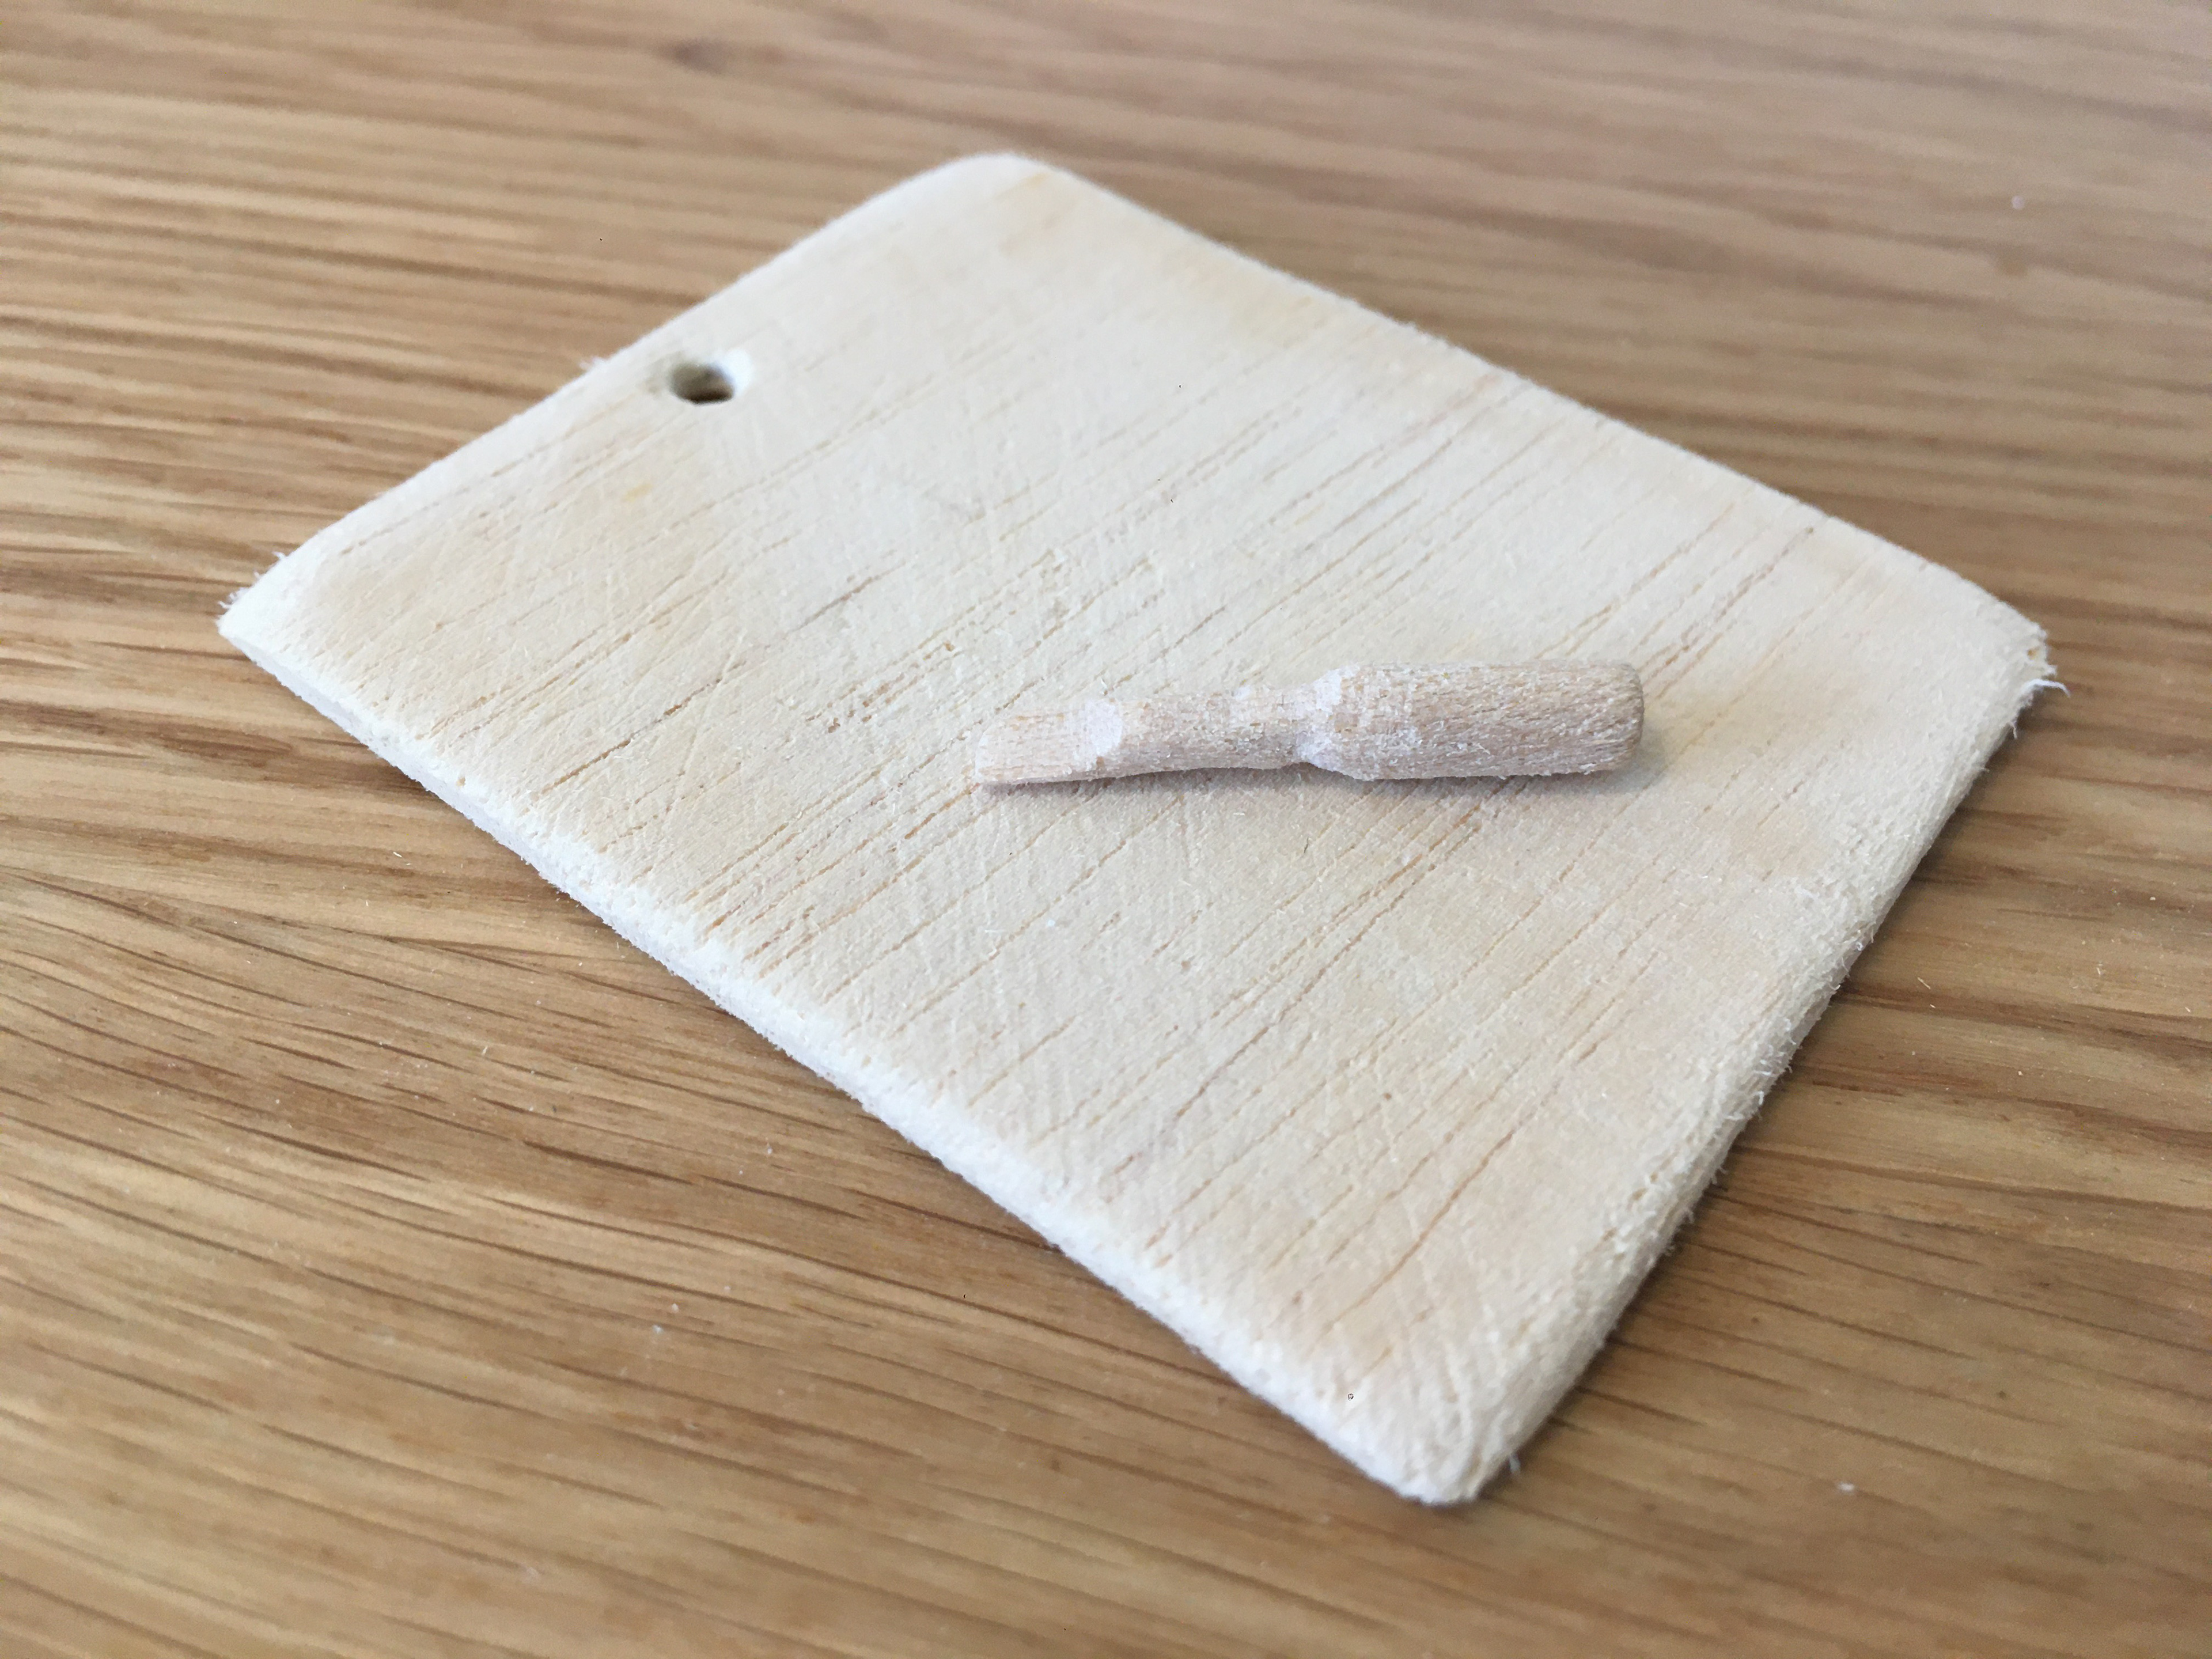
I decided to photograph my tool box on the complete set. One of the these photographs (bottom) would be used as a teaser poster for my new short animated film, The Holiday Maker.
The storage chest was built using a mixture of obeche wood and multi- purpose filler. A rotary tool was used to carve the texture and the grooves on the chest.

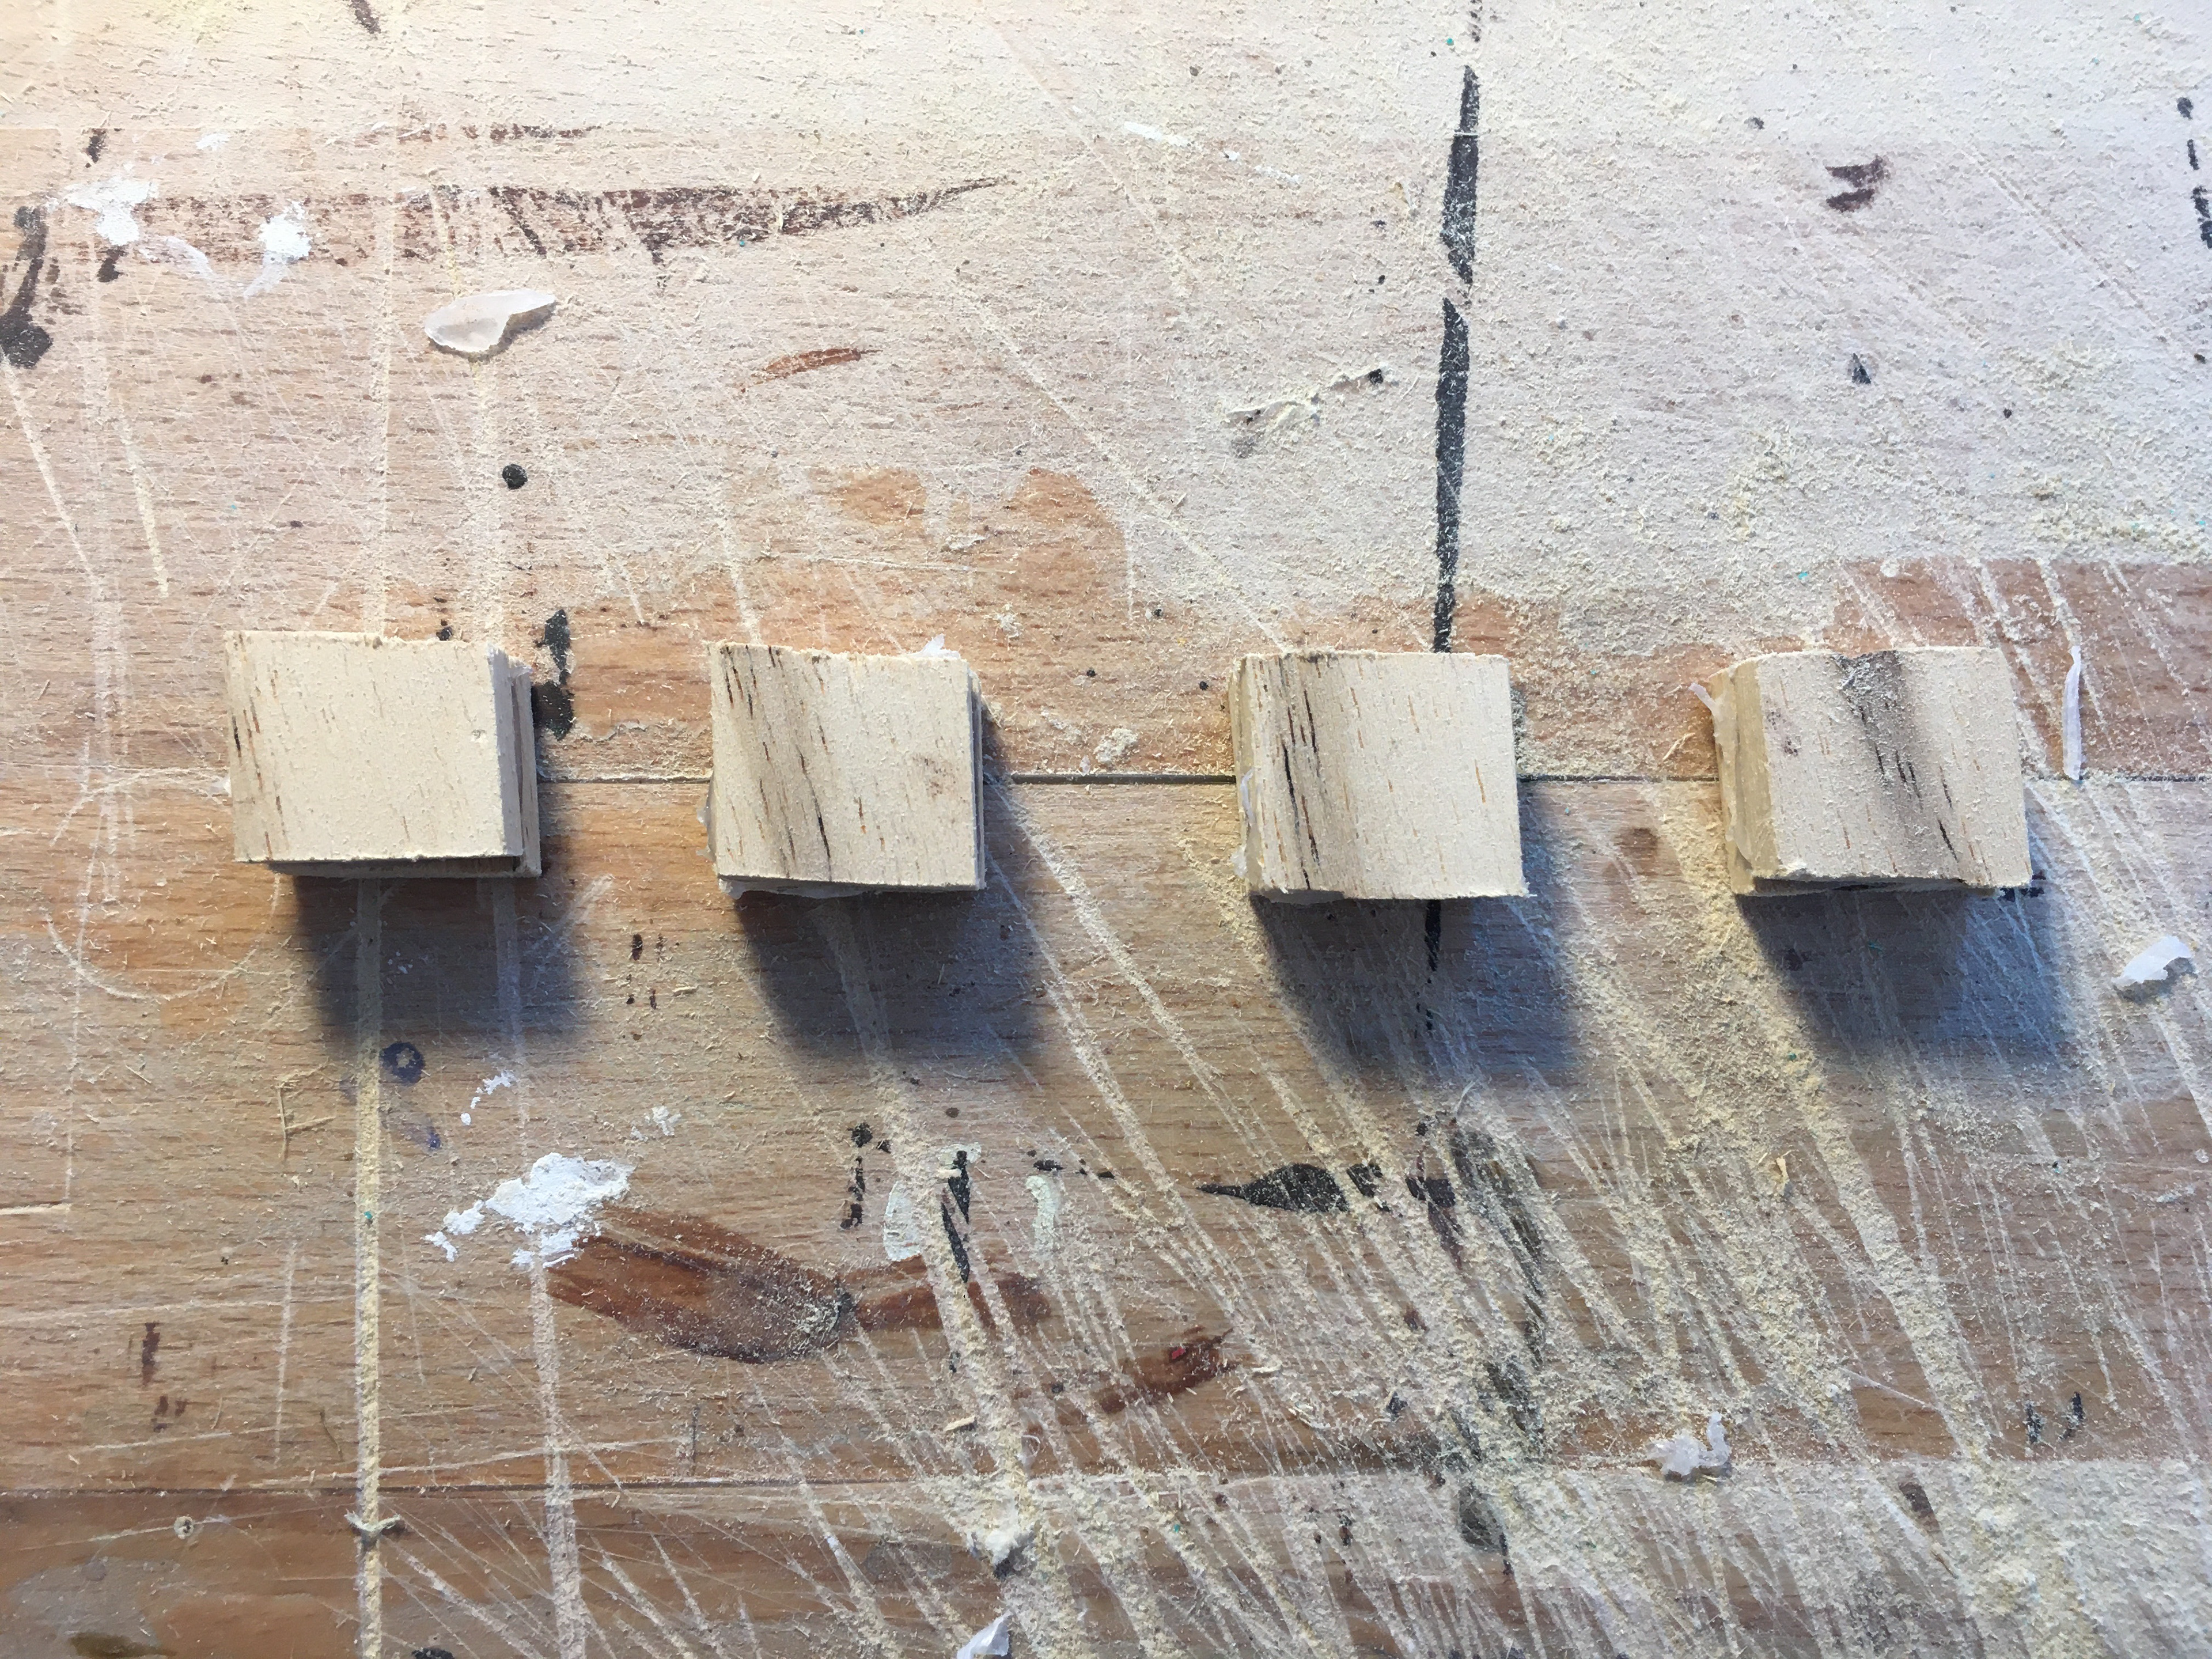
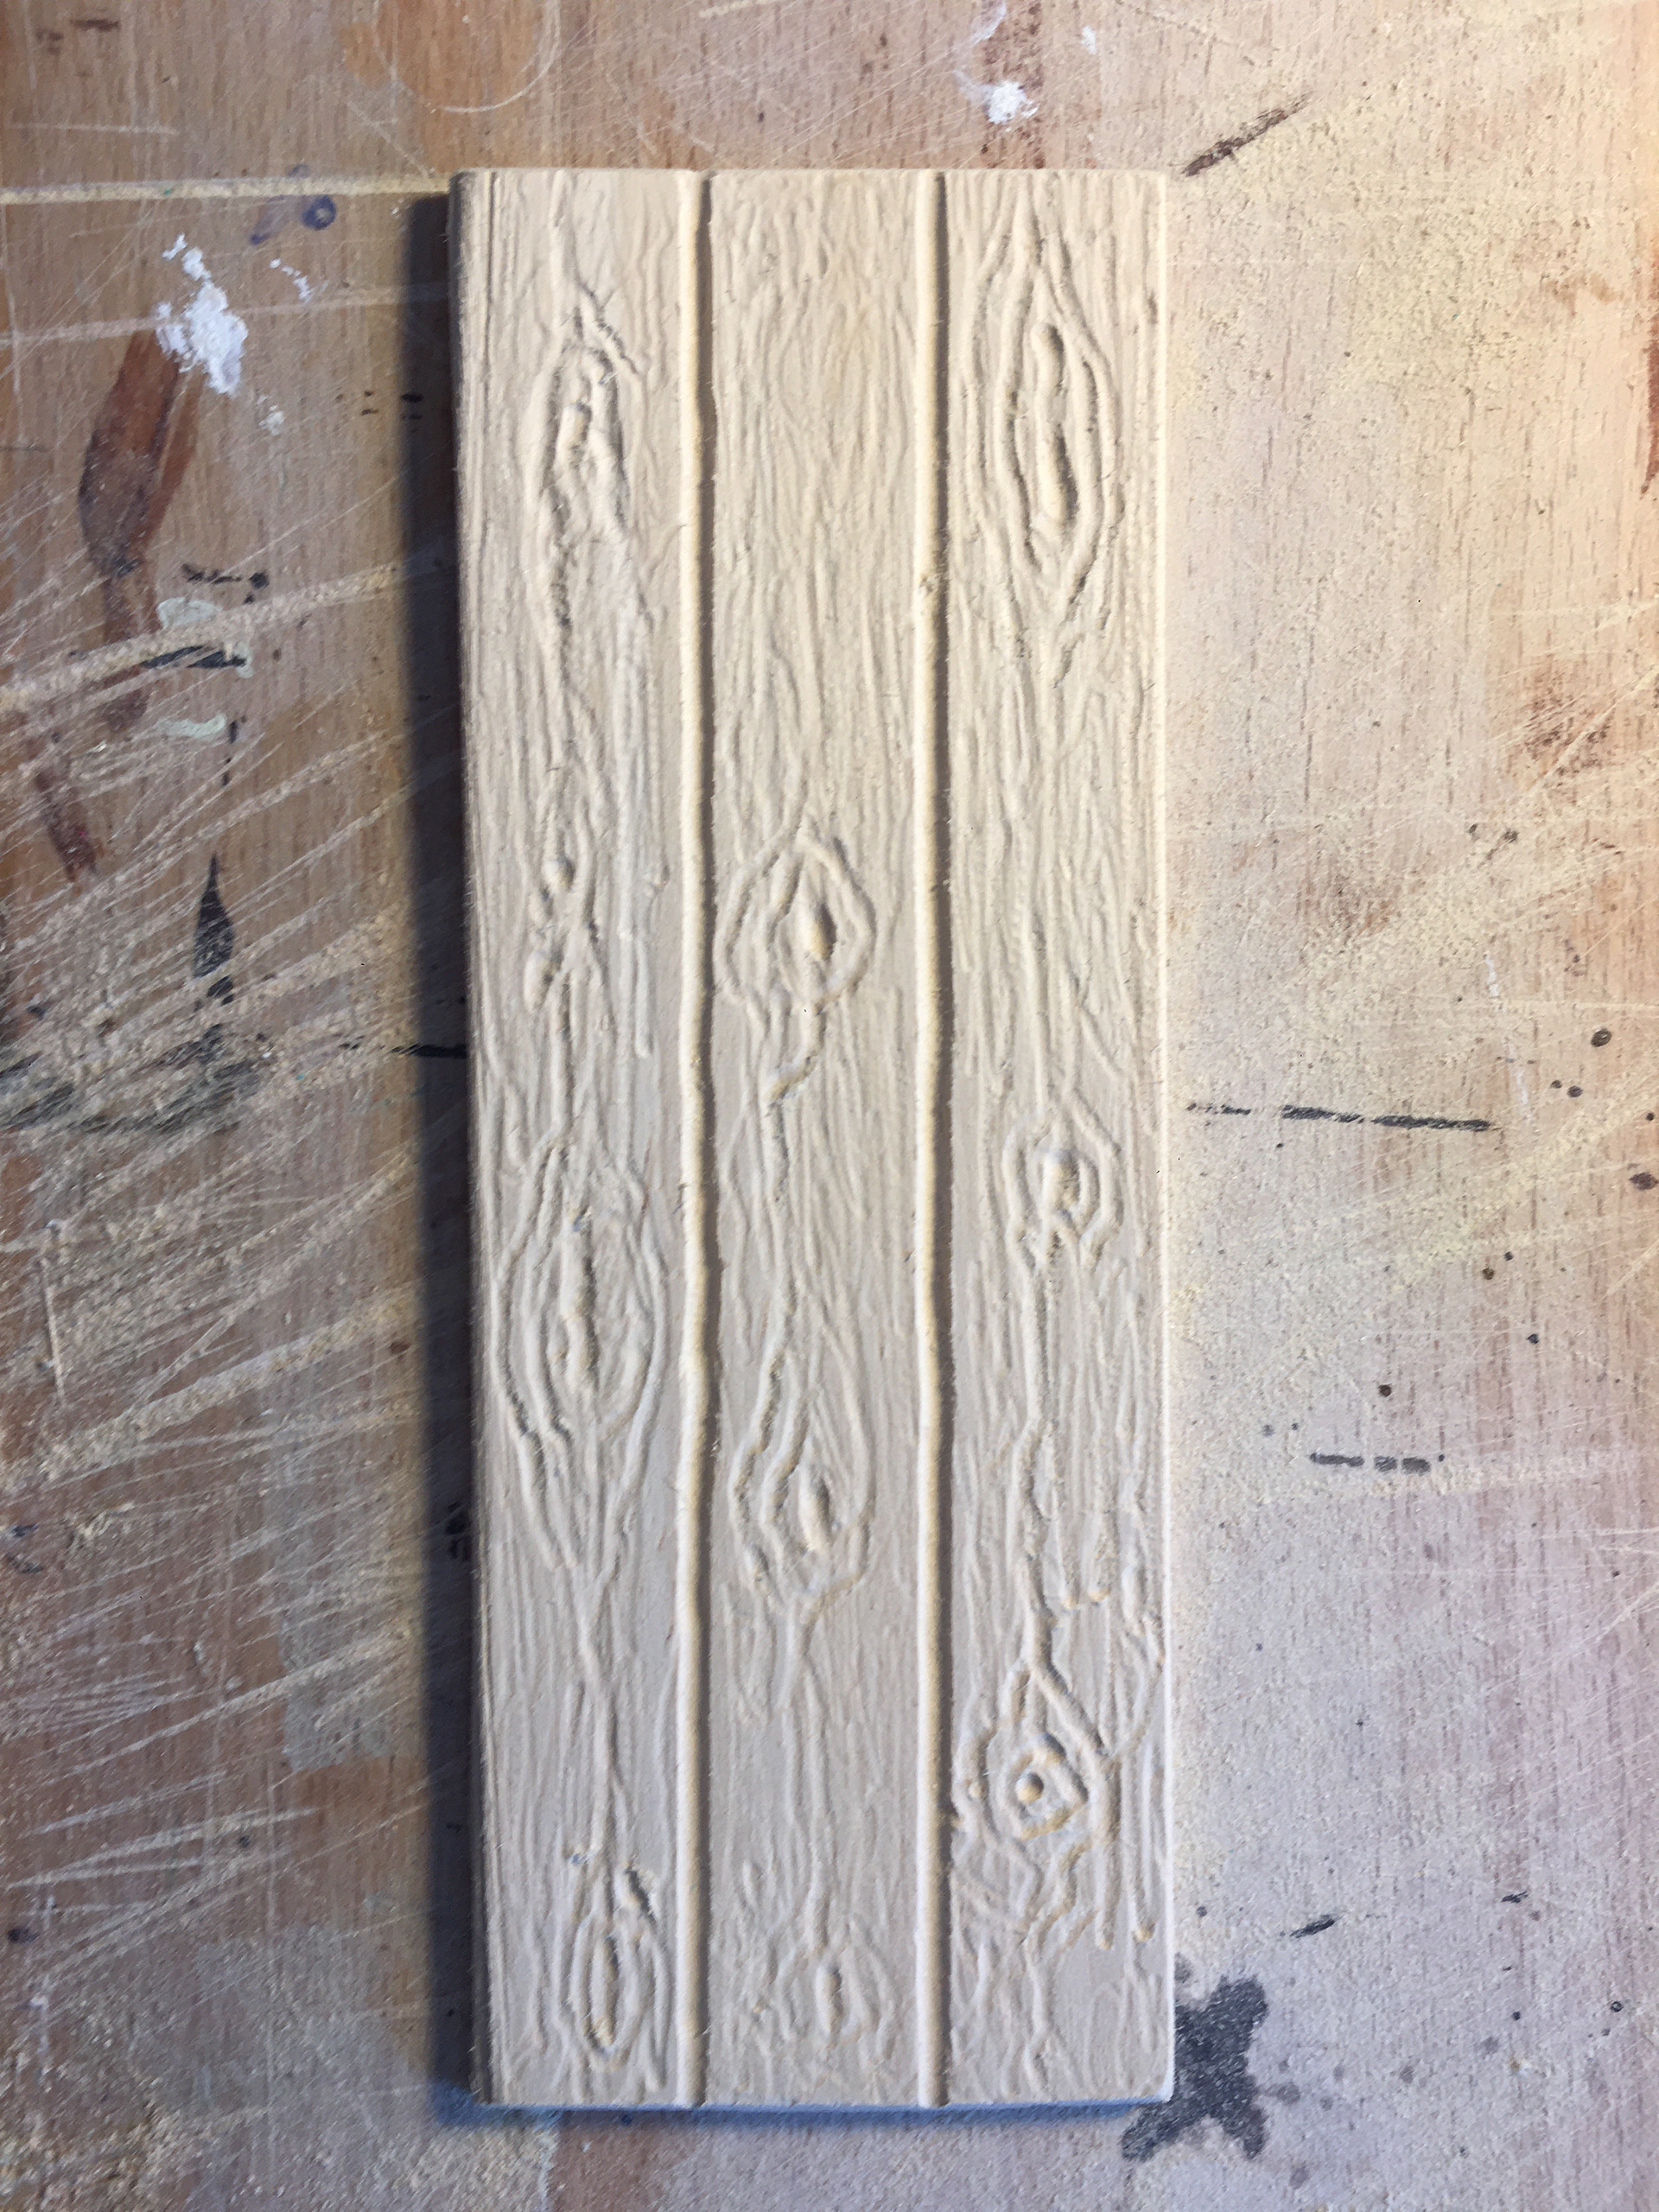
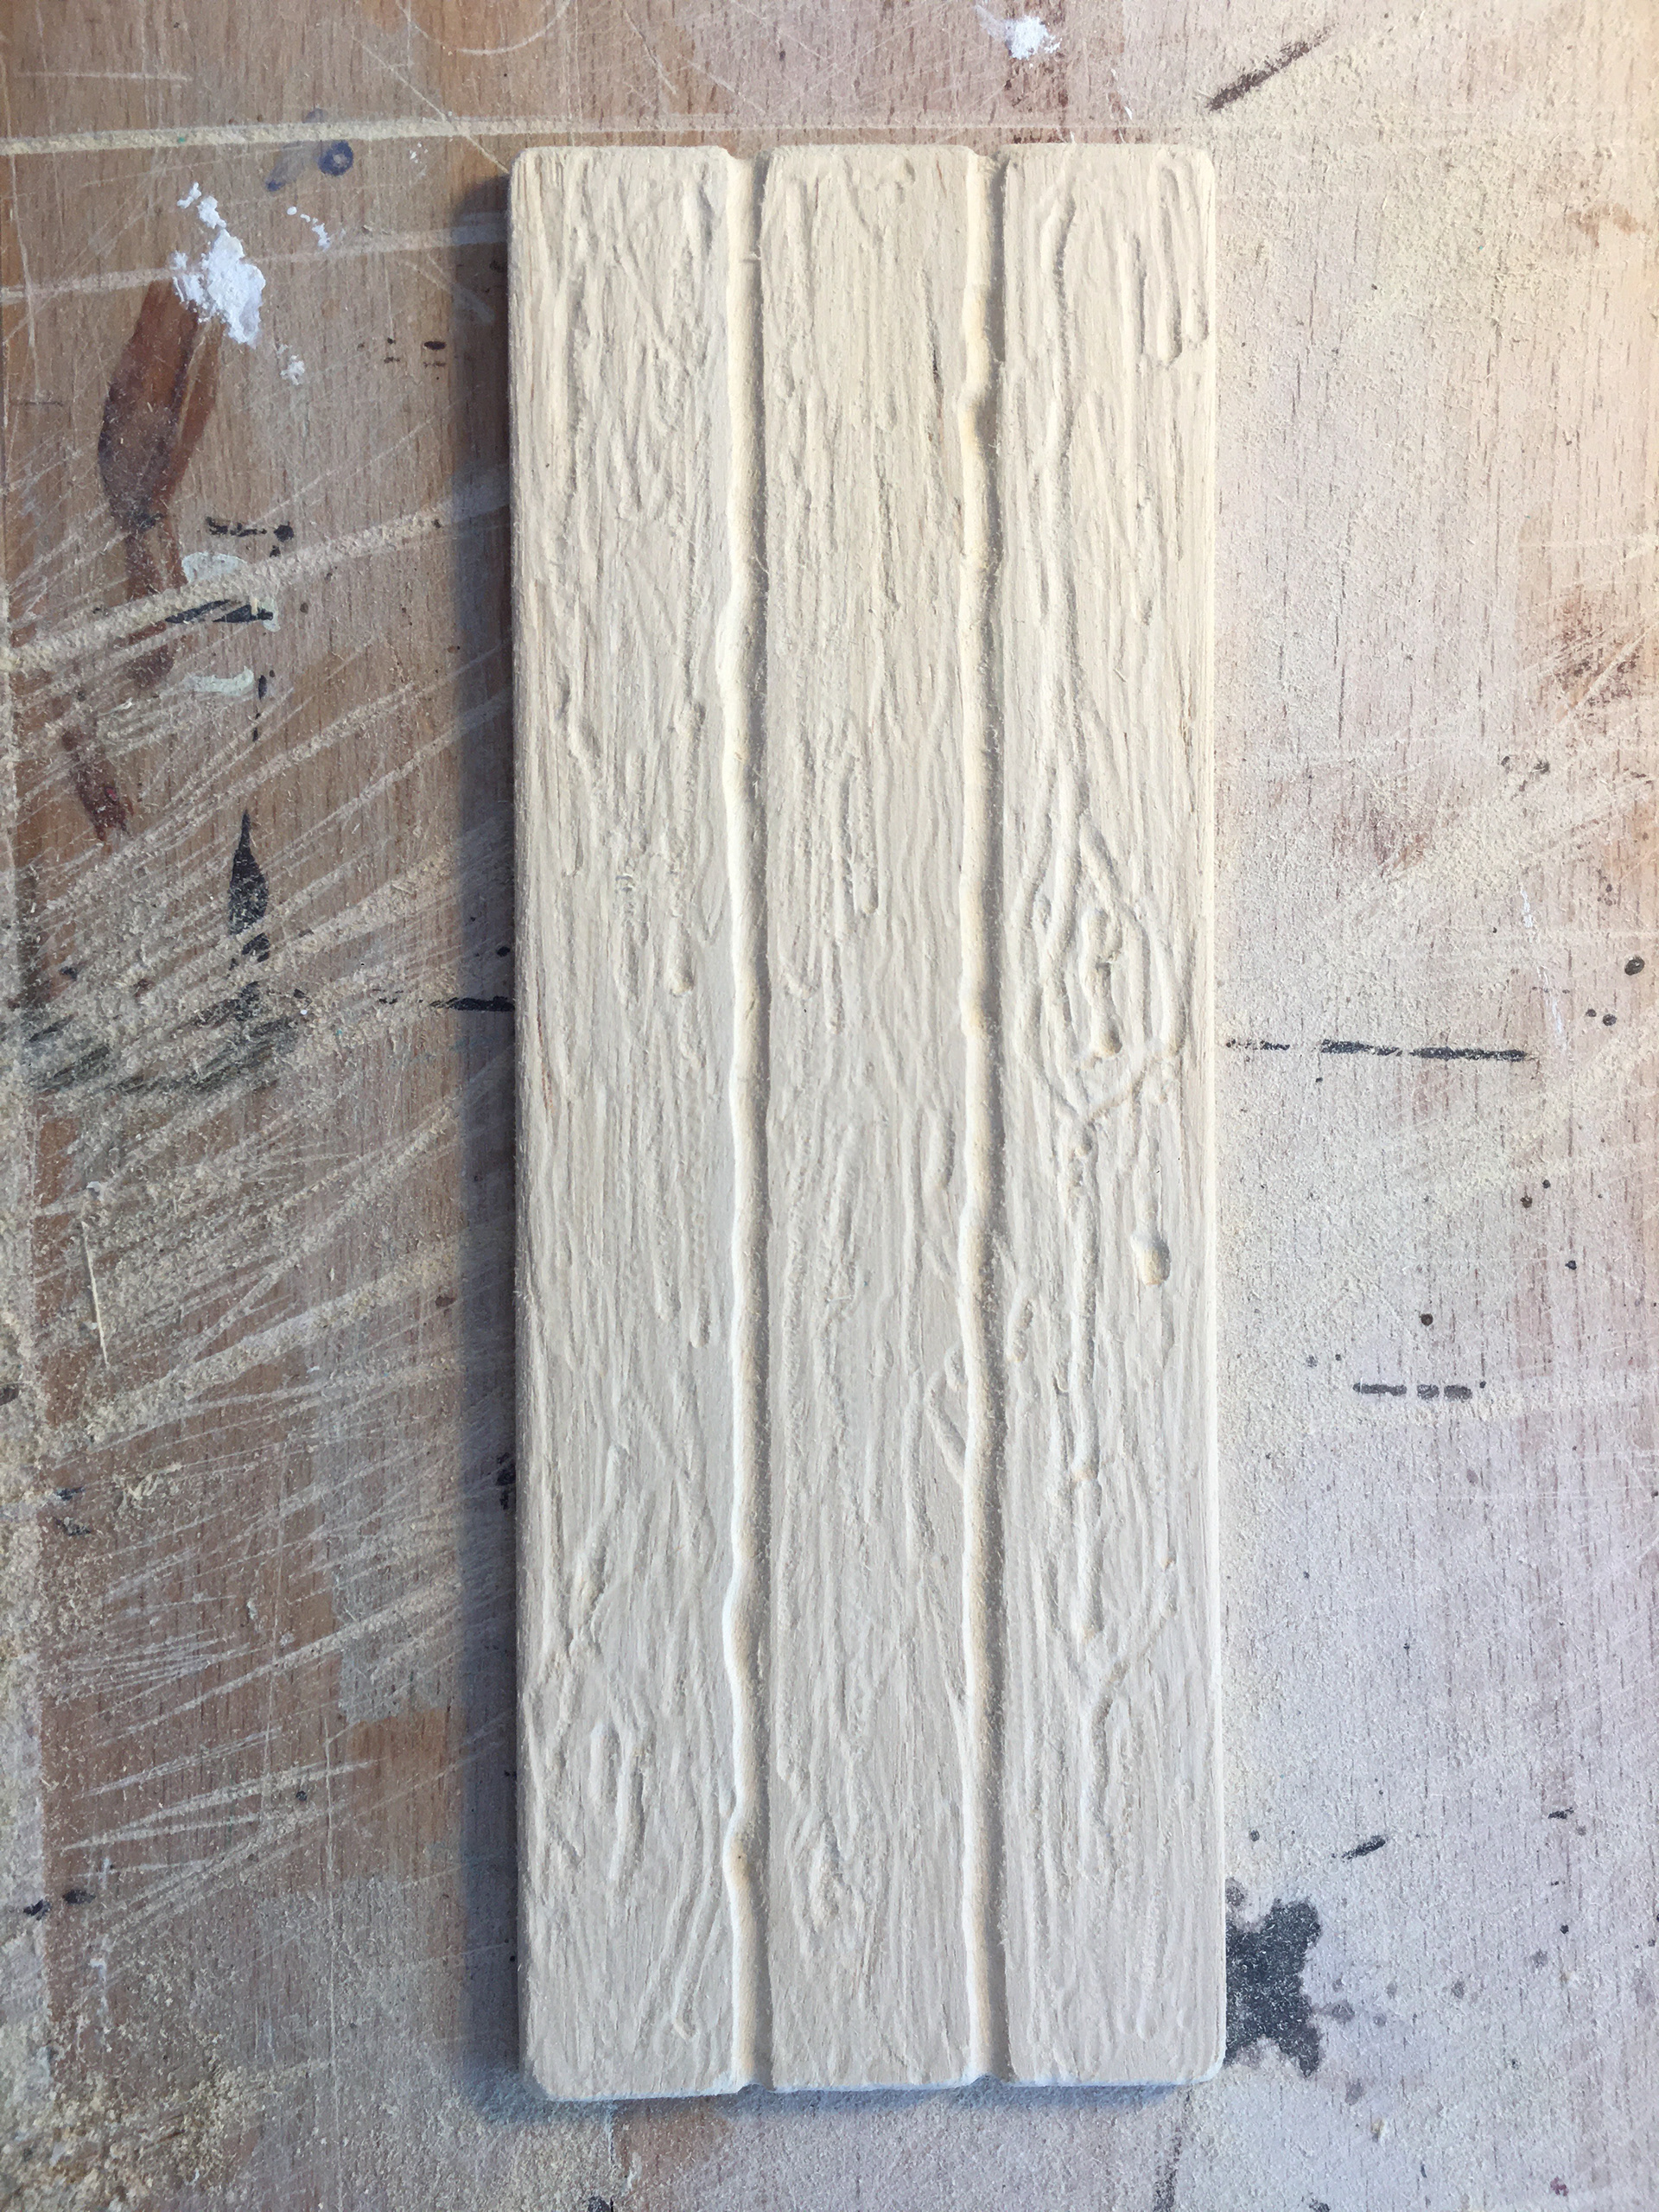
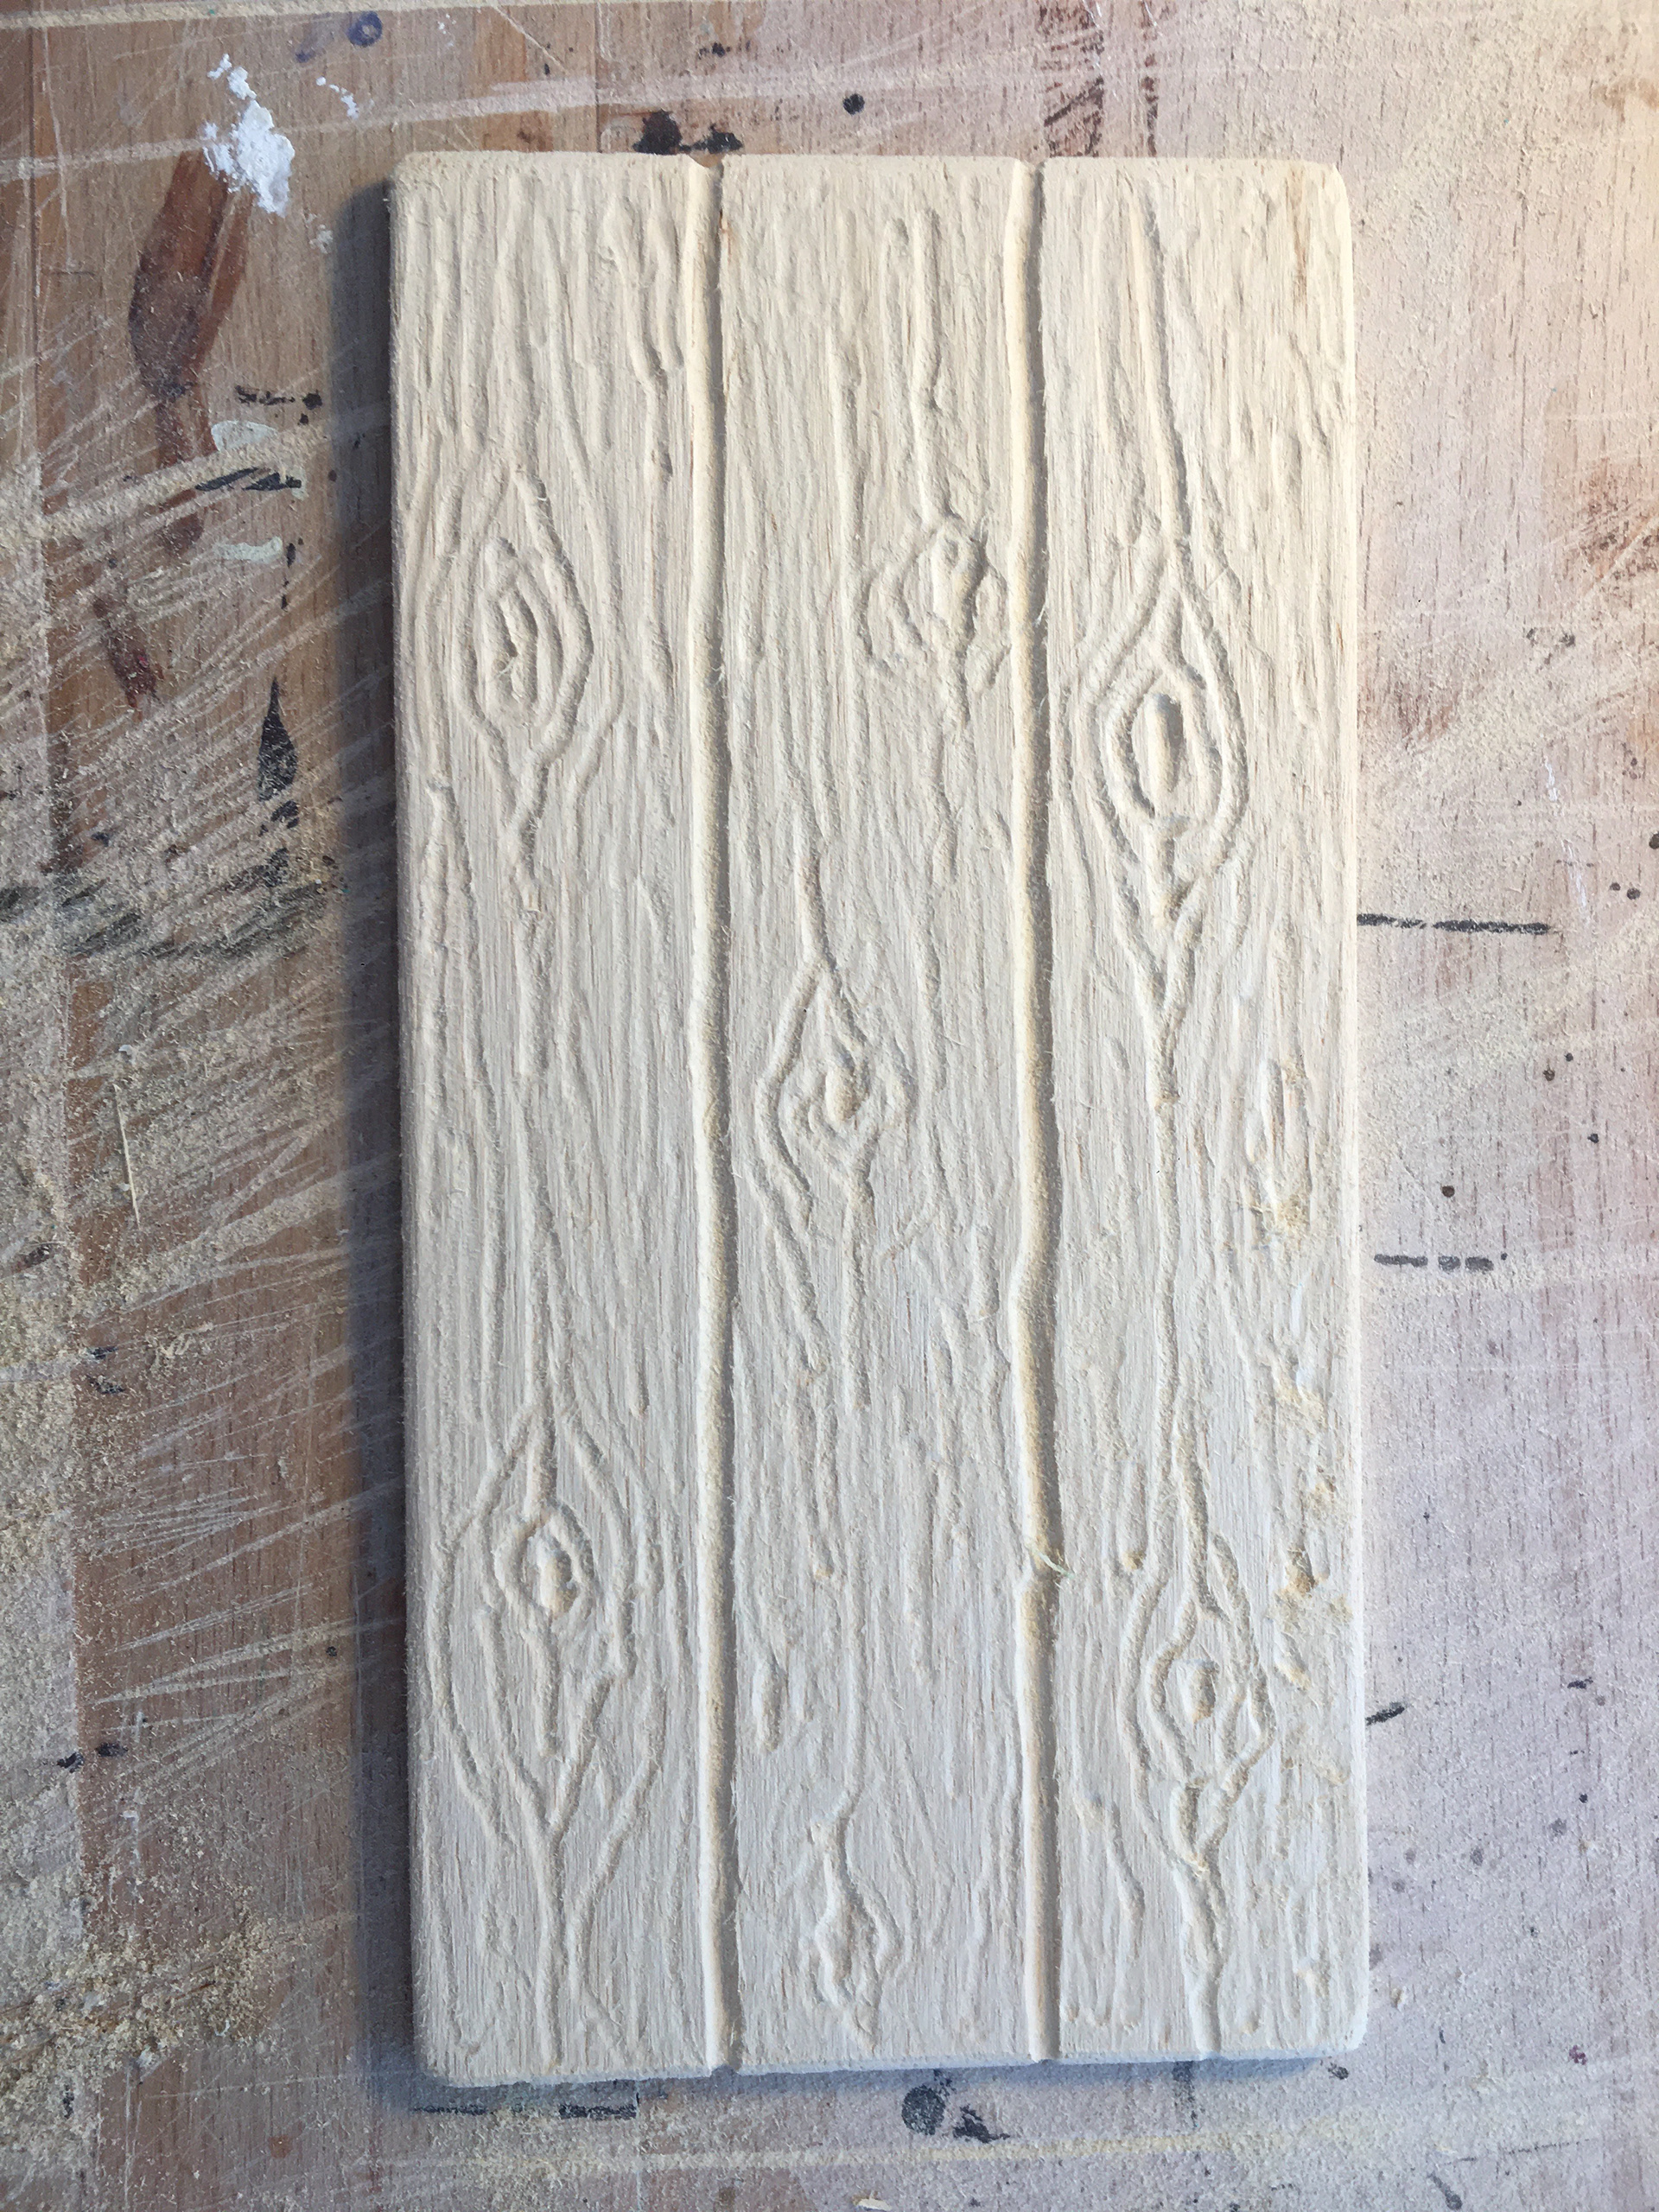
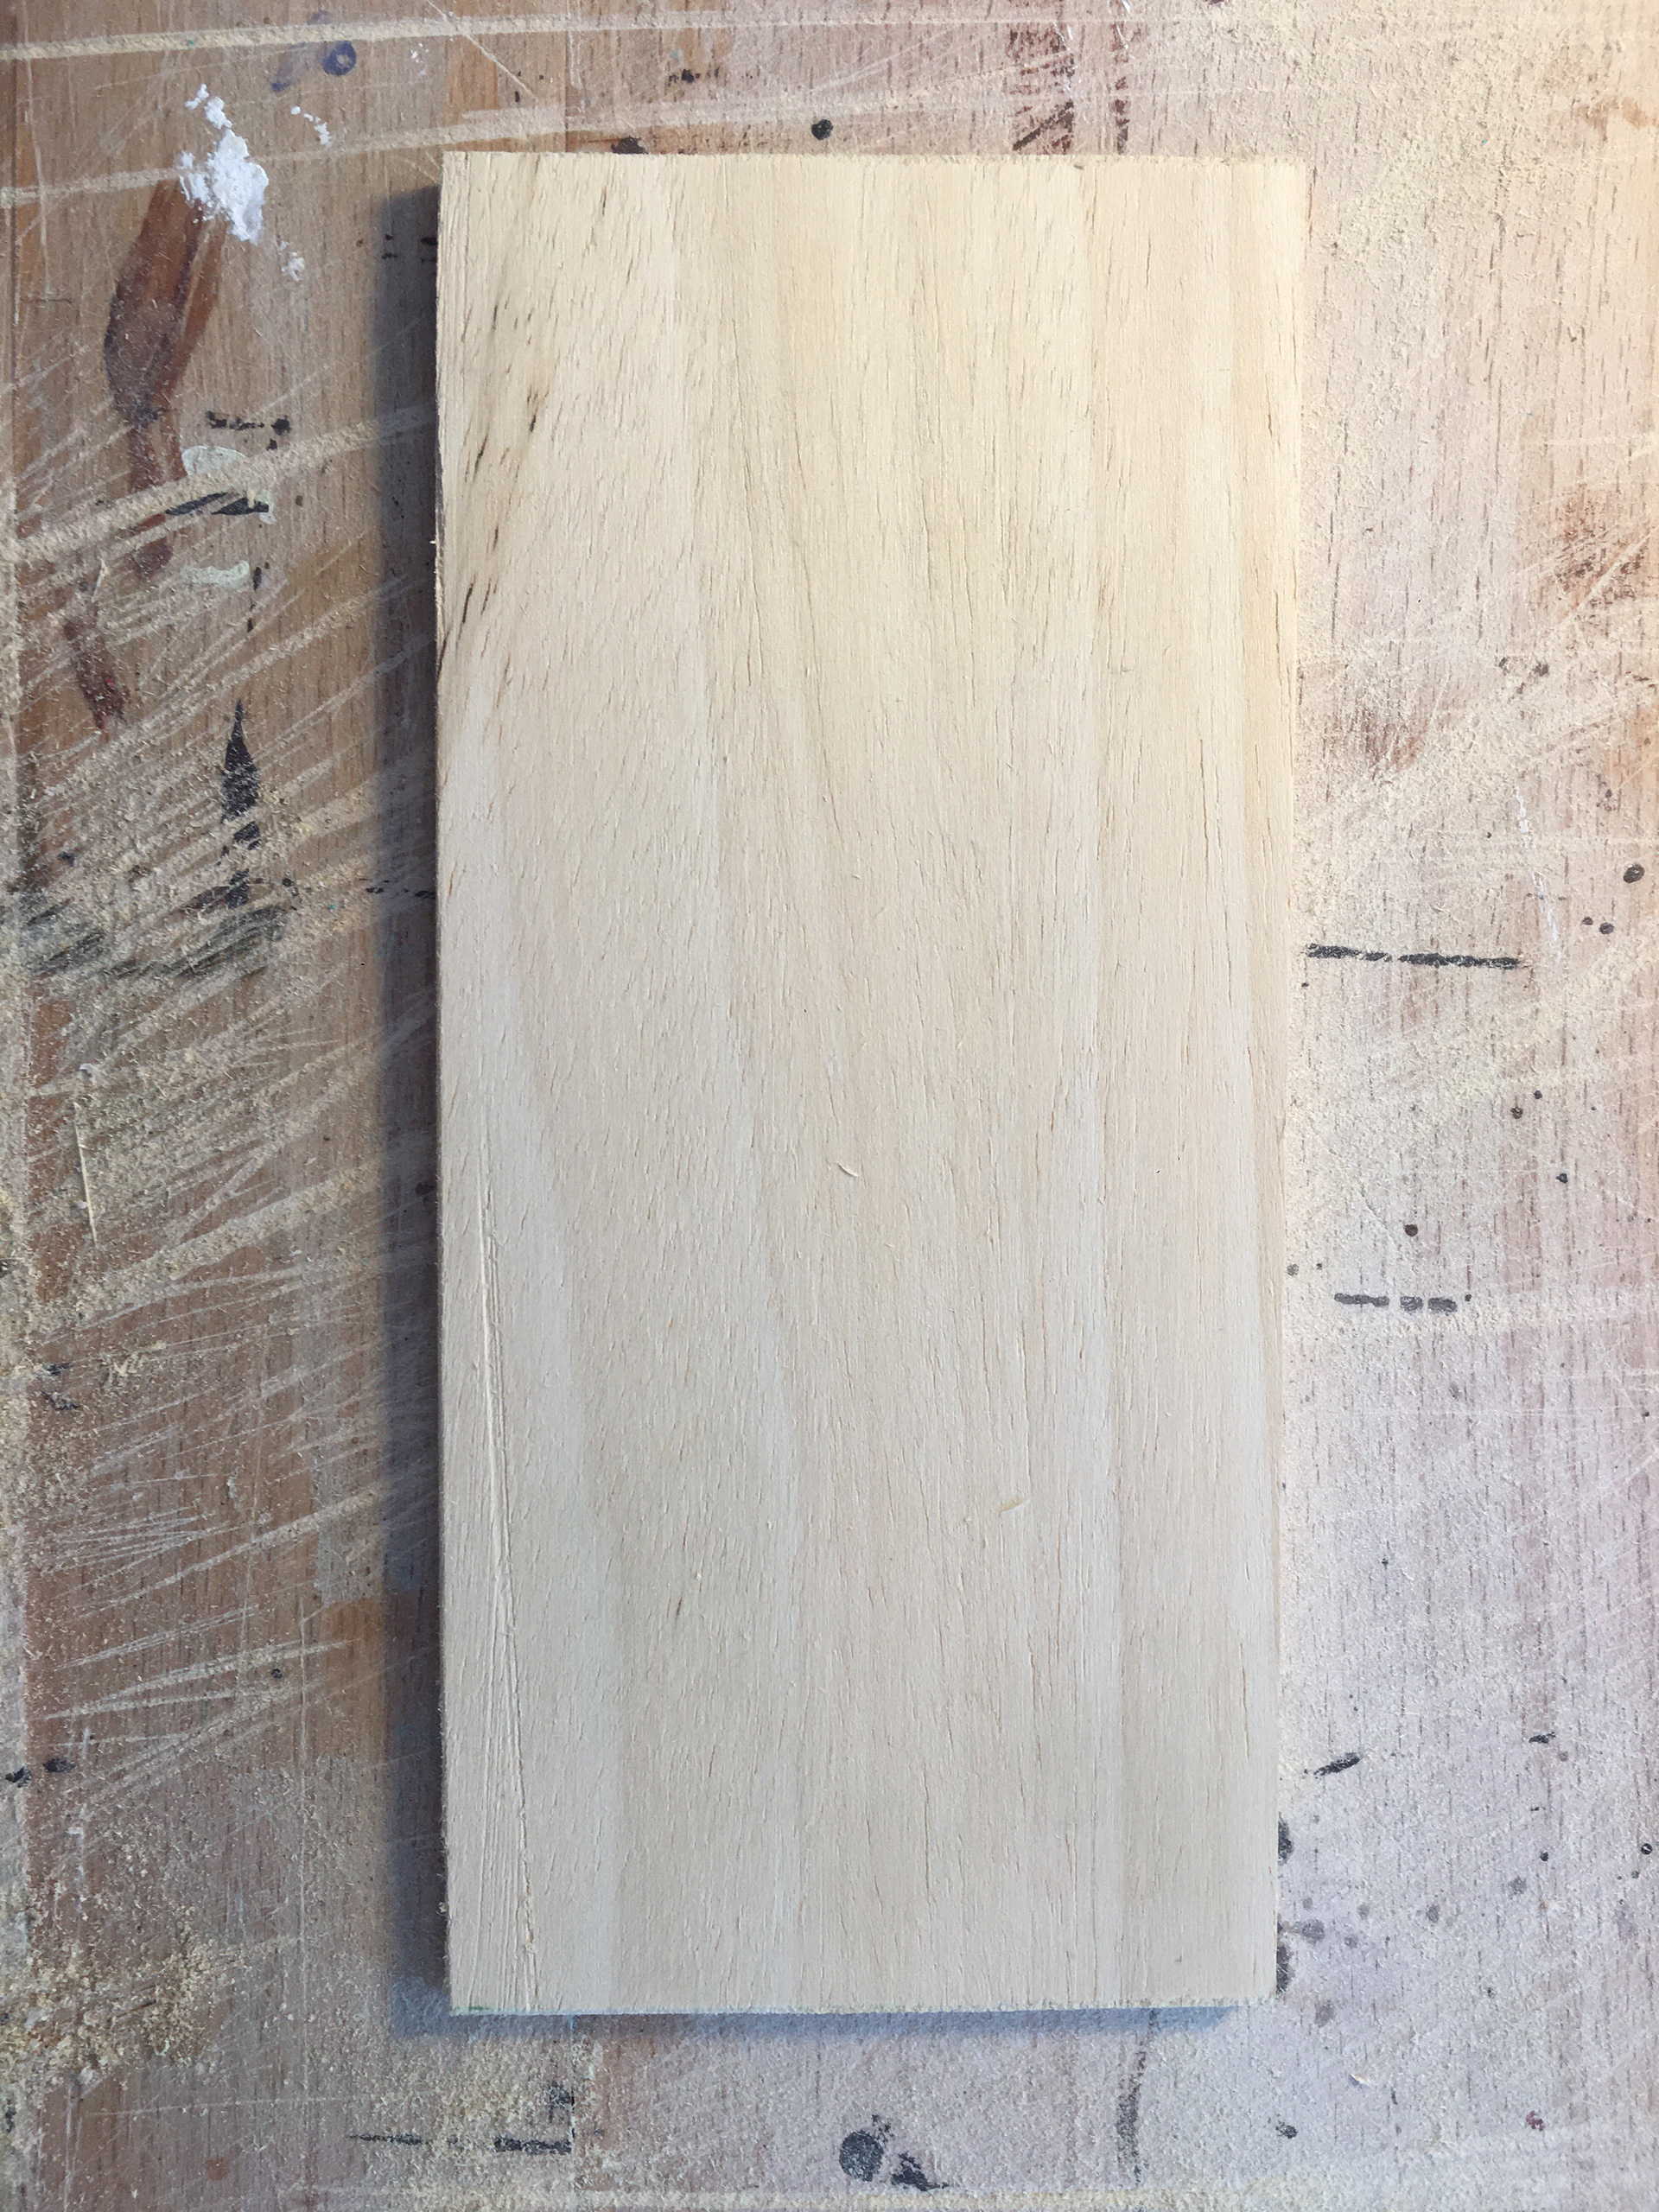
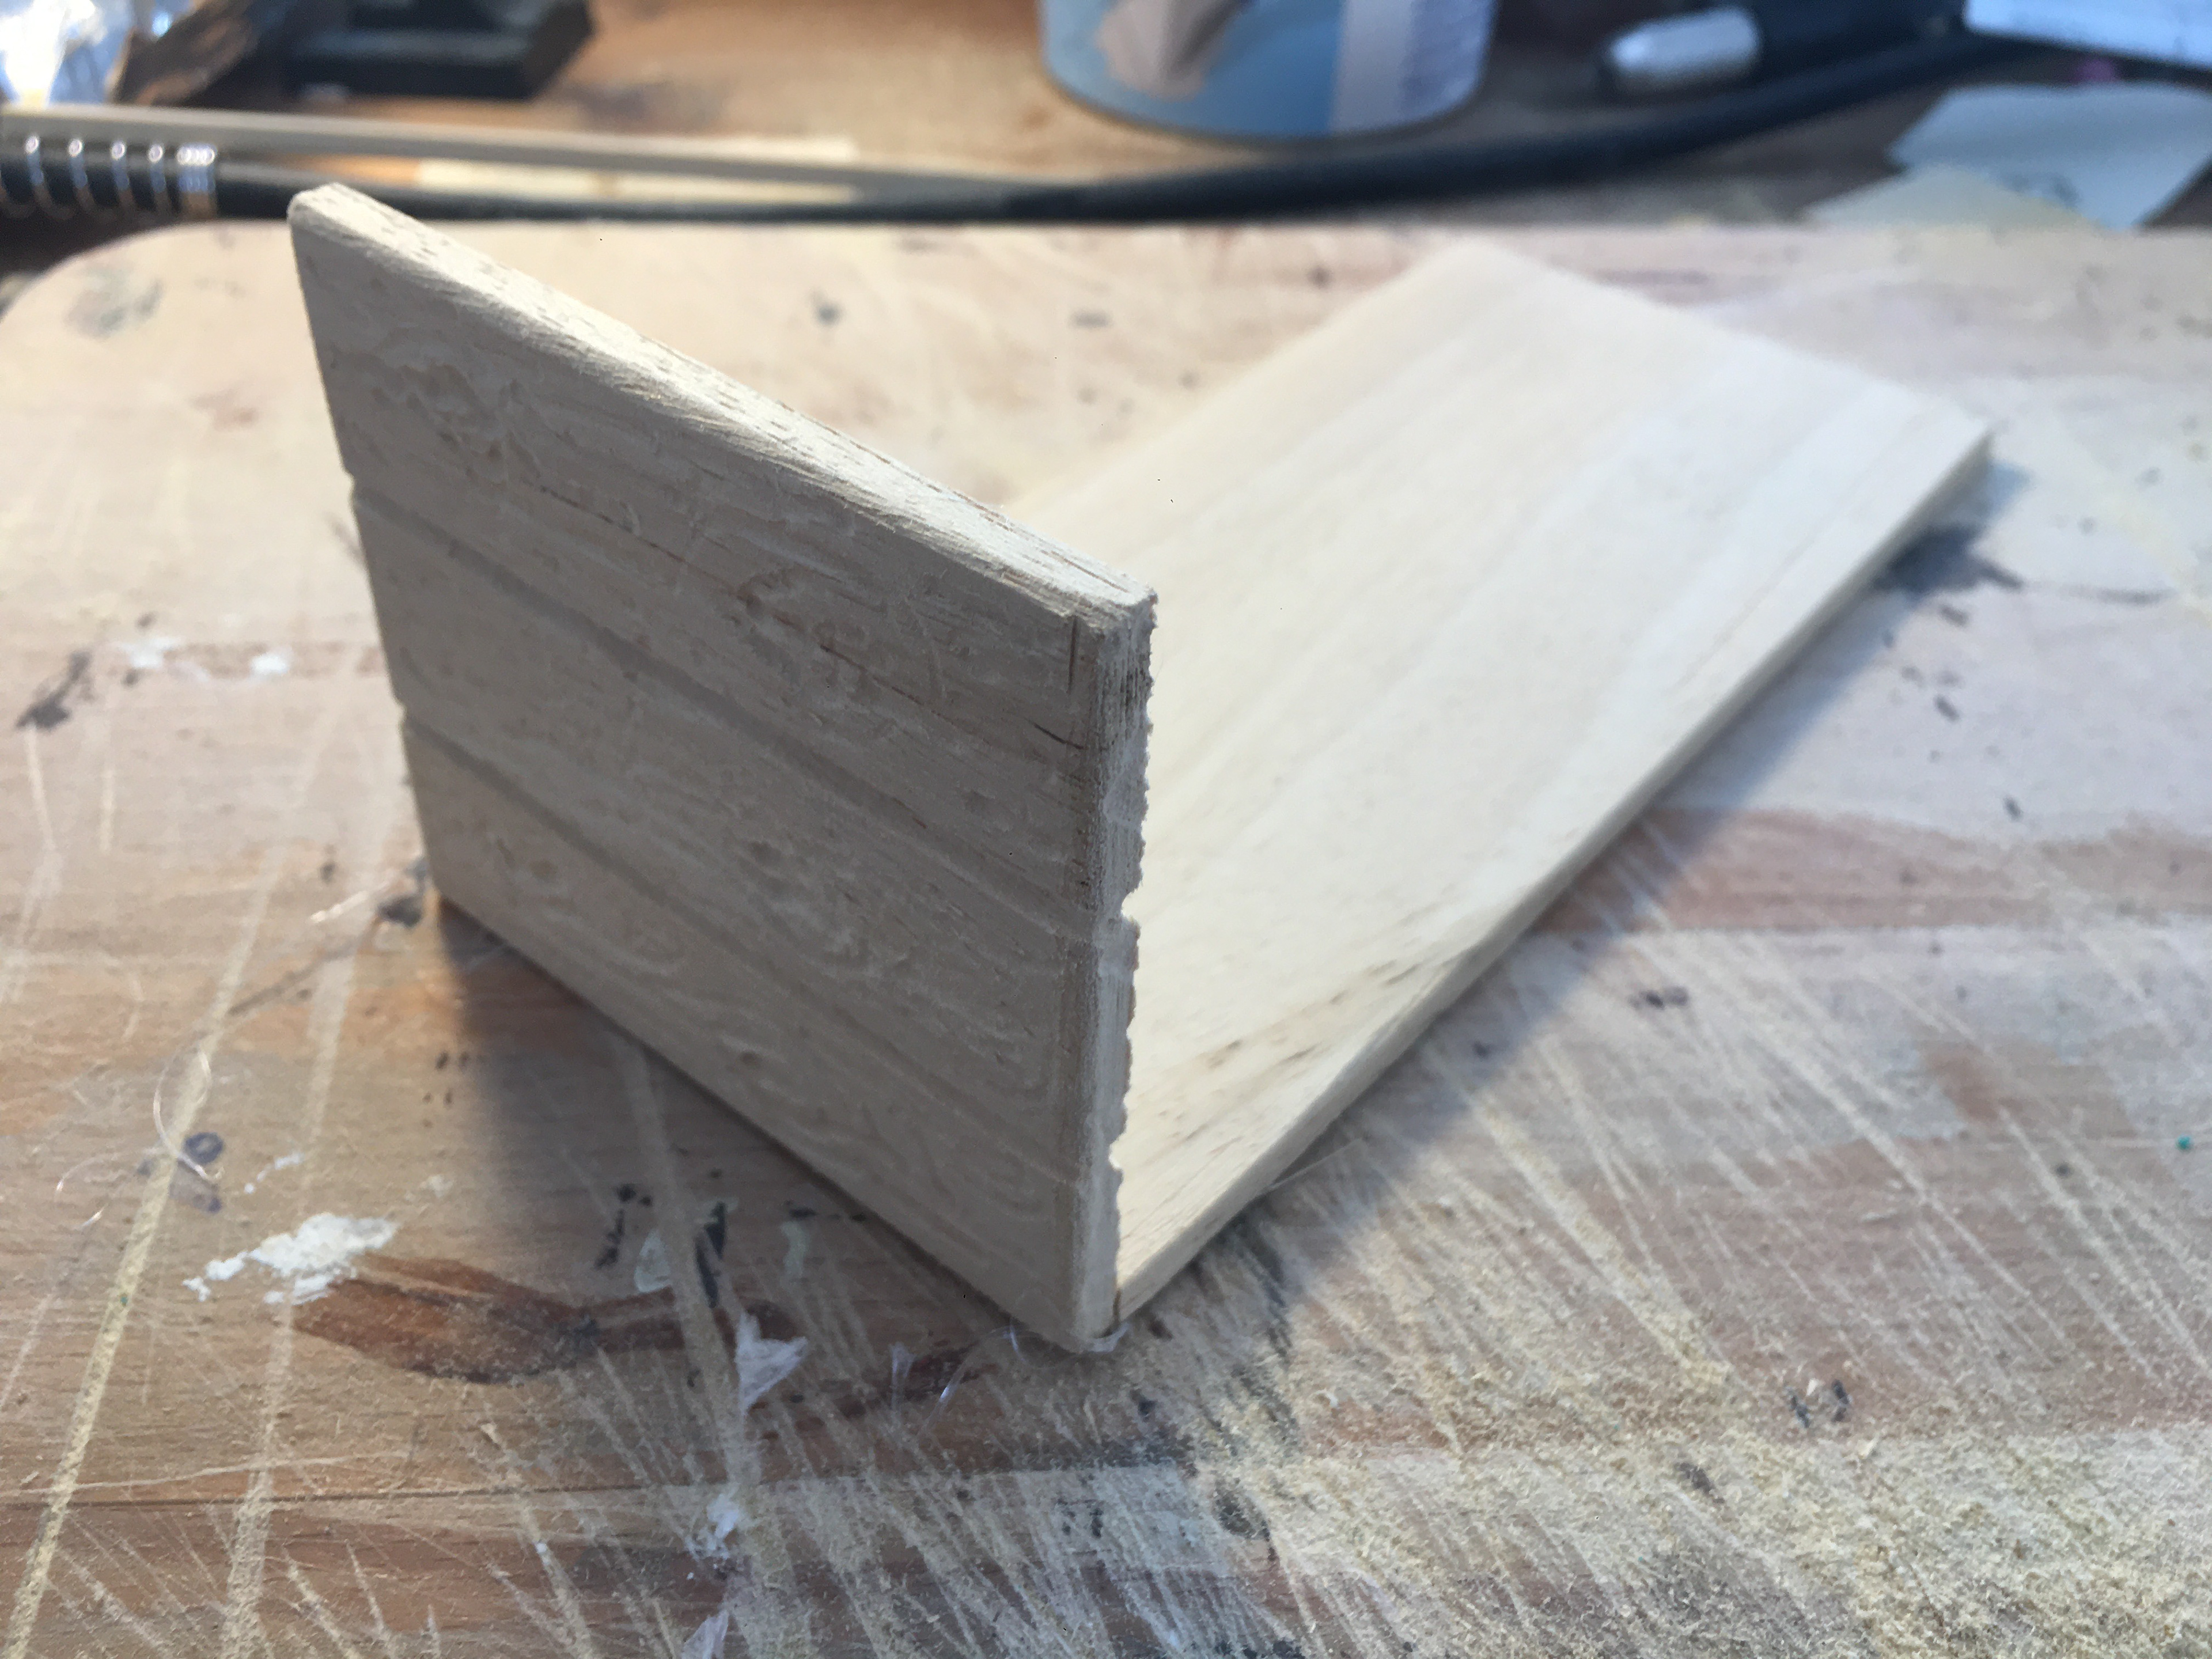
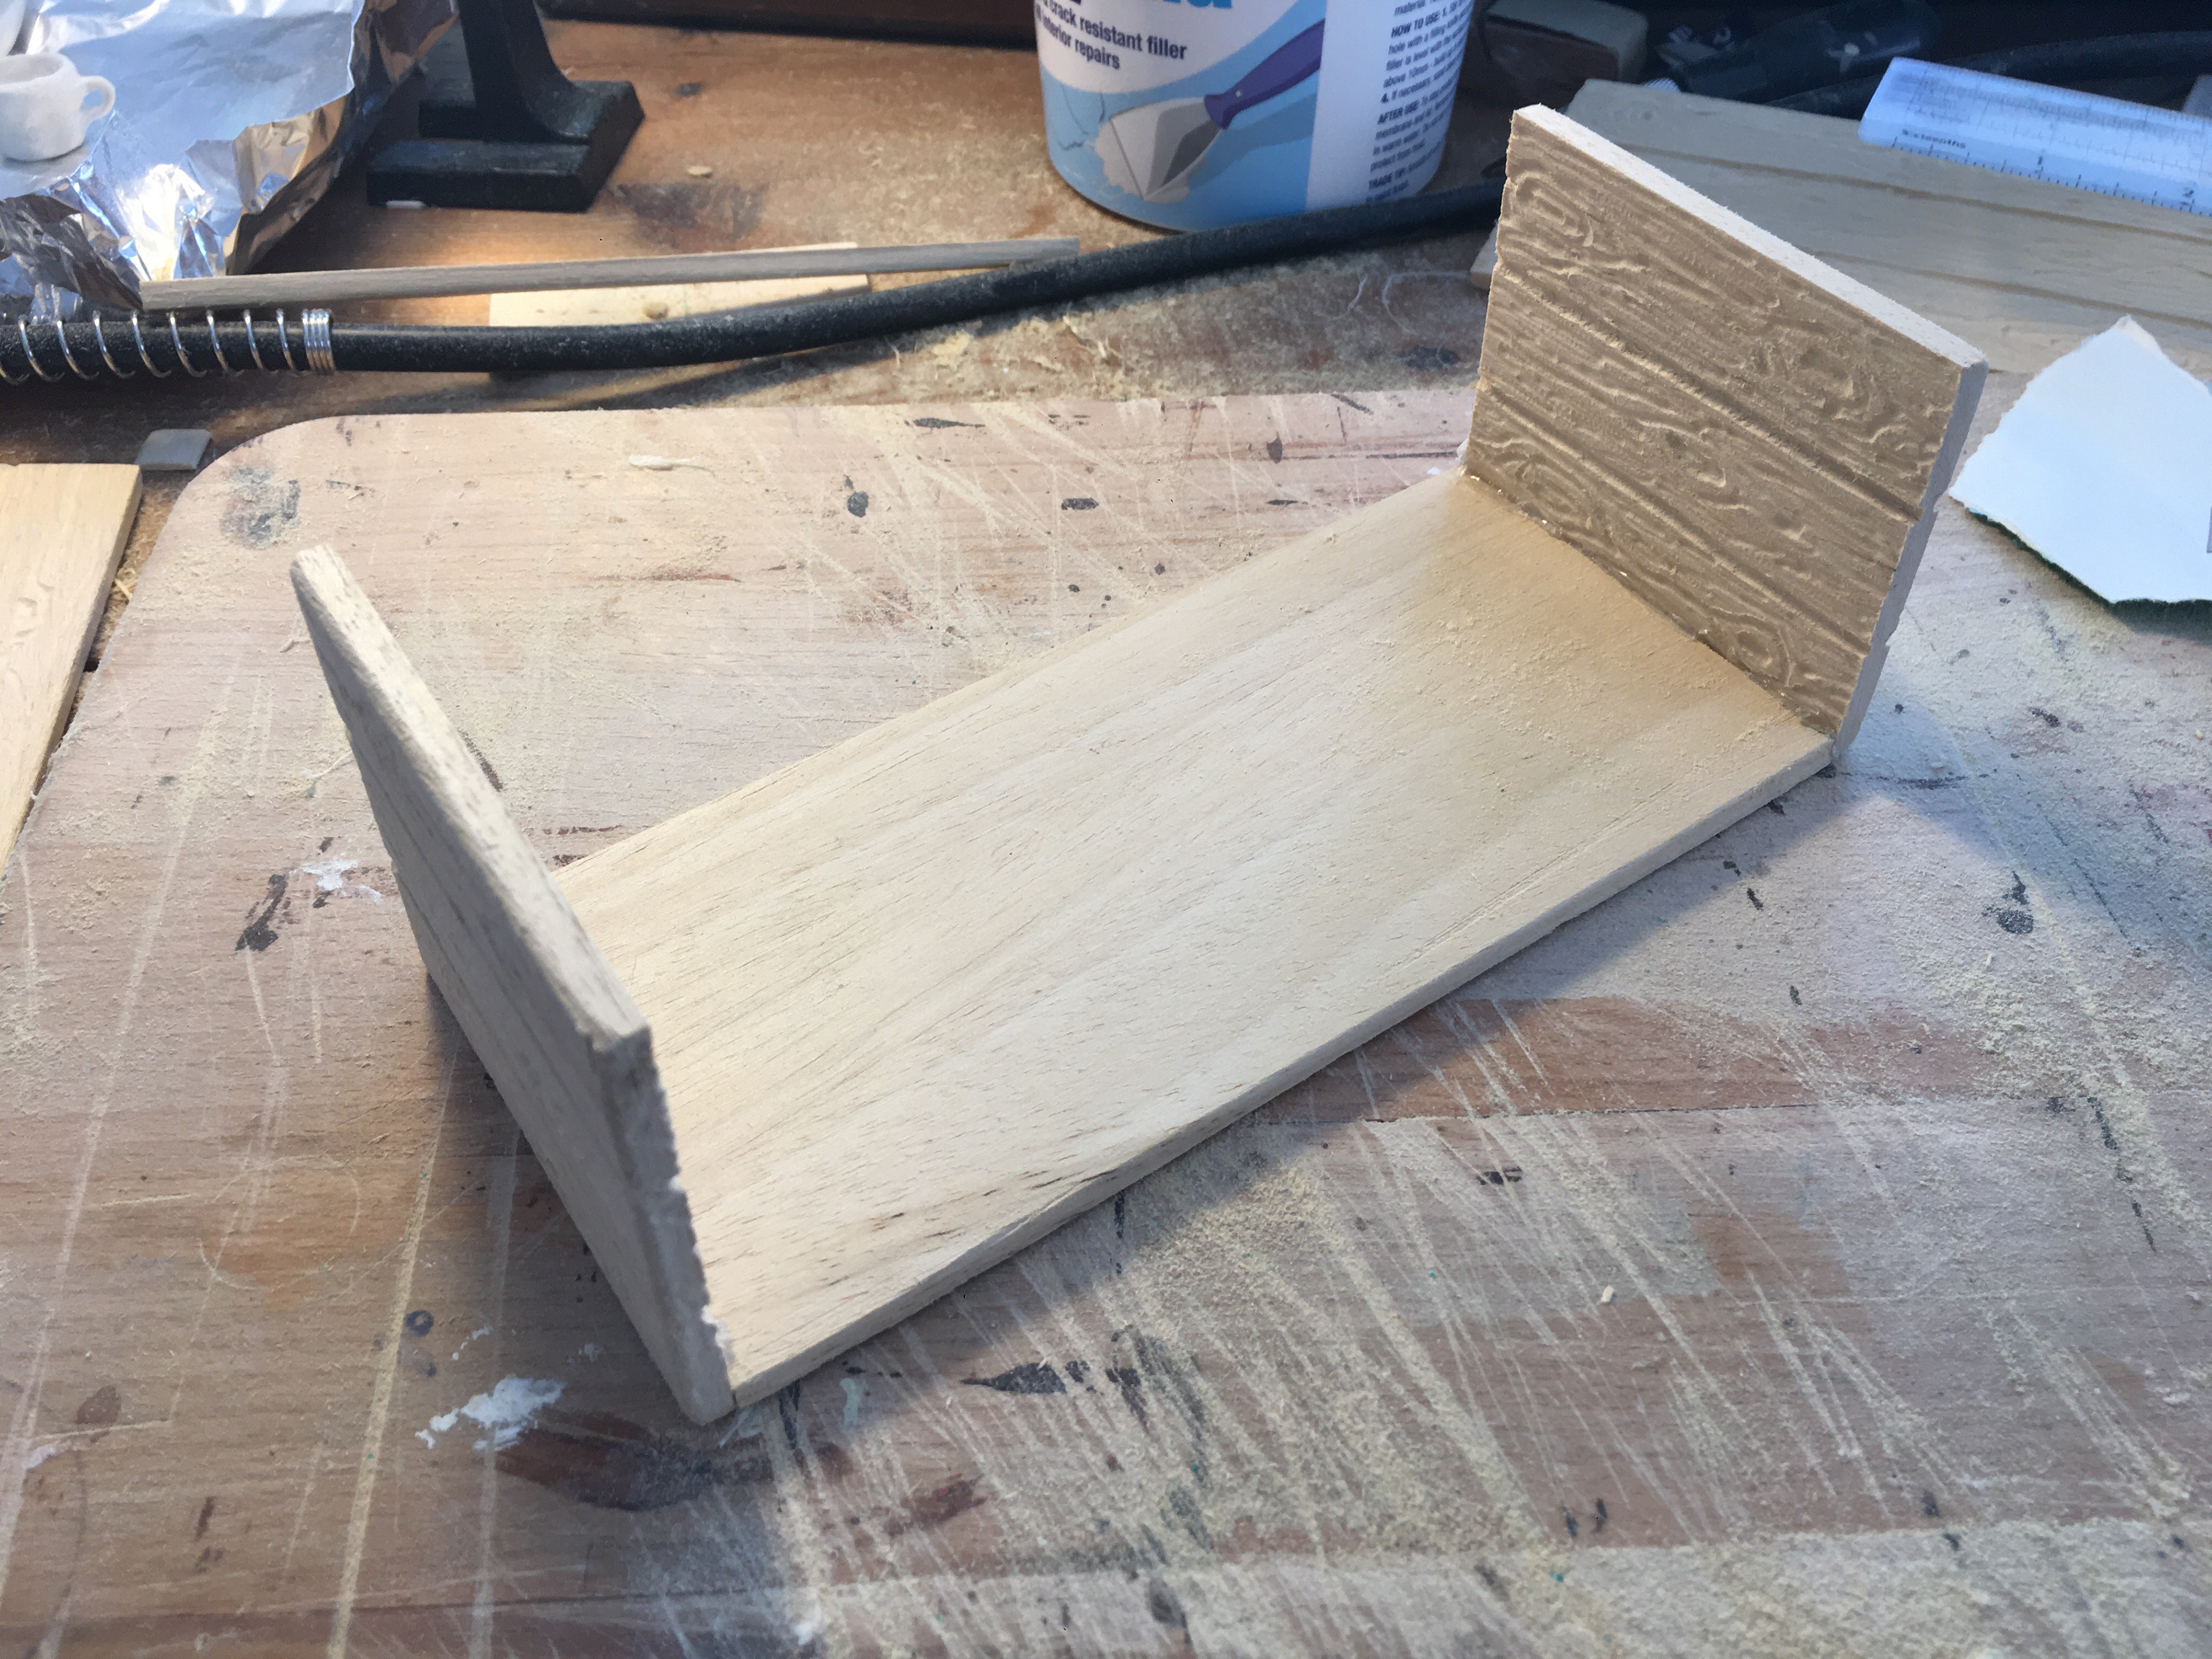
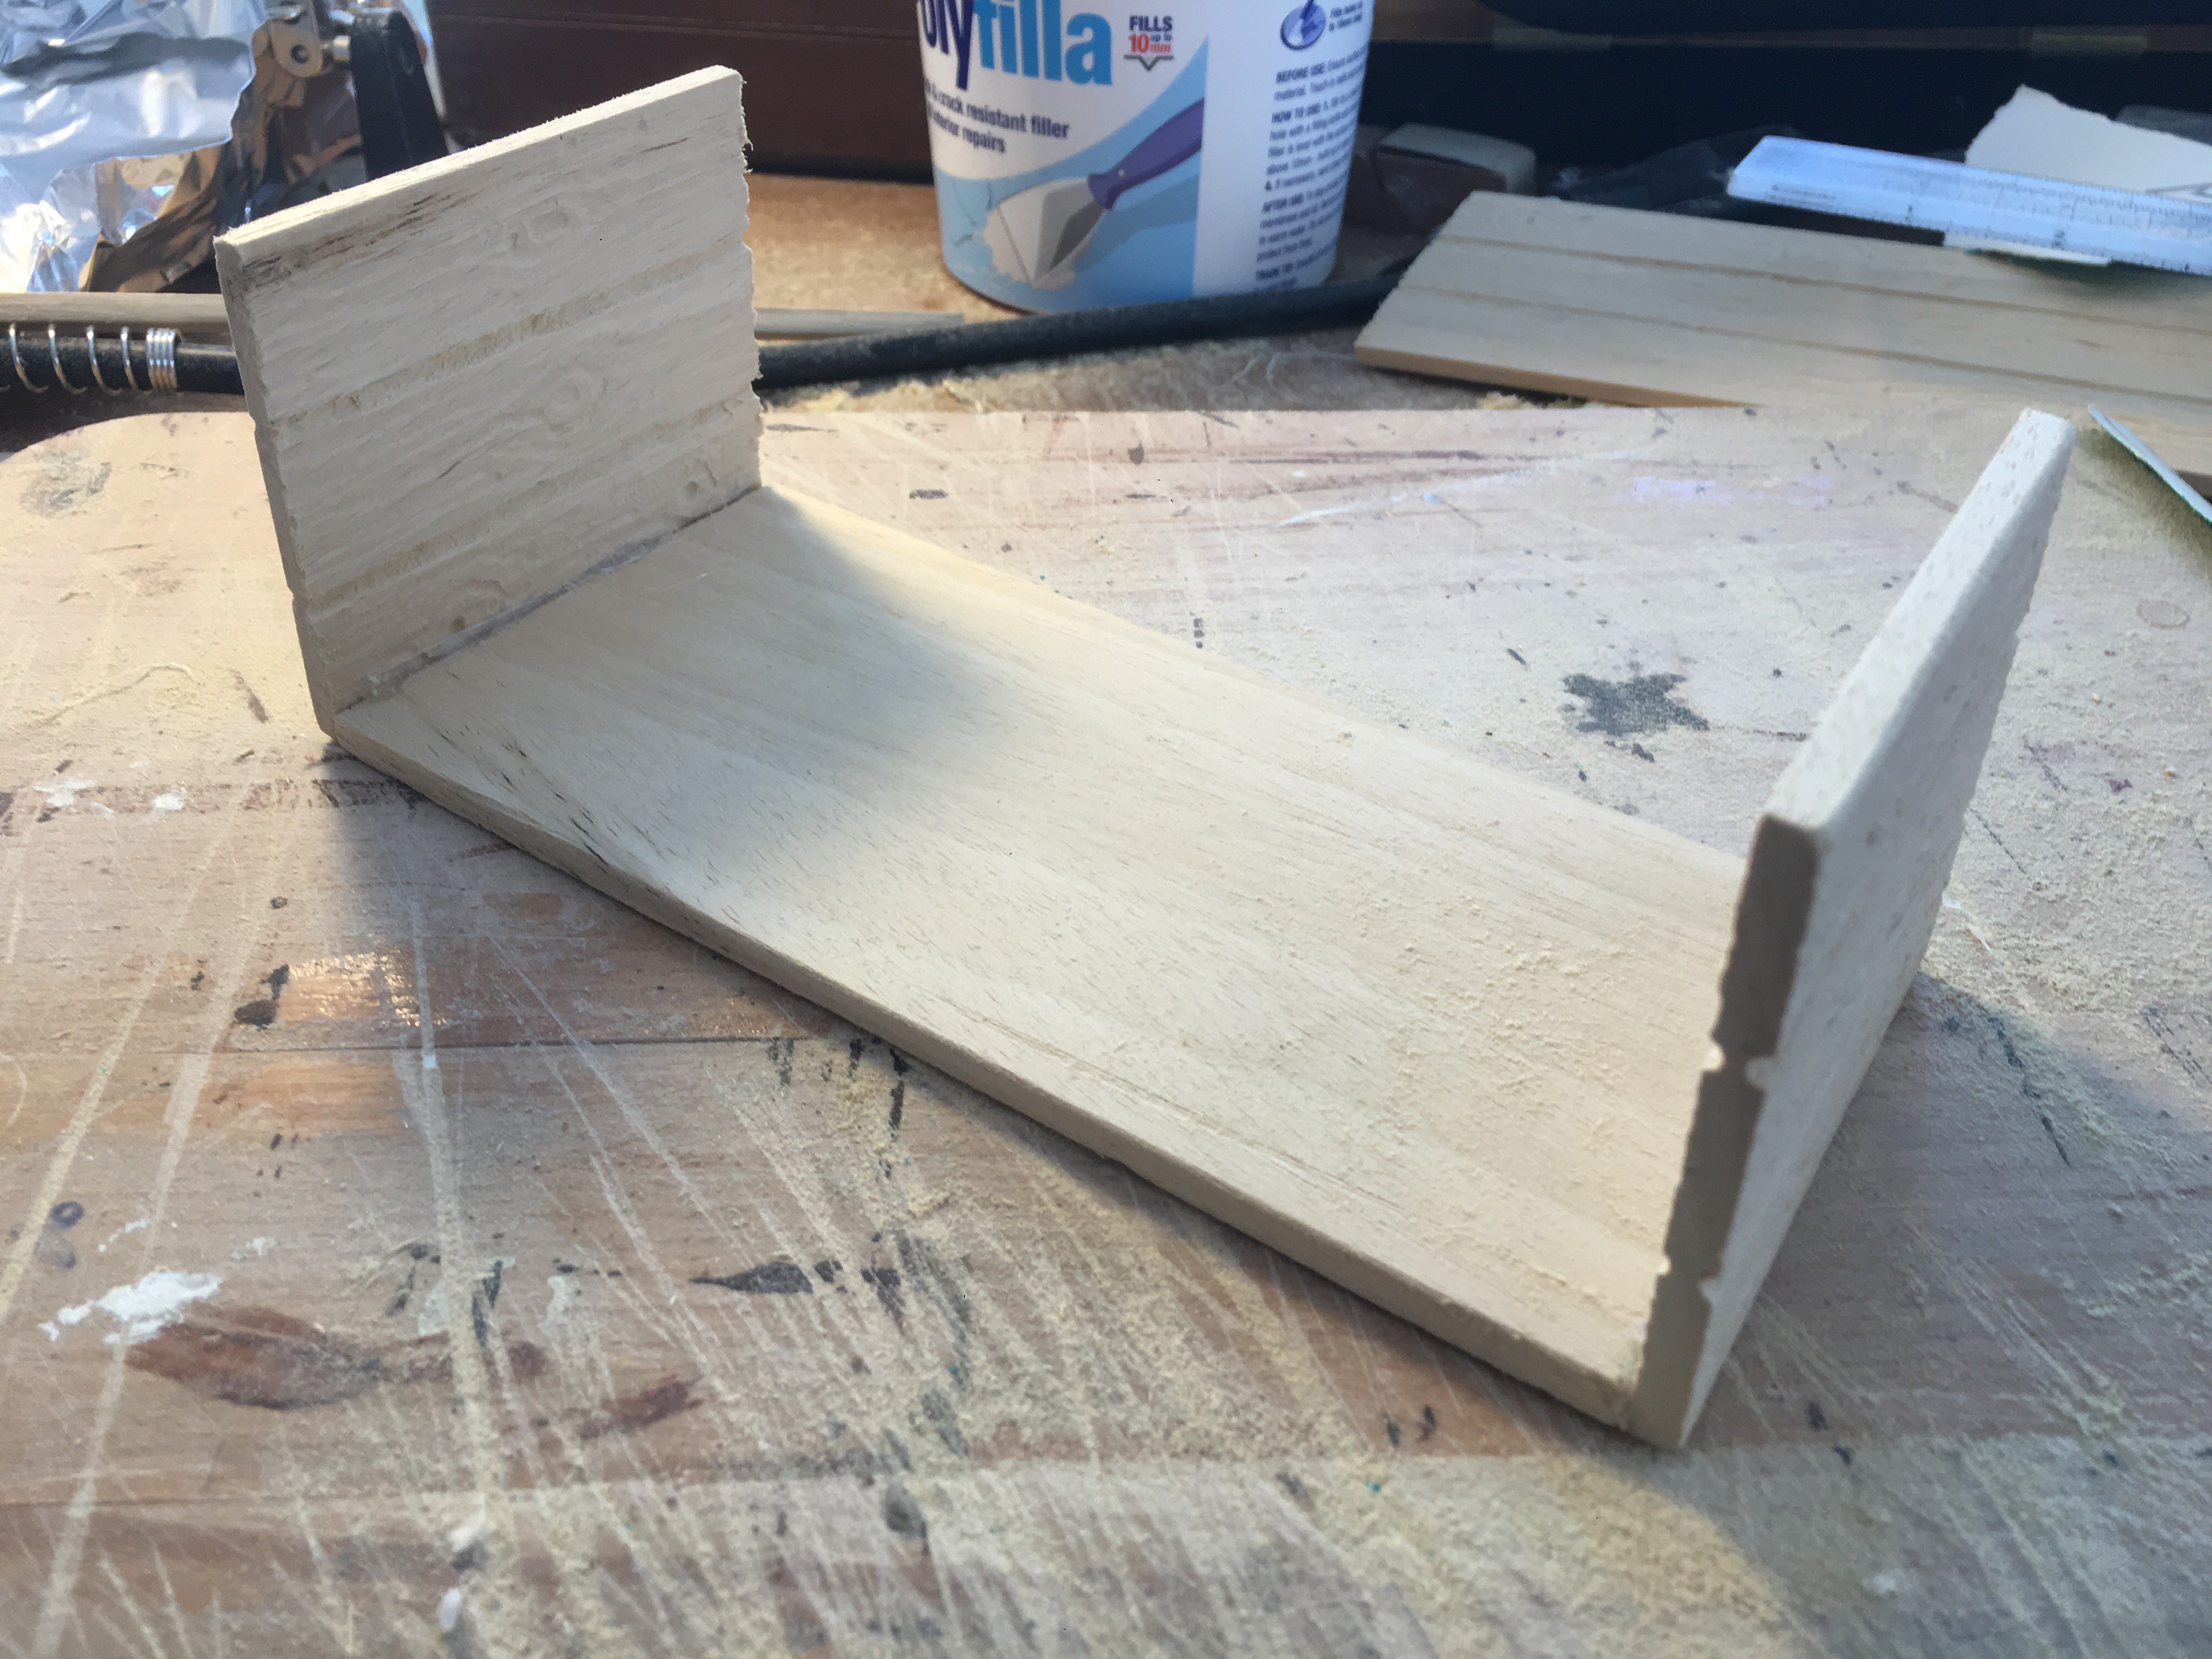

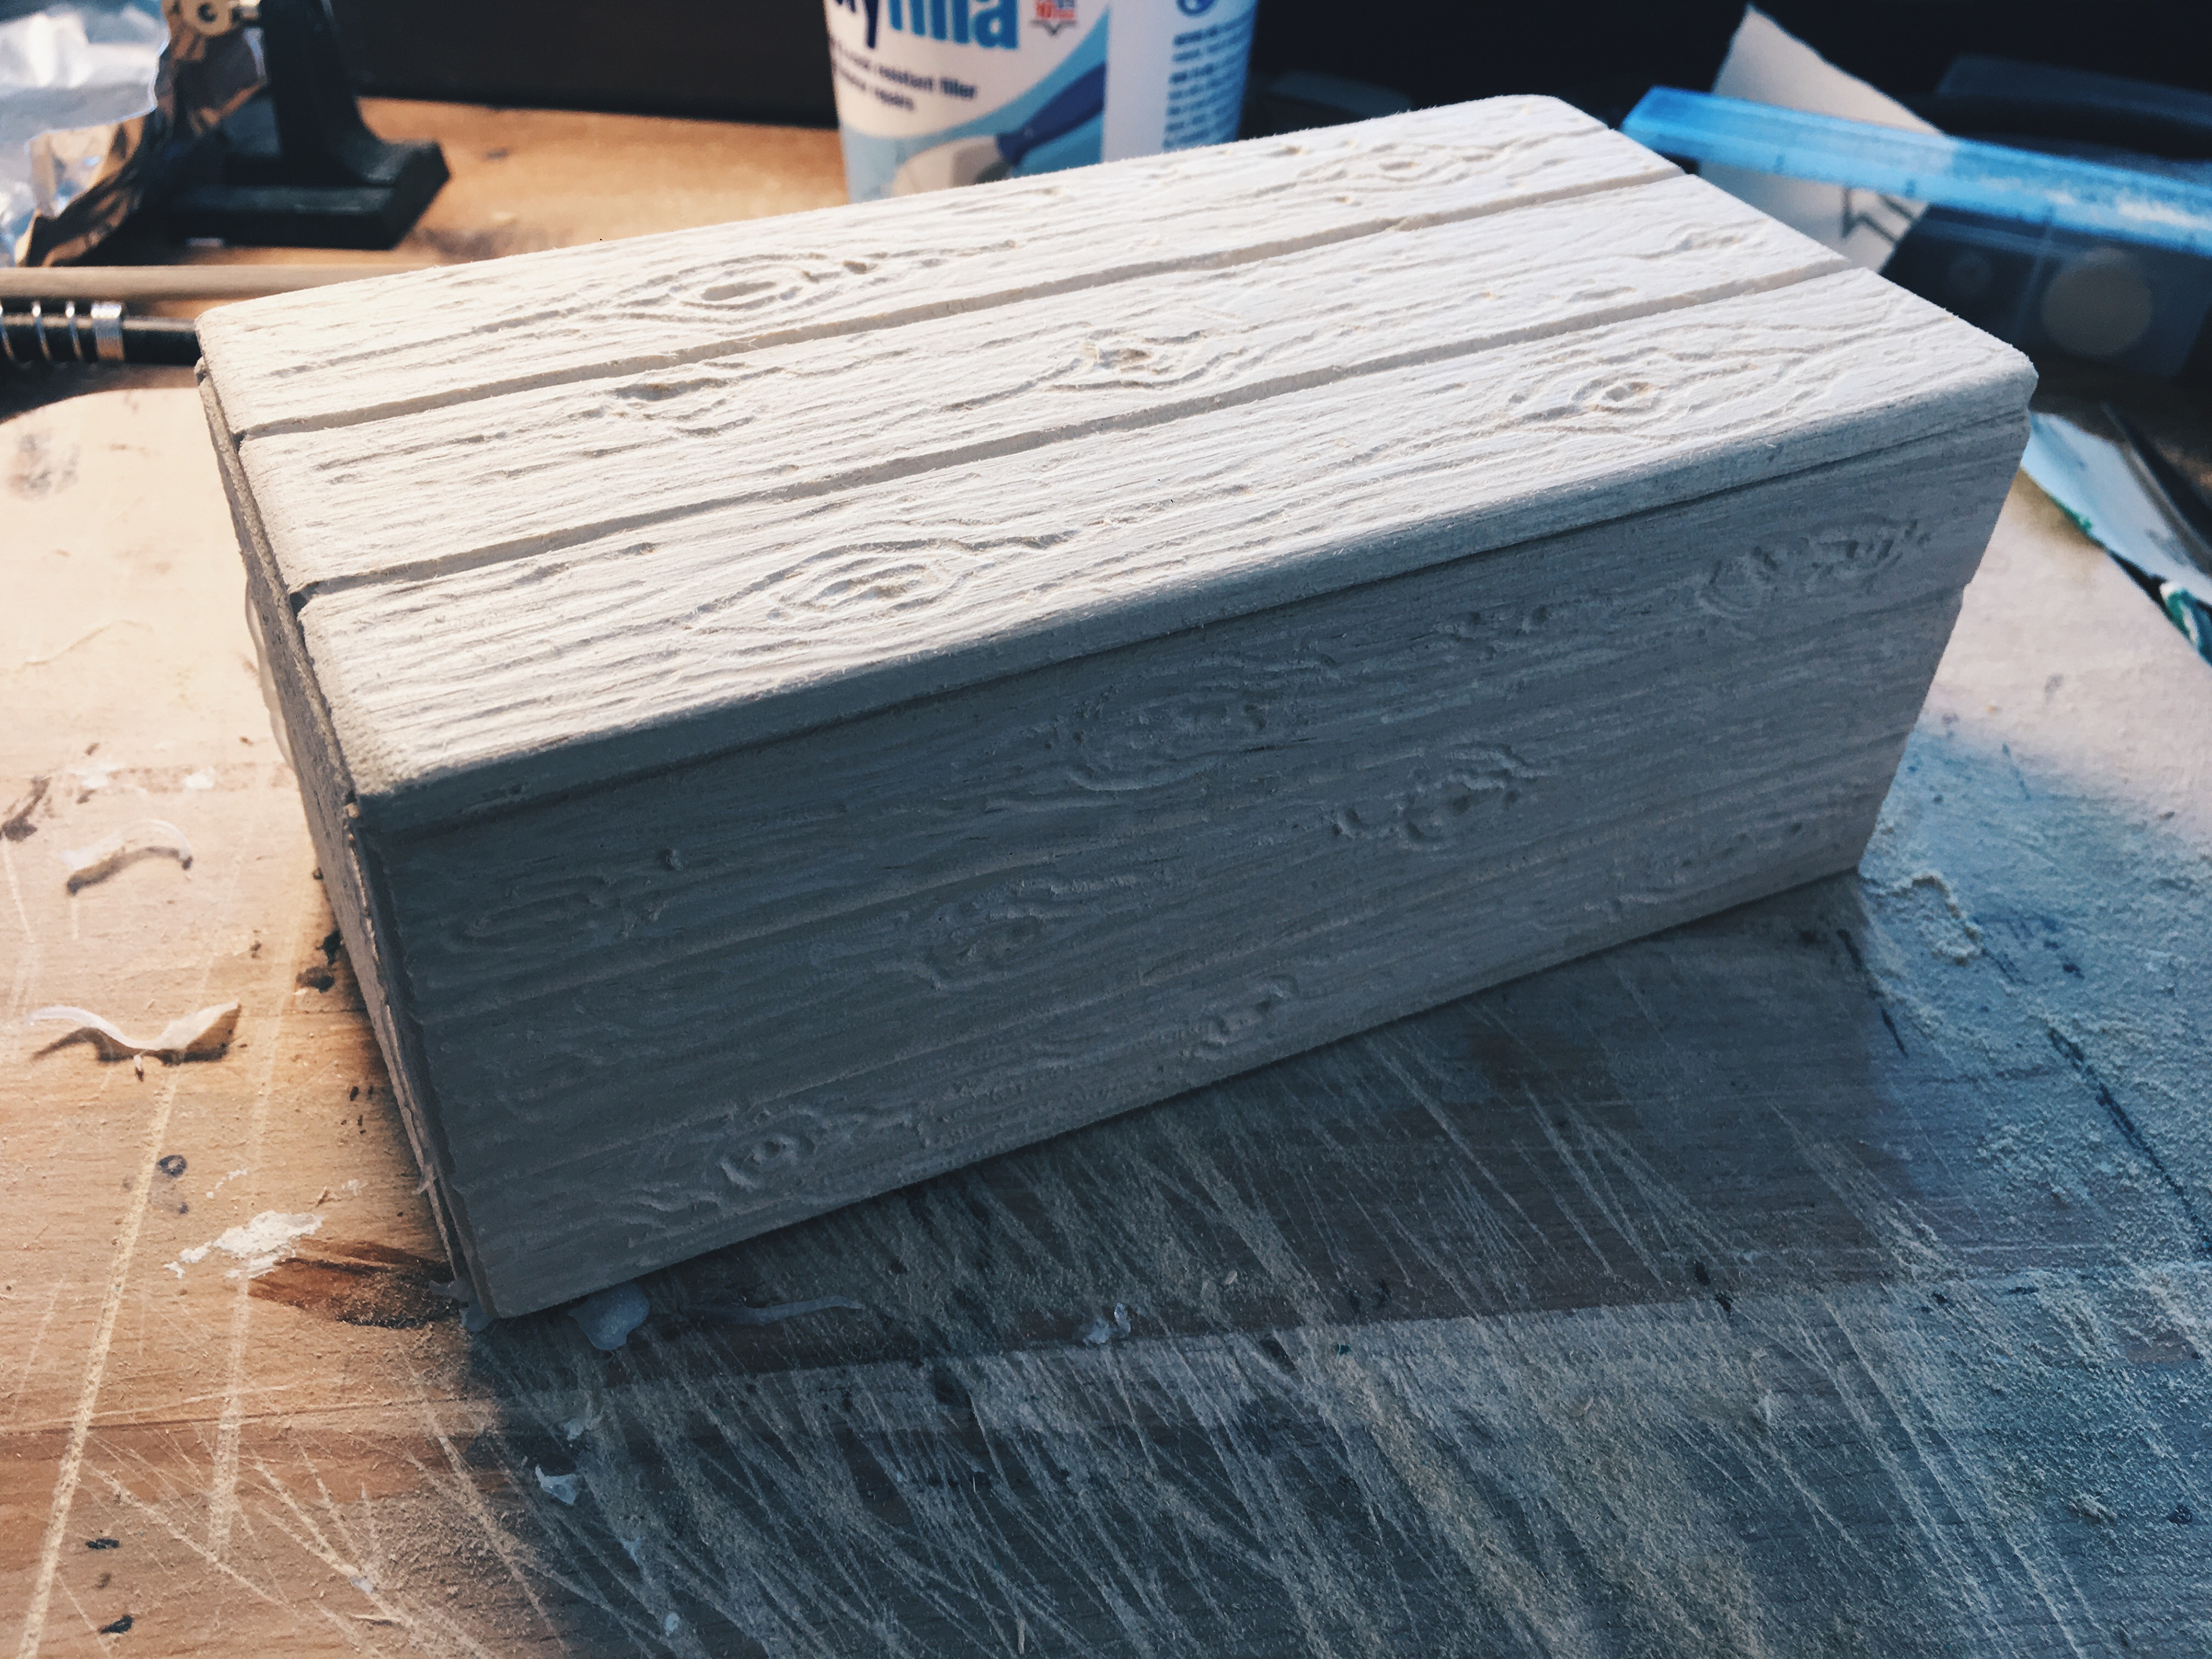
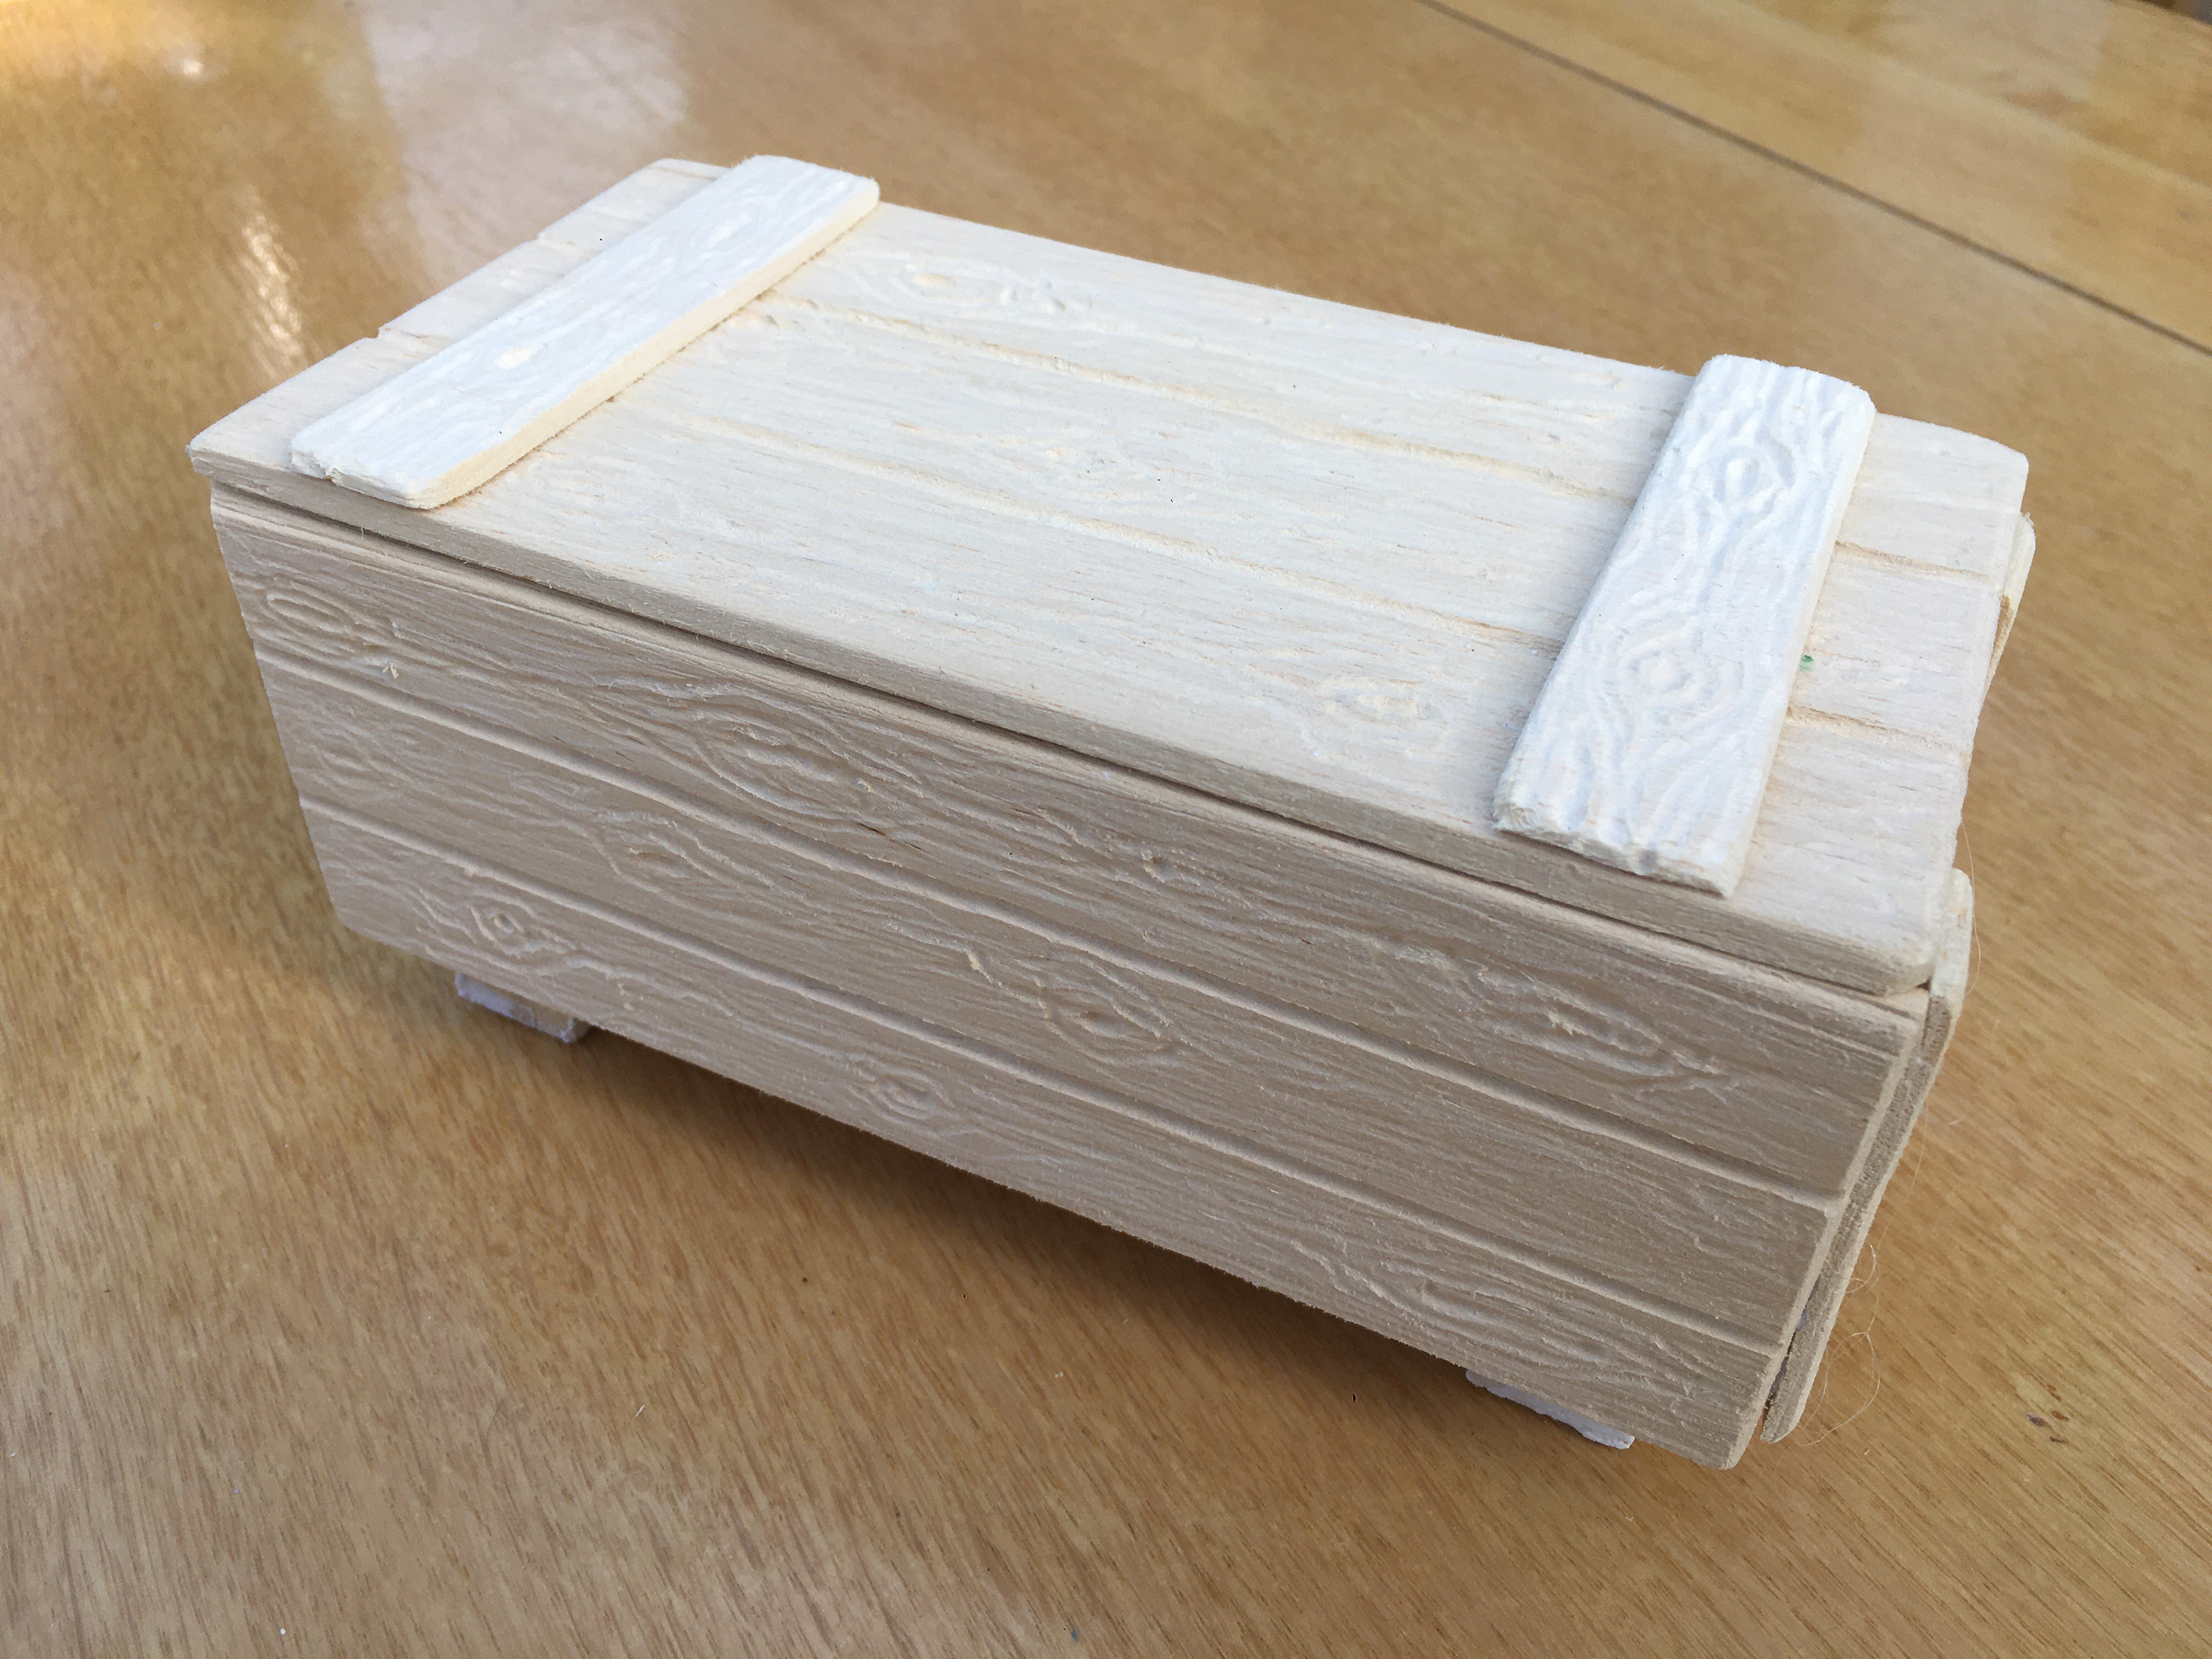


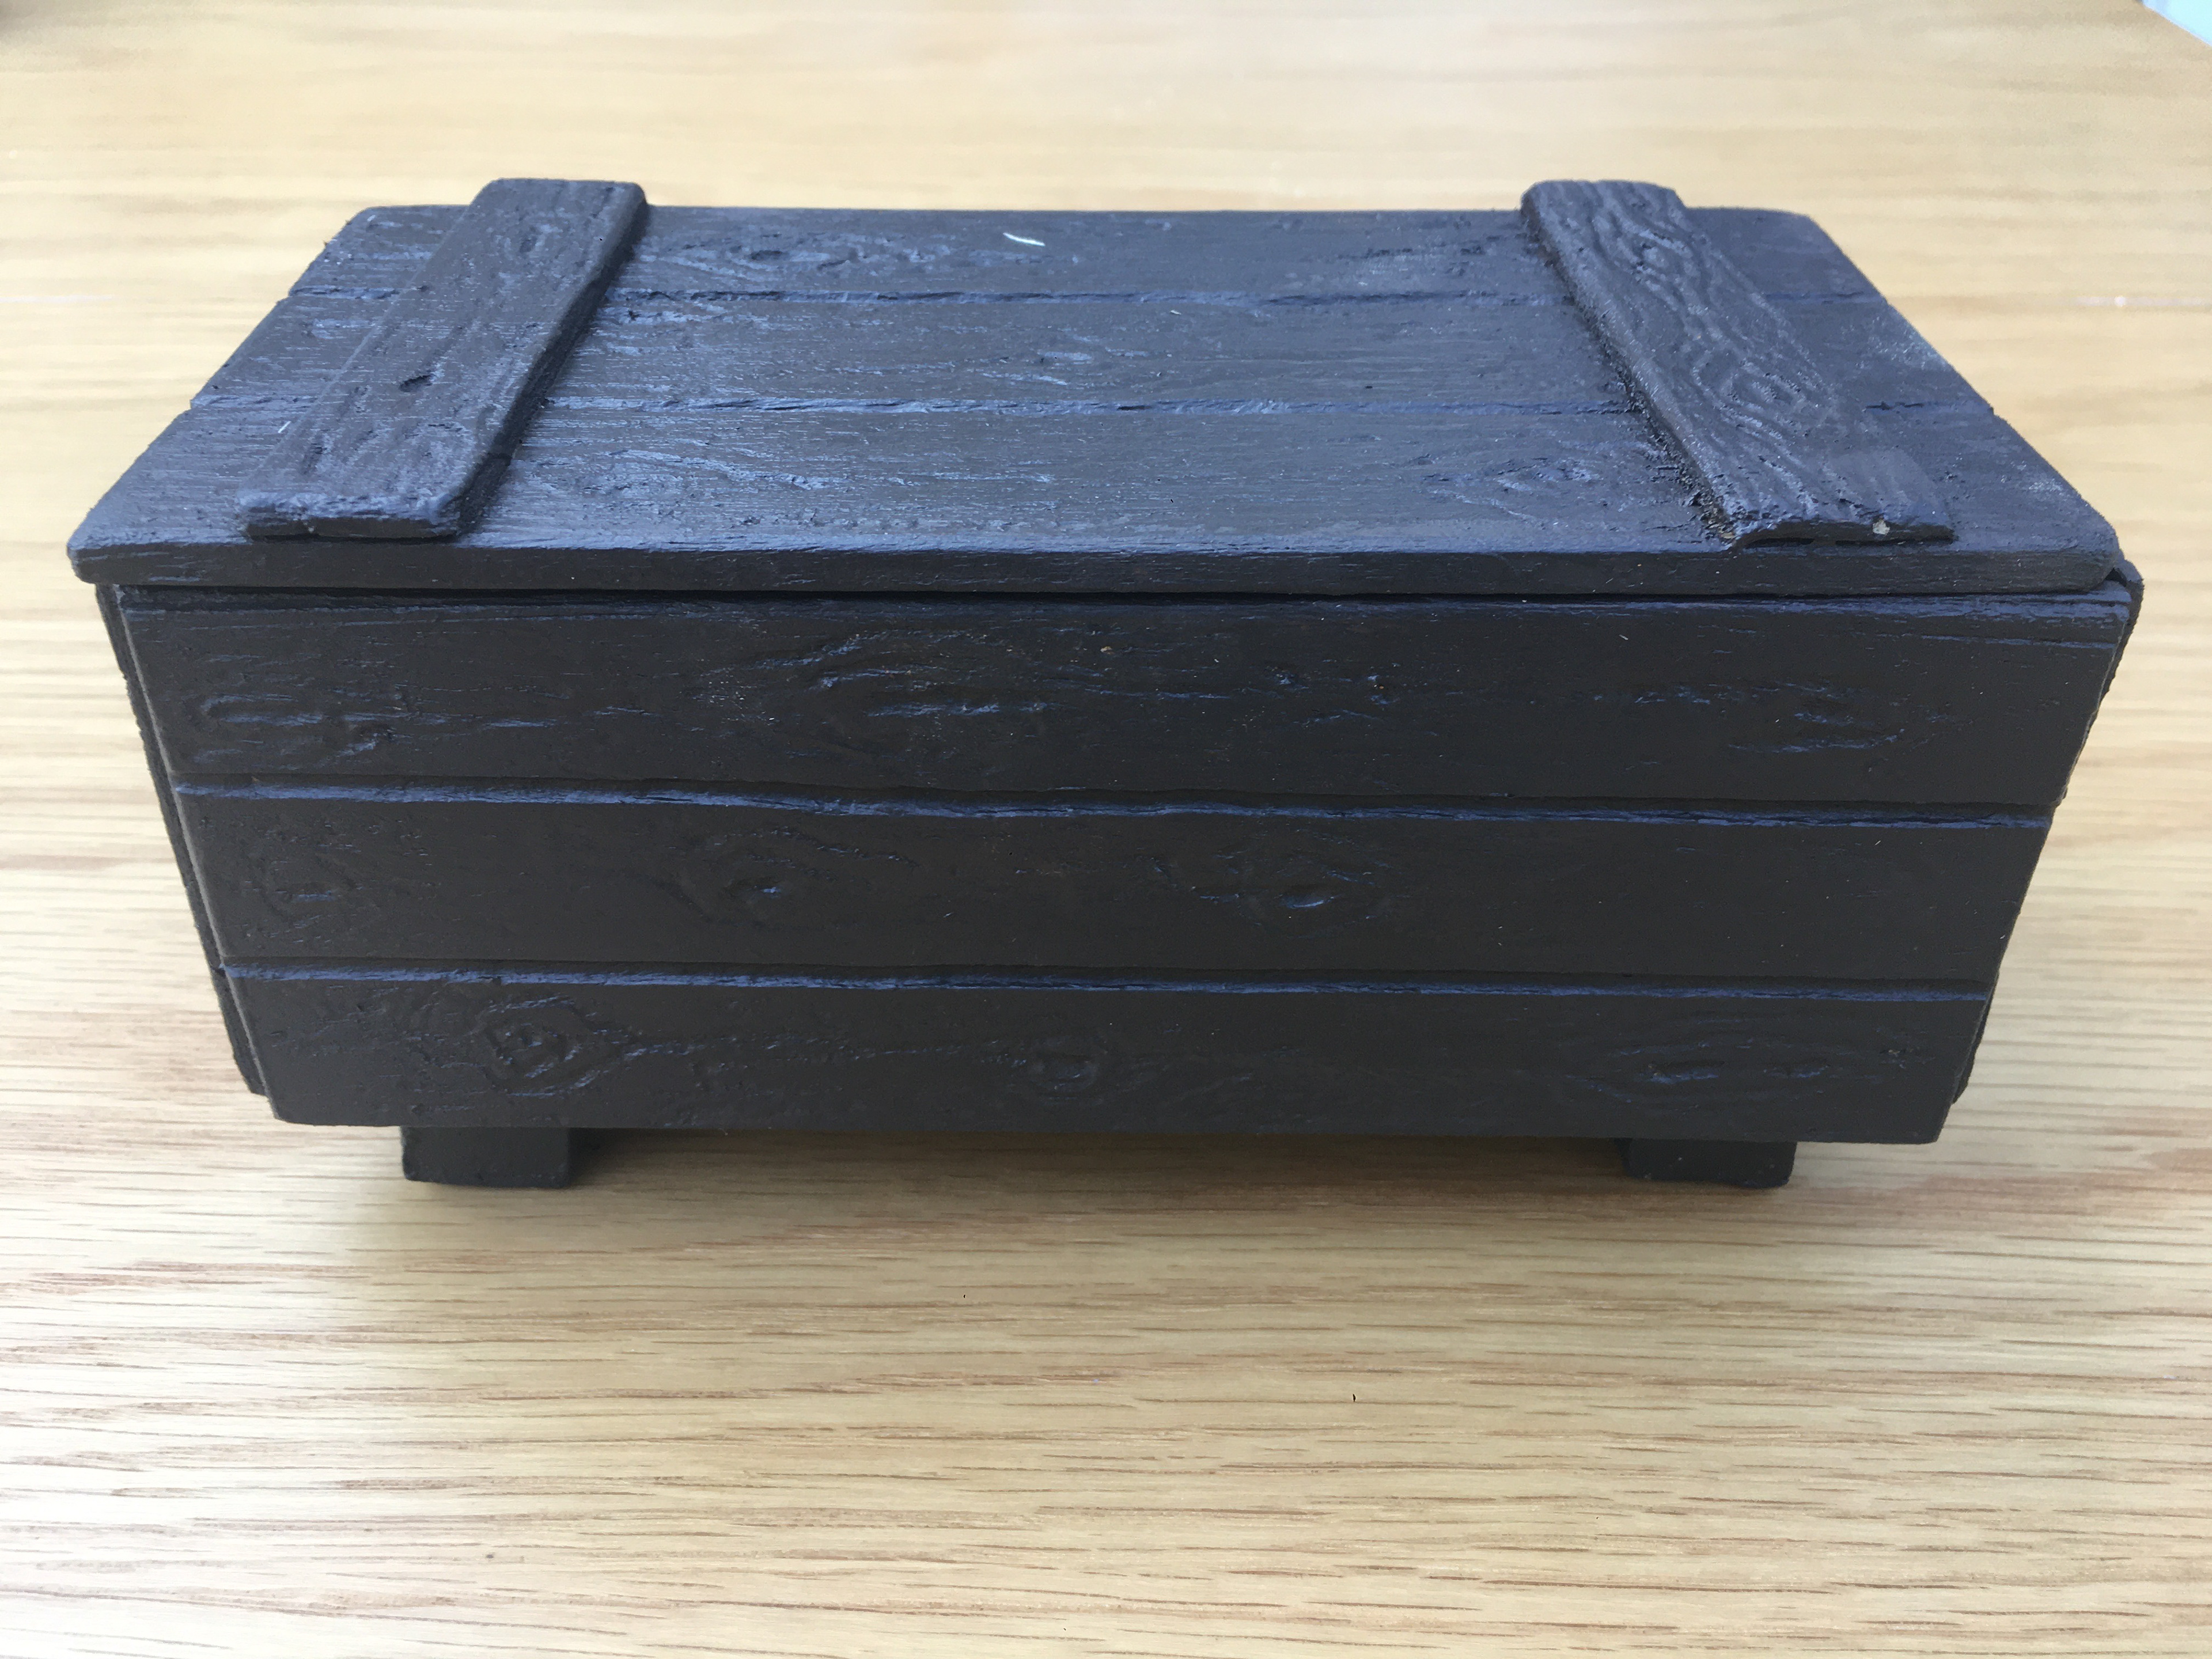
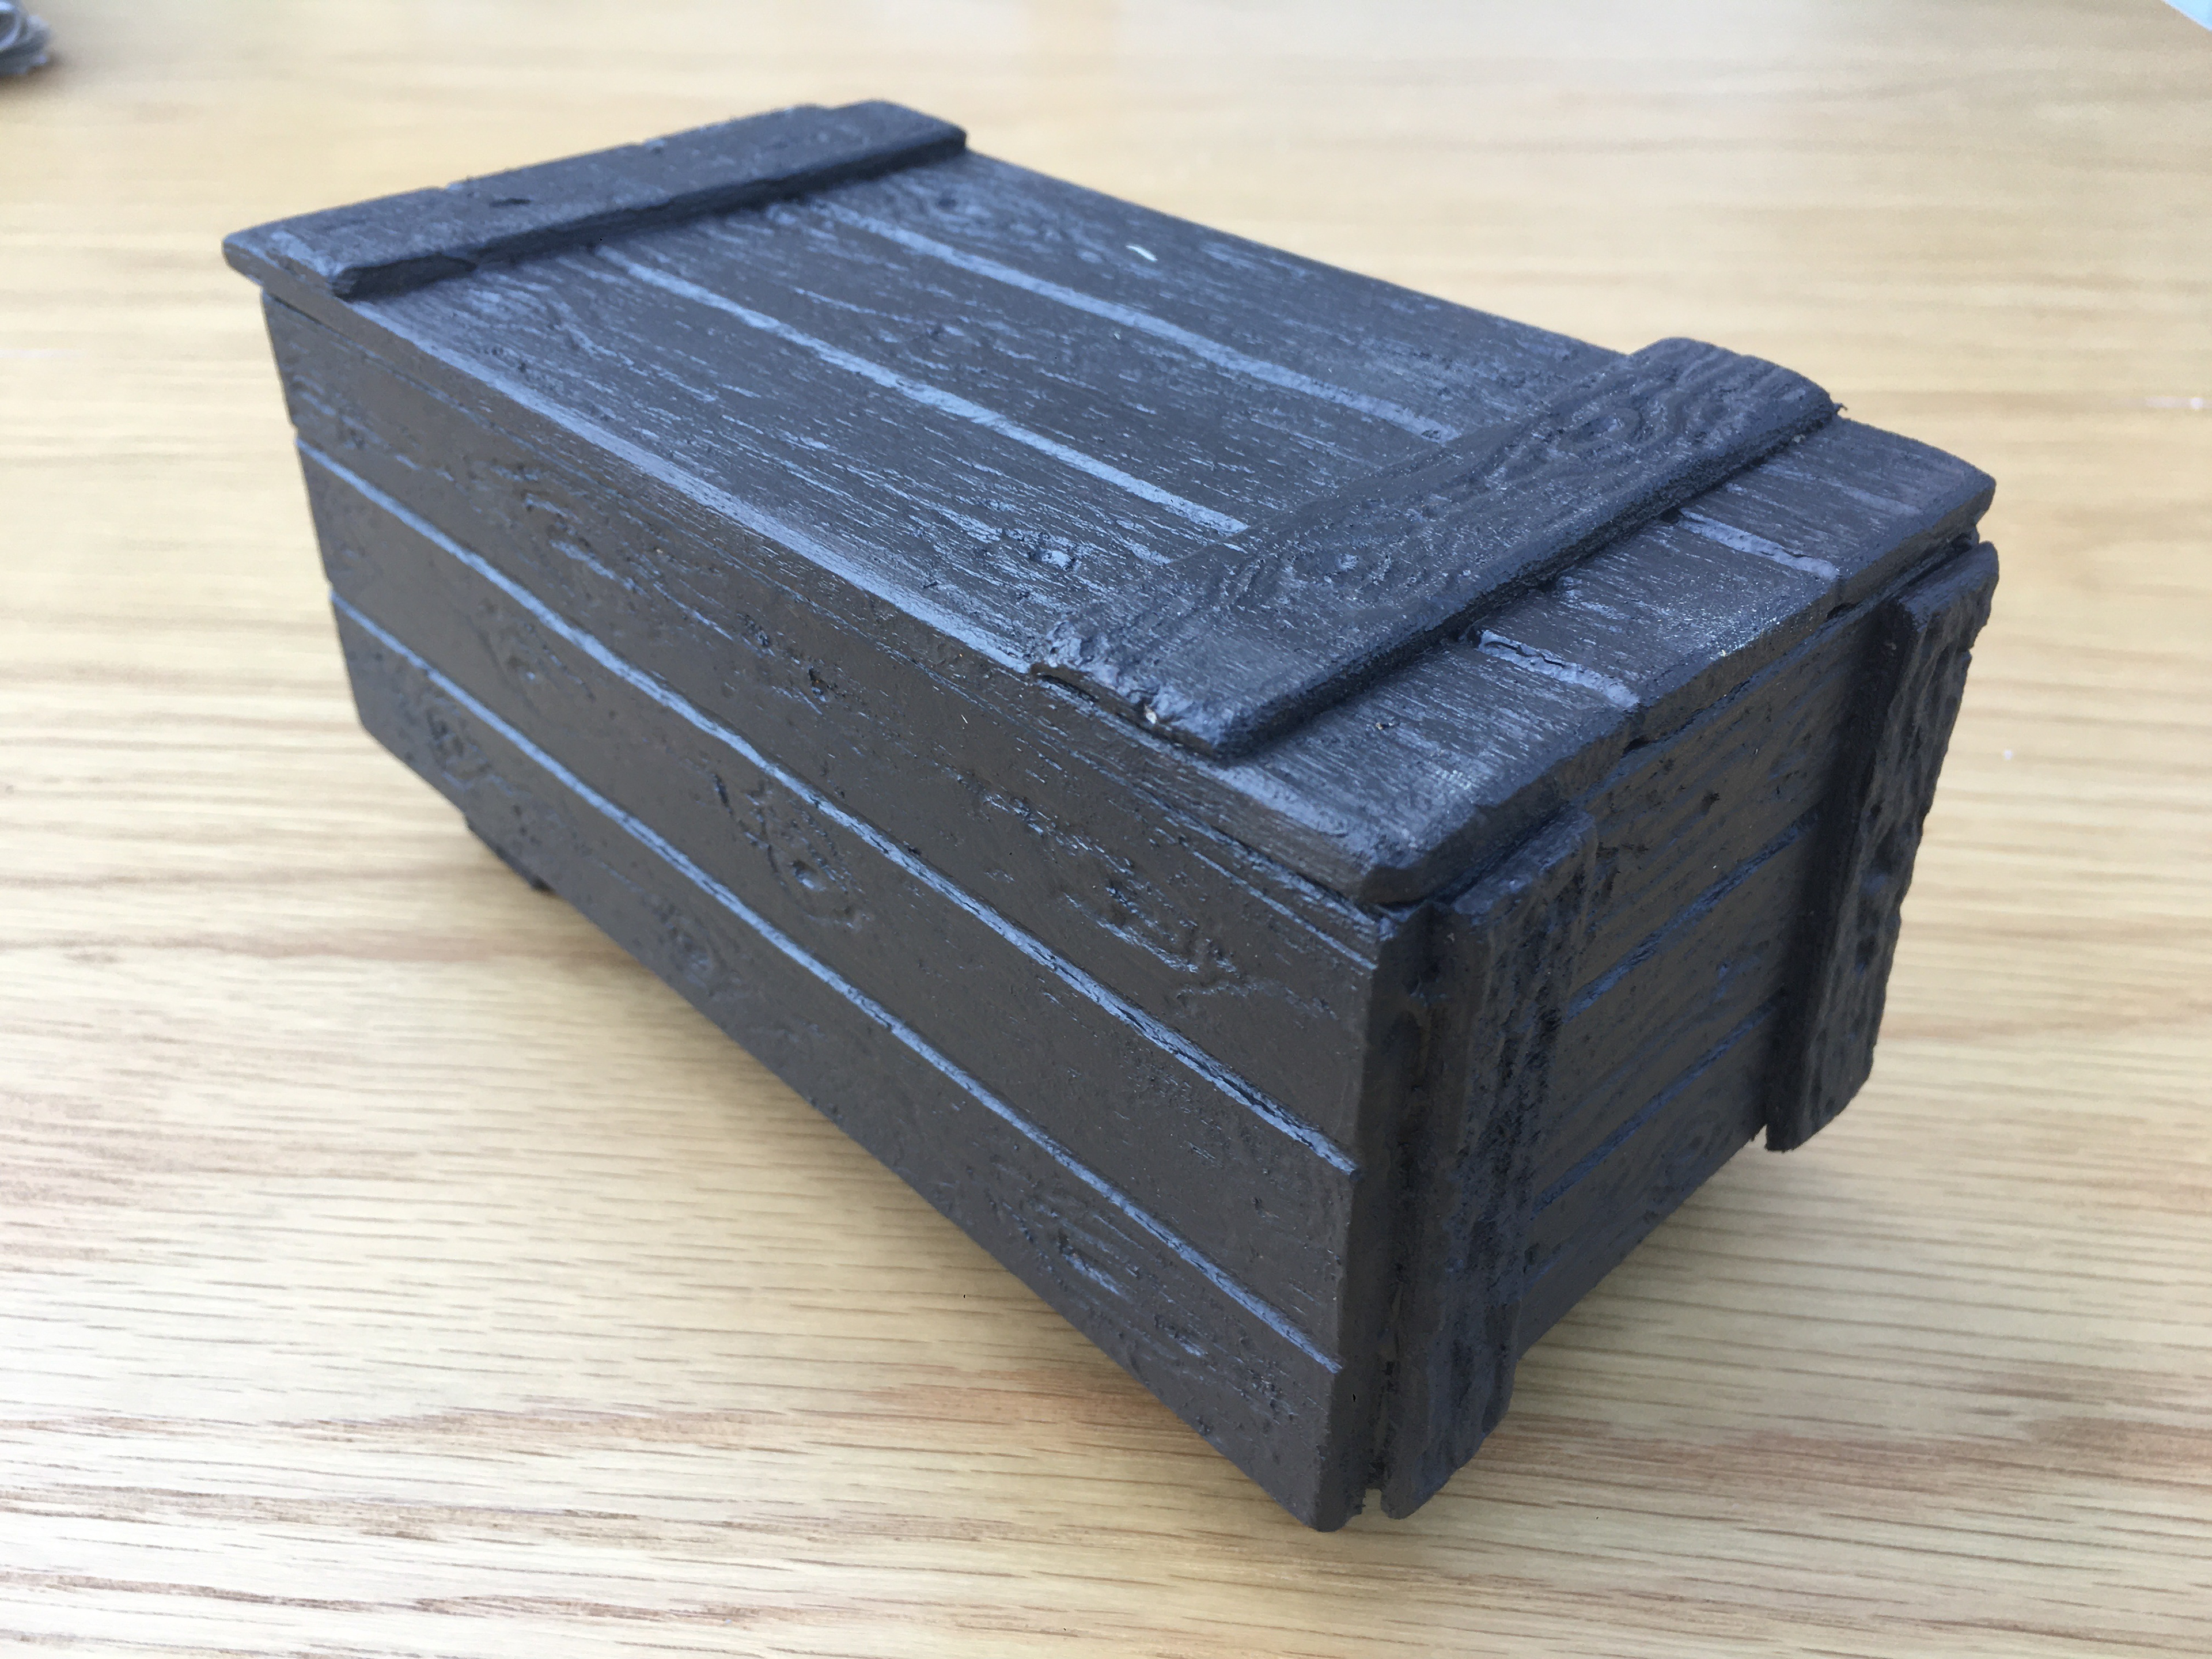
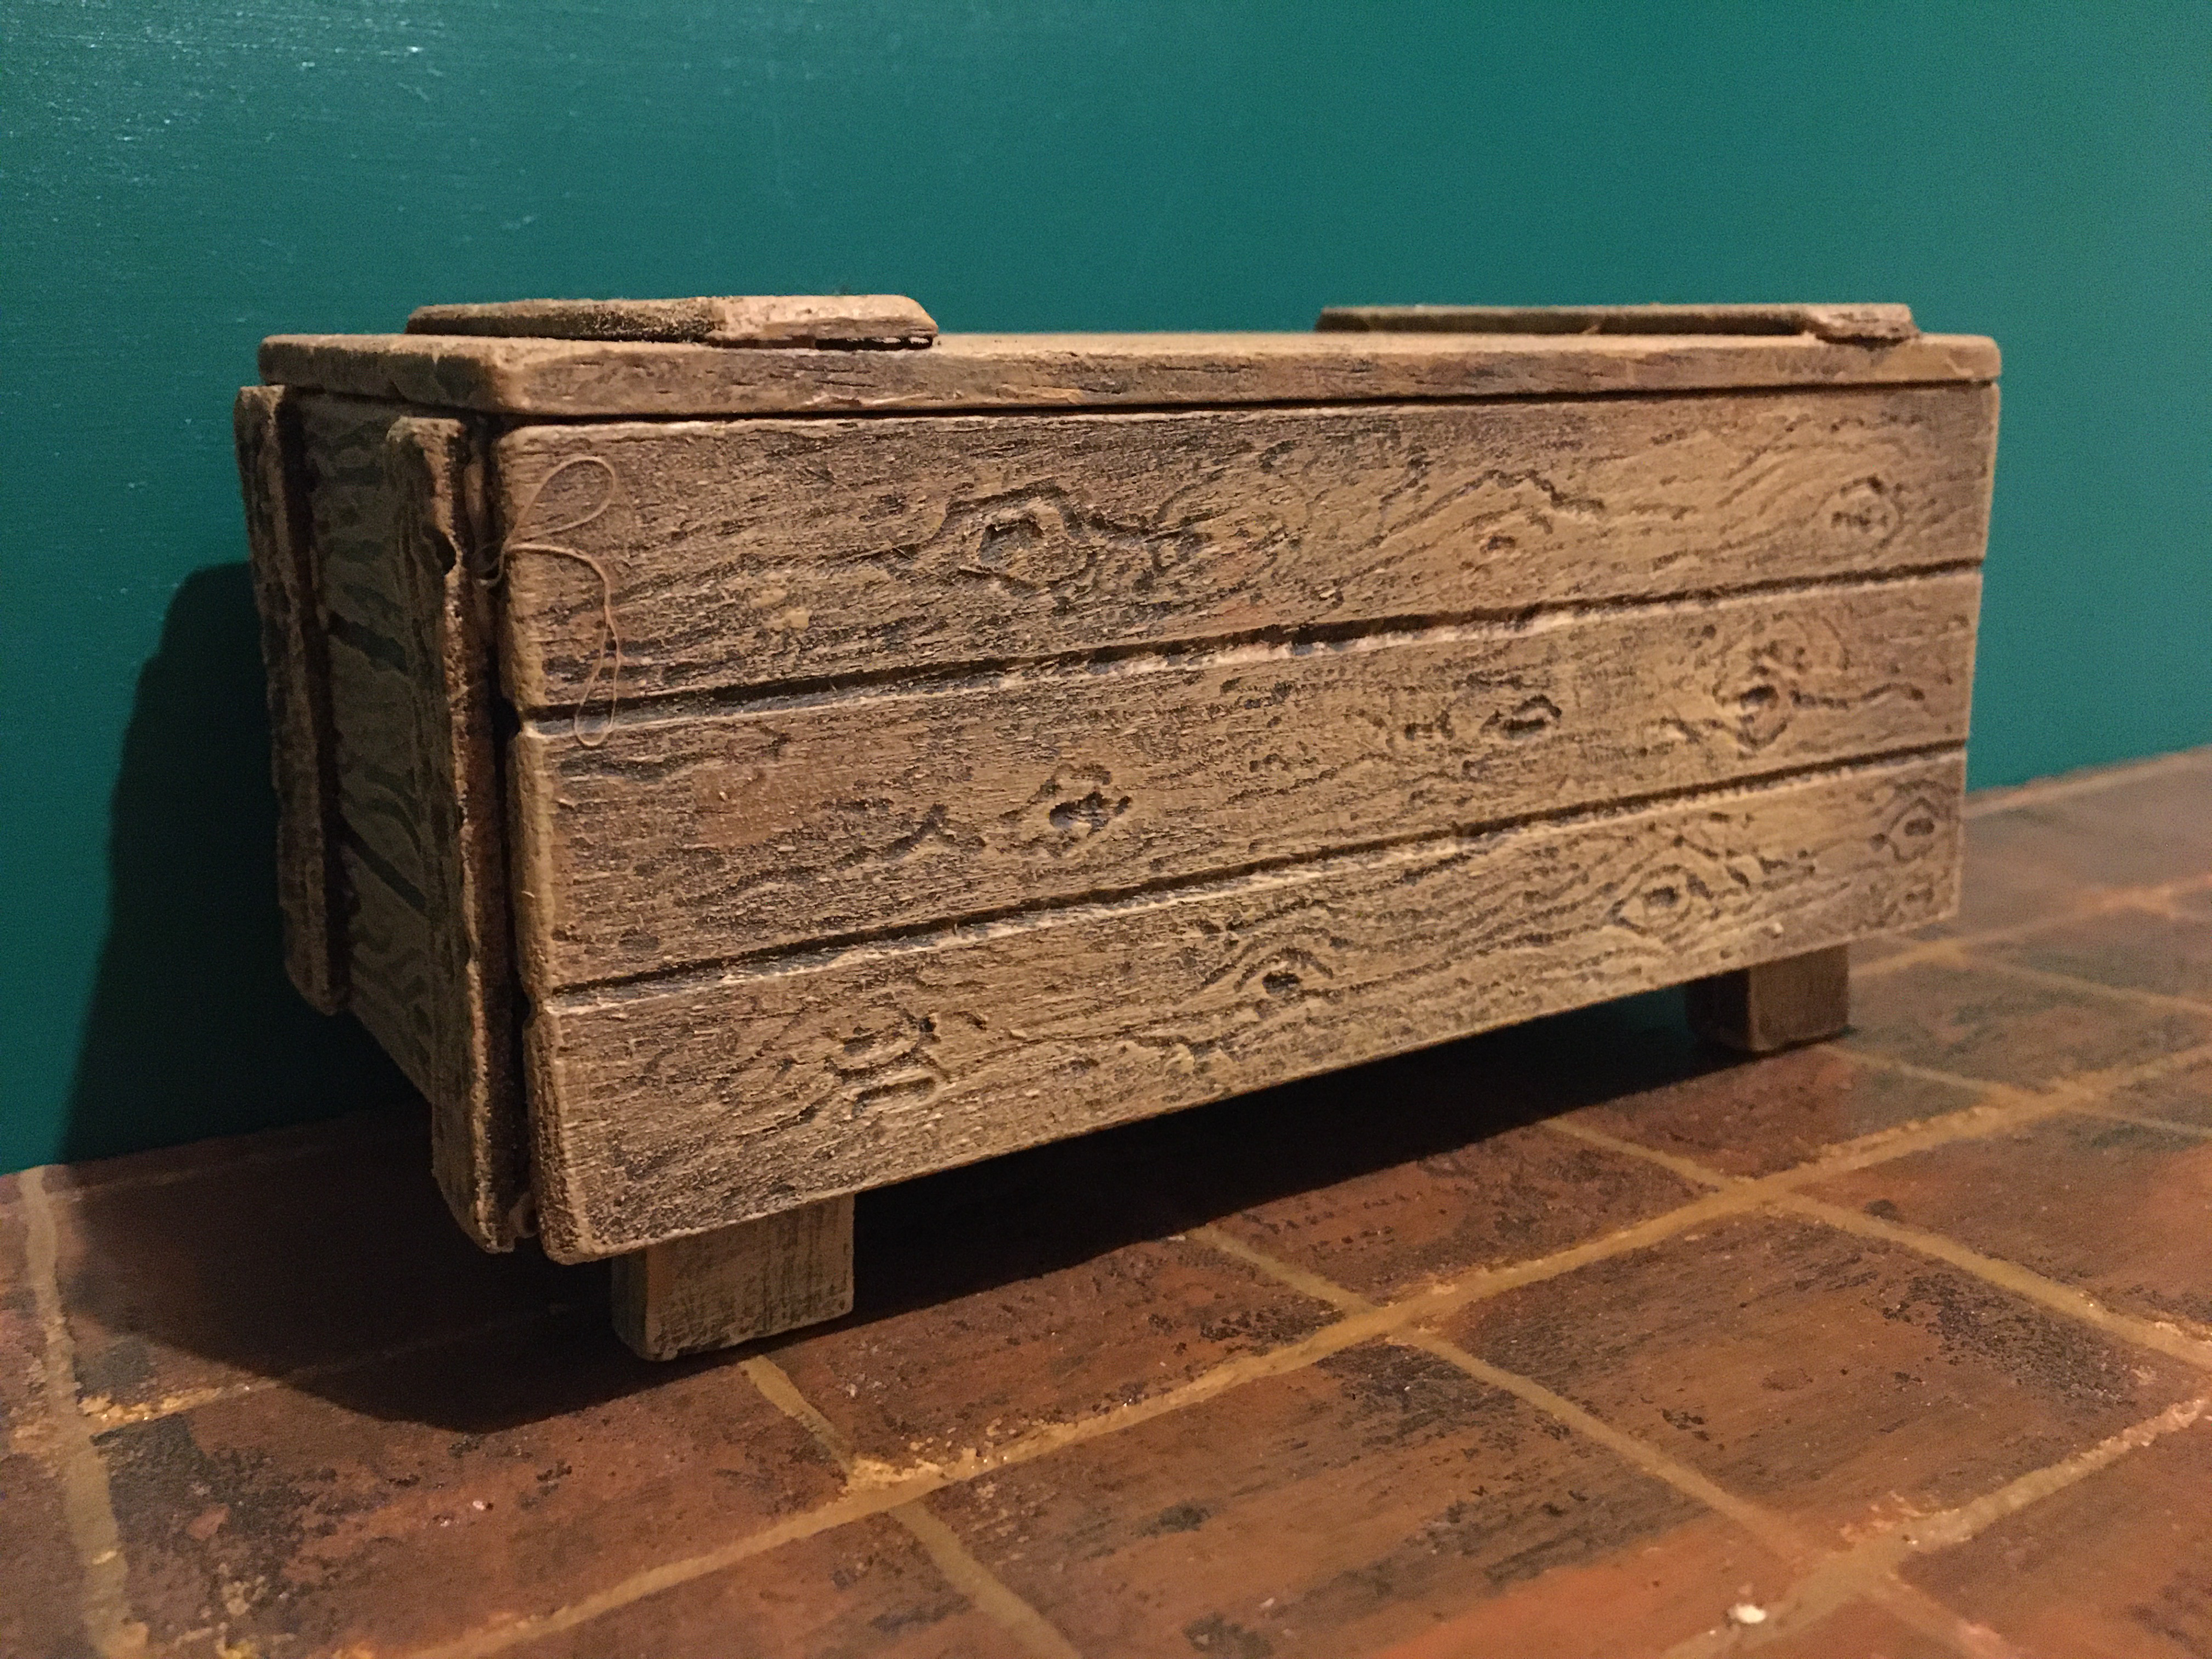


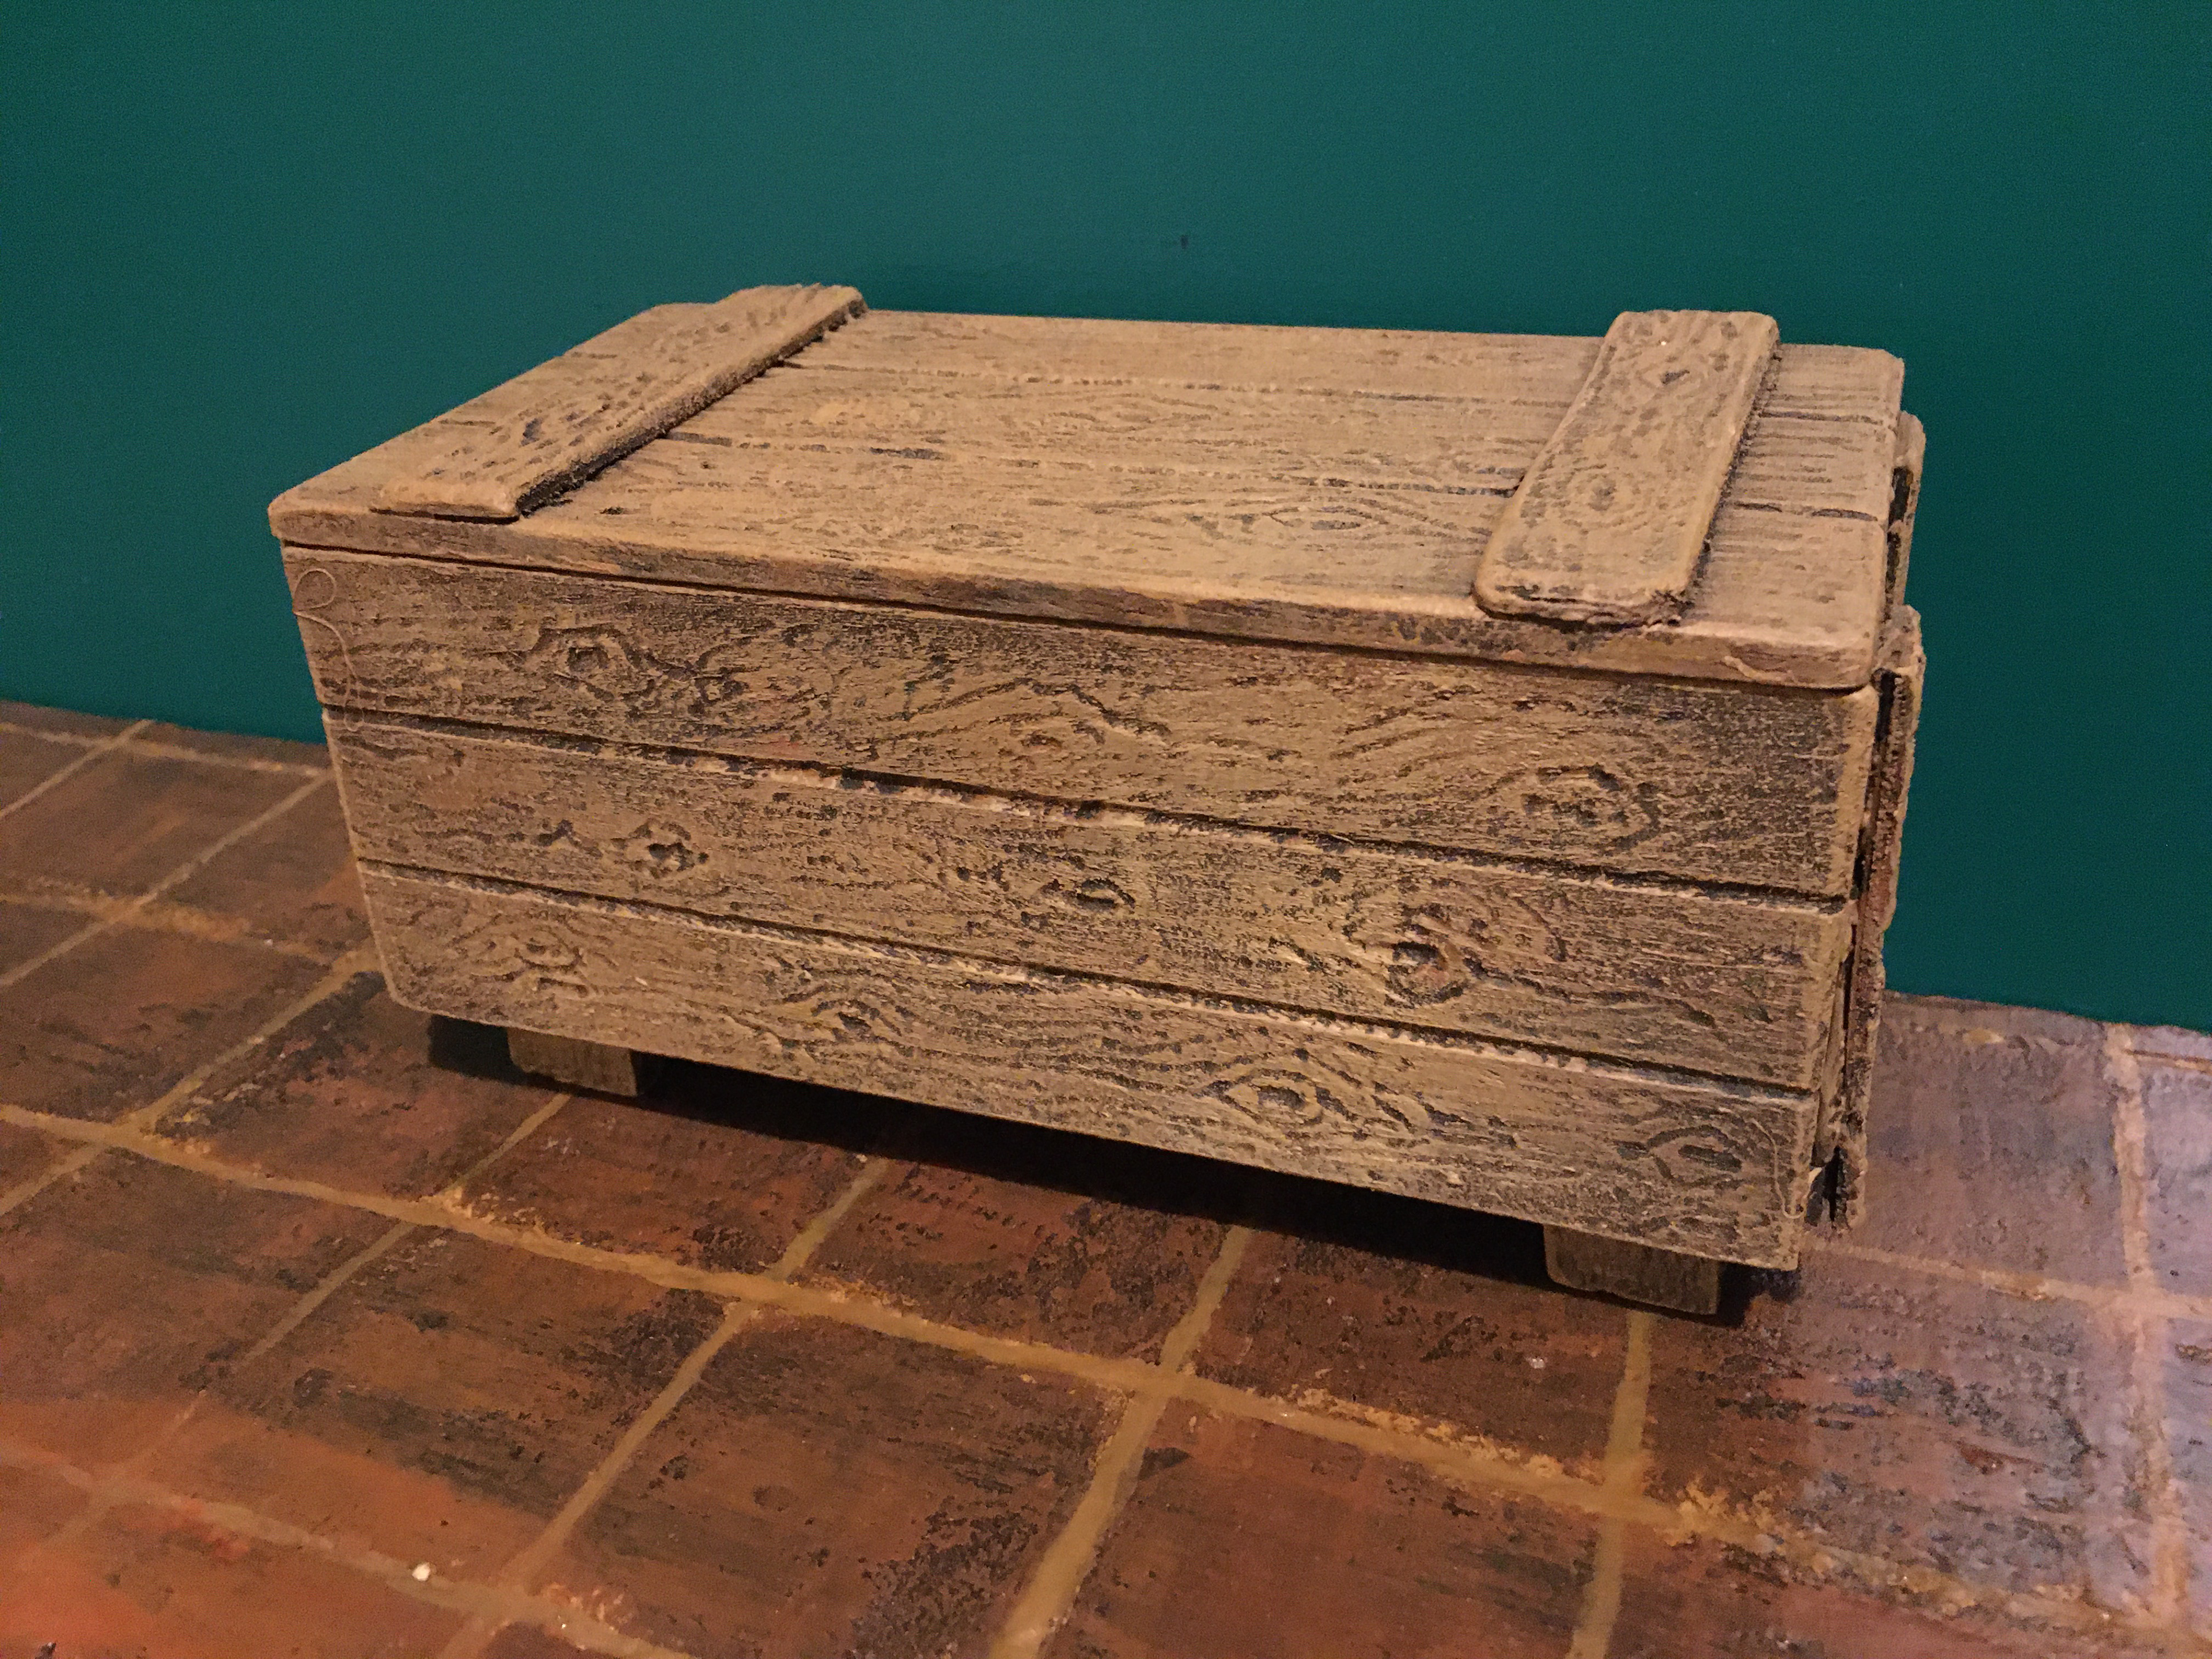
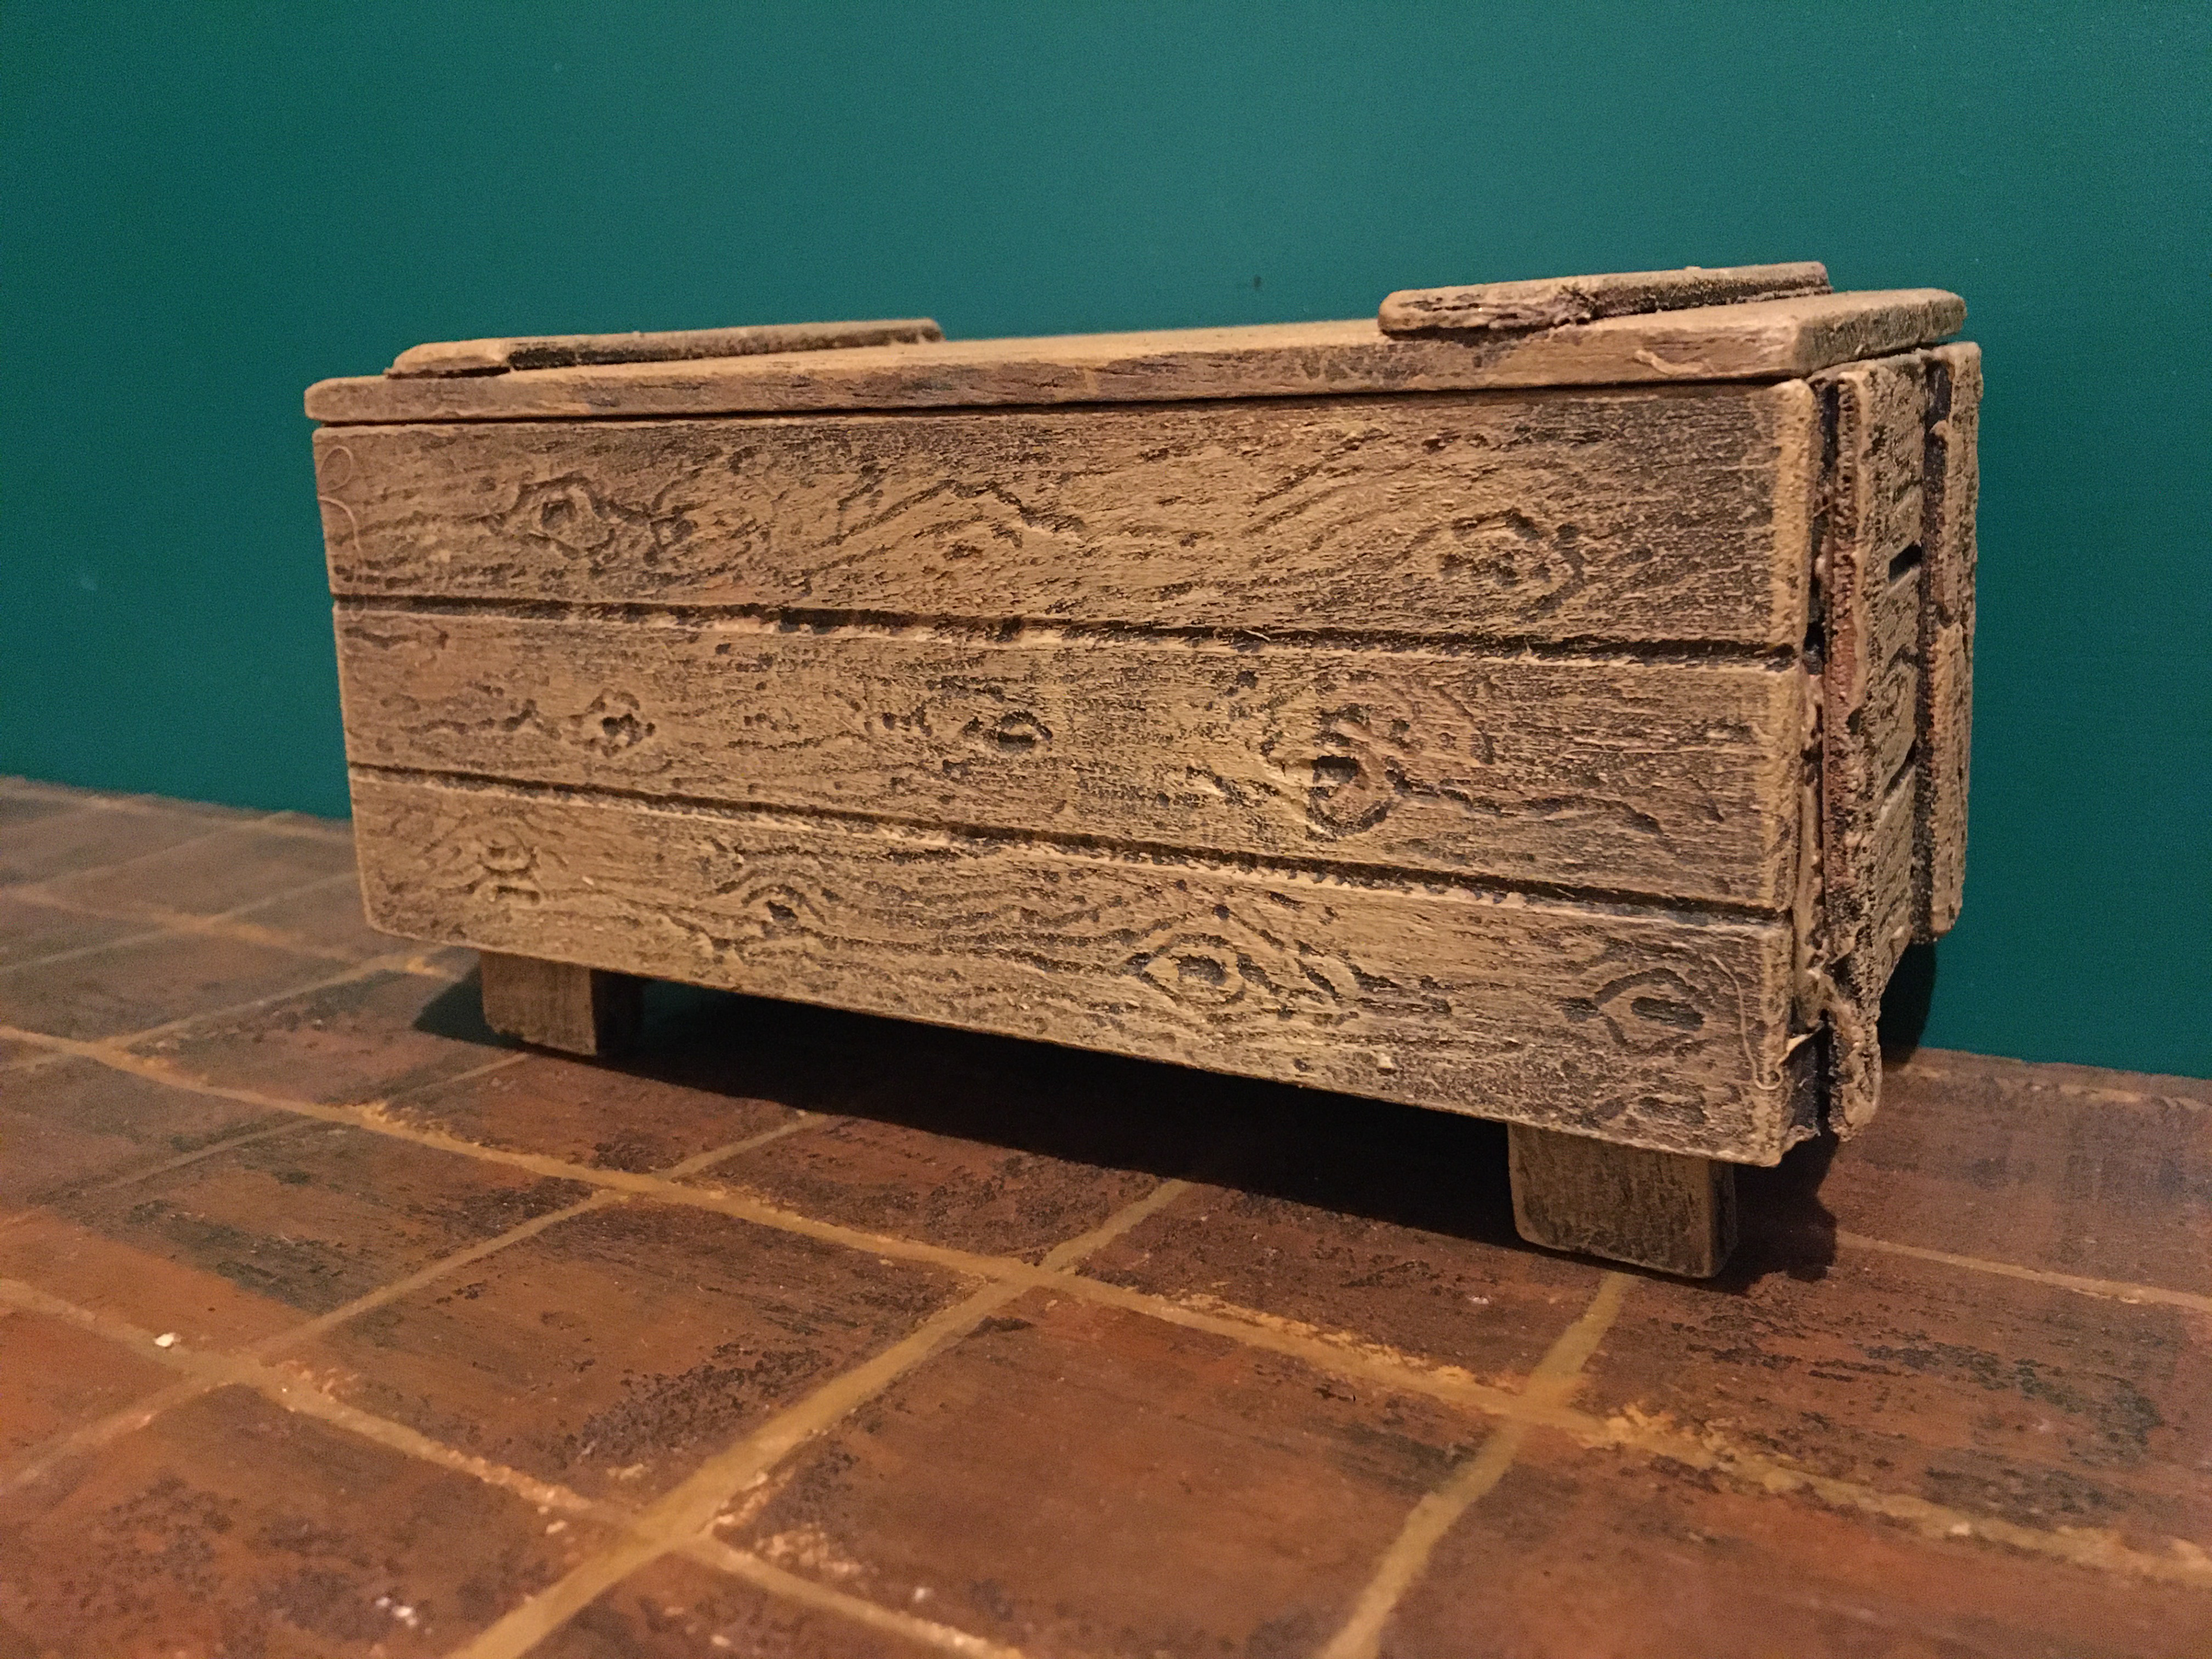
Sealer was used before the chest was painted with acrylics. a matte varnish was used to enhance and preserve the colour of the chest.
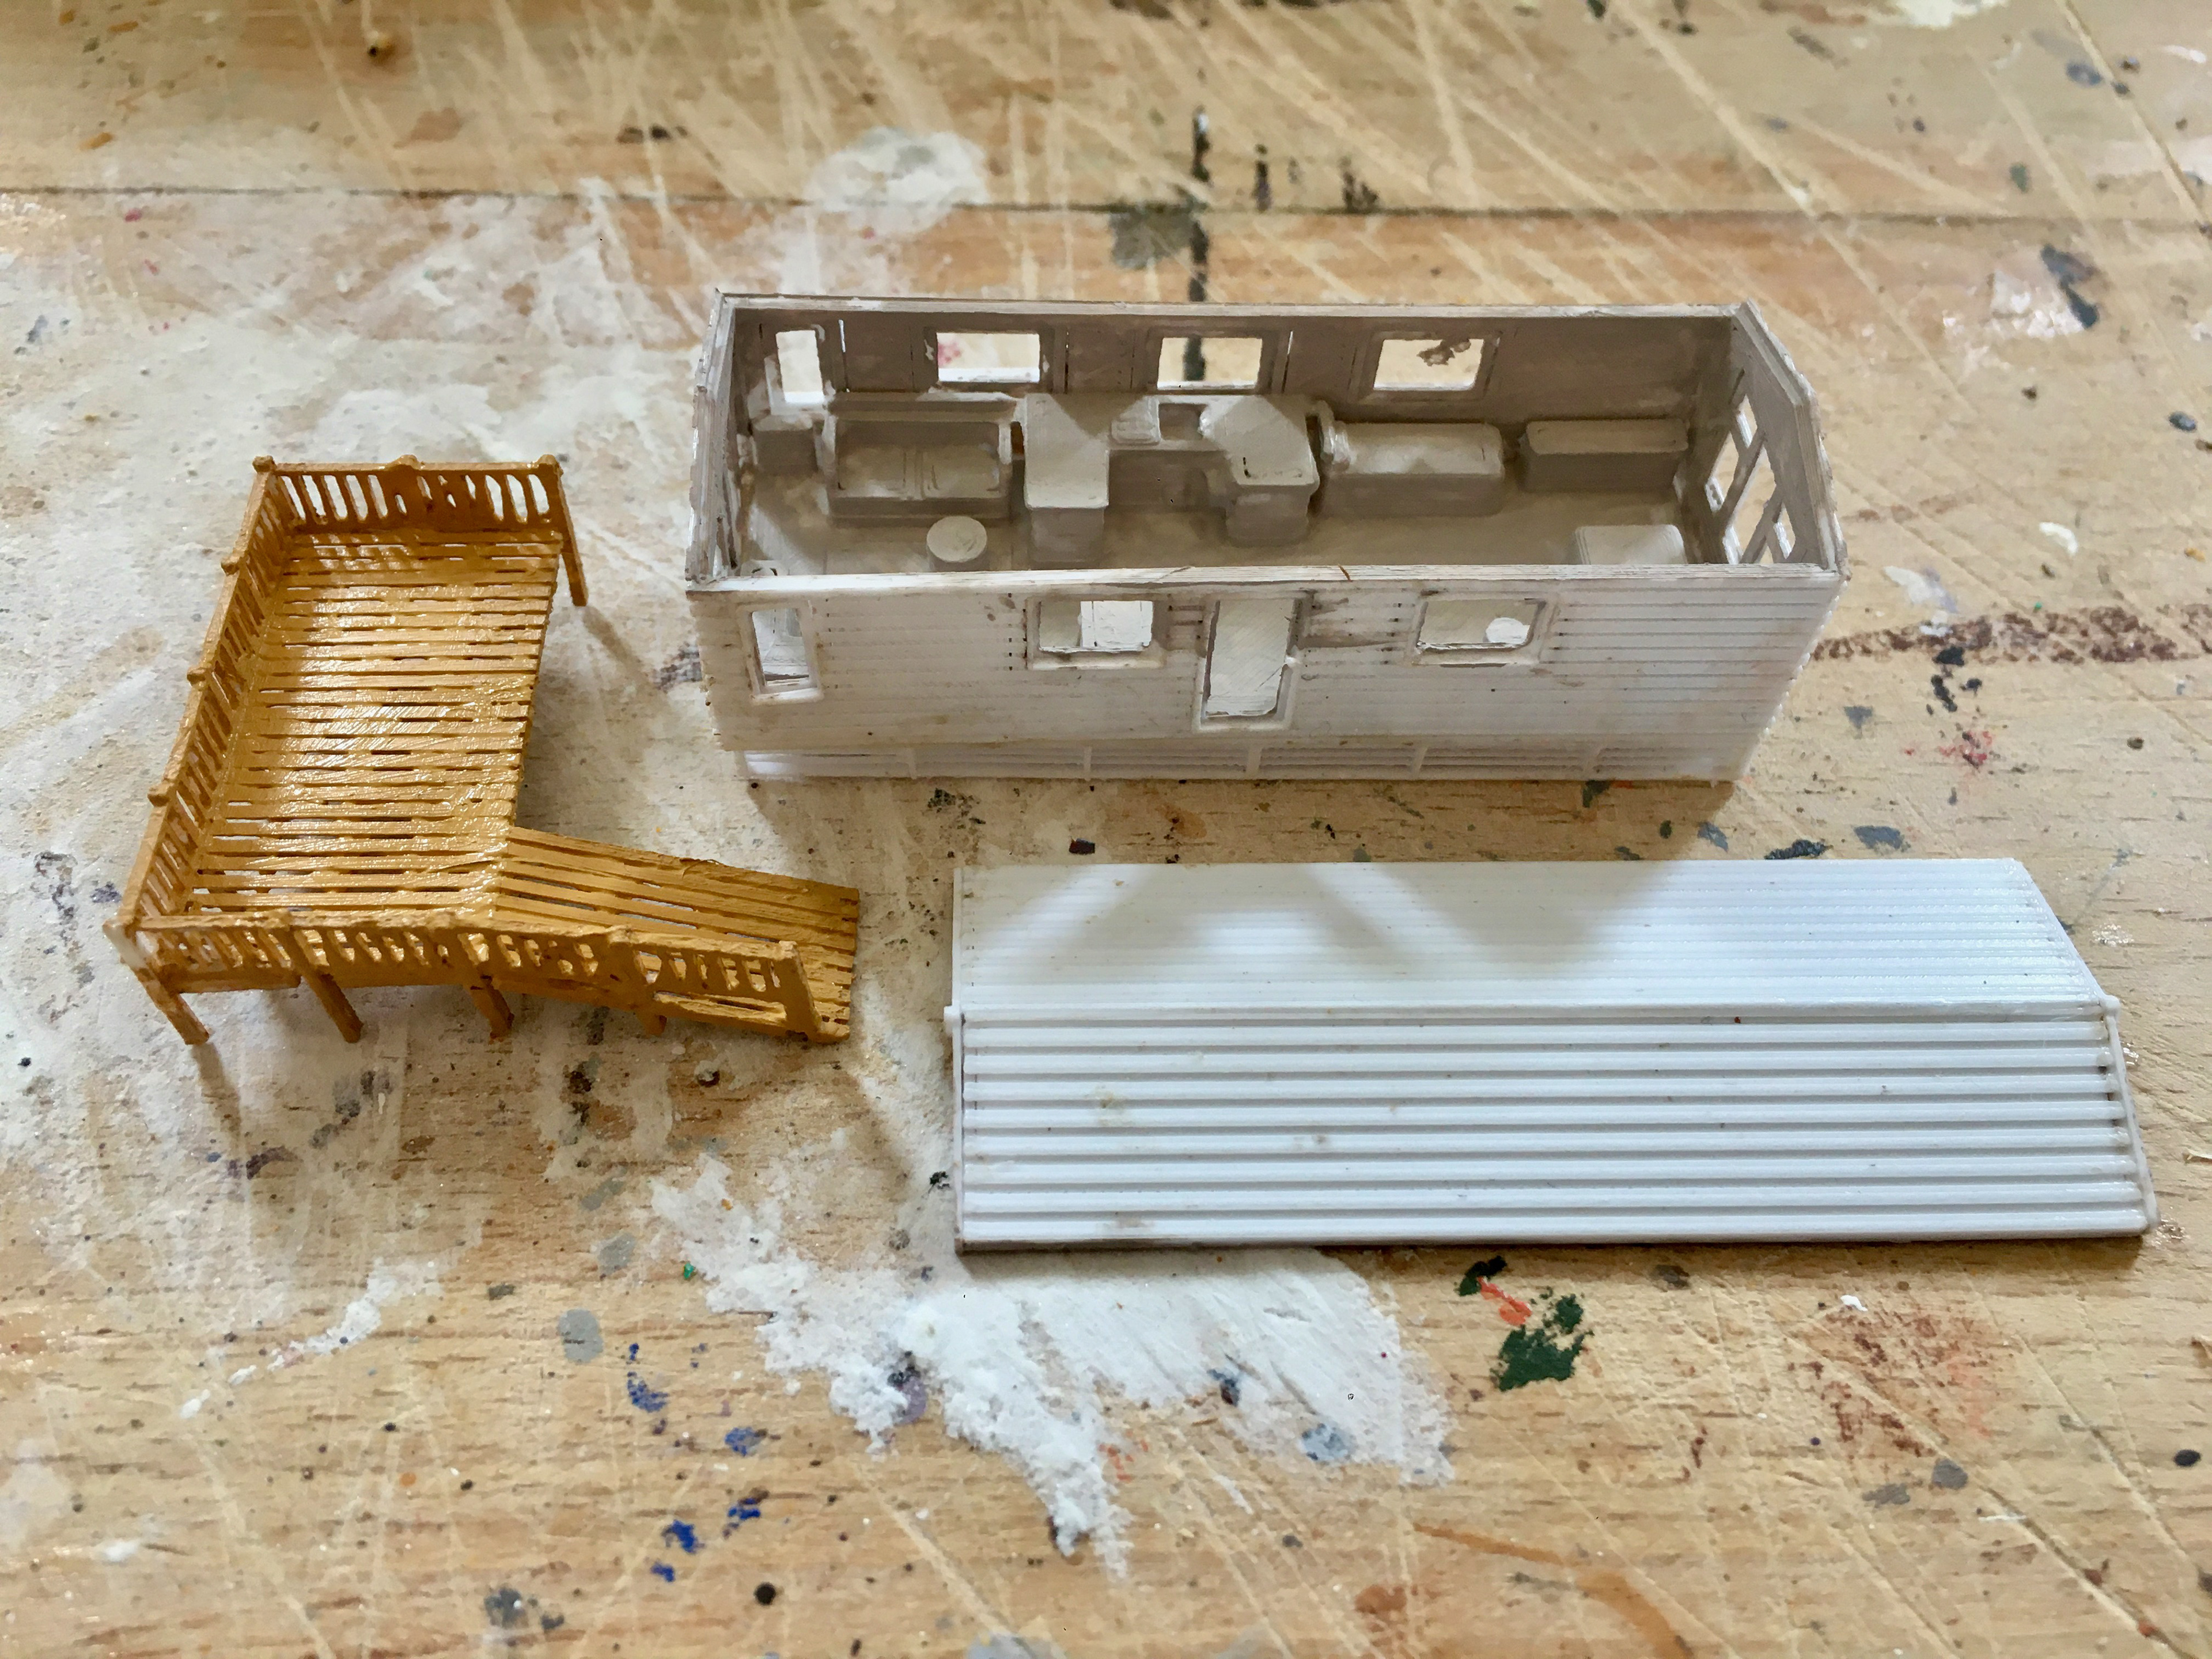
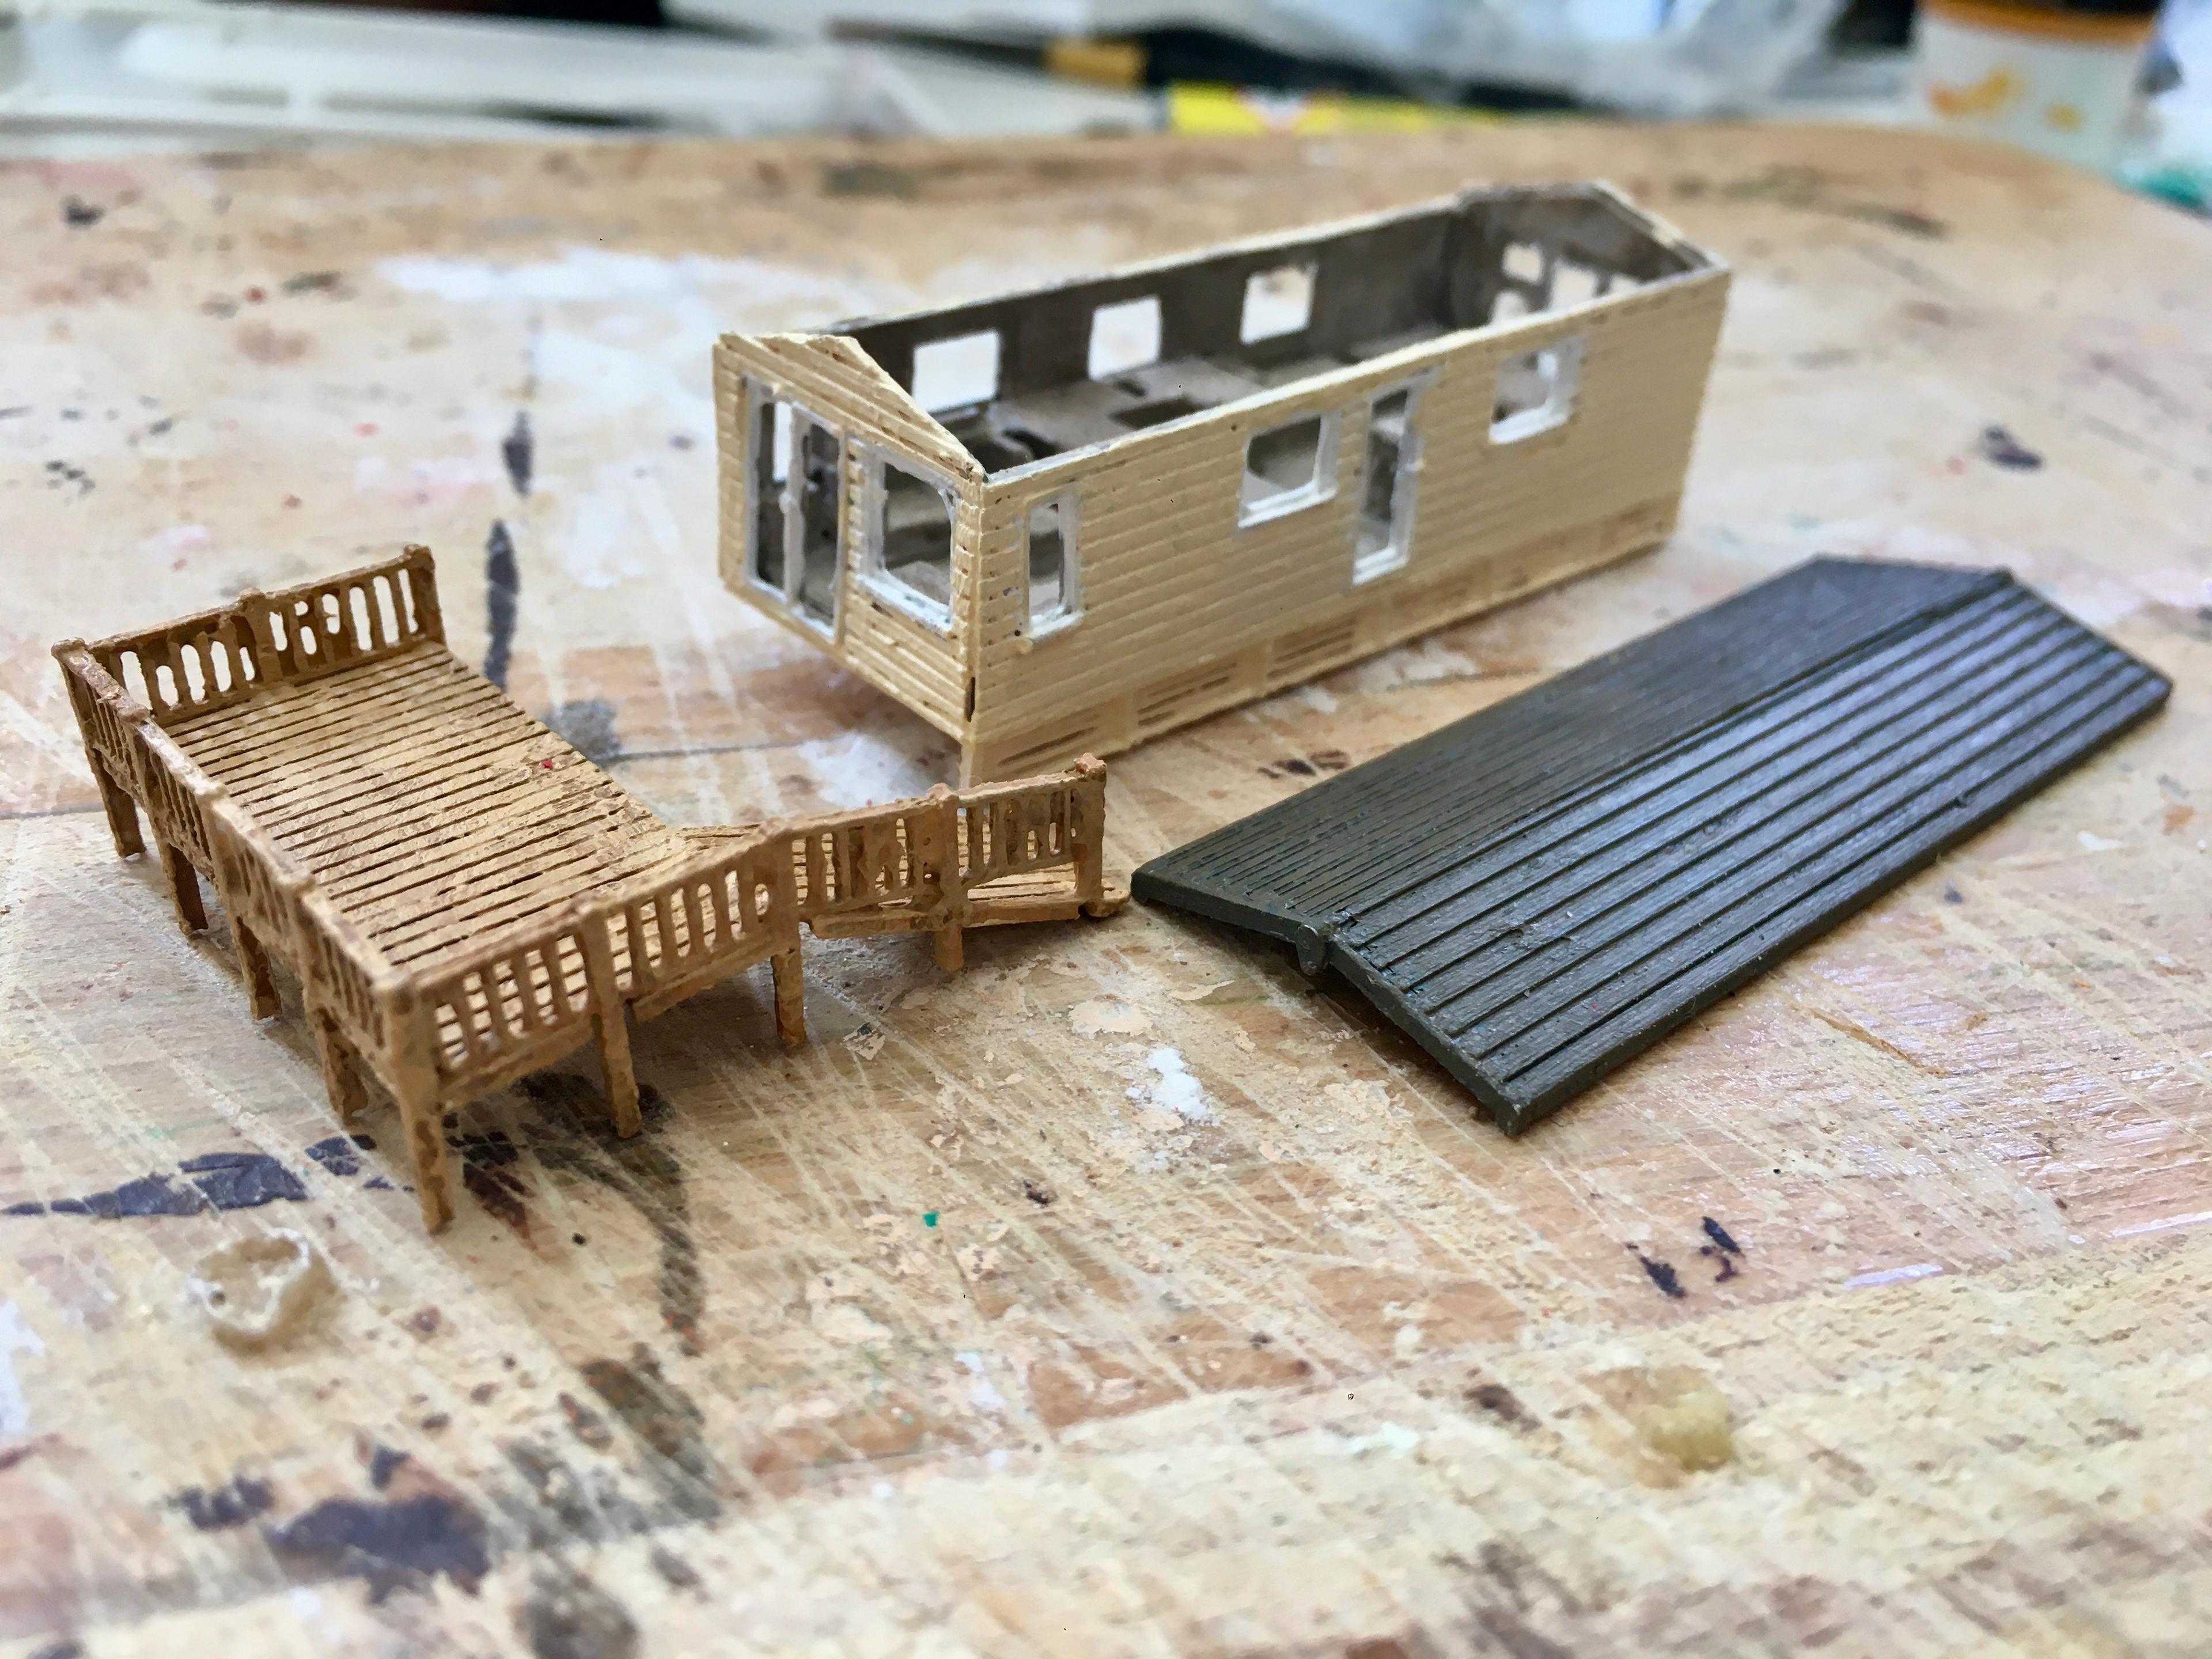
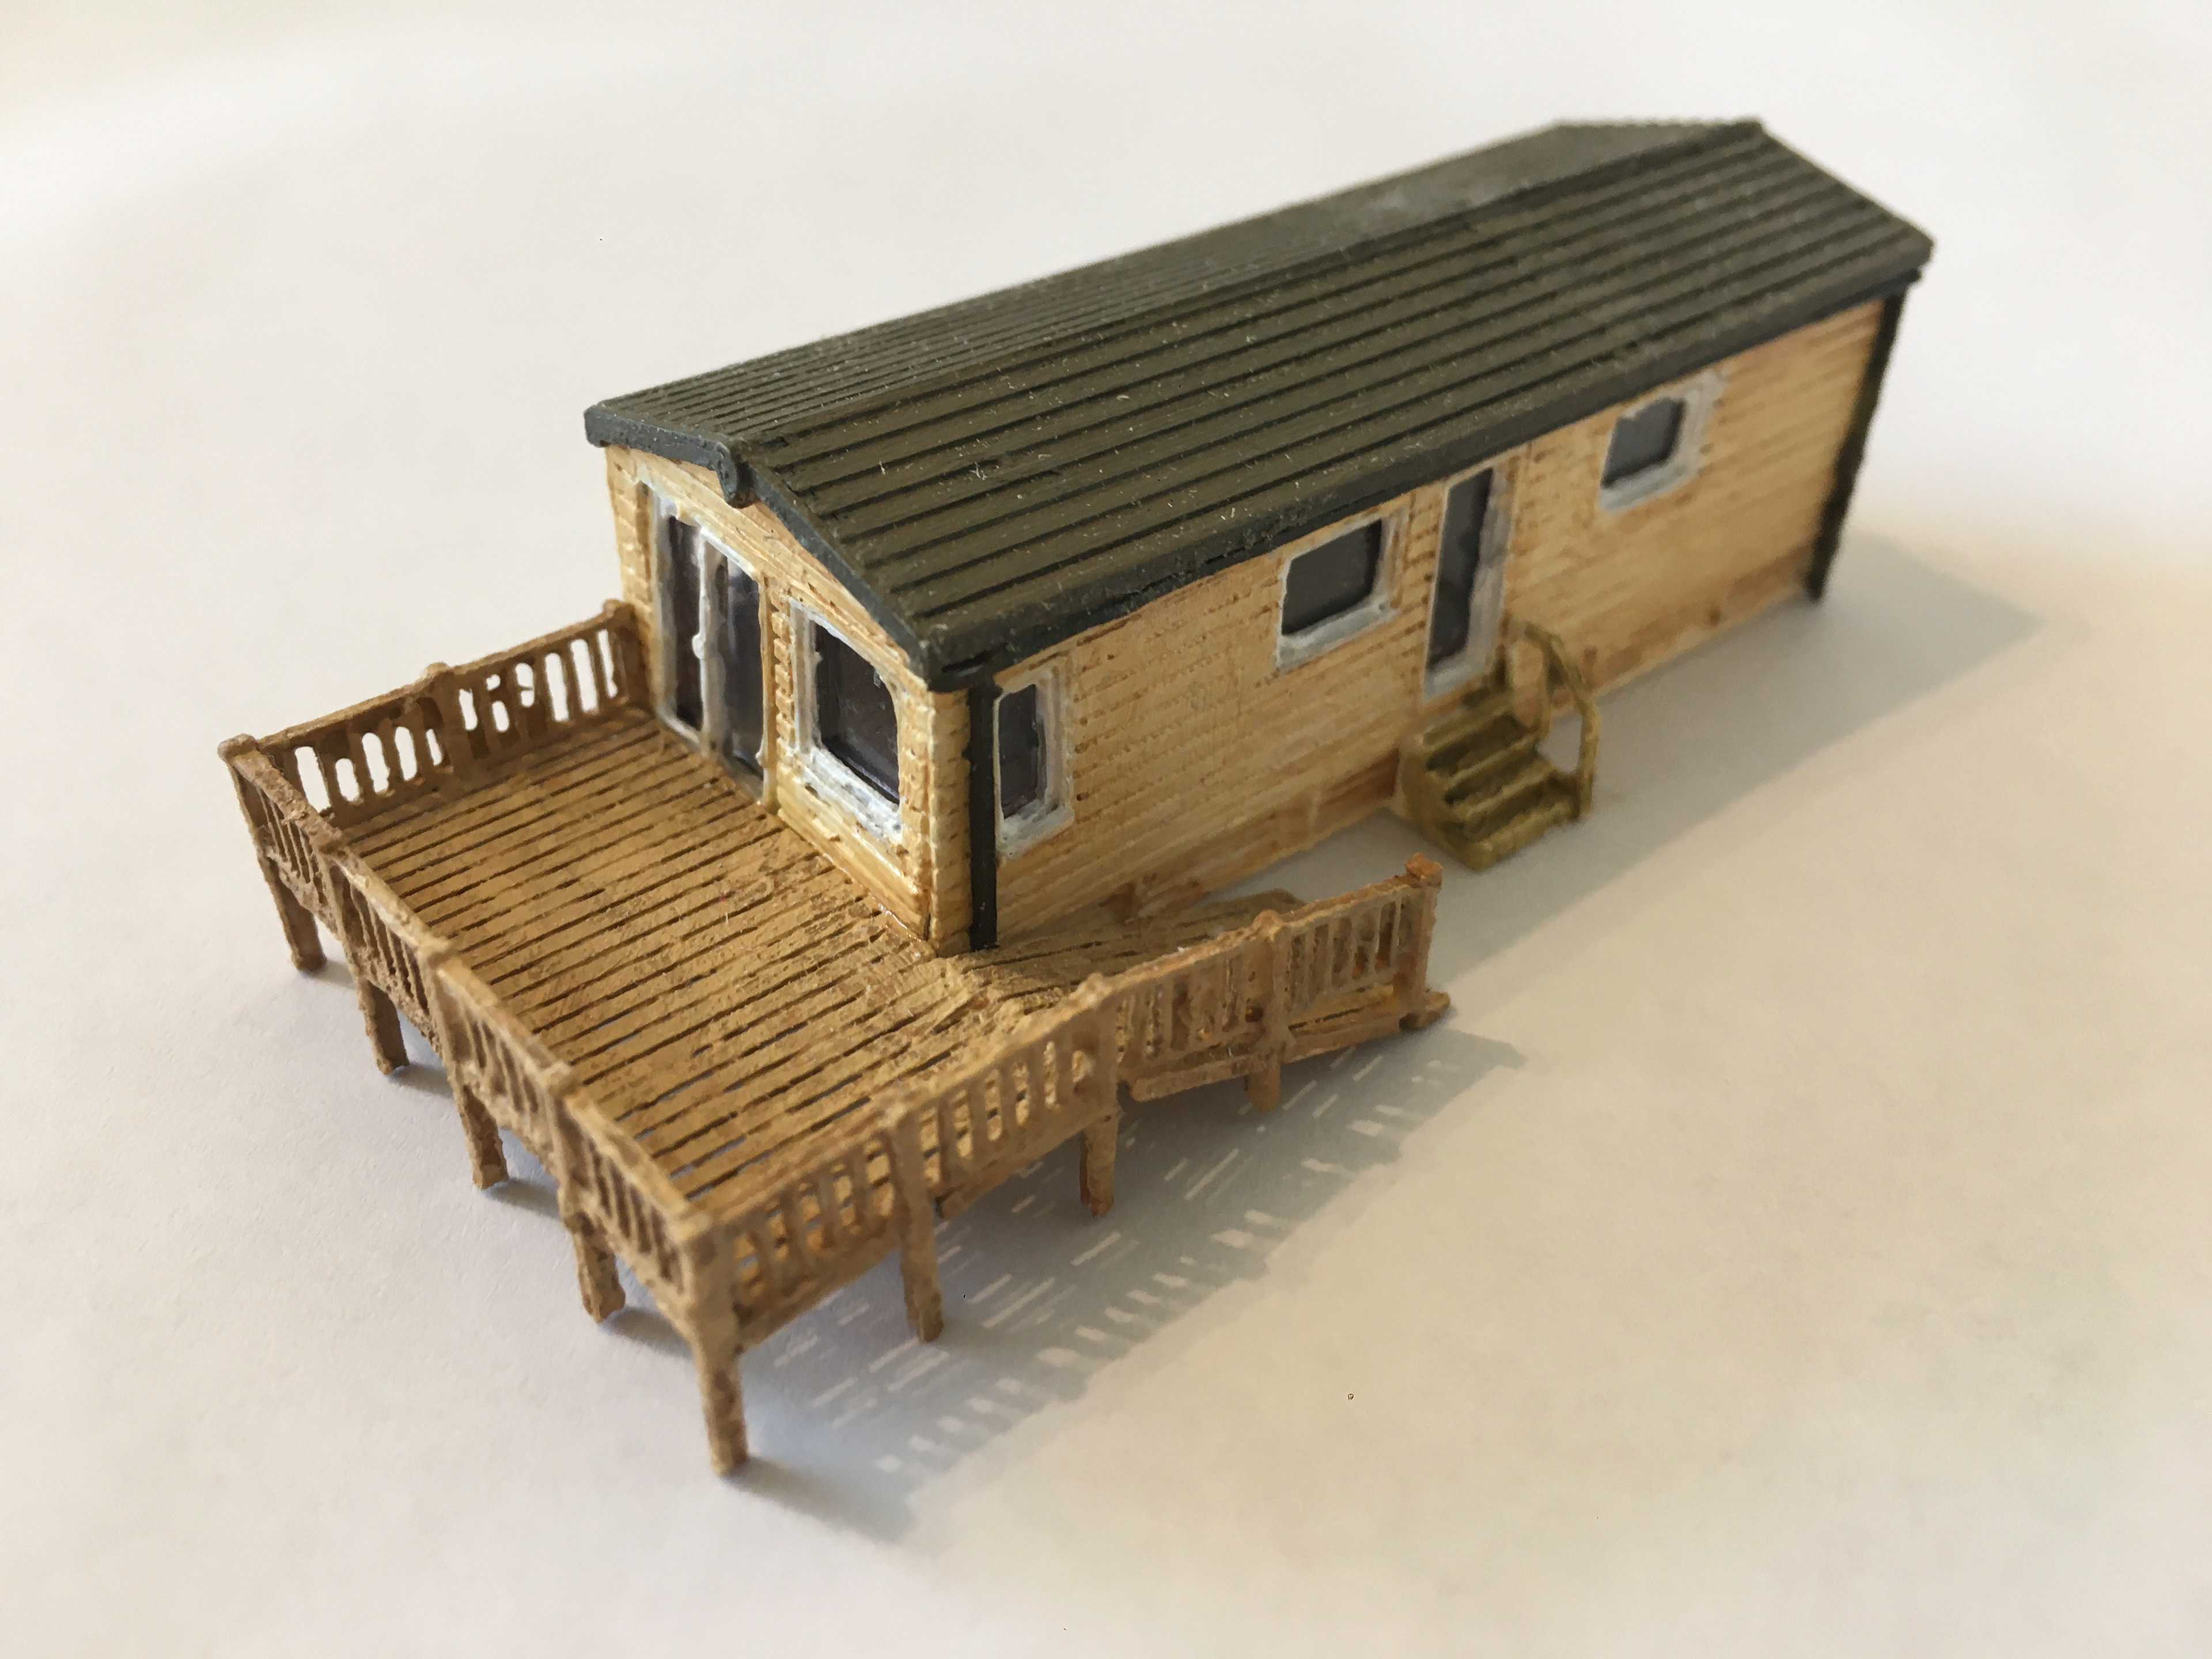
Static Caravan
As Emily begins building her model collection, she starts off by building smaller and less known destinations before she builds her giant landmarks.
Beach
THe beach huts for this miniature model were pre- made and moulded using resin. THe sand was created using poly filler and the whole model will be a painted with acrylics.
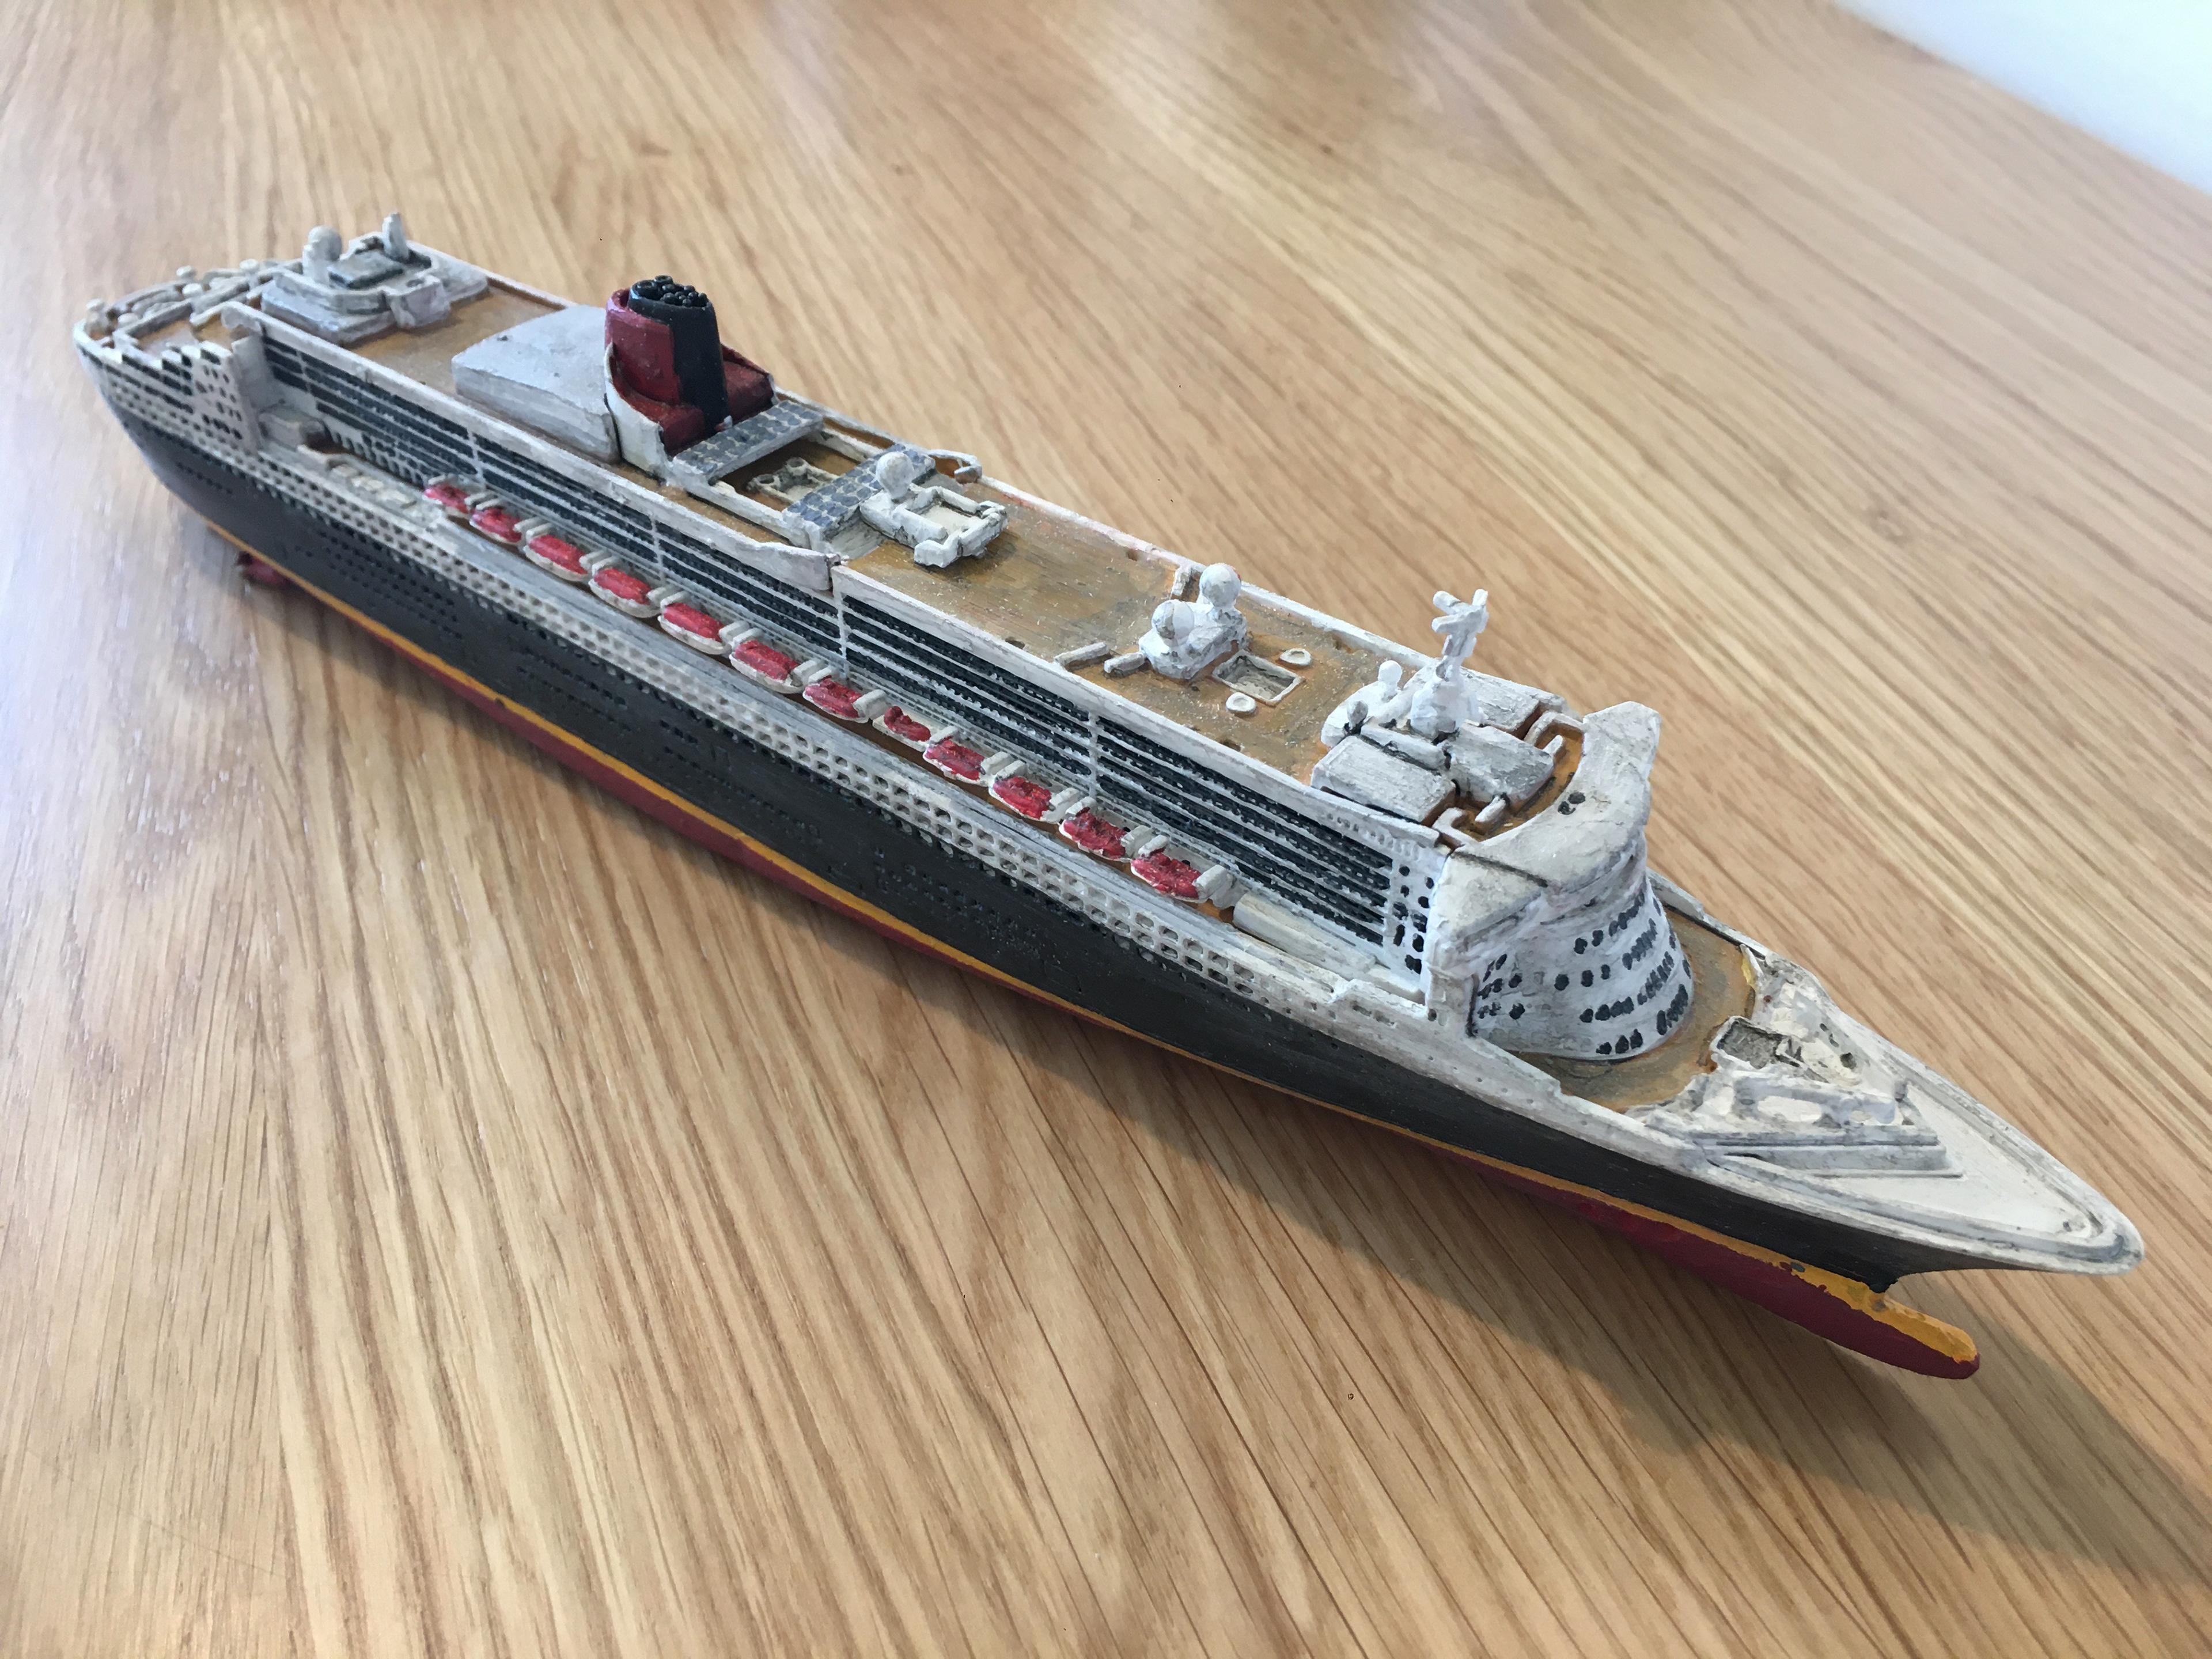
Queen Mary 2
As with the static caravan, the QM2 was constructed with a plastic kit and was painted using acrylics.
Holiday Destinations
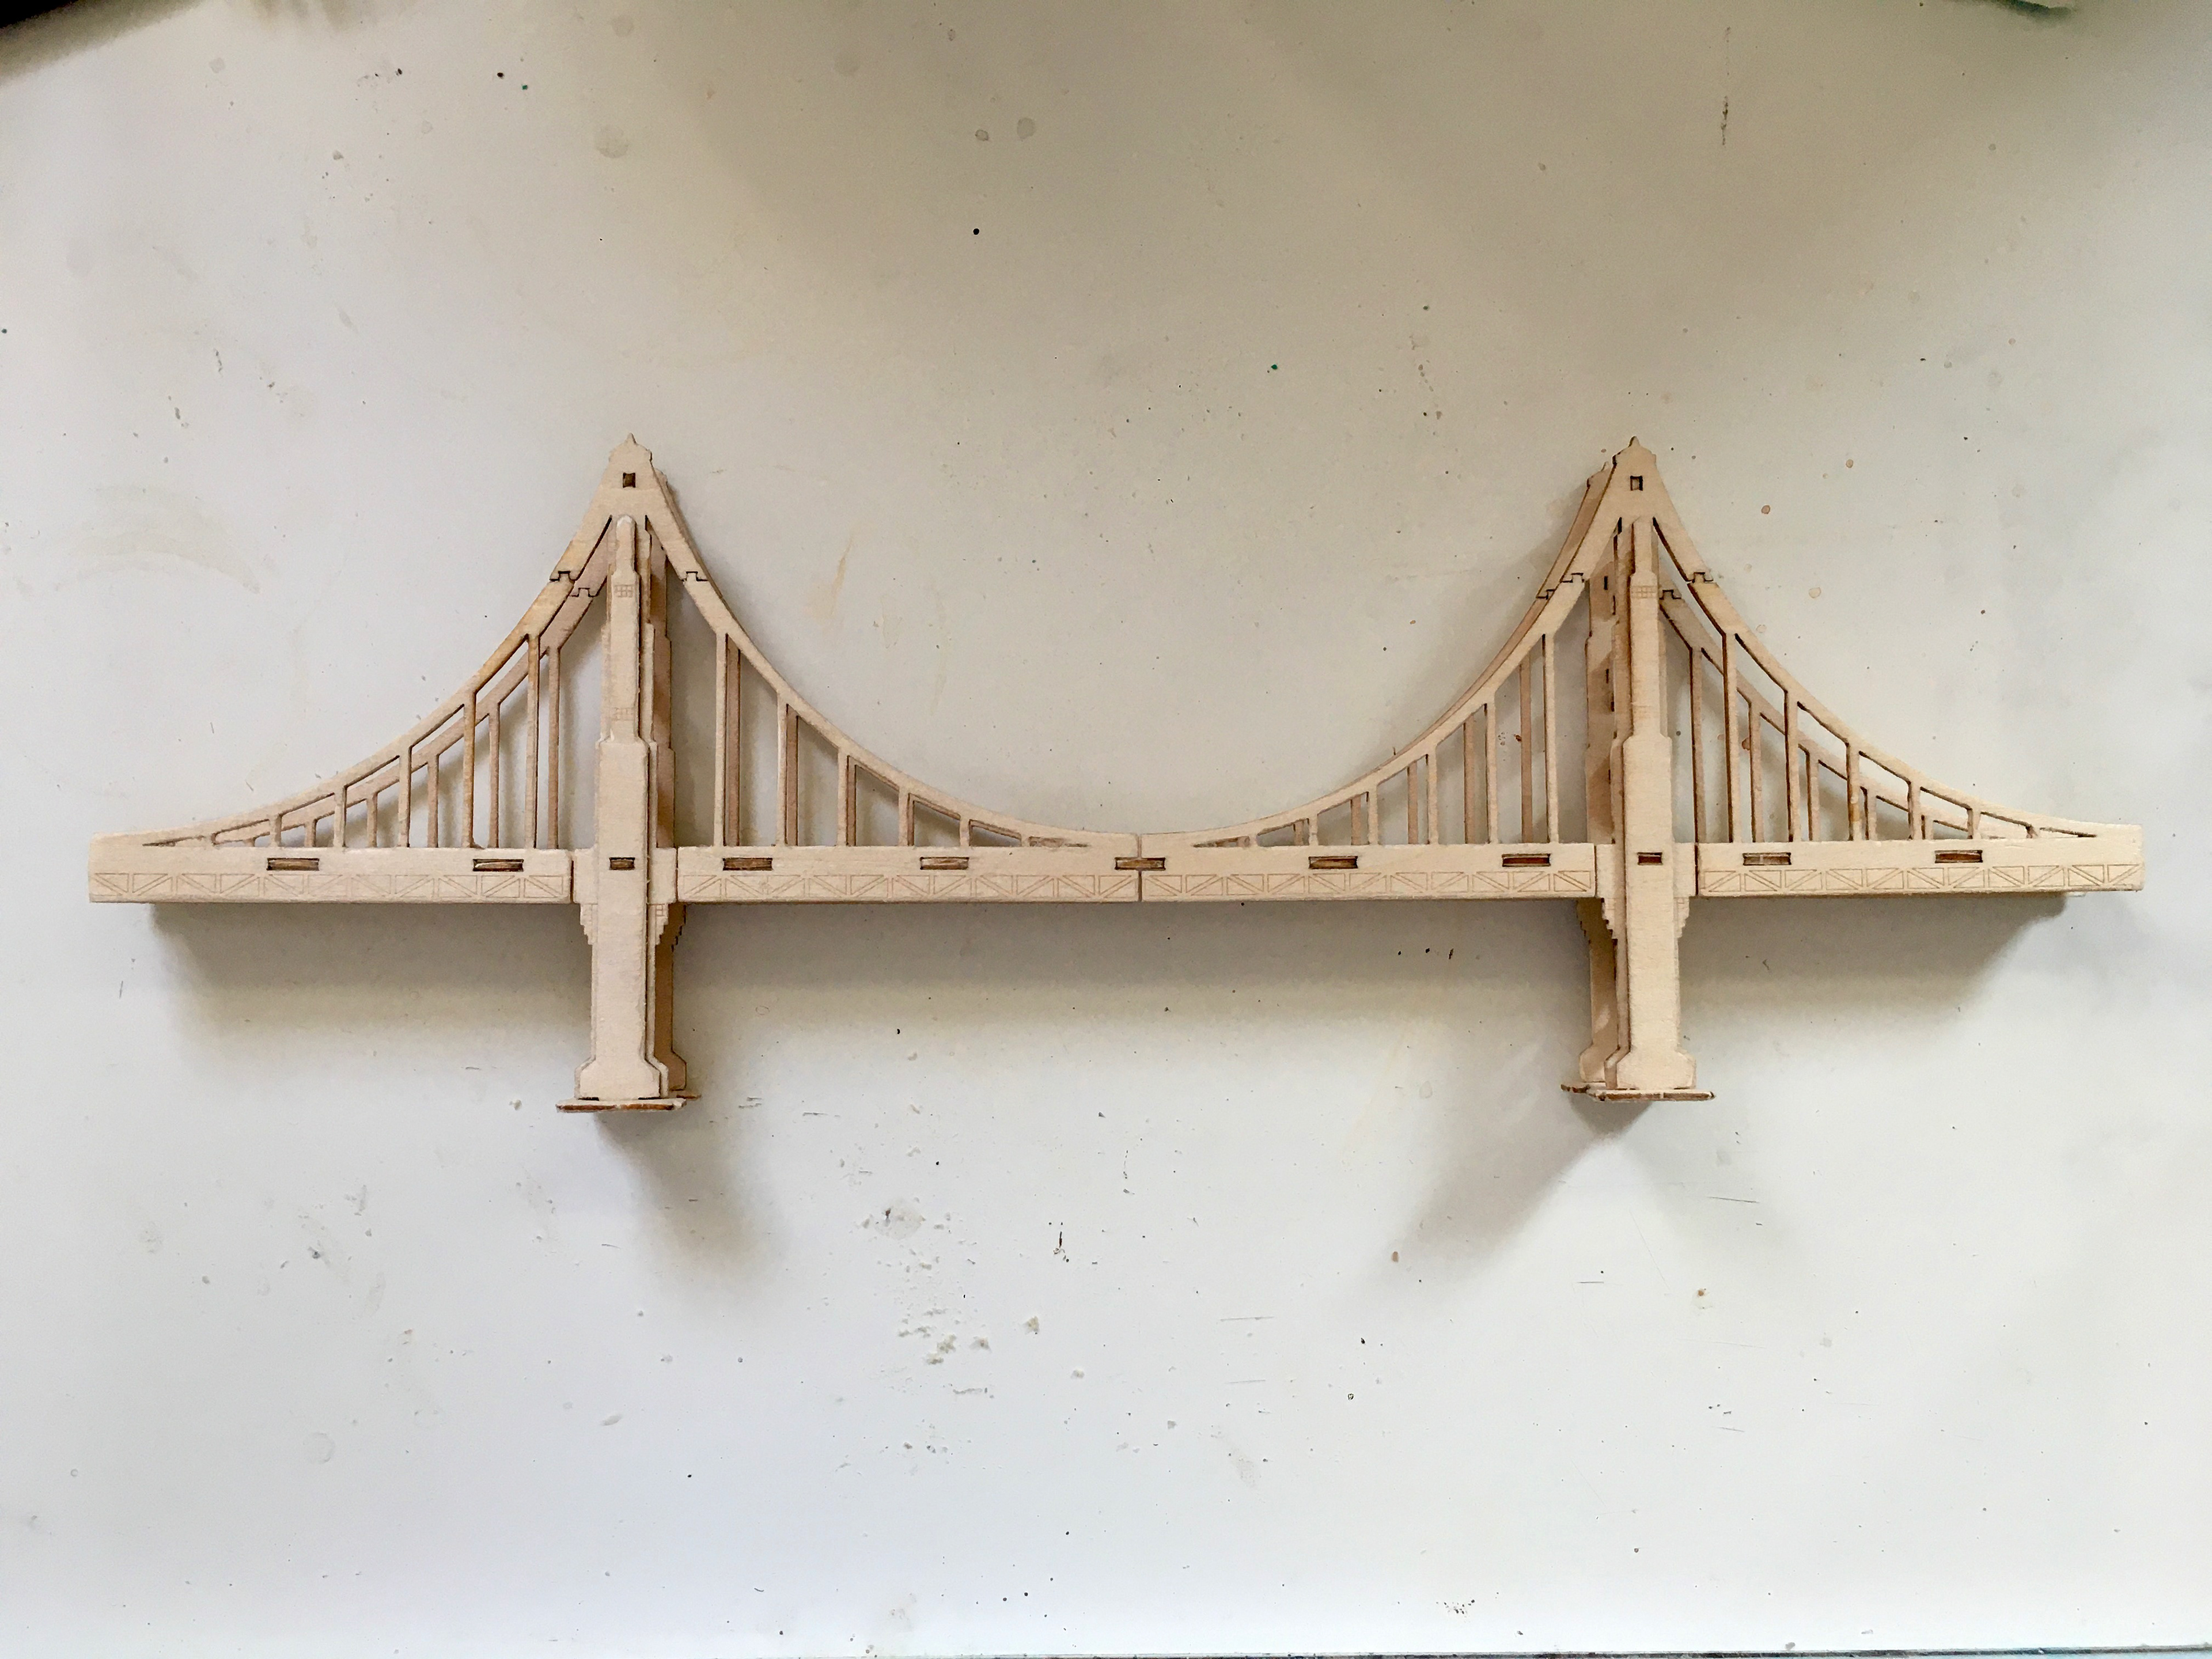
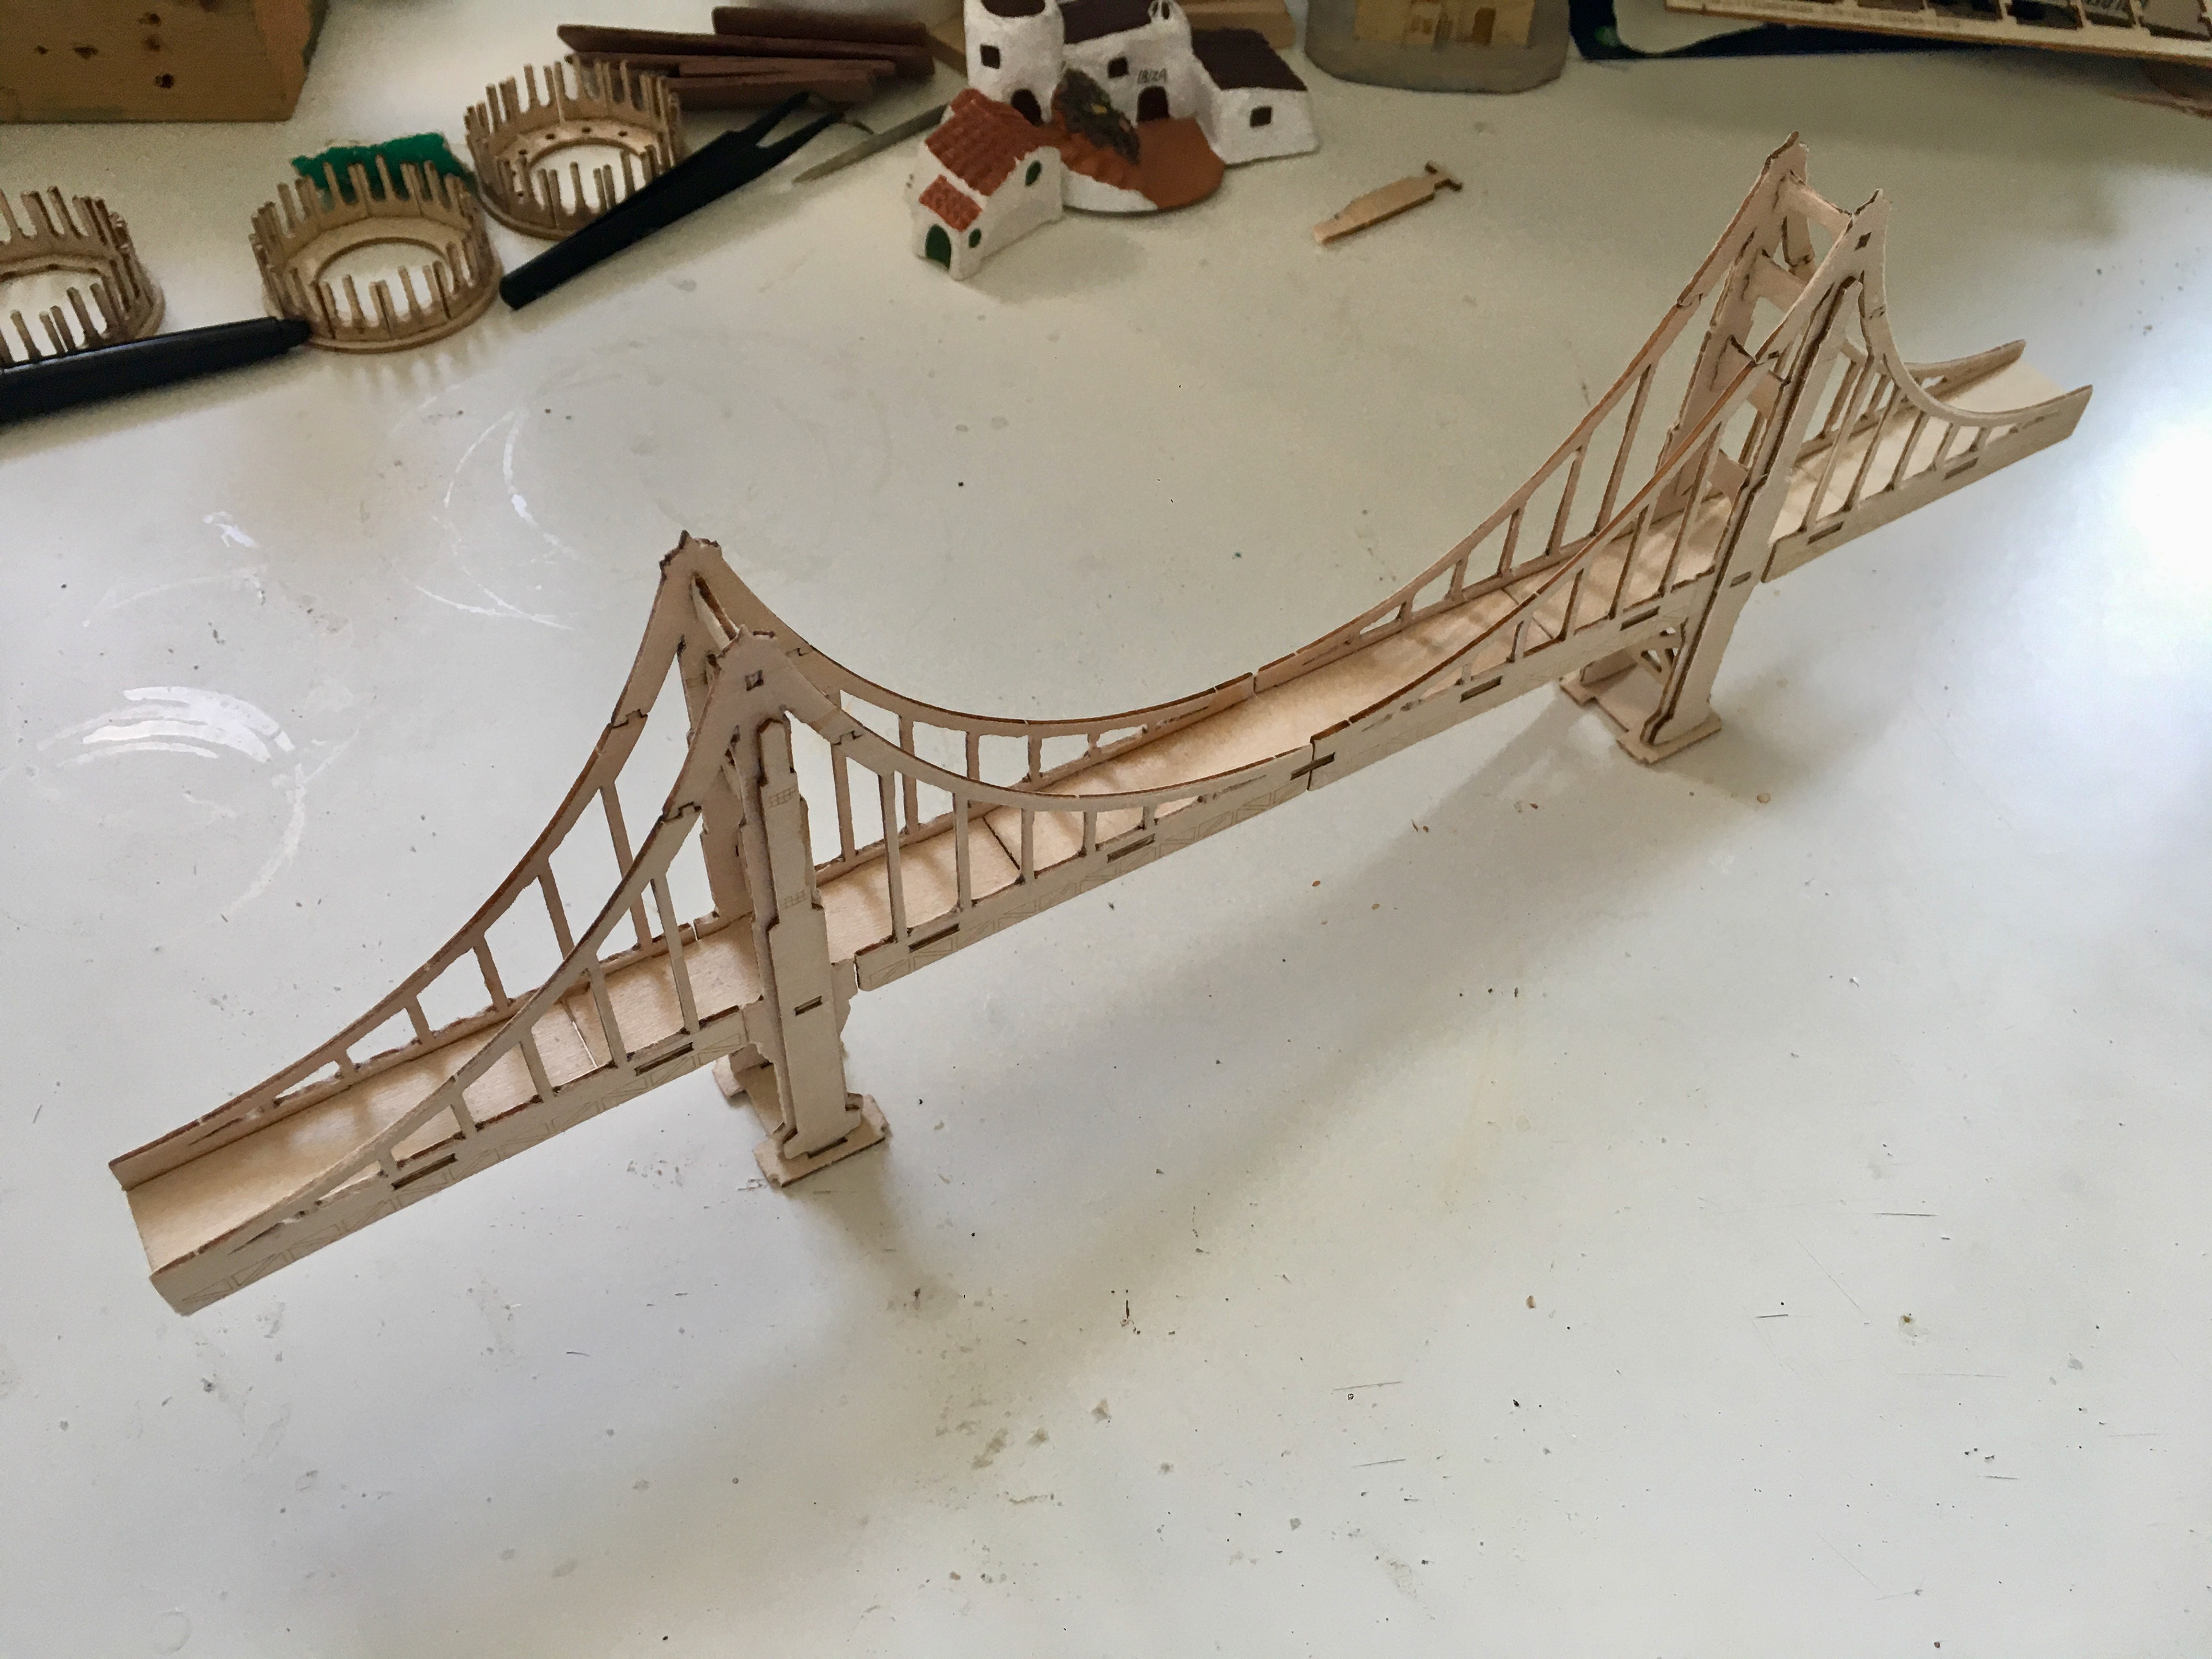
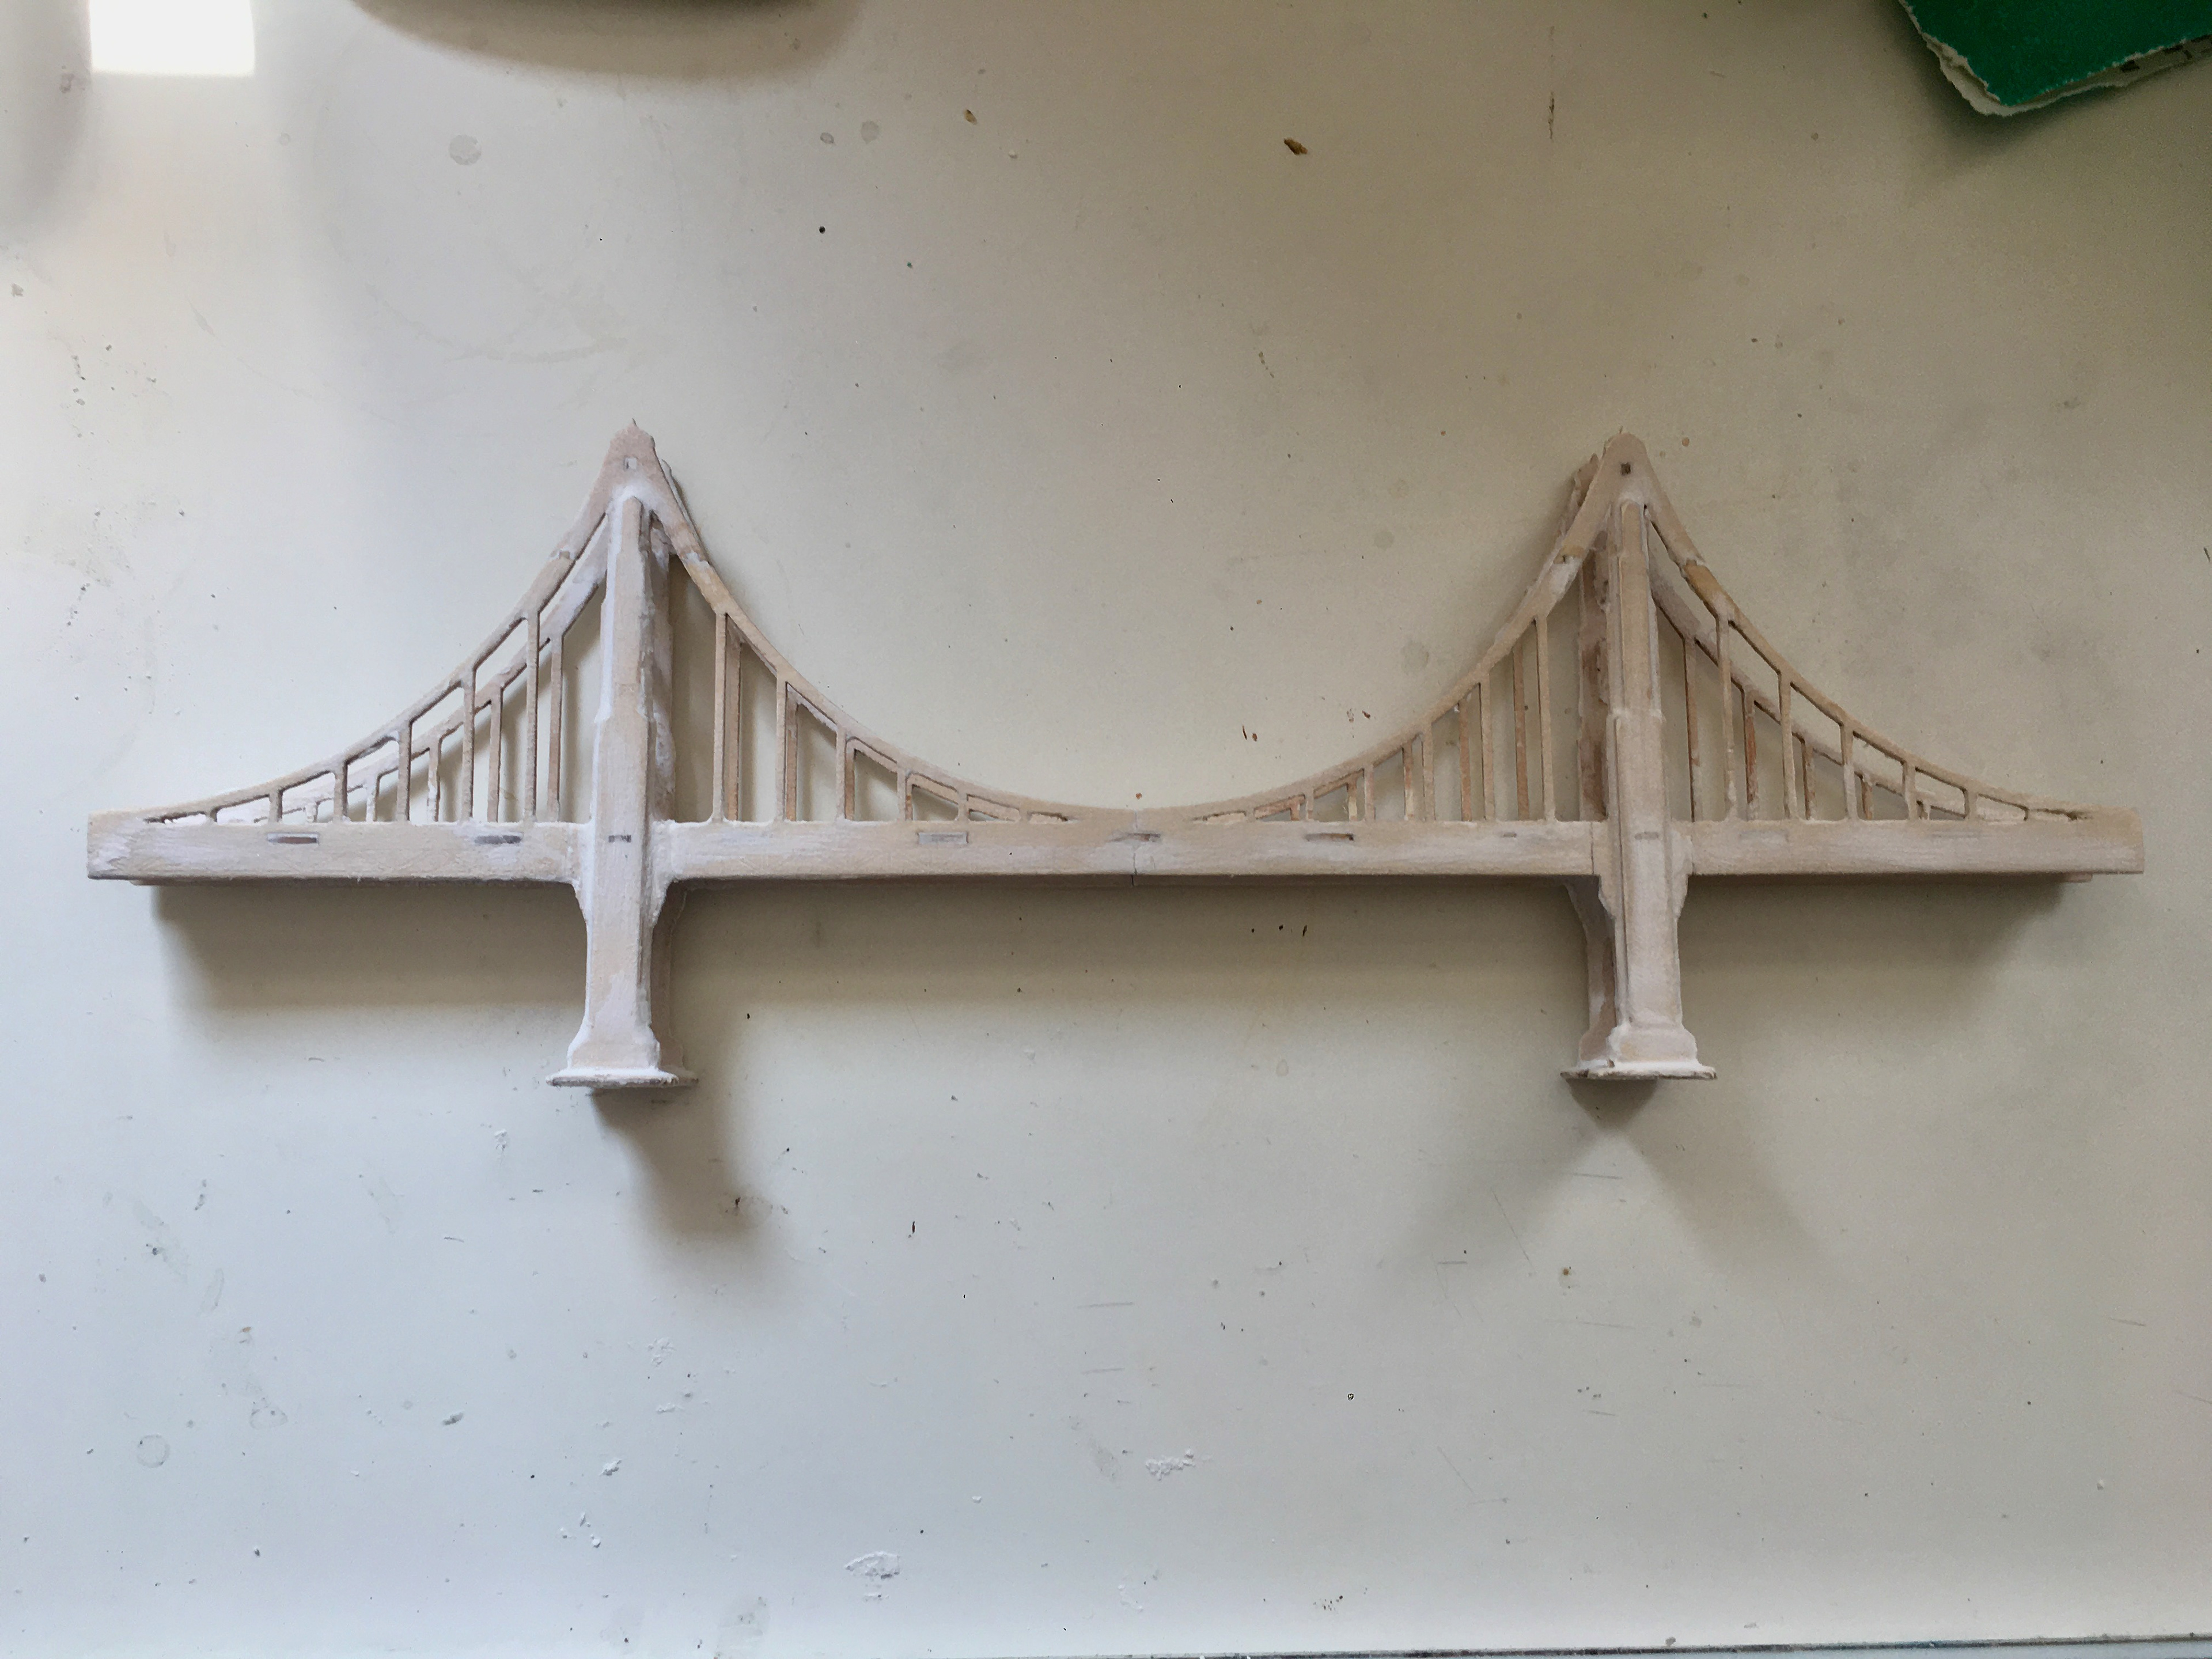
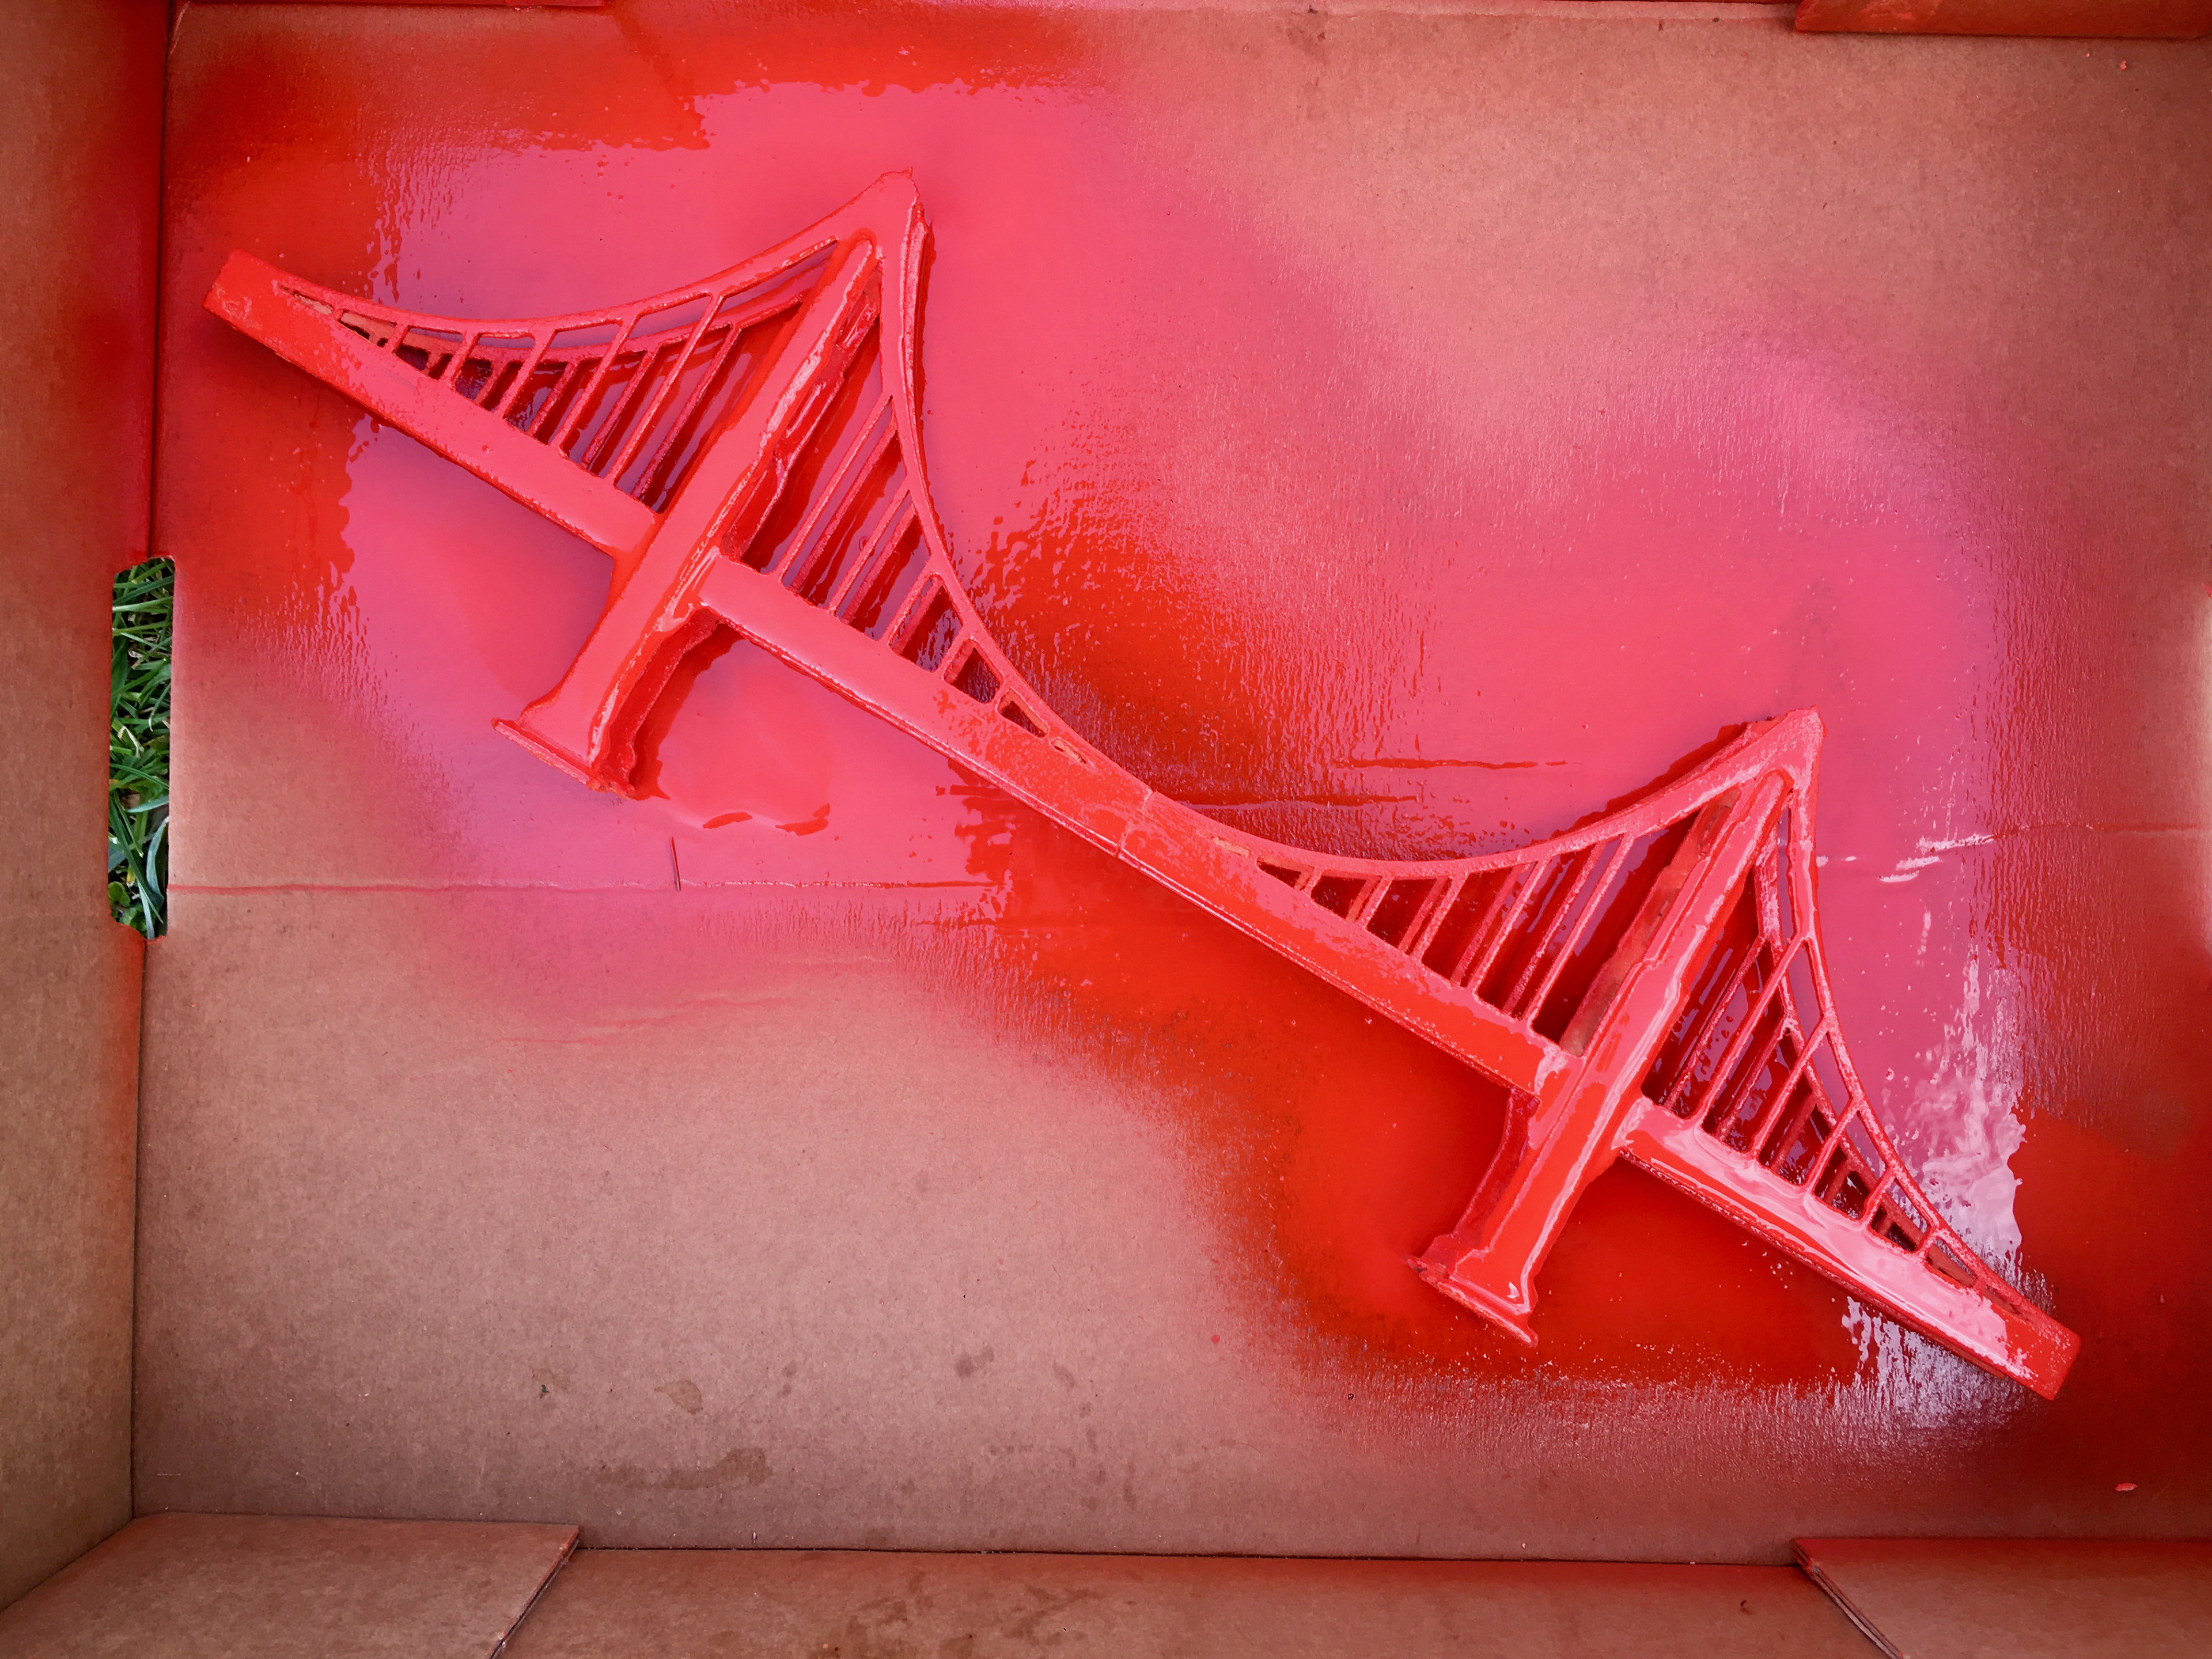
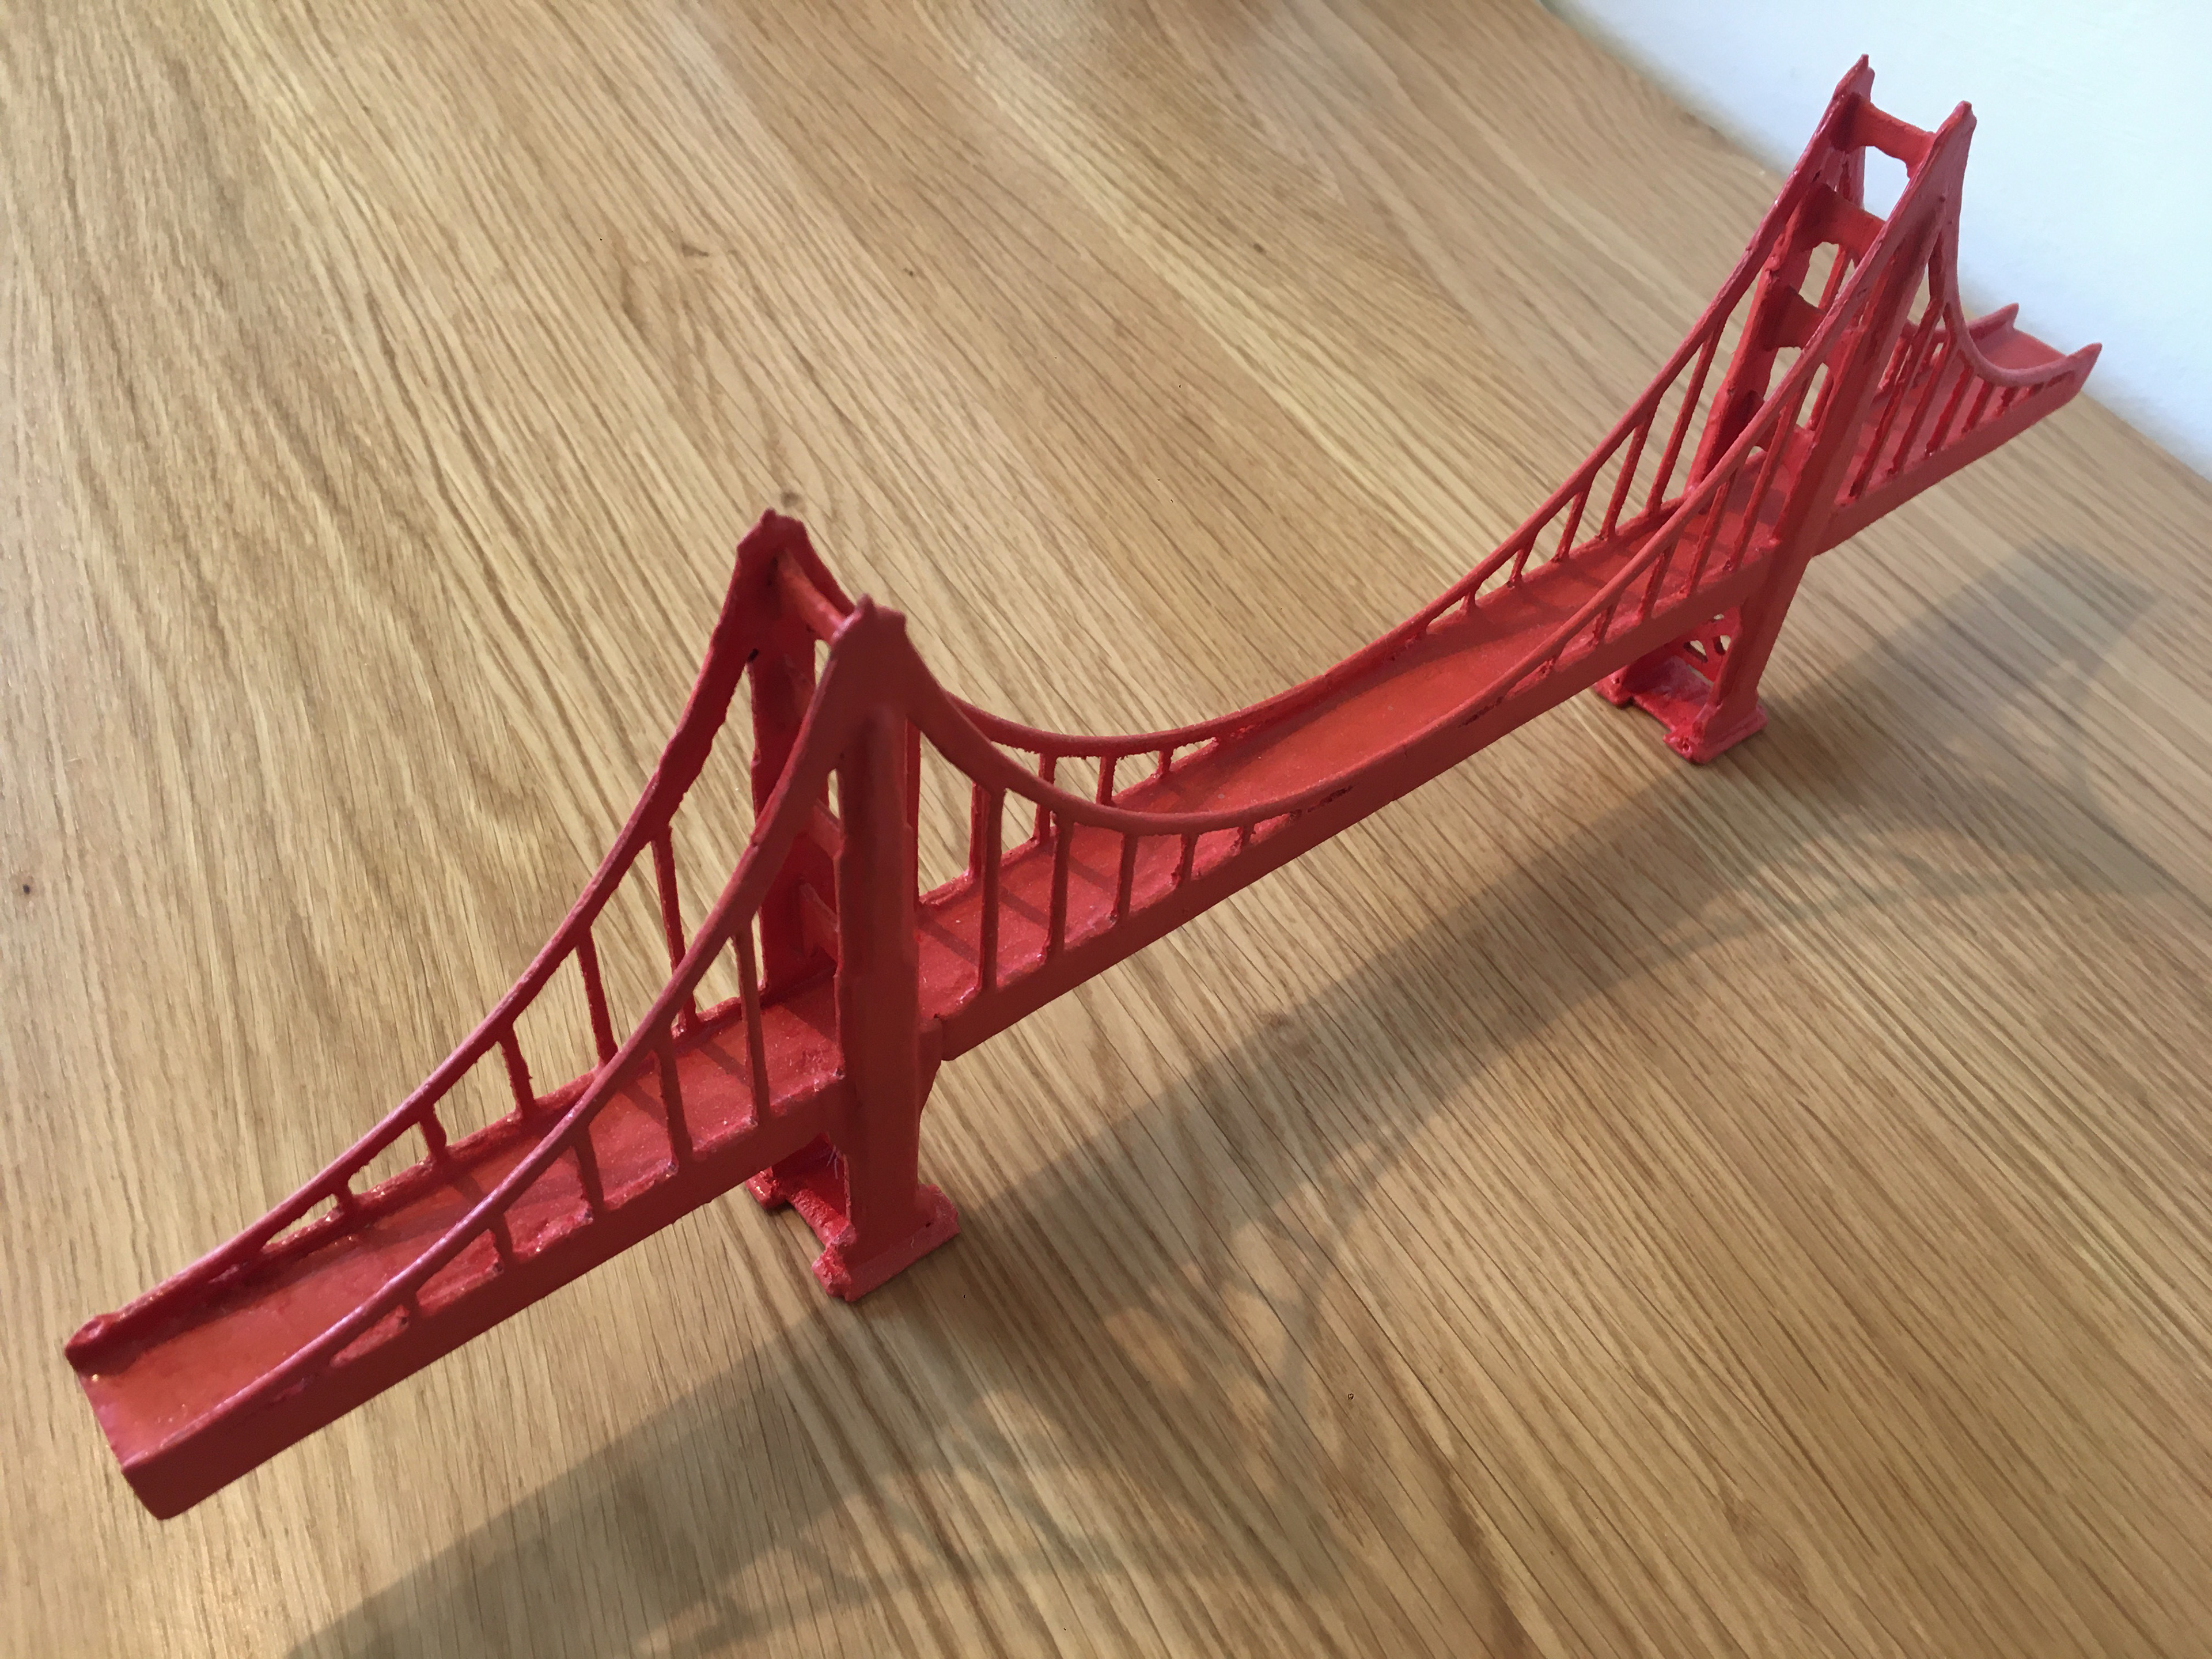
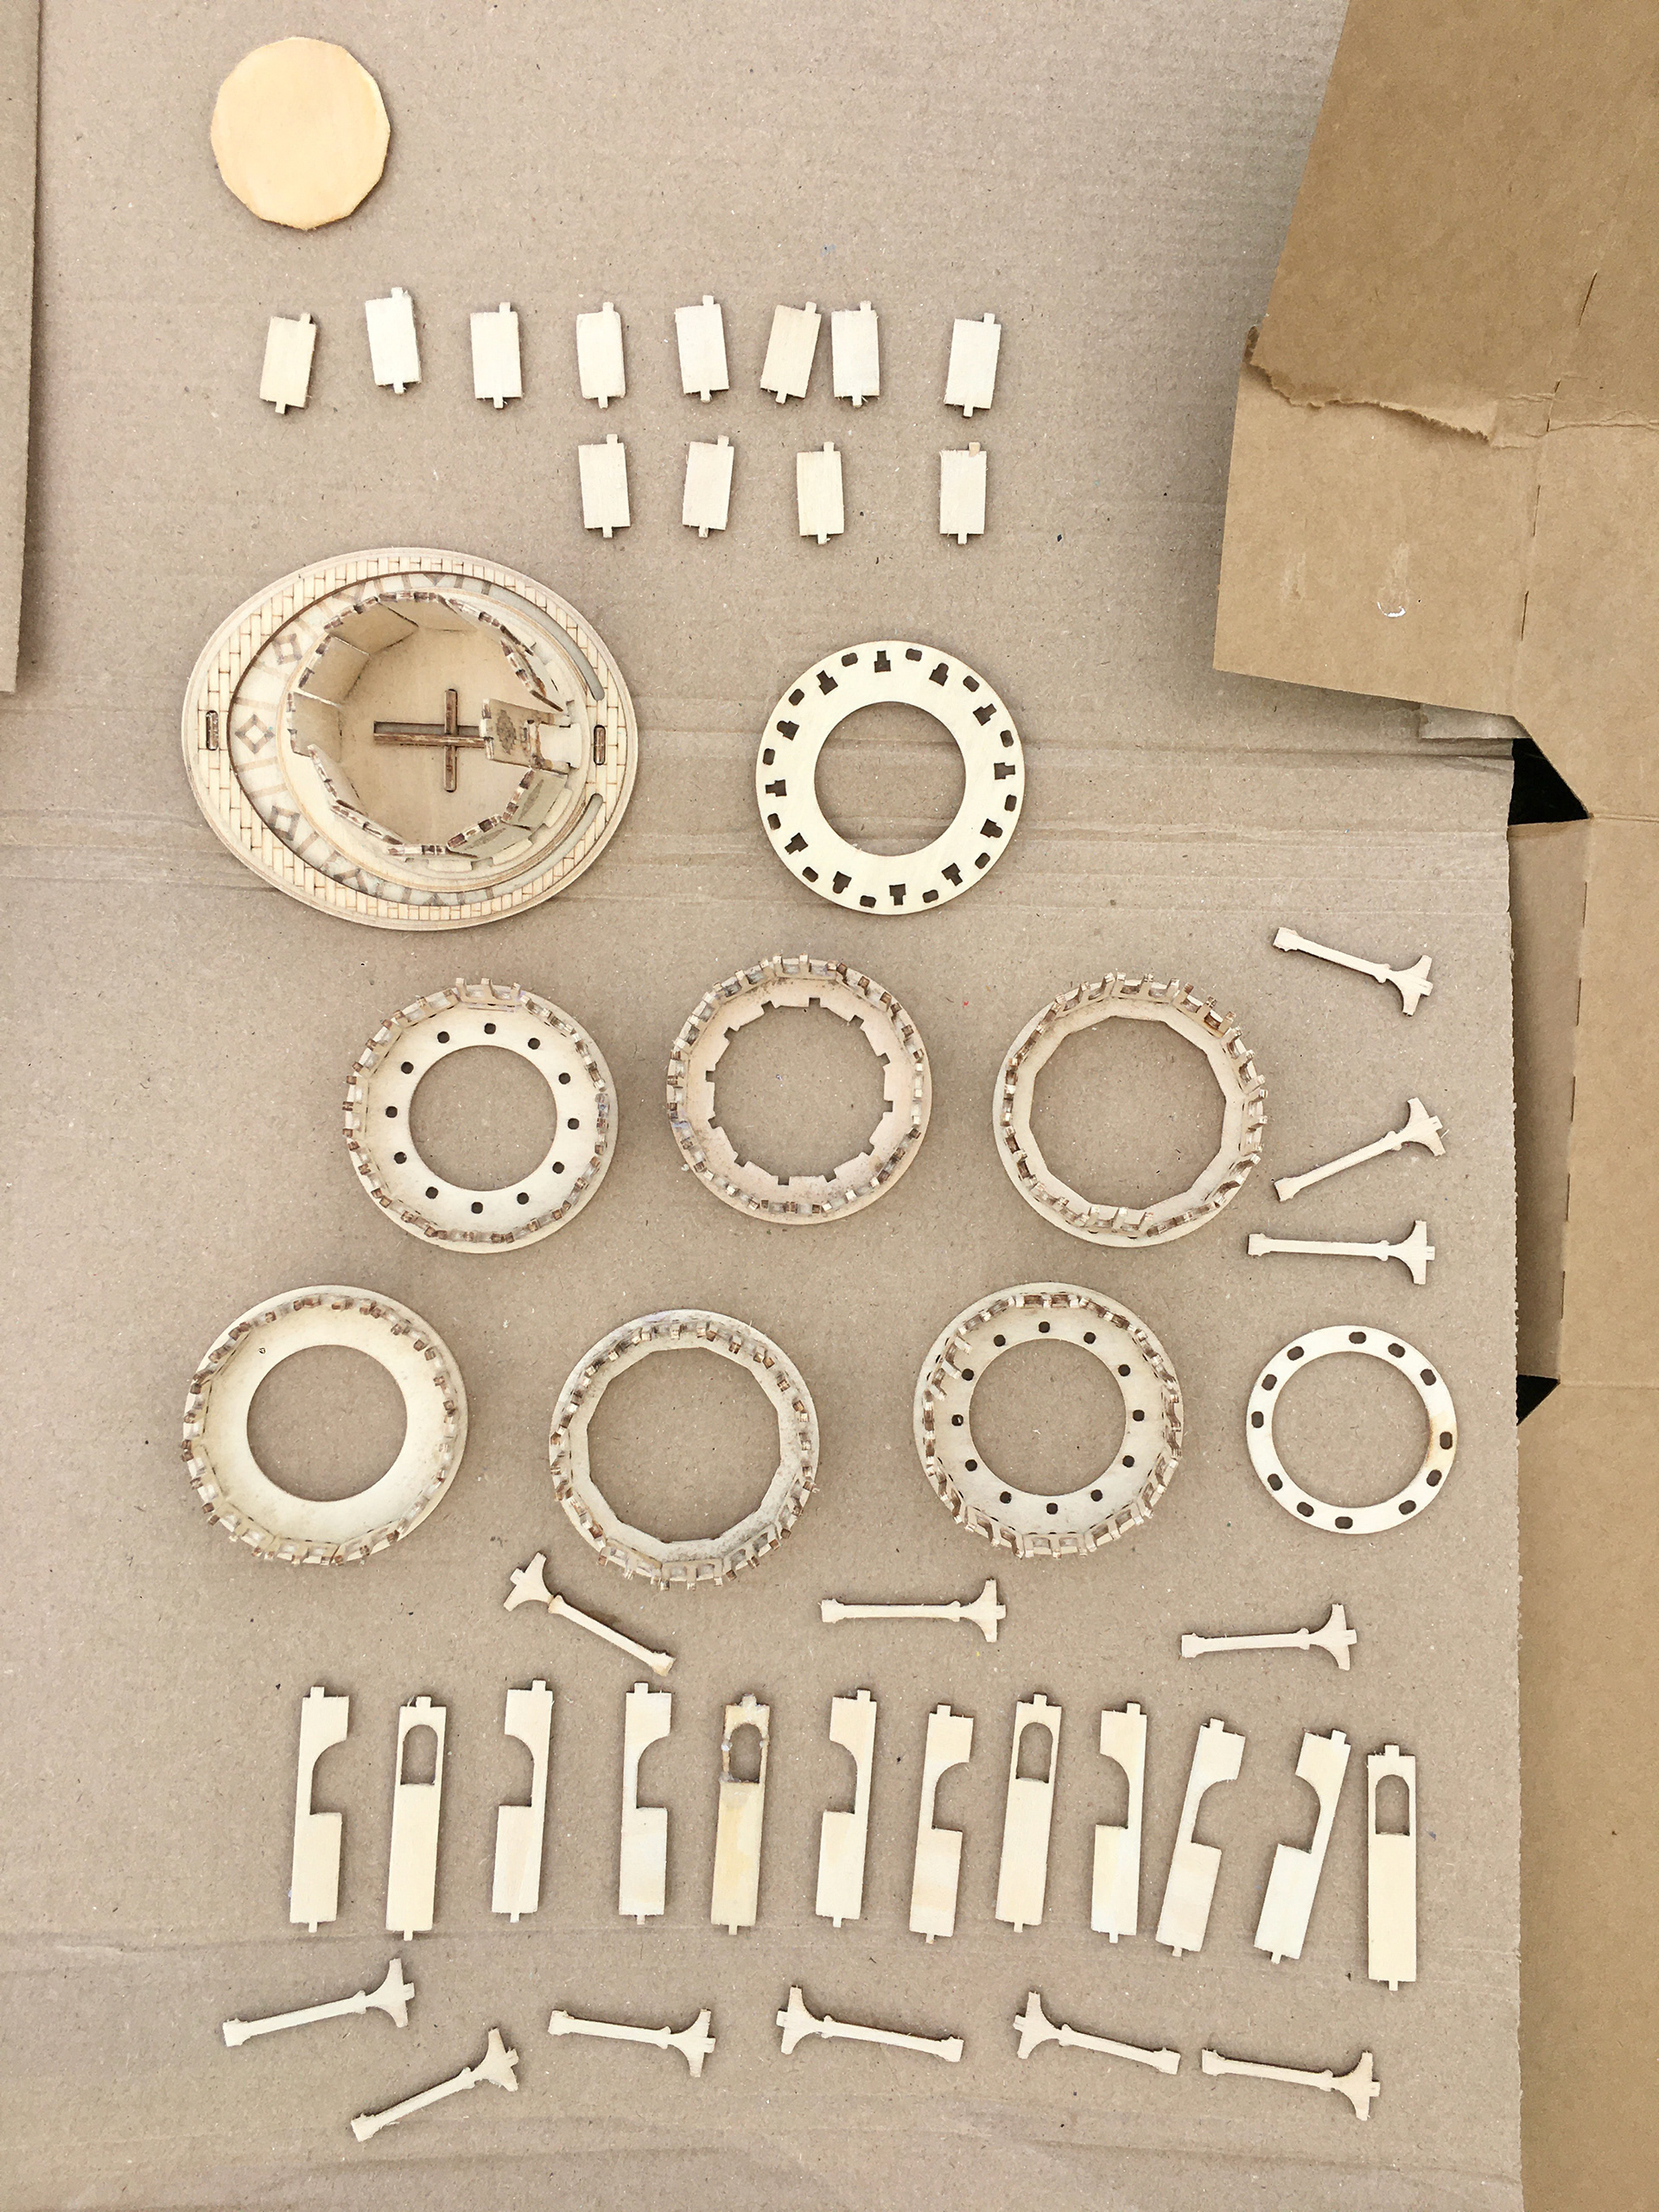
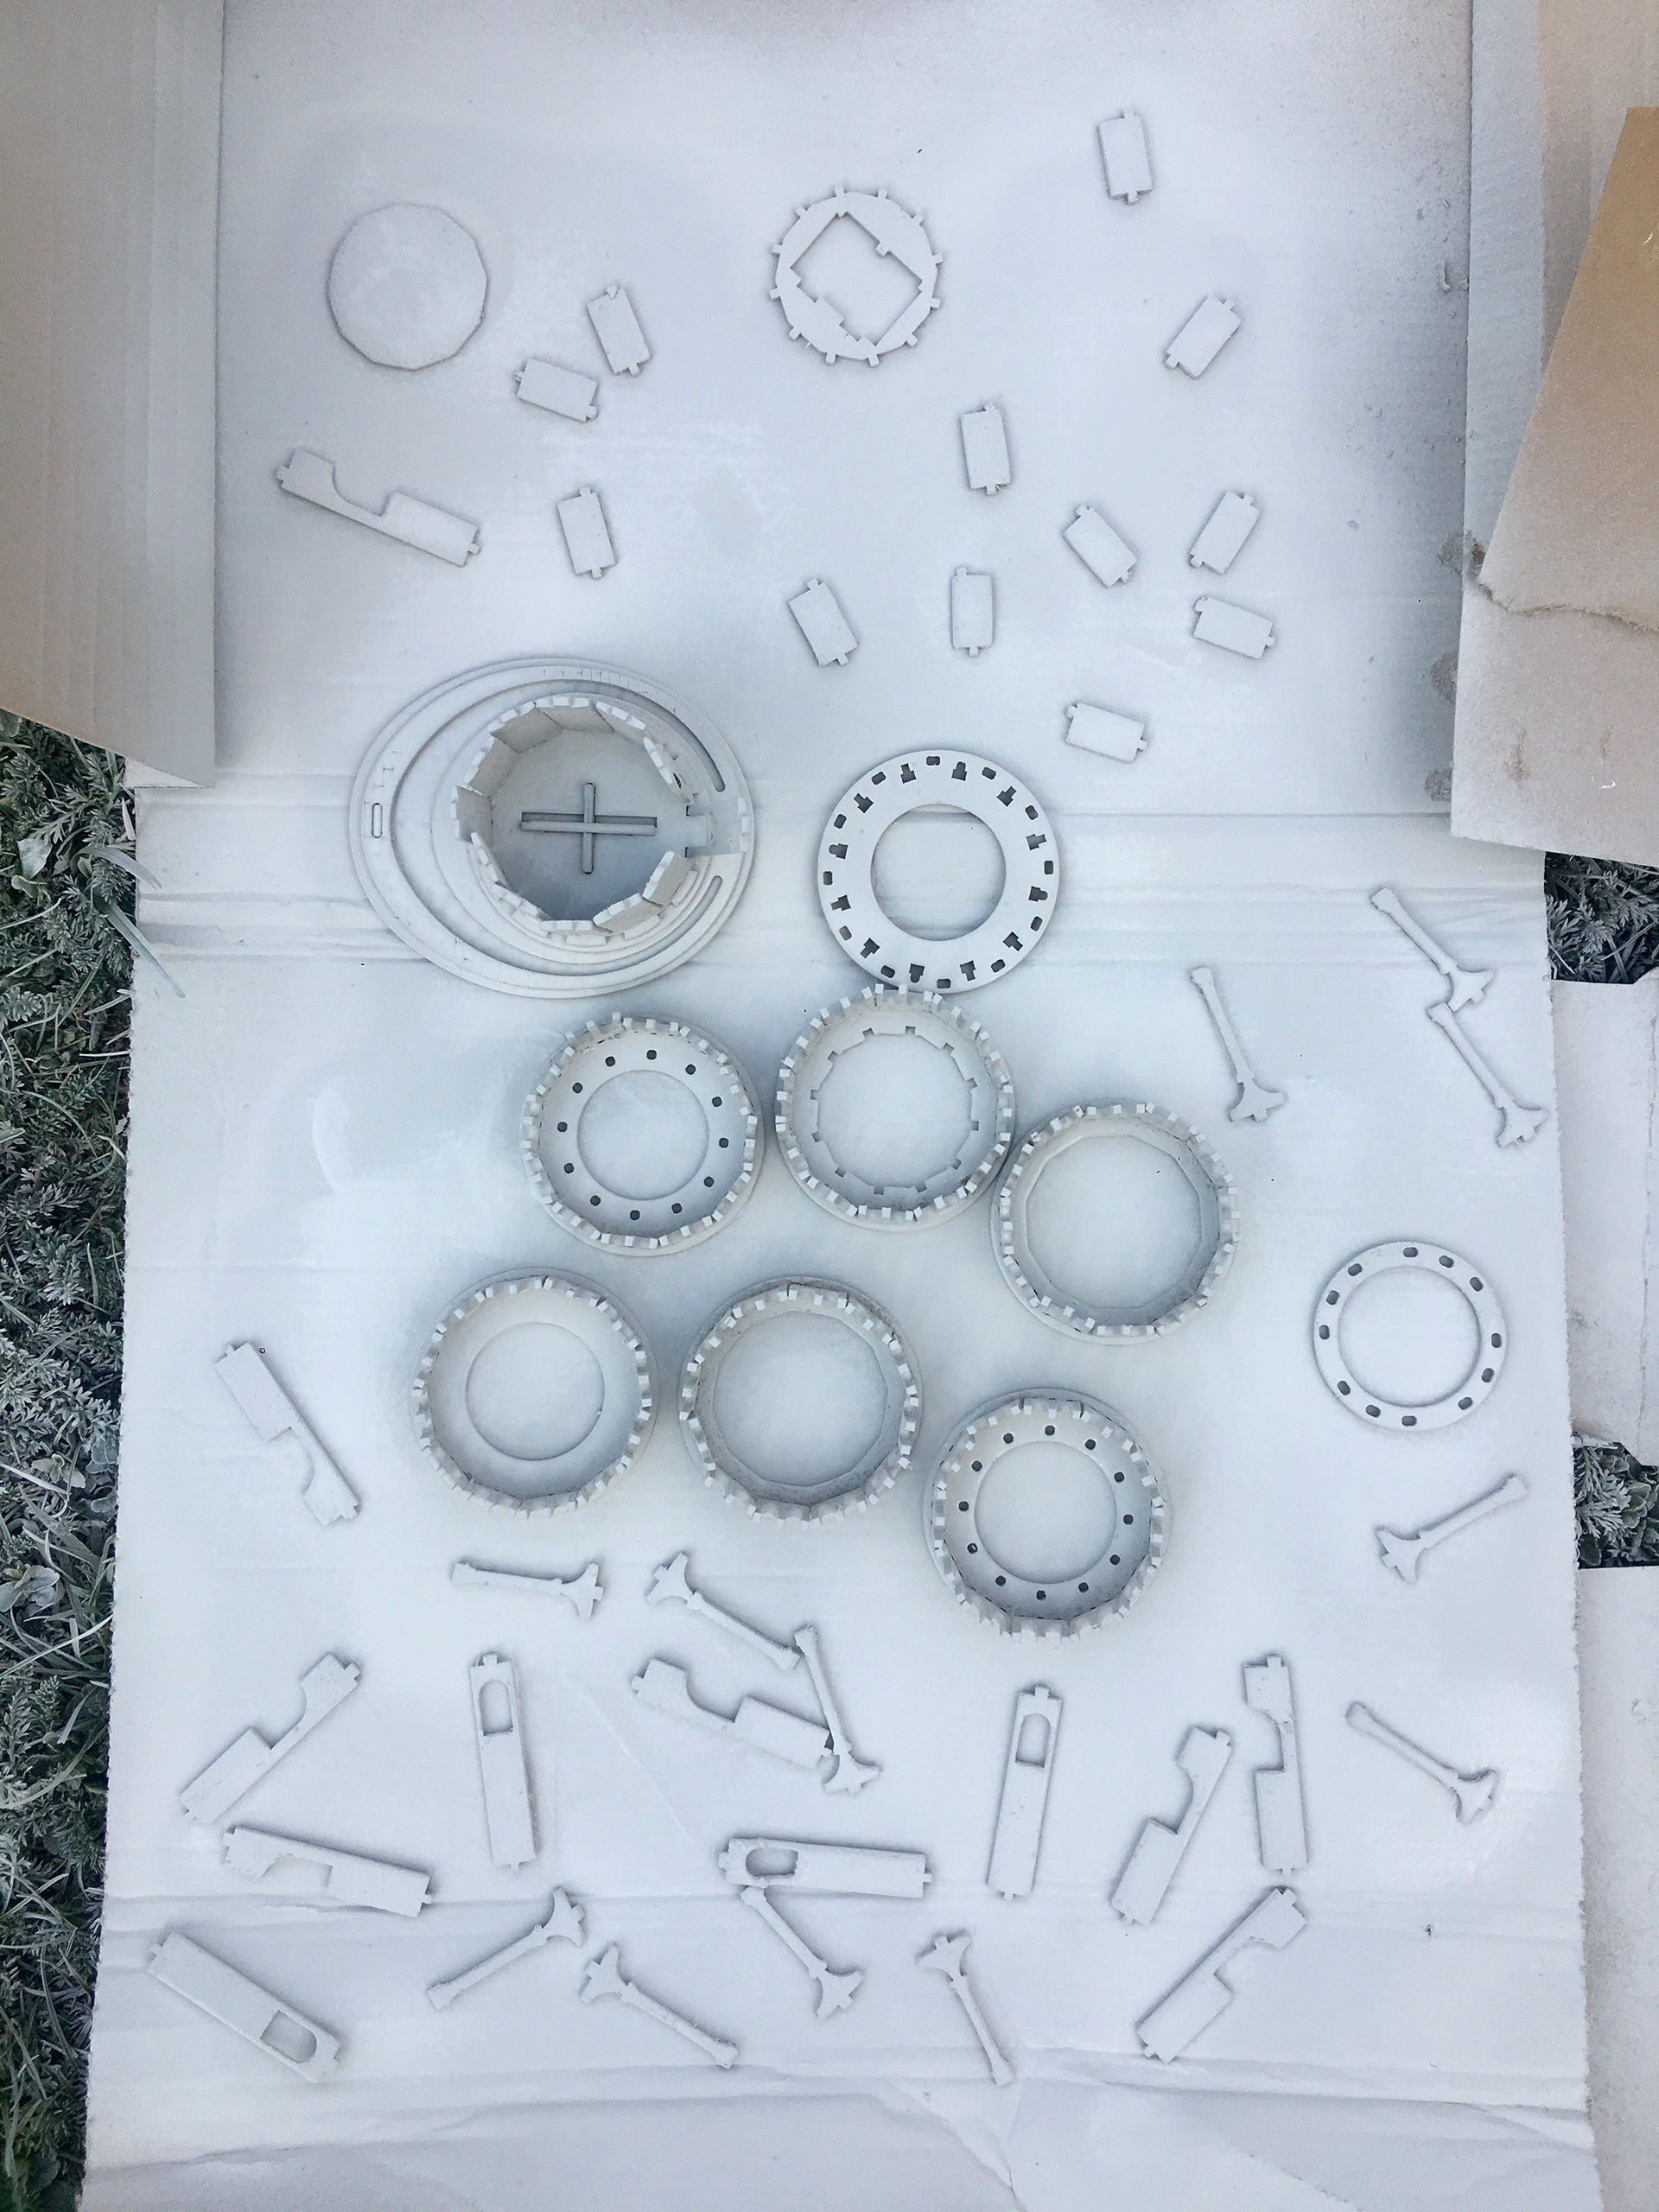
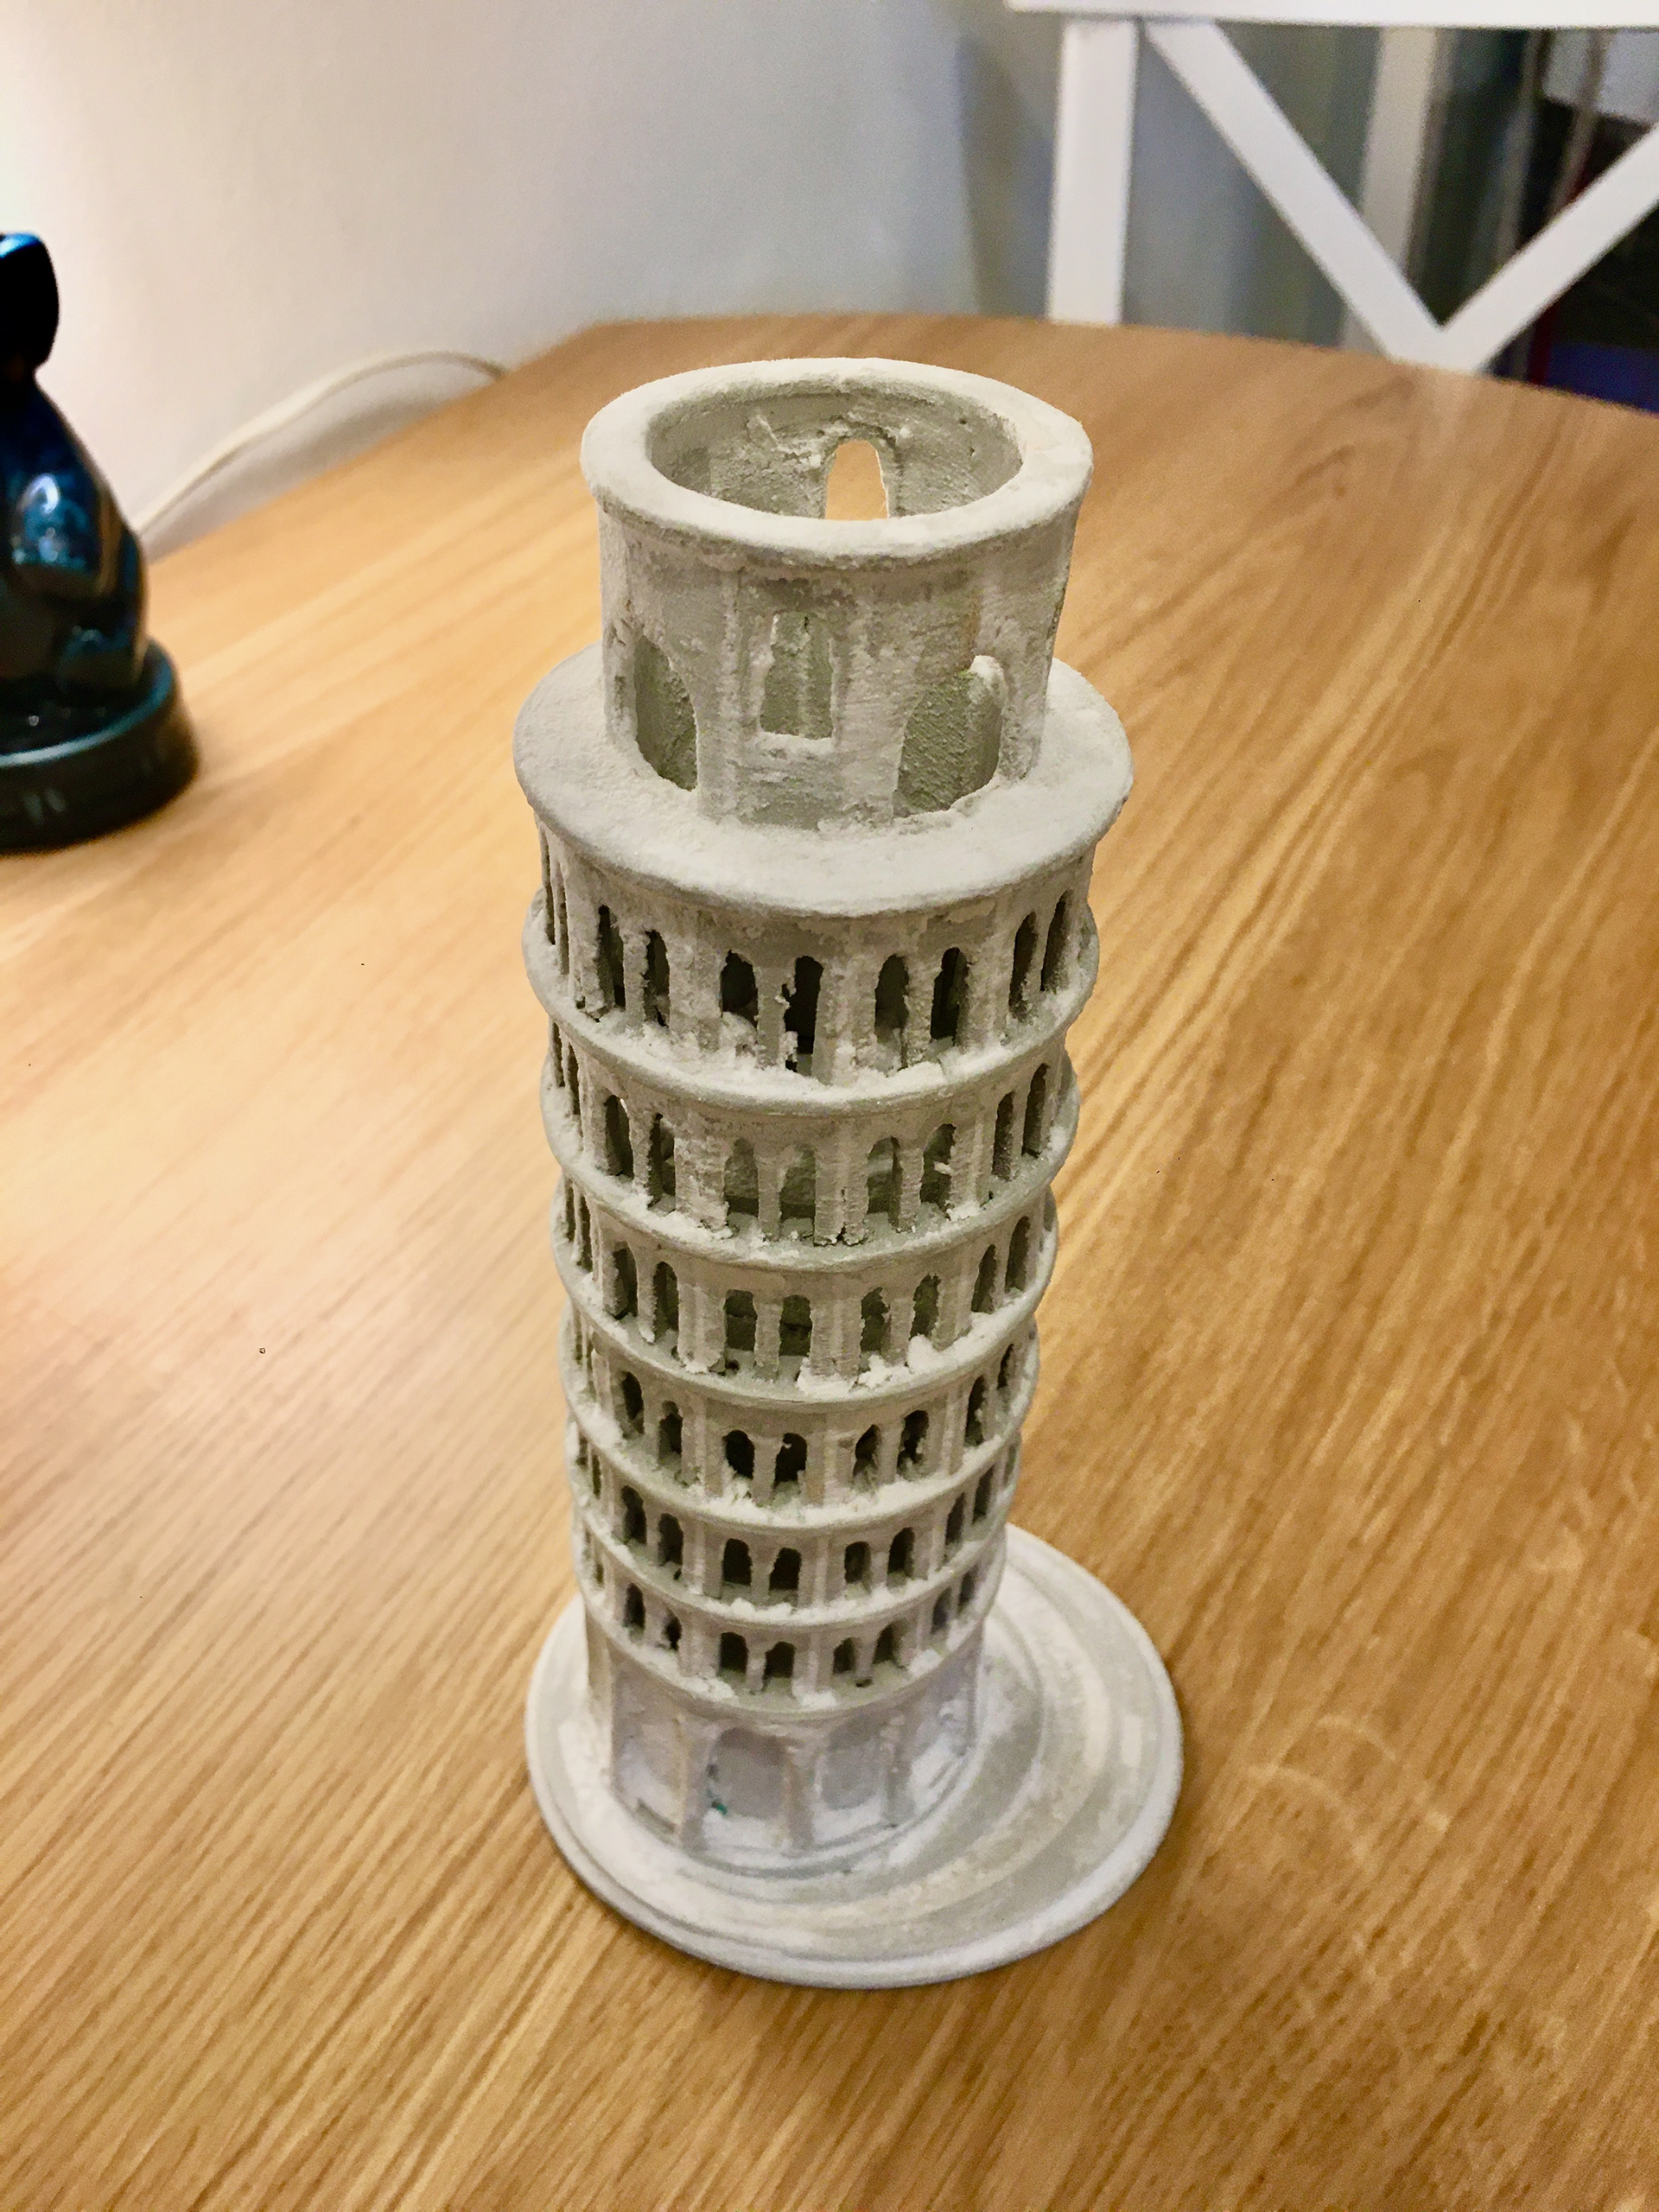
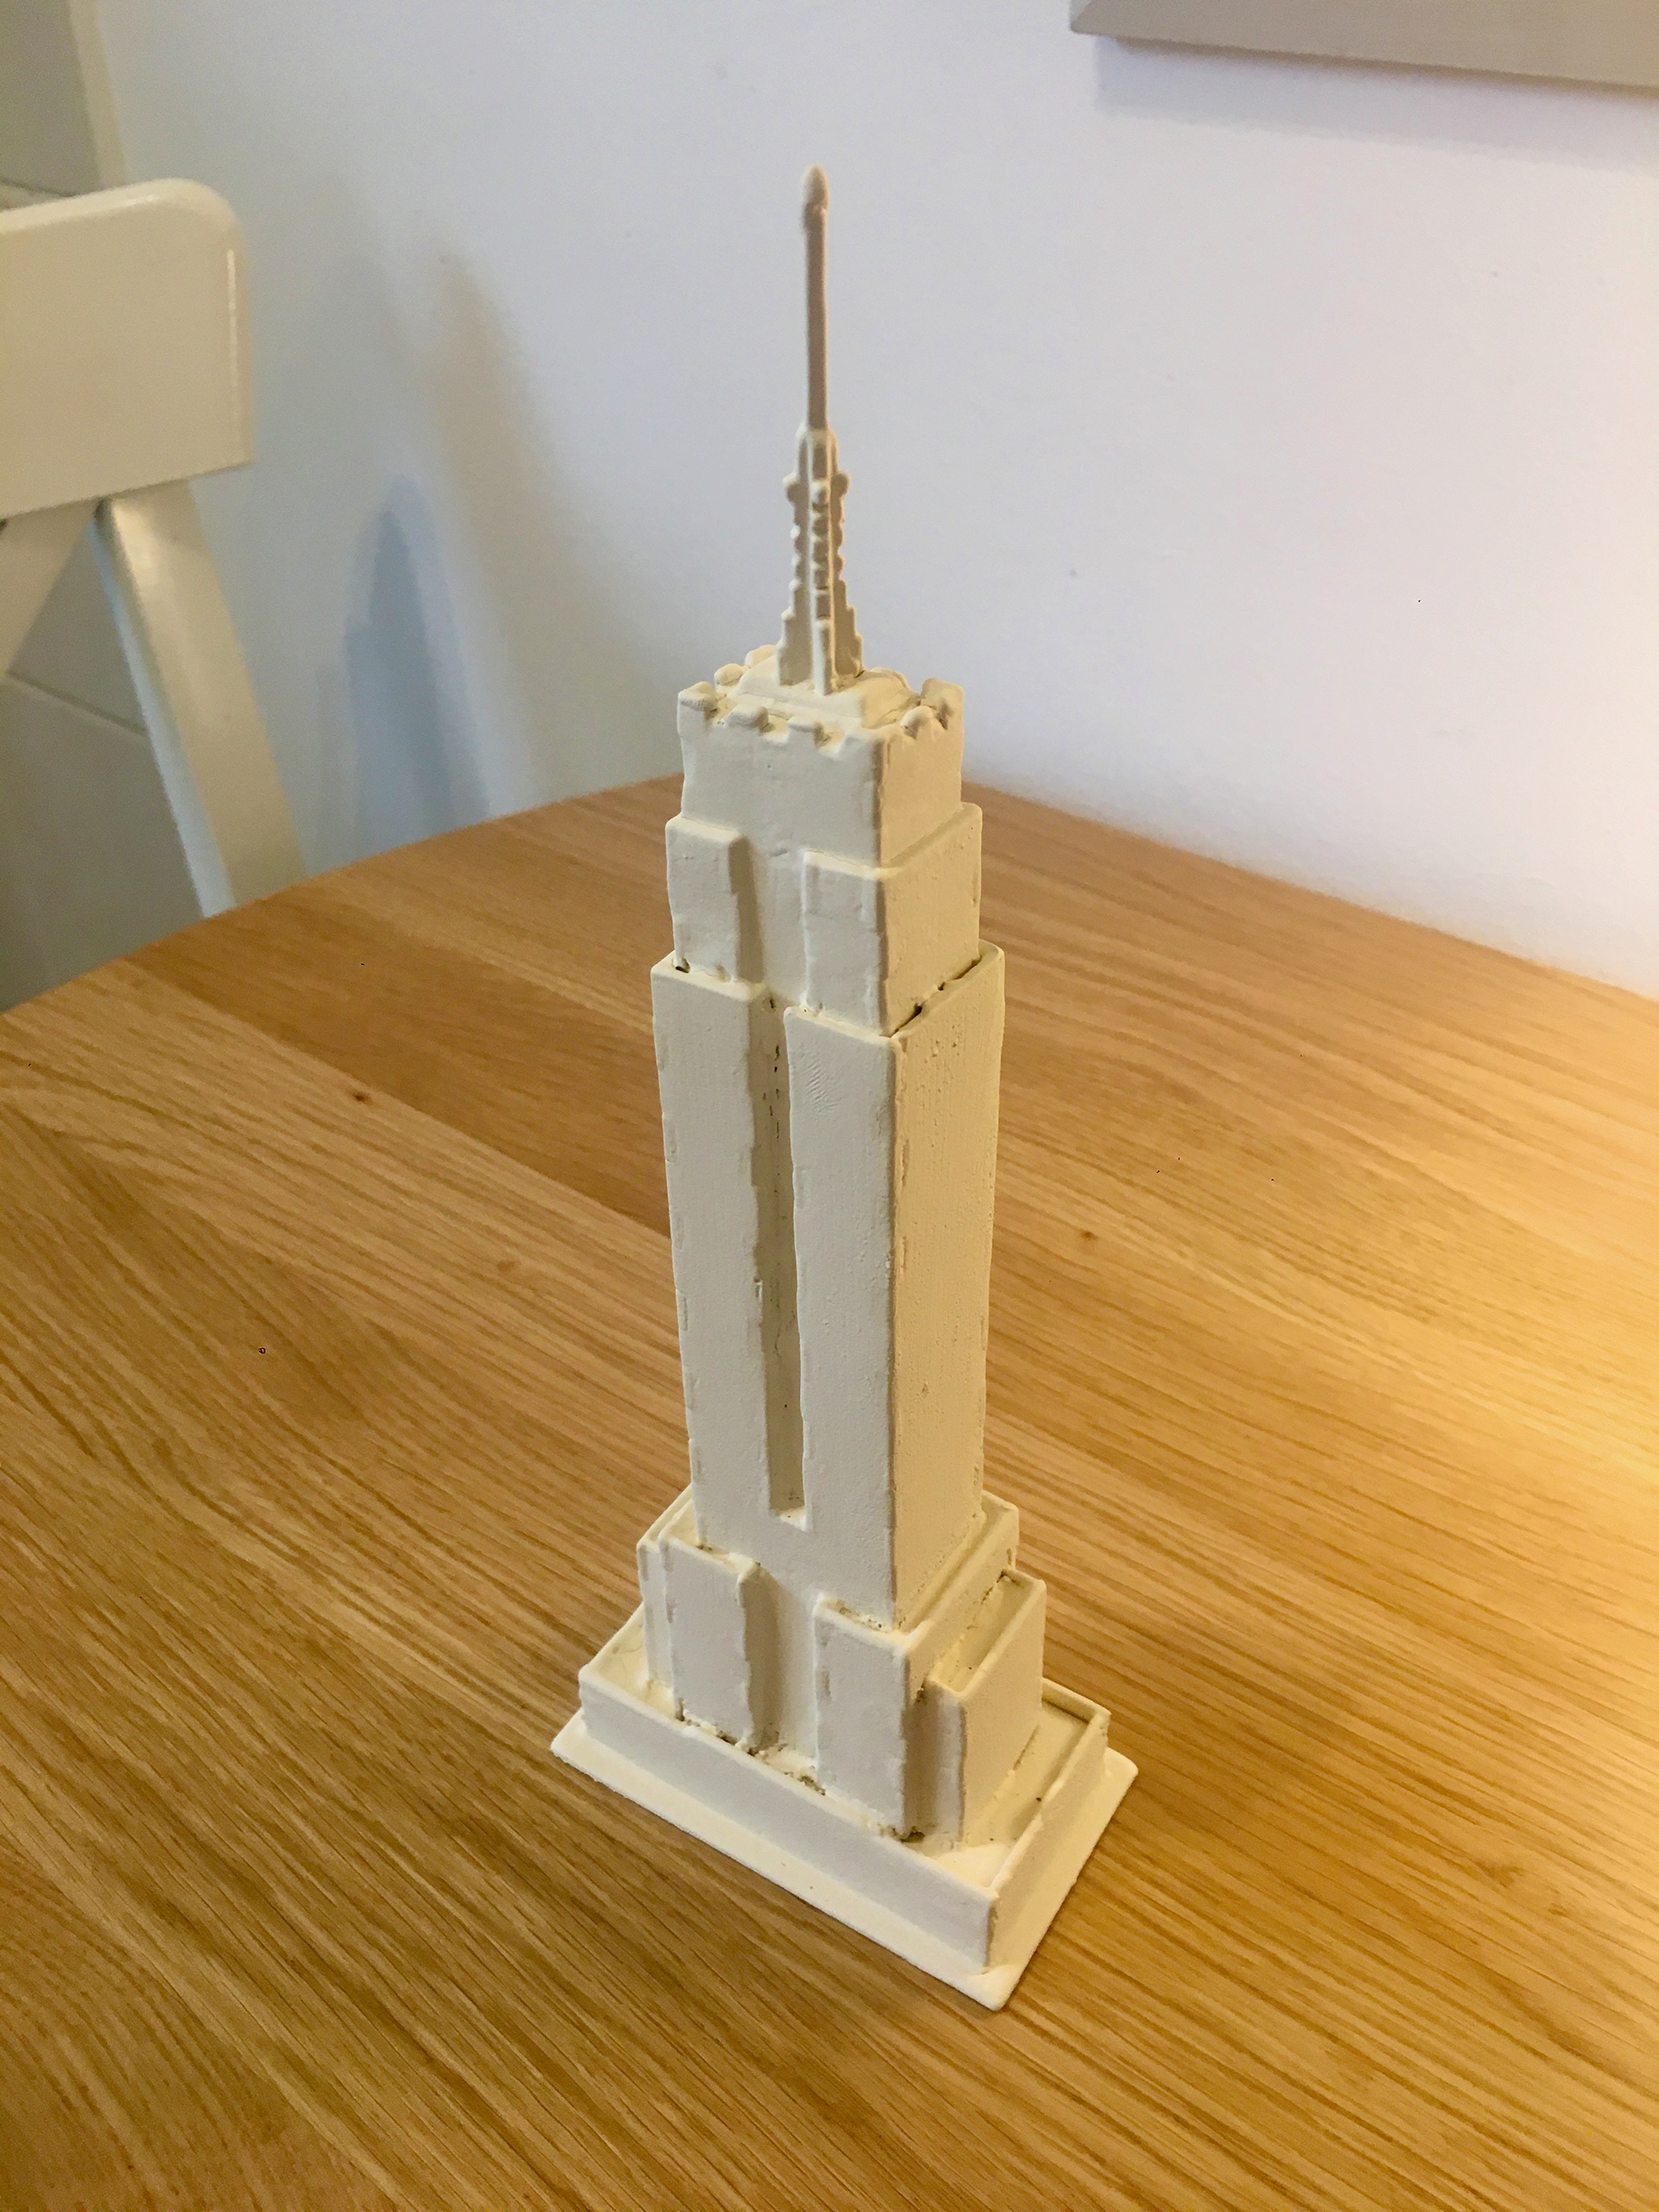
In the second act of my short film, The Holiday Maker, Emily begins to build a miniature model collection of all of the destinations that she wants to visit. The majority of the landmarks built for this film were constructed from ready- made laser cut plywood kits.
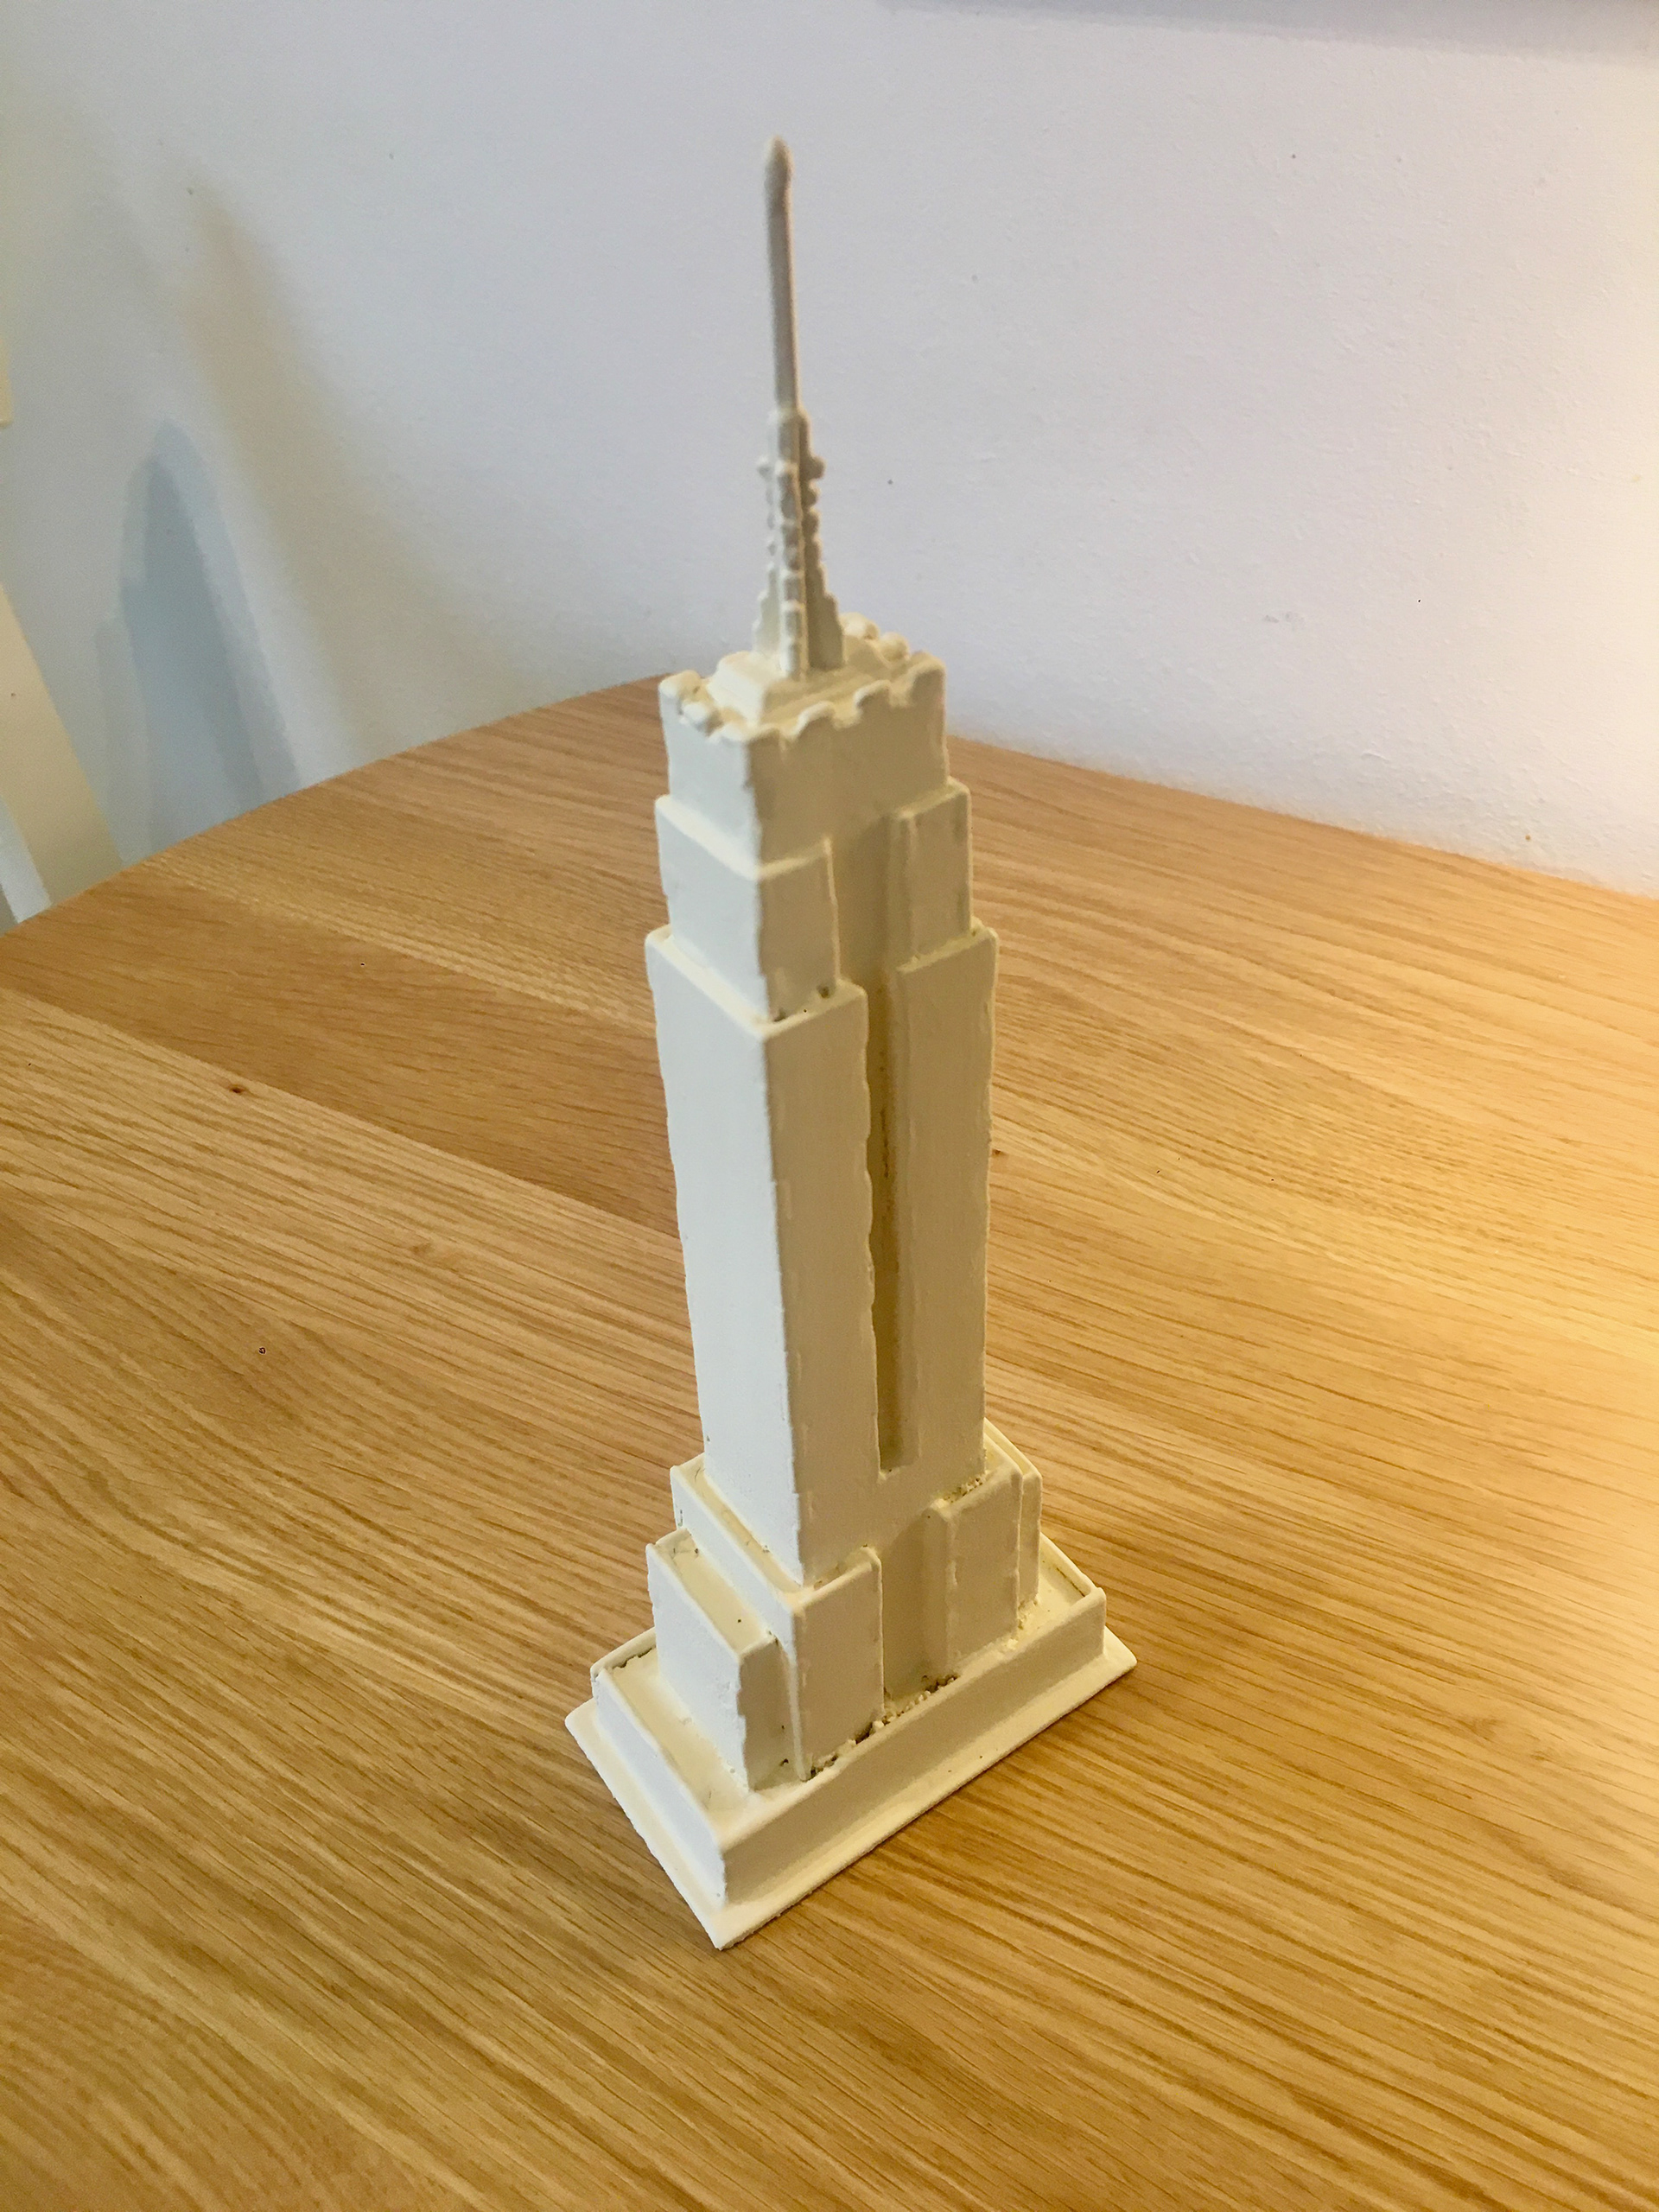
THESE WOODEN MINIATURE MODELS WERE CONSTRUCTED USING THE SAME PROCESS. First, POLY FILLER WAS APPLIED TO A STRUCTURE to remove any groves between each wooden piece. Poly filler was also useful to emulate the desired texture of the model. spray paint was used to apply A base coat to the structure. Following this, drying brush techniques to enhance the texture required for each model.
Picture: The Golden Gate Bridge
Picture: Leaning tower of pisa
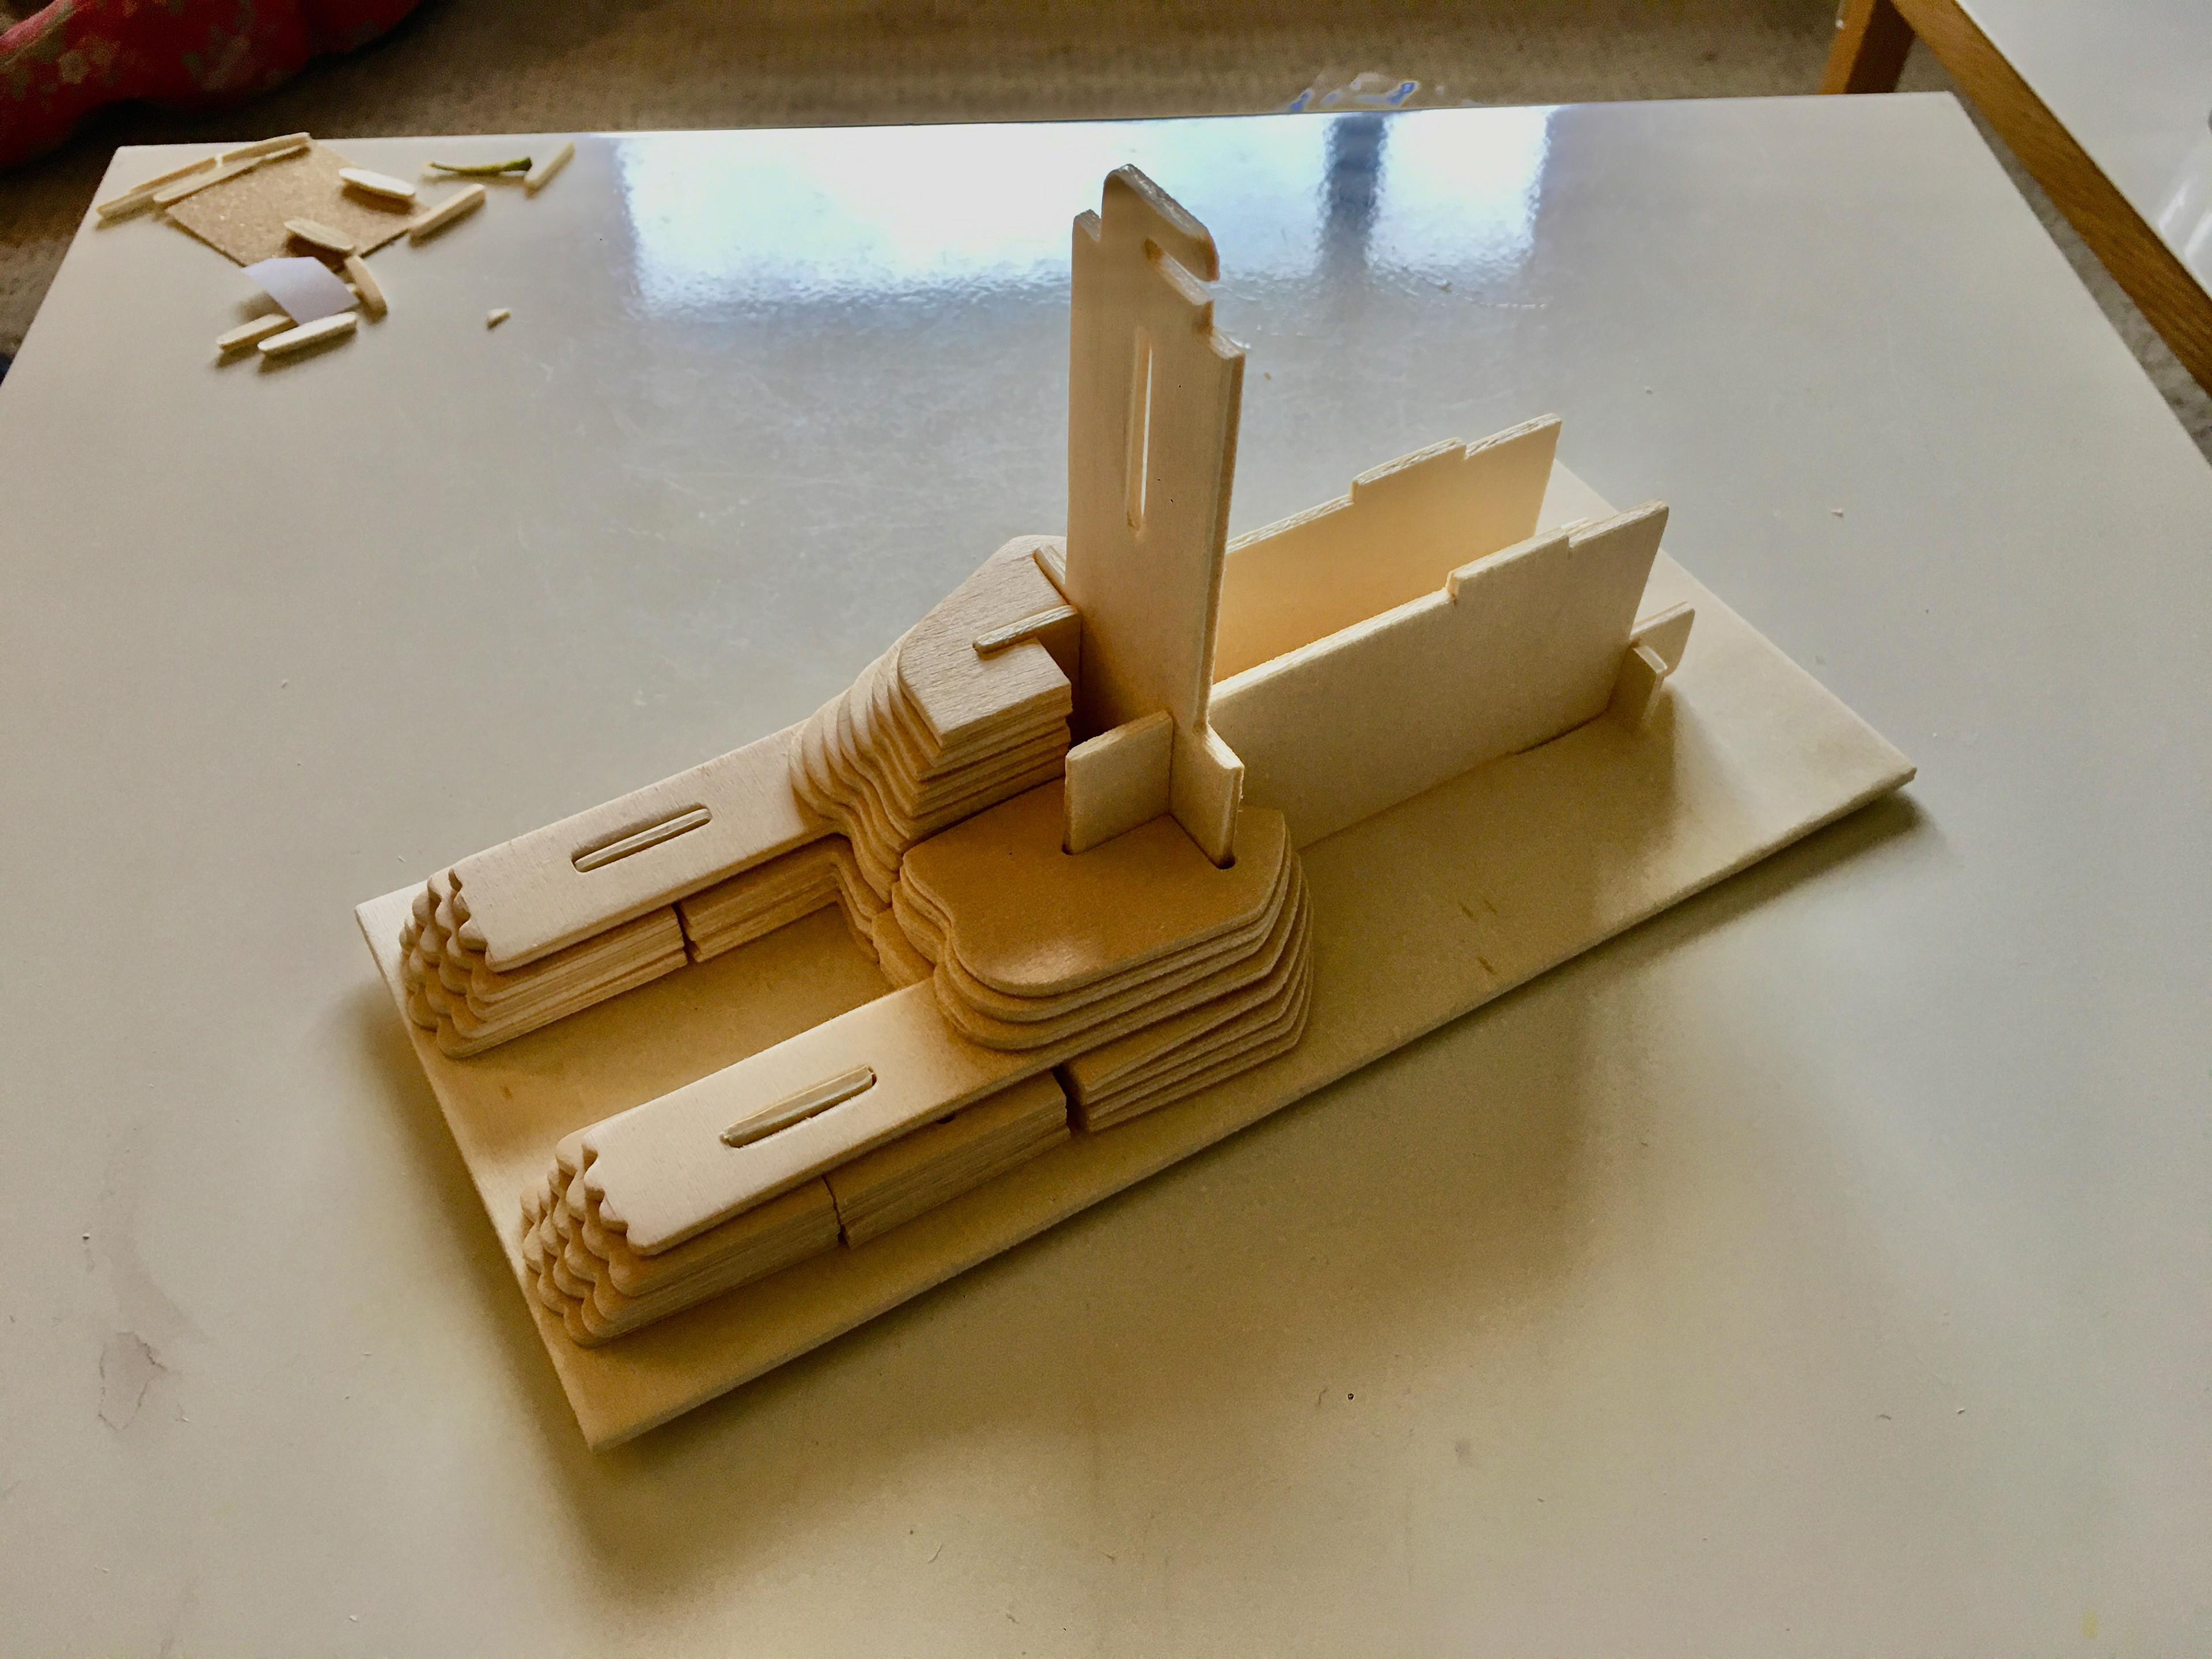
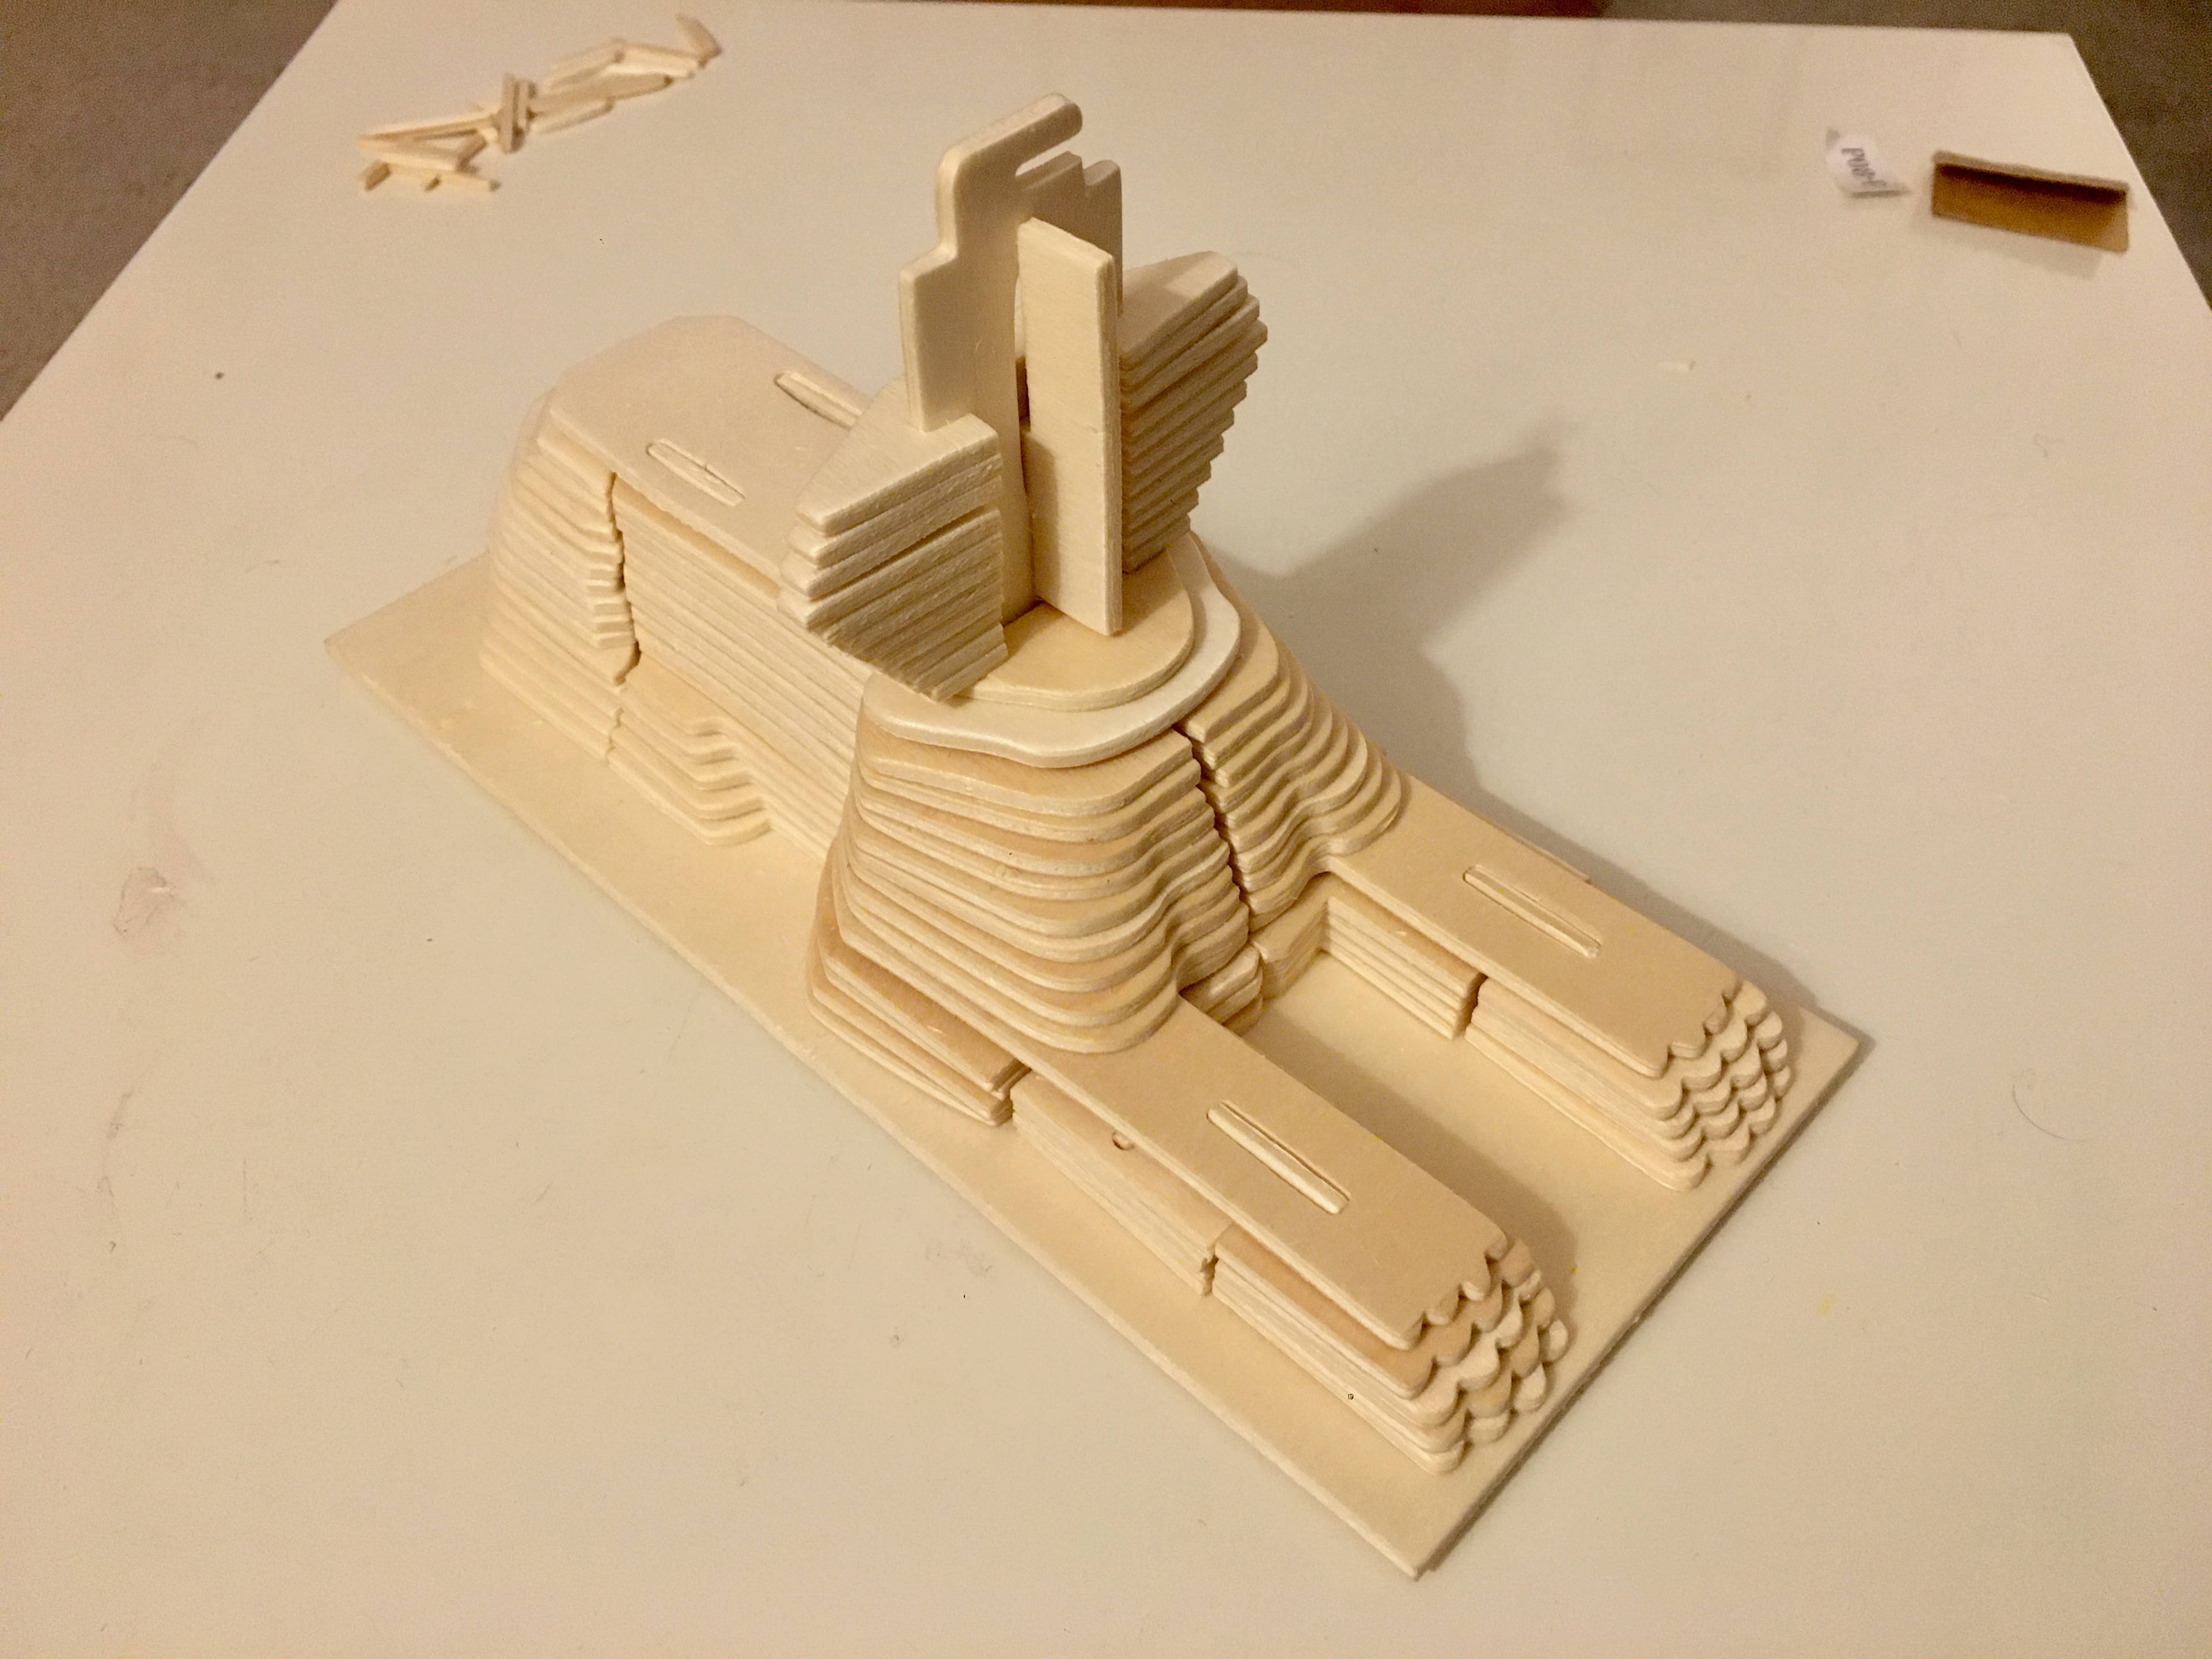
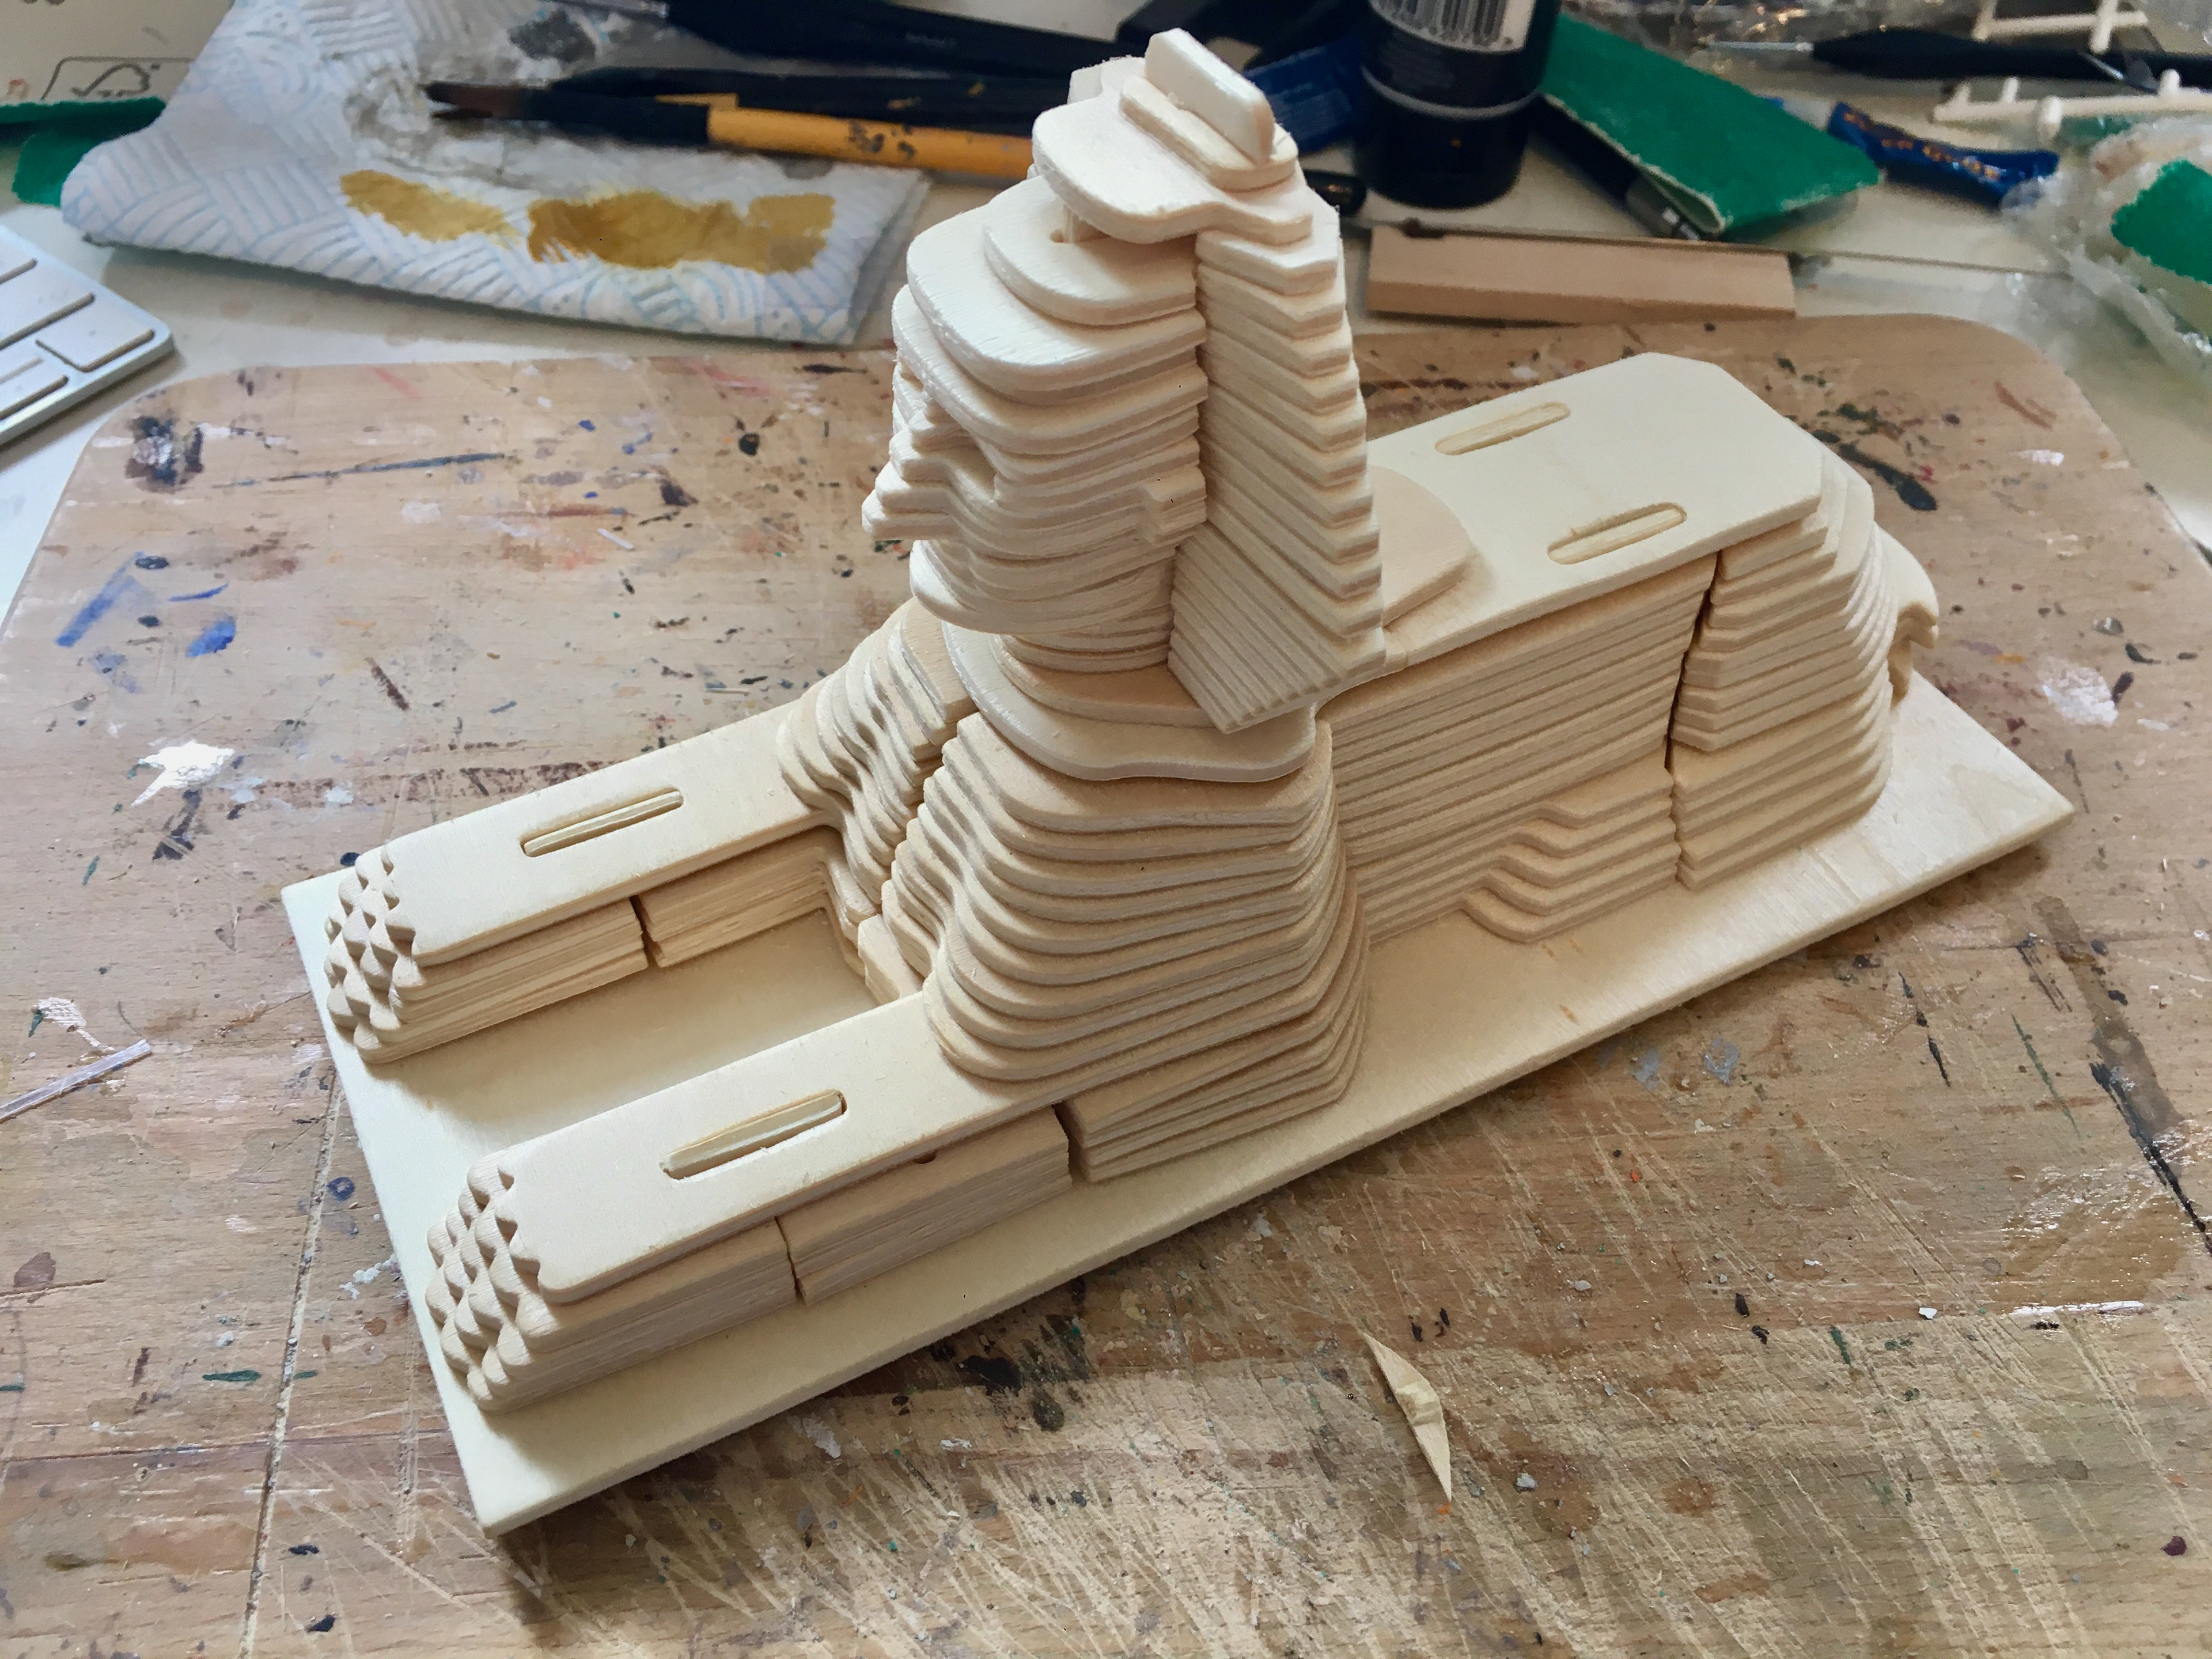
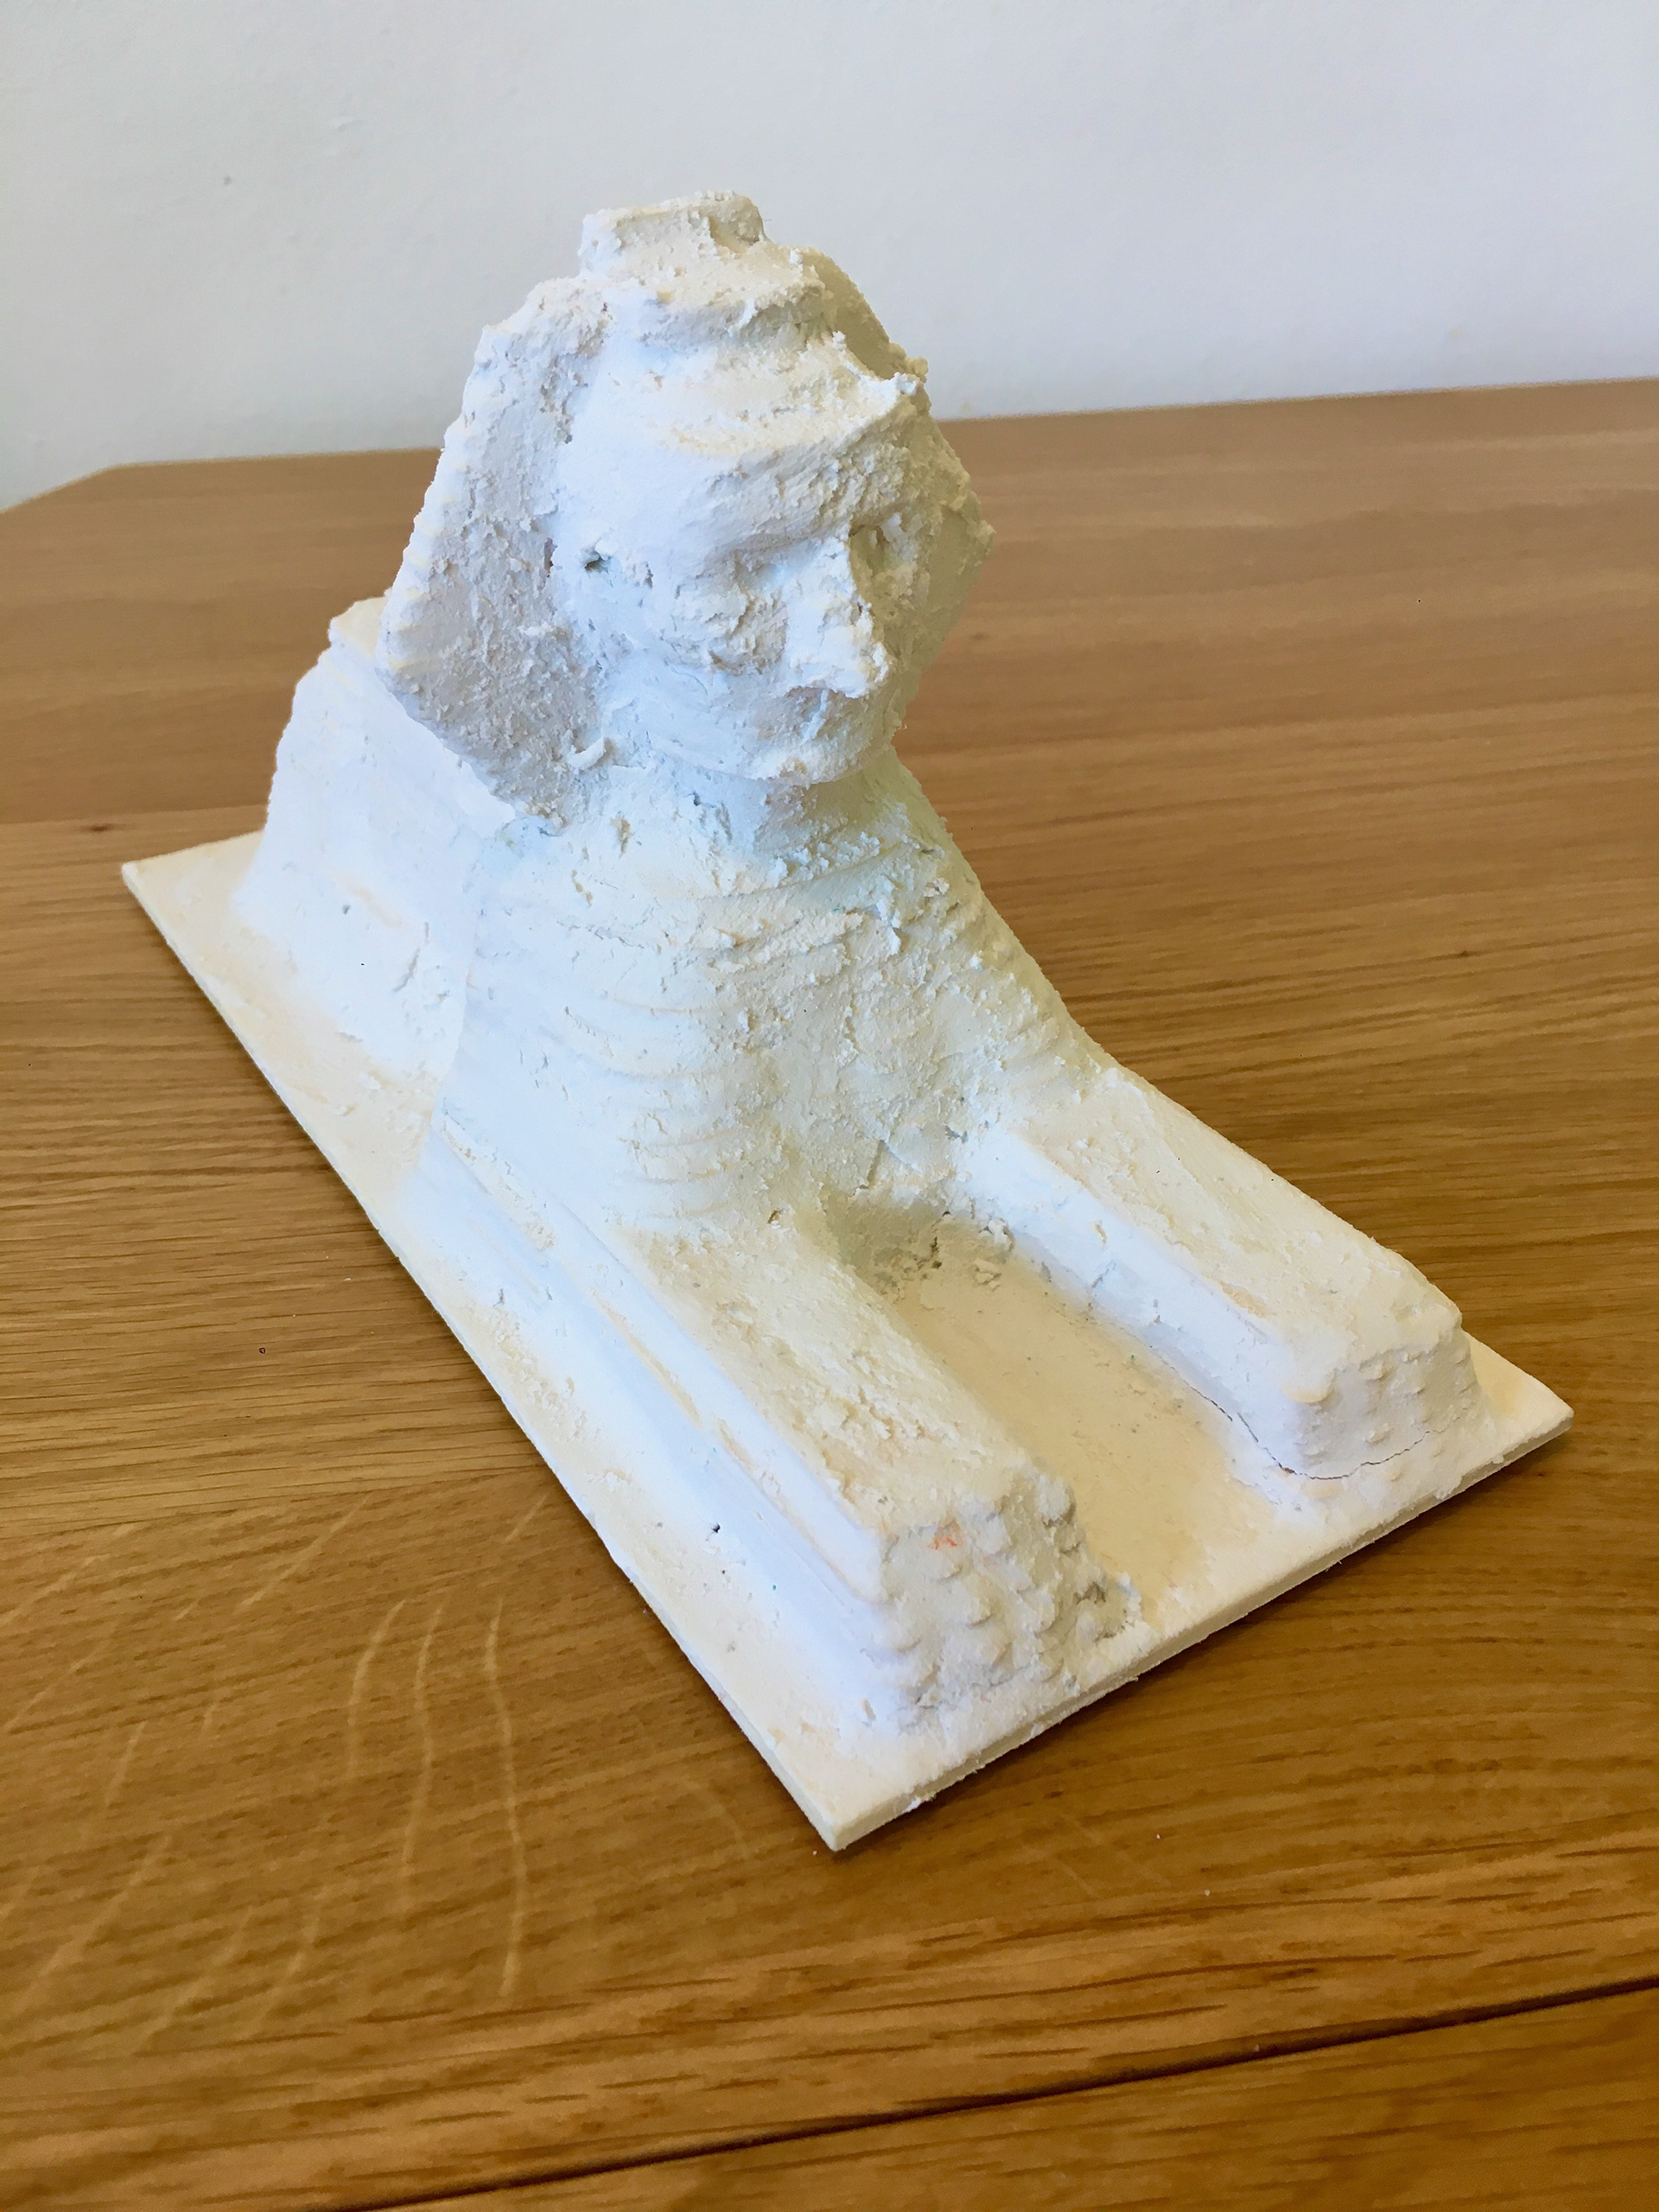
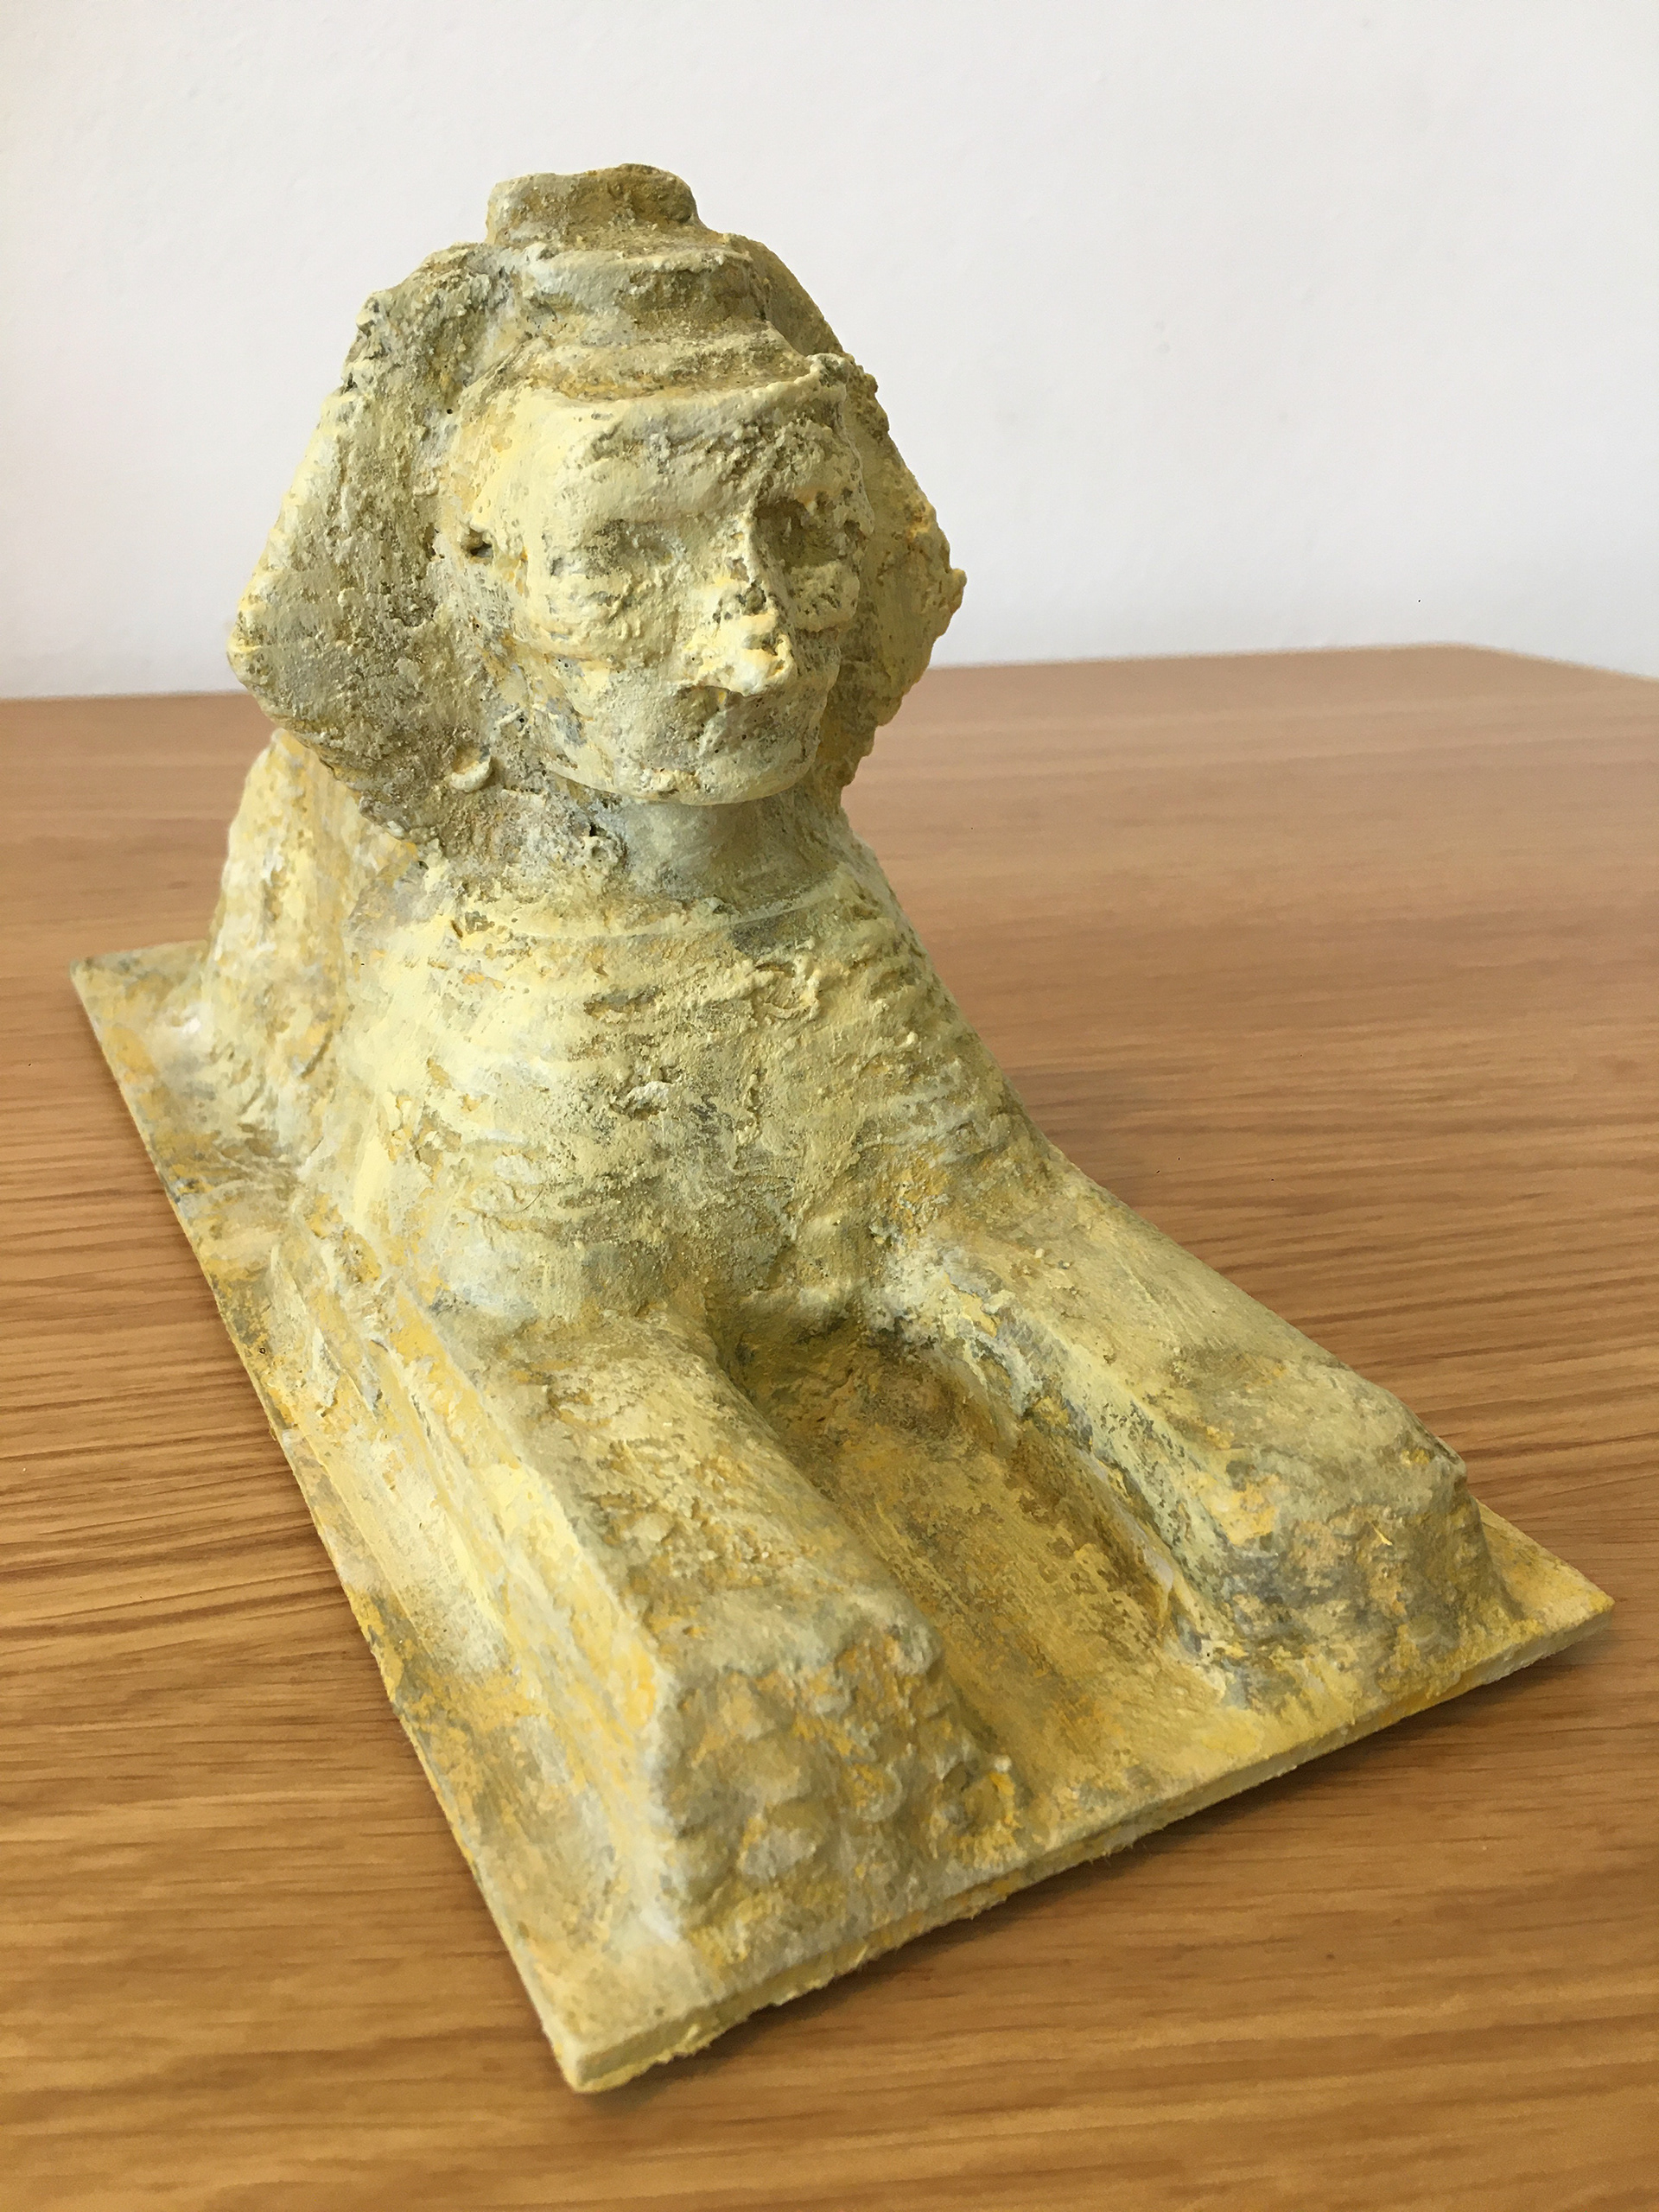
Picture: Sphinx of GIZA
Picture: The Empire State Building
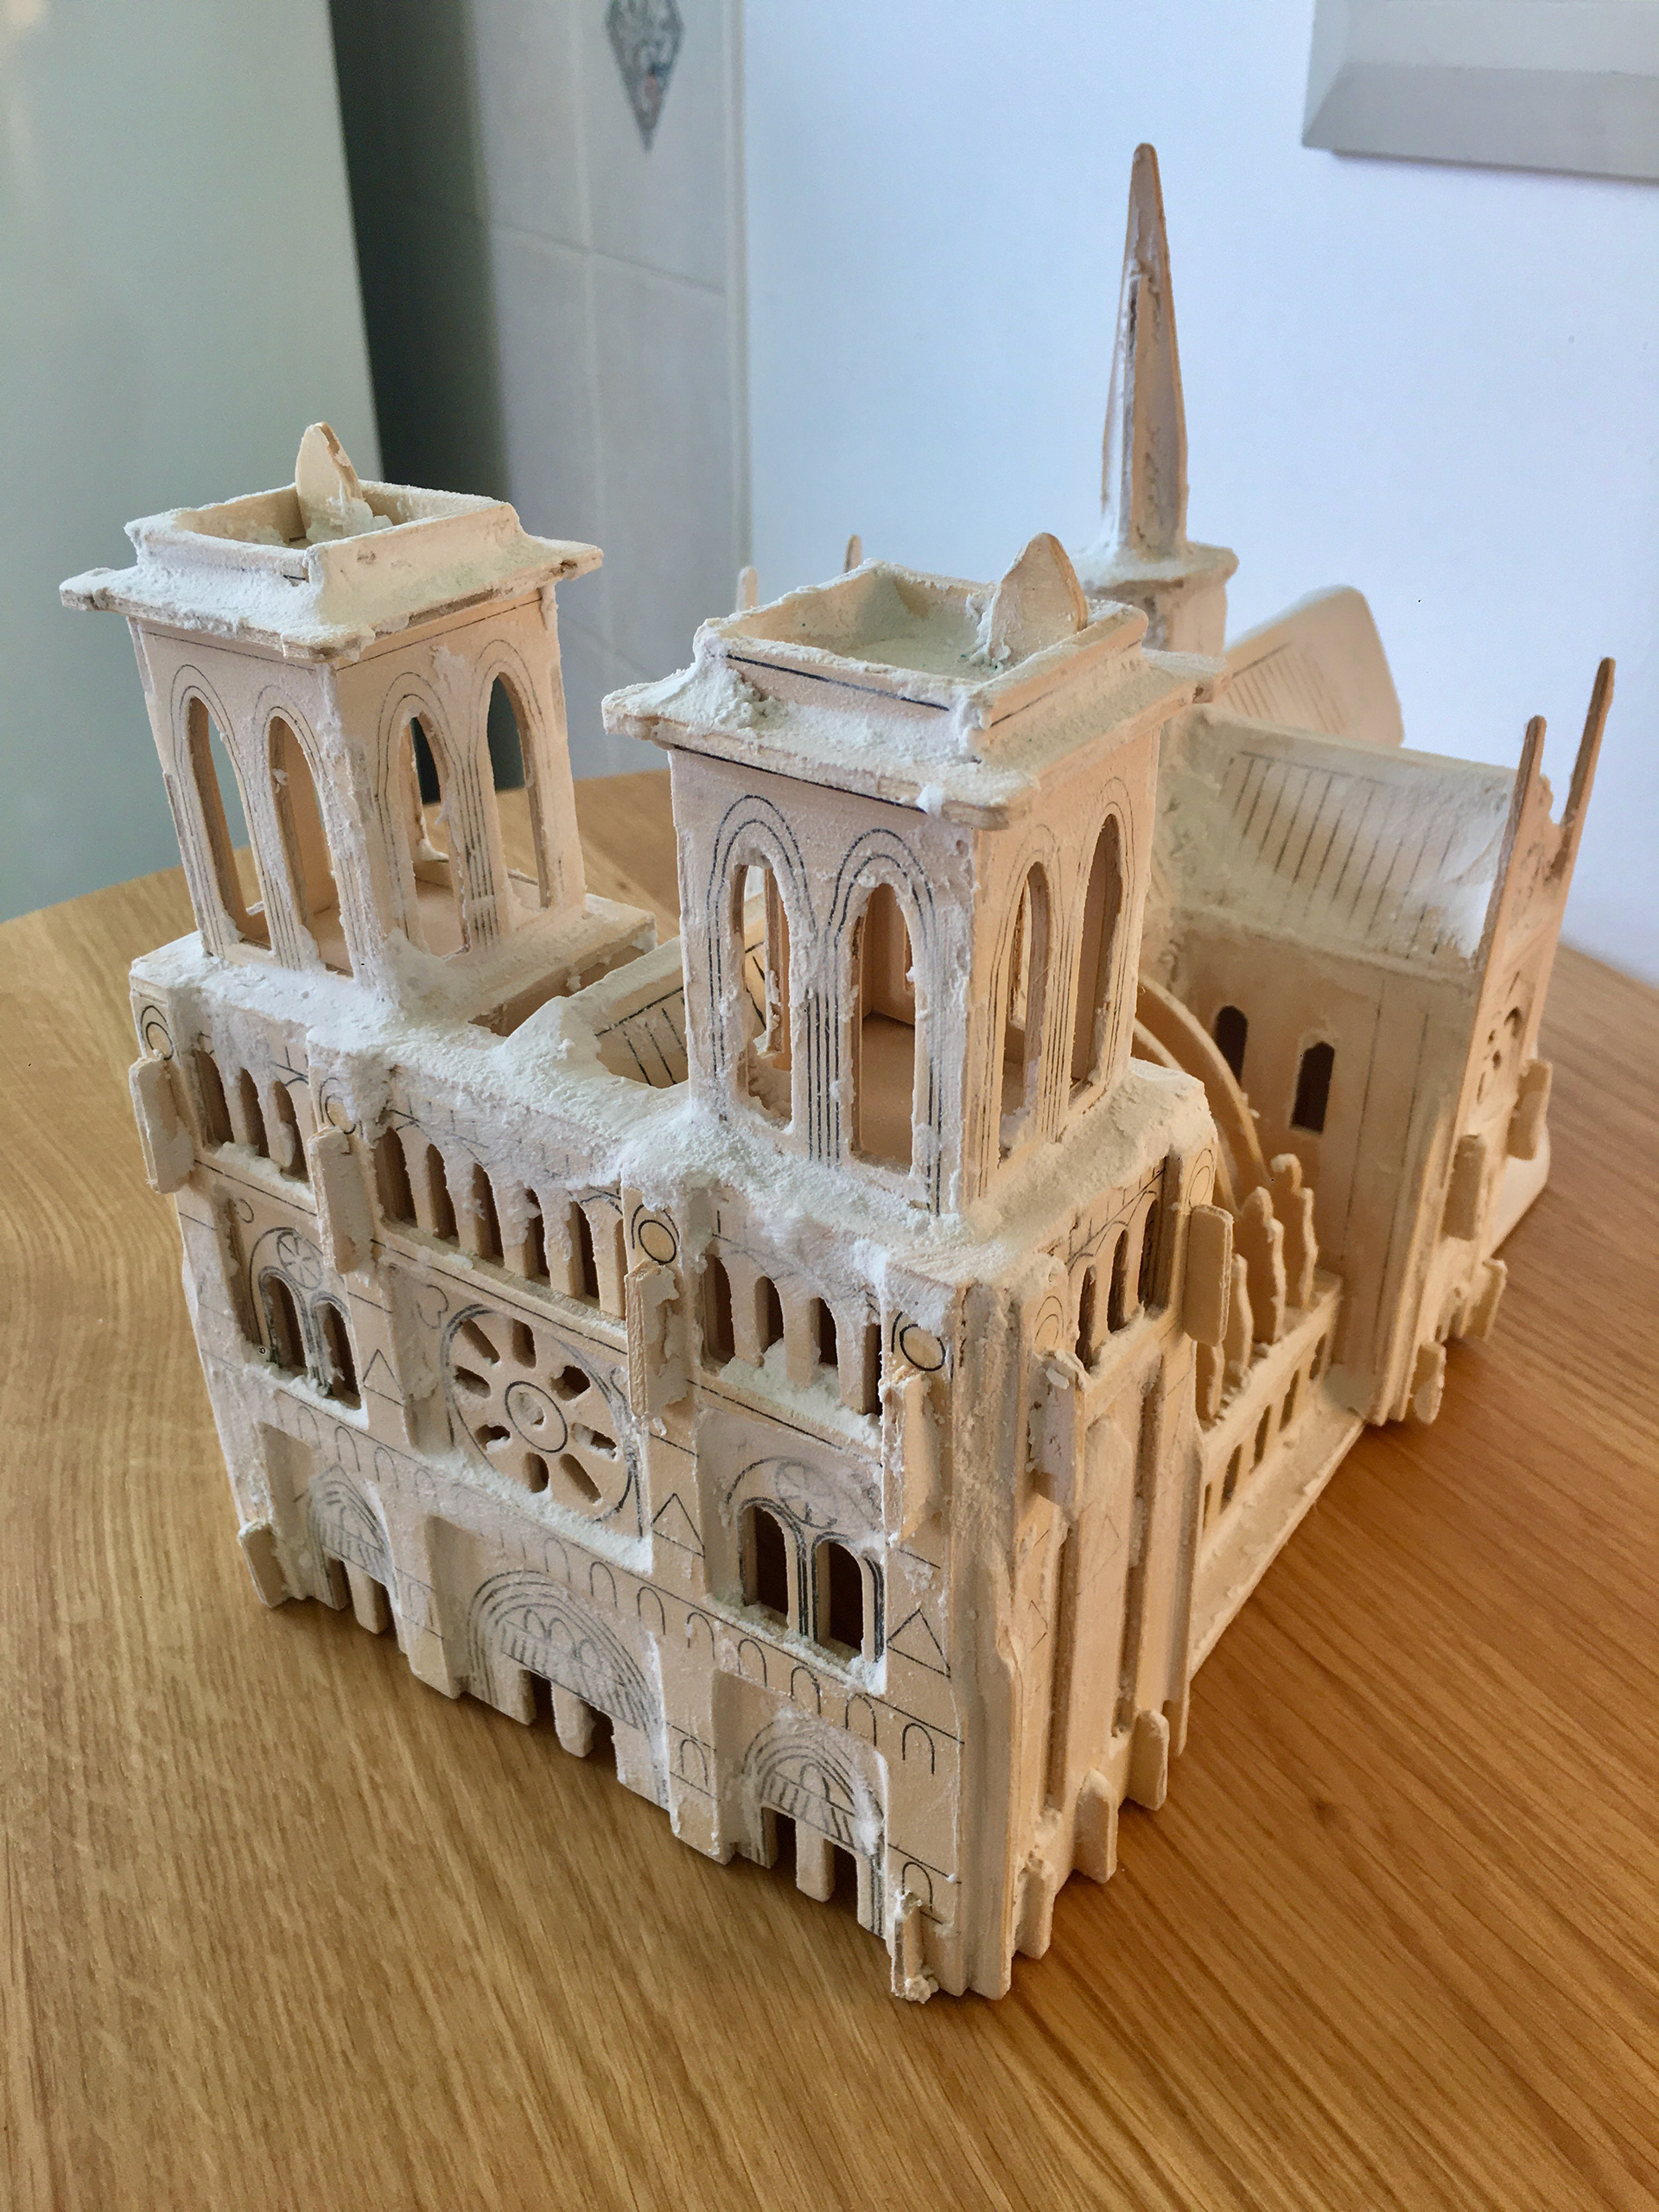
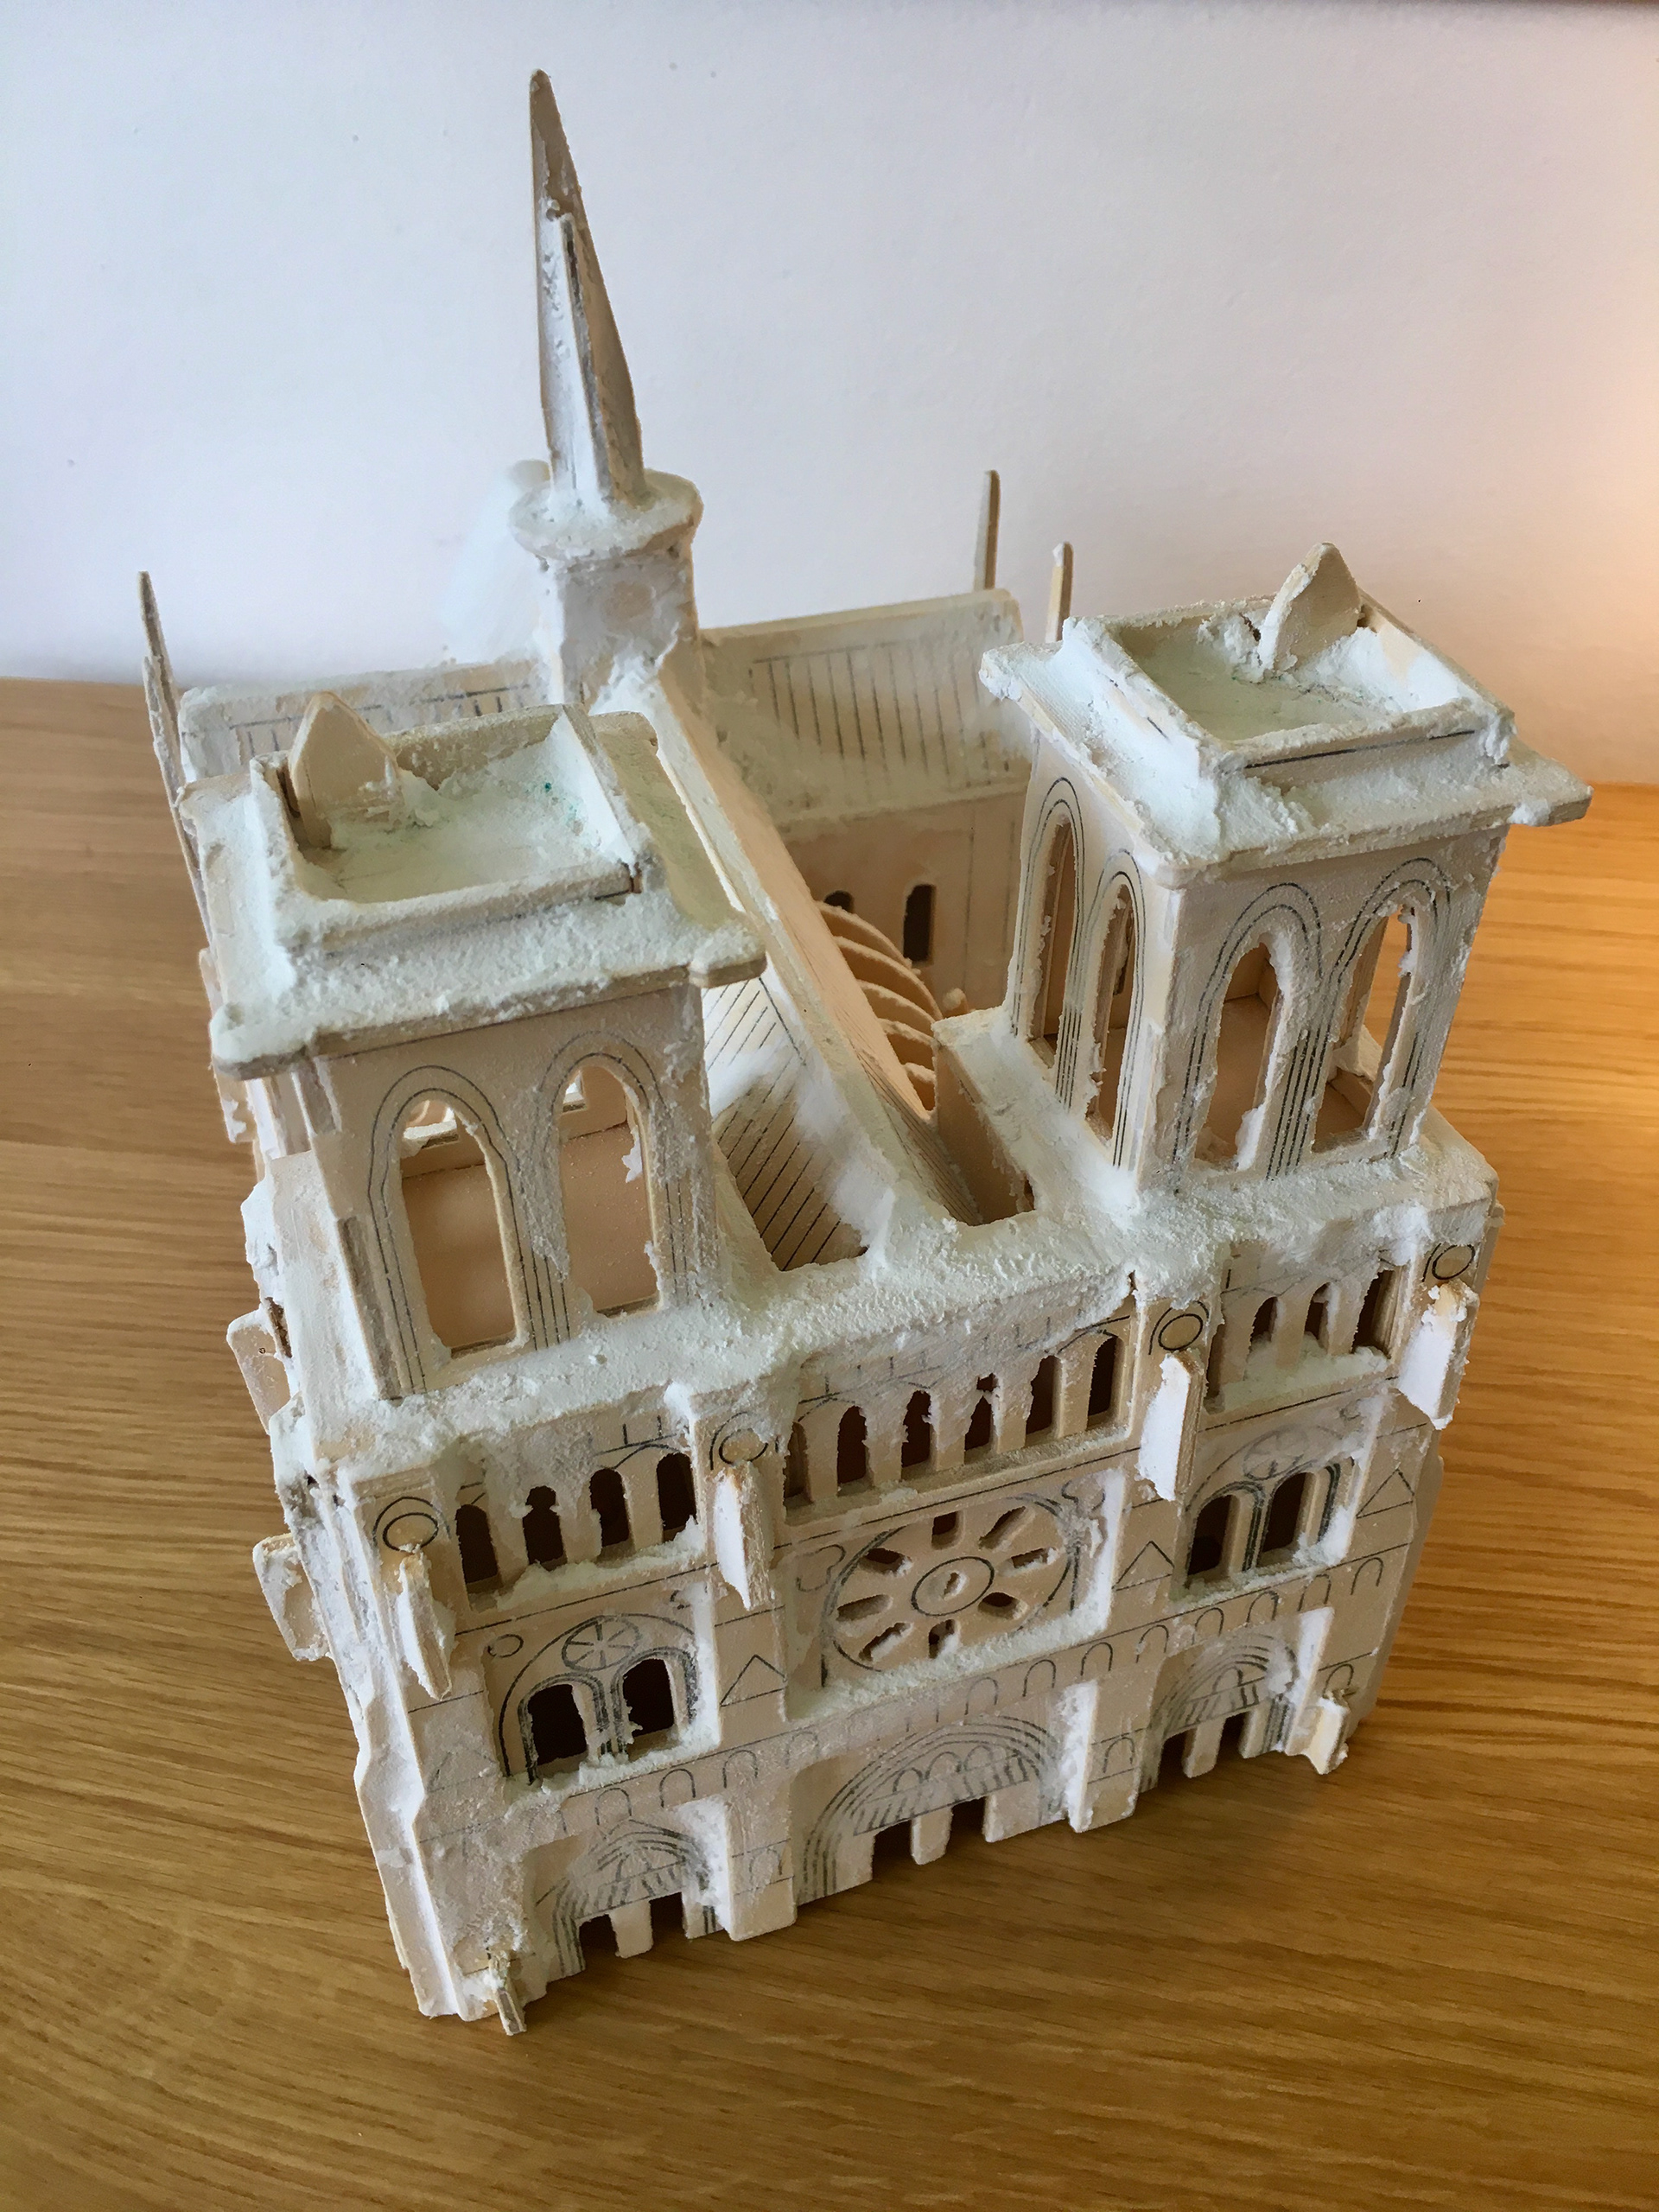
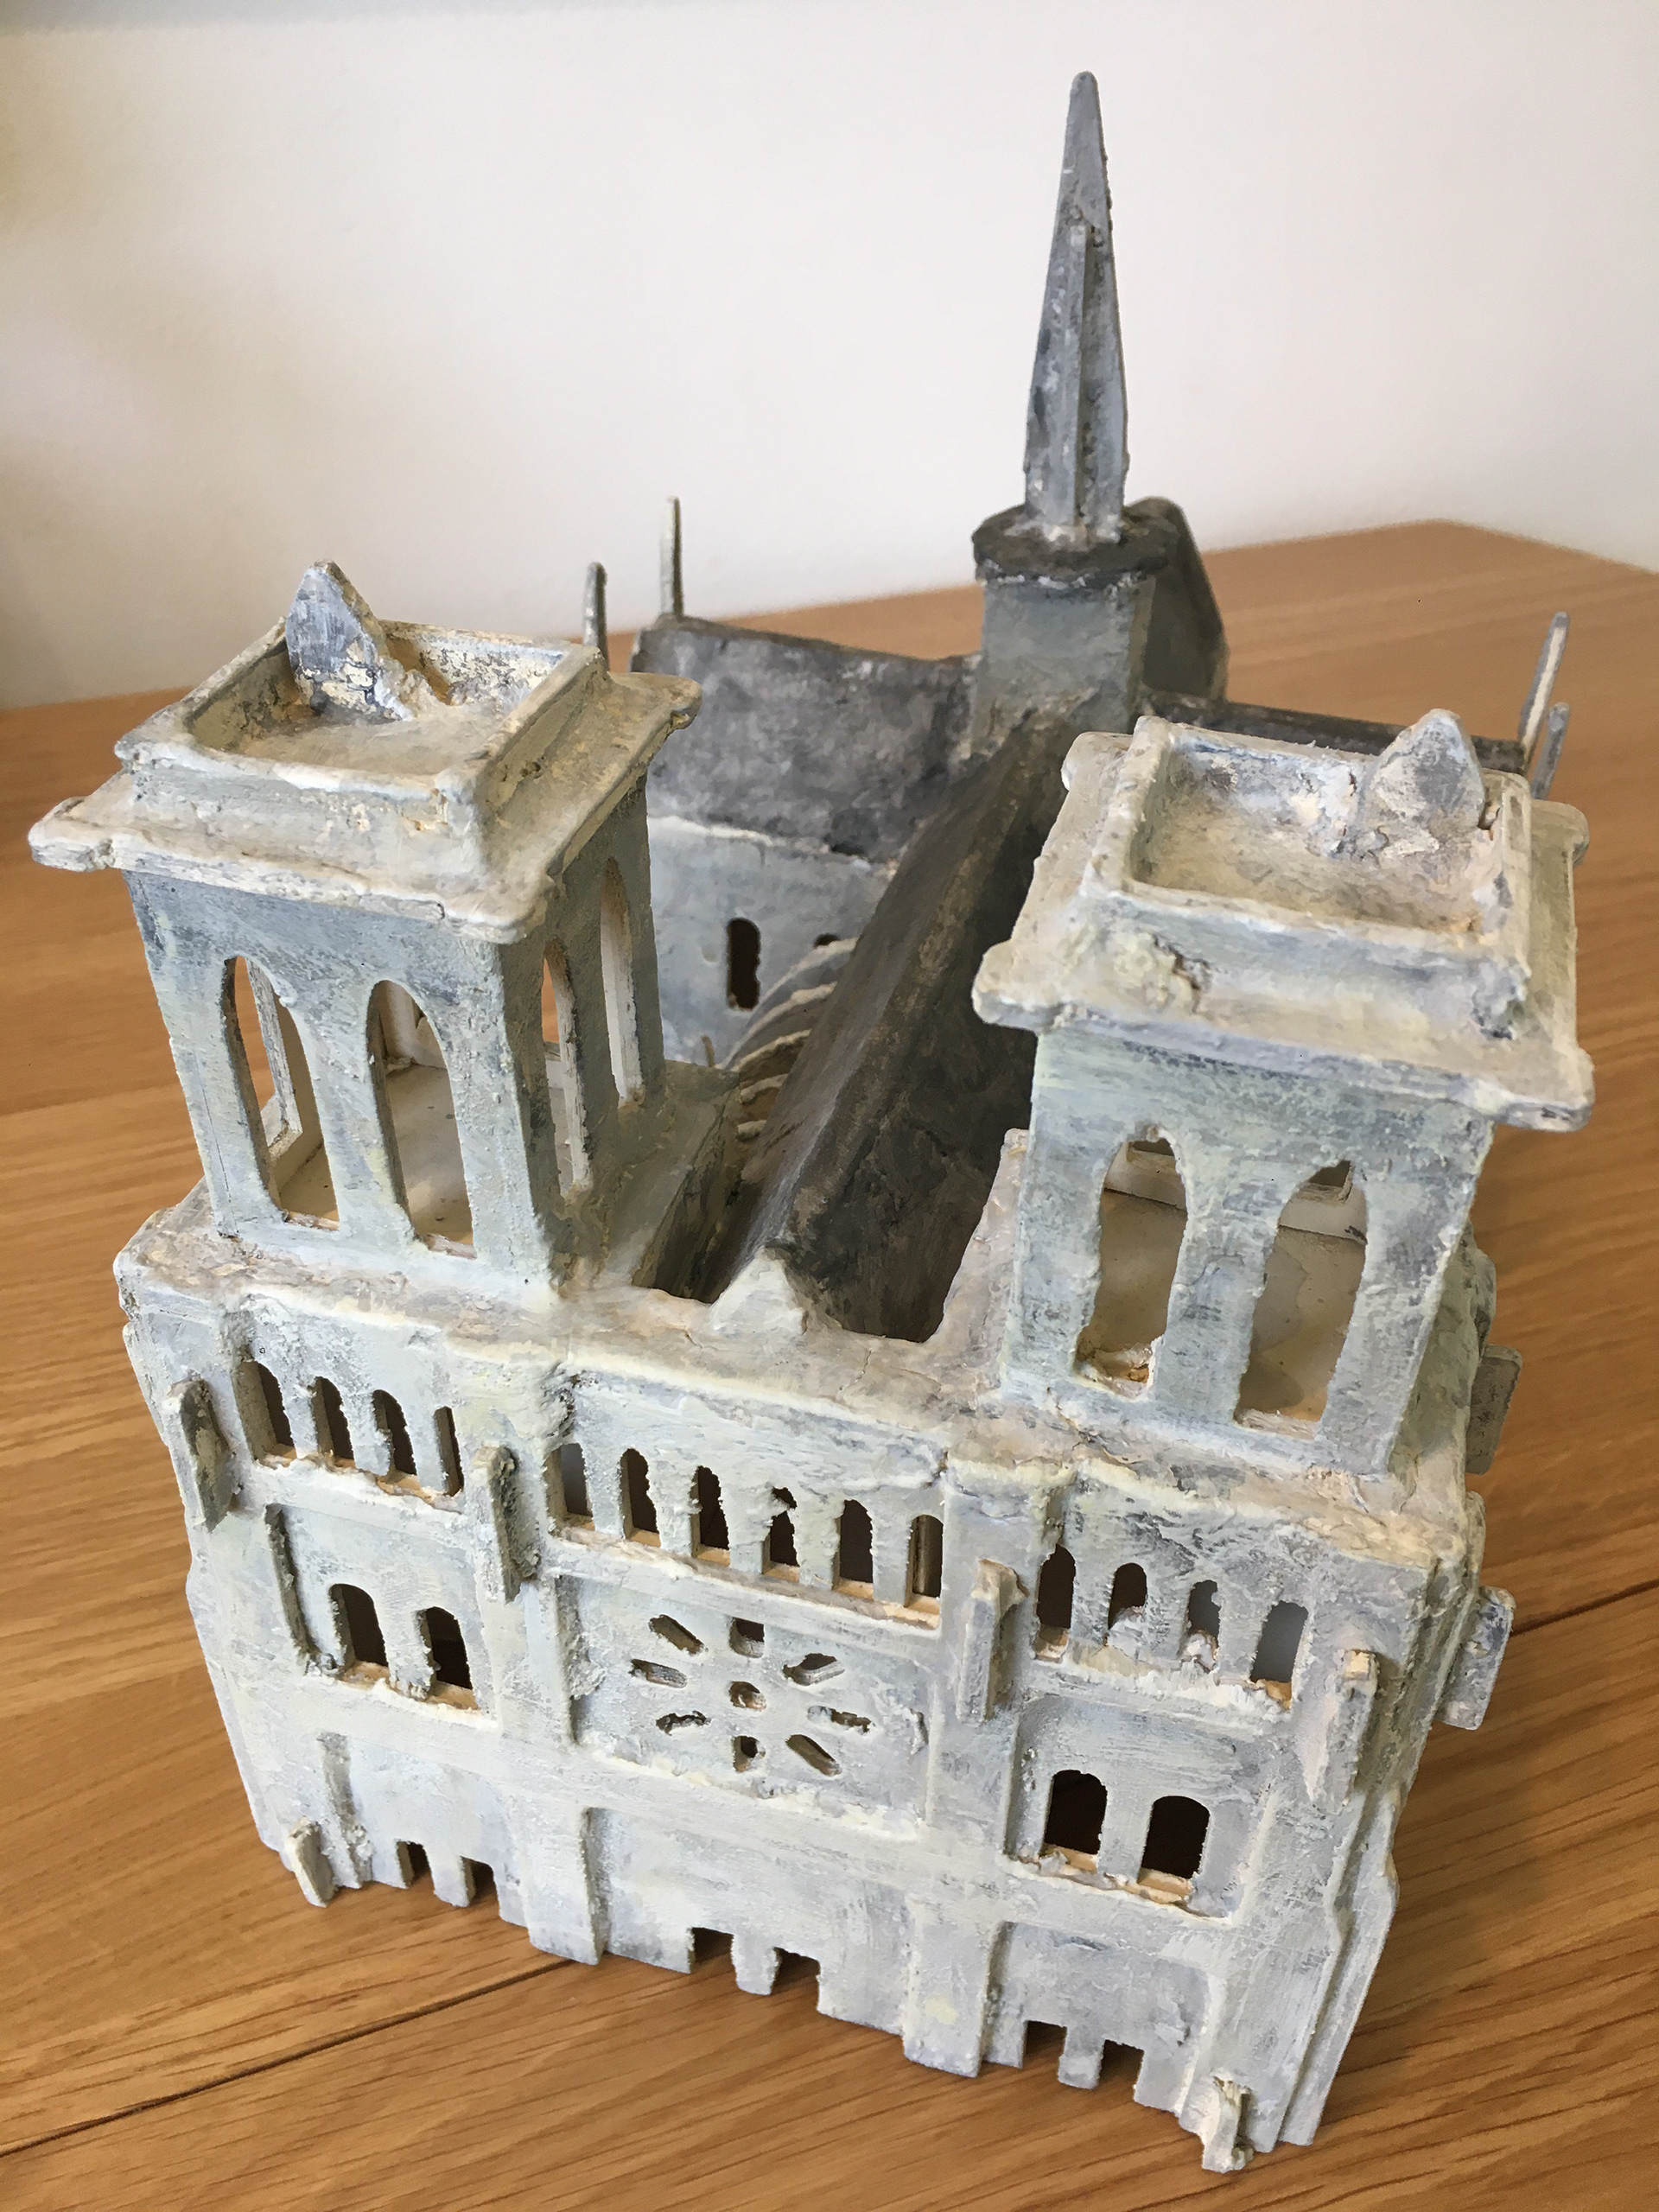
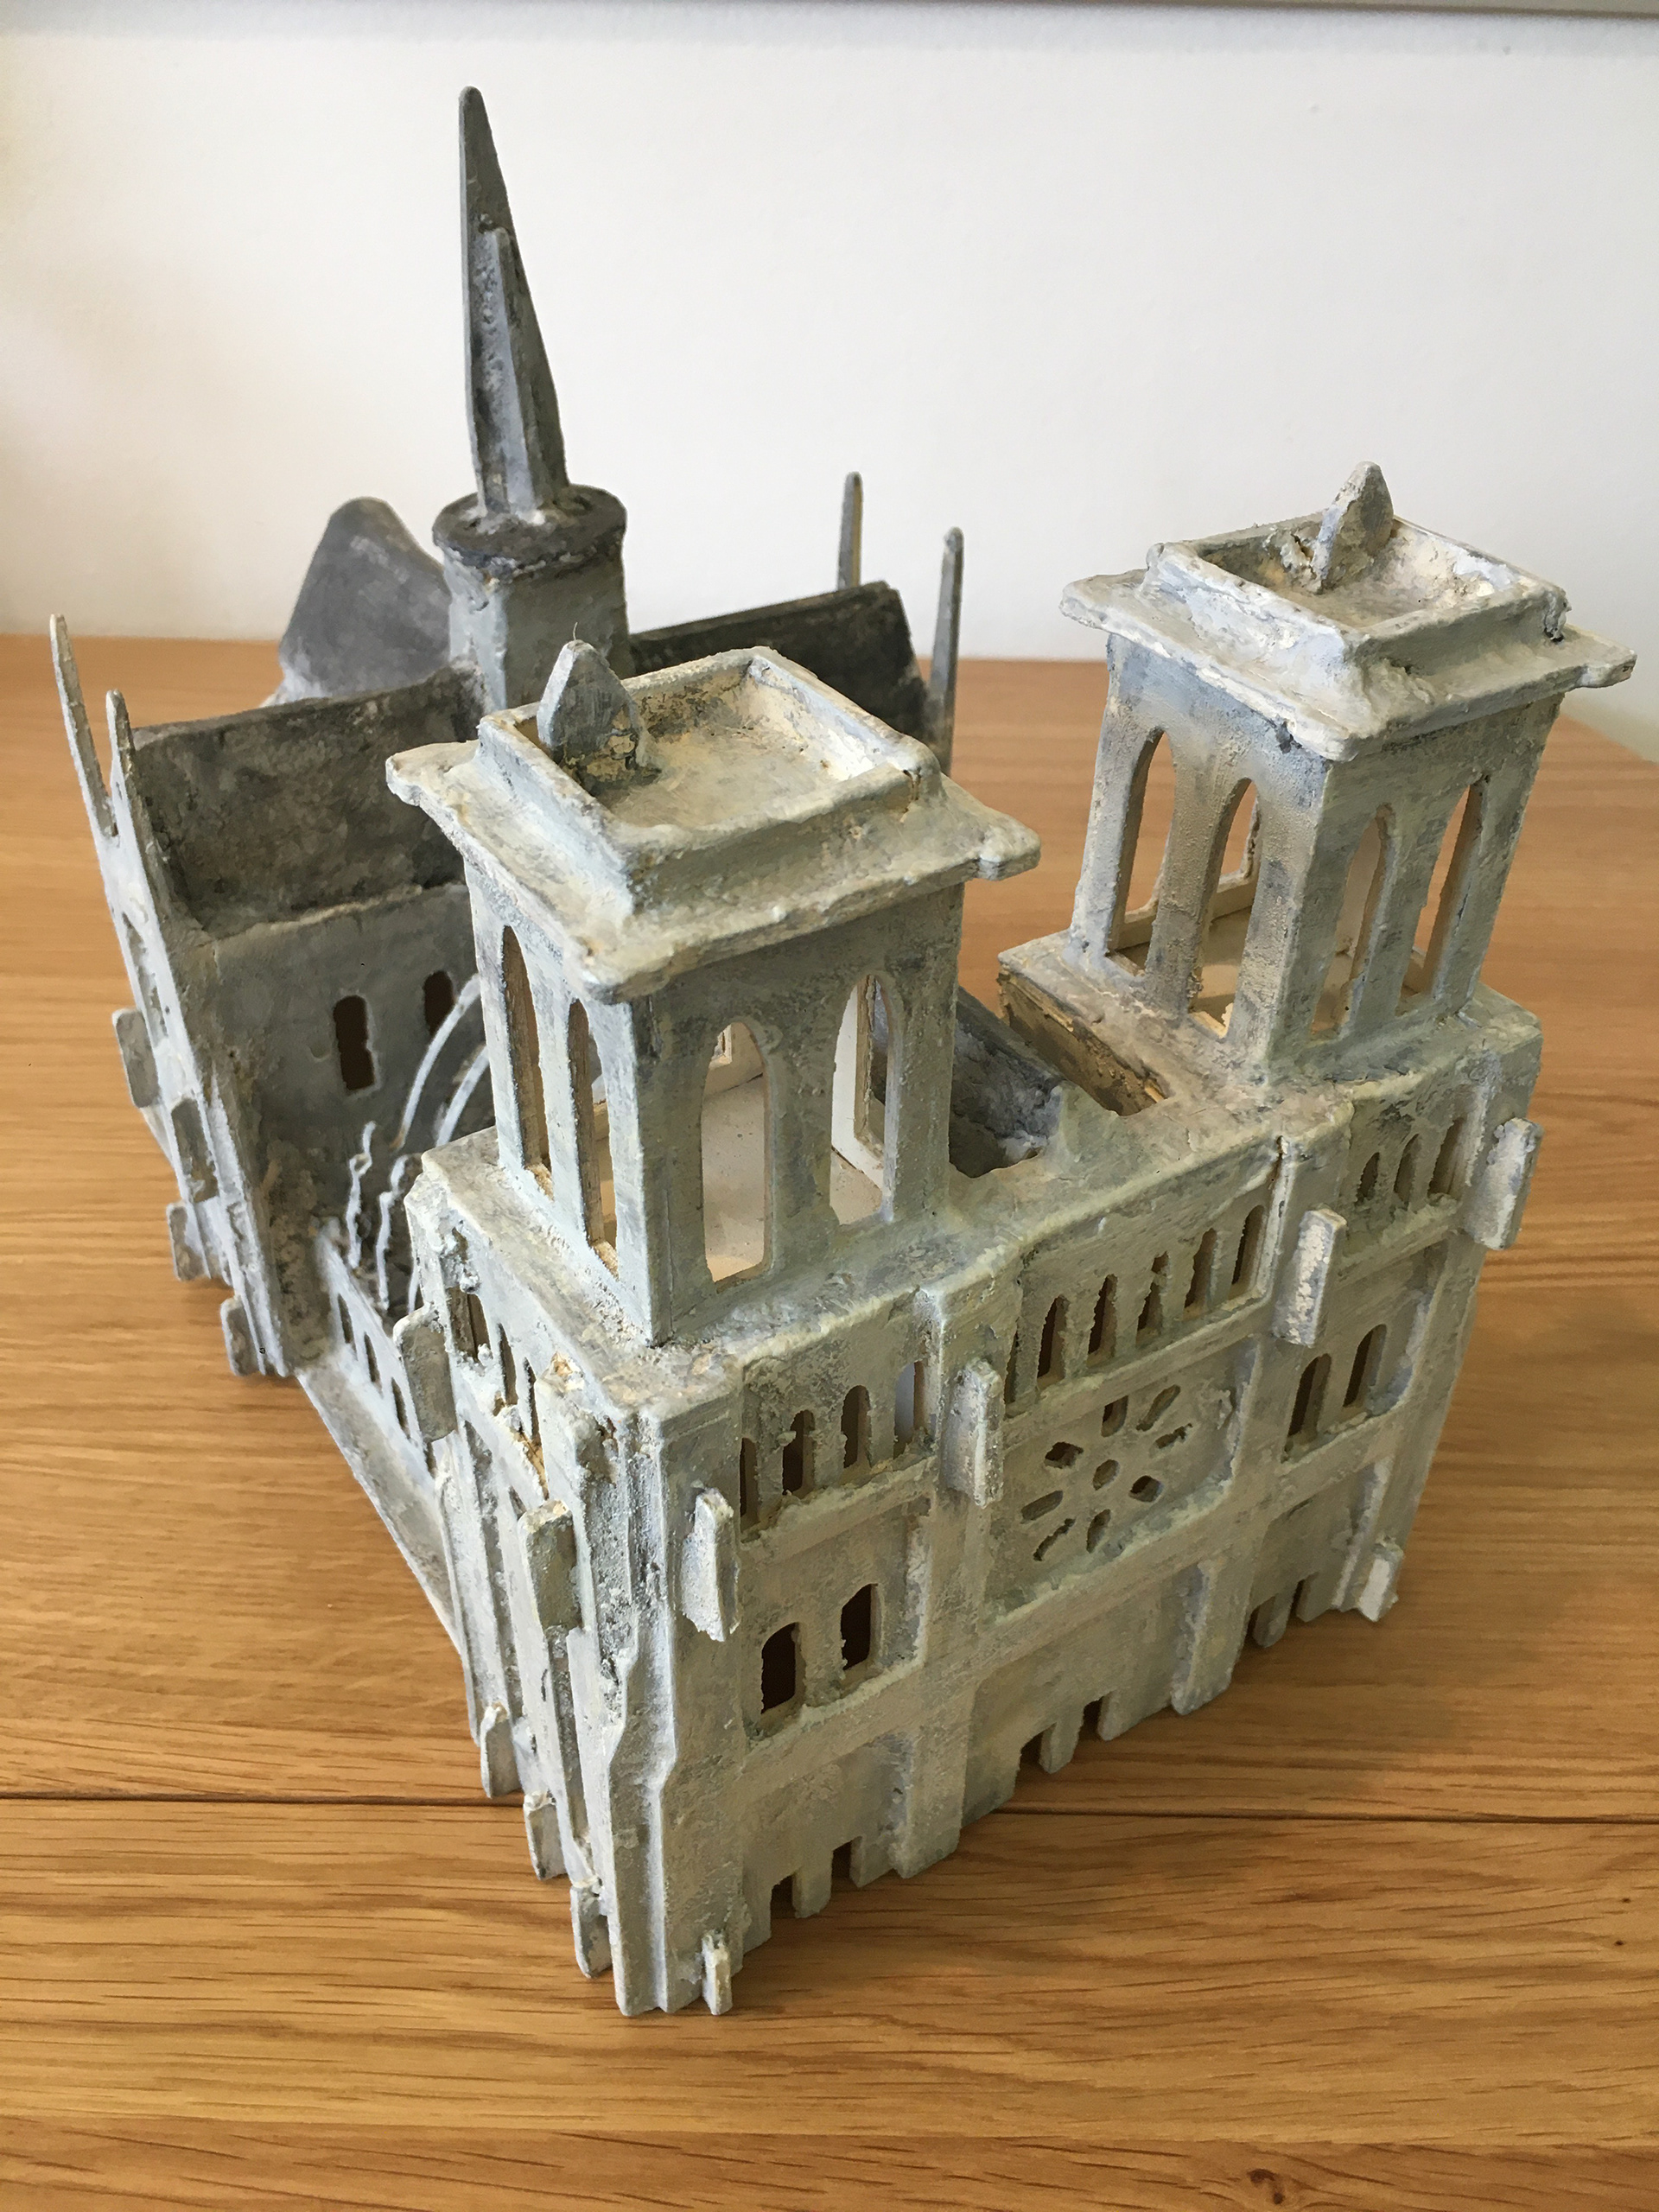
Picture: Notre- Dame de Paris
